Fender Design Challenge
FENDER :-
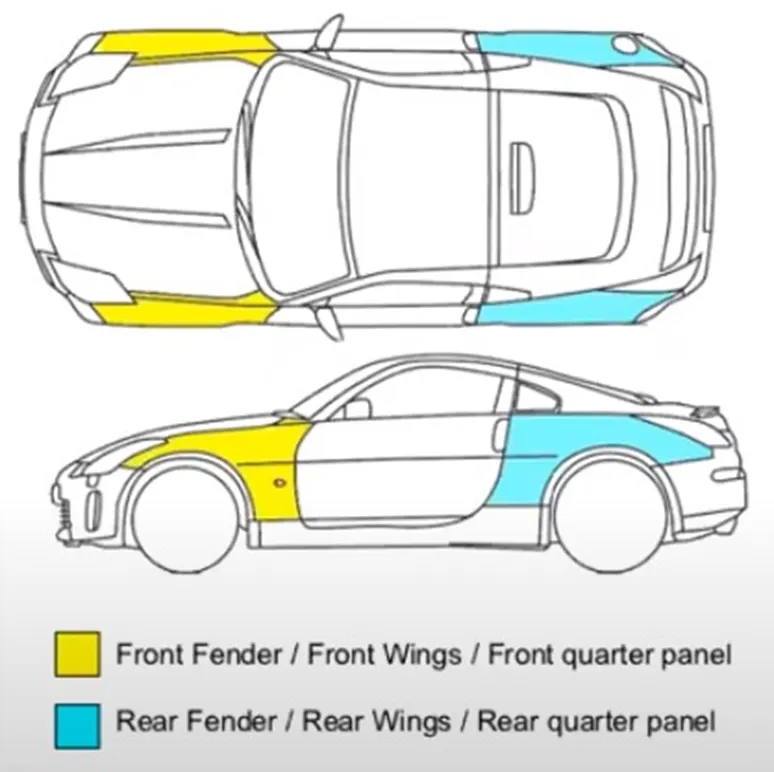
The fender is the car body part that frames the wheel.Its purpose is to prevent sand,dirt,rocks,and other roads spray from being thrown into the air by the roatating tires and close the engine components.When vehicle is moving,tires pick up stones and other and hurl them in all directions.Fender are basically present to prevent any injuries to pedesterian and contain the motion of these particles.A pair of front and rear fender will found on each side of vehicle.
Aside from keeping your vehicle clean,car fenders protect vital components from minor collision.They also help define the car's overall style and design.They provide classy contours that give your car a classy,edge look,especially when your vehicle is viewed from the side.They also help improve your car's aerodynamics,so your car is not cleaner but also faster.
Types of car fenders :-
- Full Bumper type :-
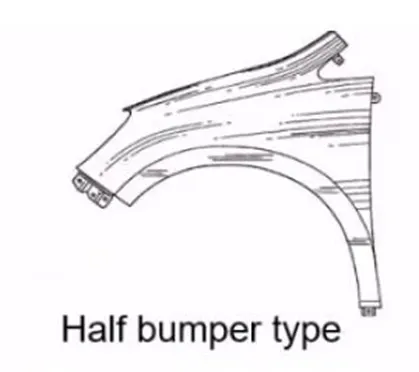
- Half Bumper type :-
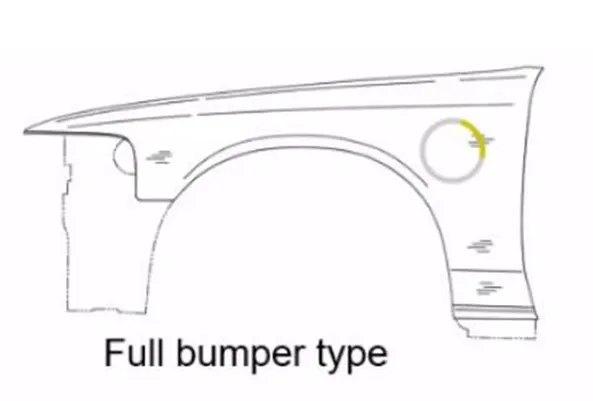
- Either a single full bumper type or two half bumper type fenders can be produced from a single blank.Half bumper type is widely used because of less wastage of material,which in turn reflects the car's overall price.
Procedure :-
1.Creating the Section :-
- After Opening the File,Chec k the model and create the mount area layouts.
- Use parallel curve option to offset the line to 5mm and split option cut the class A to create a space for the mountings.
- Now,join the split surface excluding the top surface.
2. Creating the mount part :-
- To create the mount regions, use the sweep option near the space created for the mountings.
- After the sweep is done as per the design model given,join the surface.
3. Creating the embosses and relif :-
- After the mounts are created,we need to create embosses and holes are to be given.
- To create emboss,create a sketch with the required shape.Project the sketch onto the mounting area but before that extract the surface.
- Now,split the surface to create a hole near the projected area to create an
- Use the sweep command near the cut secti Now,offset the extracted surface.
- Trim the surfaces together and create a relief hole which is given to such that the screw is fitted into that hole.
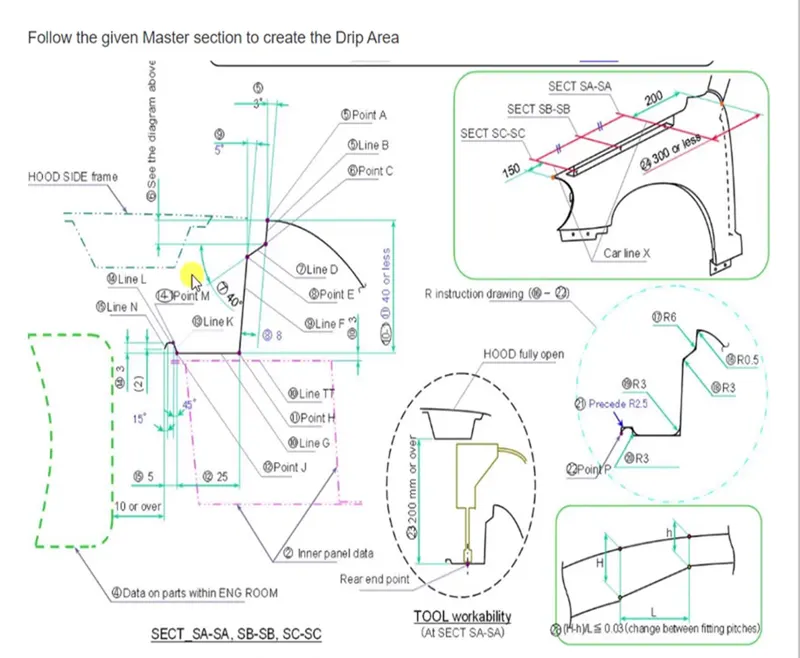
- For the Drip Mount part,follow the details given and design the
- To create beaks,create the surface in a way that is angular and then trim the surfaces together.
4. Giving The Fillet :-
- Once the surface is trimmed,give the fillets near embosses and
- Use the Extrude command followed by the edge fillet to create the sharp edges to the curved parts near the mountings.
5. Creating the solid :-
- After the surface created , go to the part workbench & define the part body.
- Use the thick surface option to create a solid with a thickness of 0.75mm.
Master section provided:-
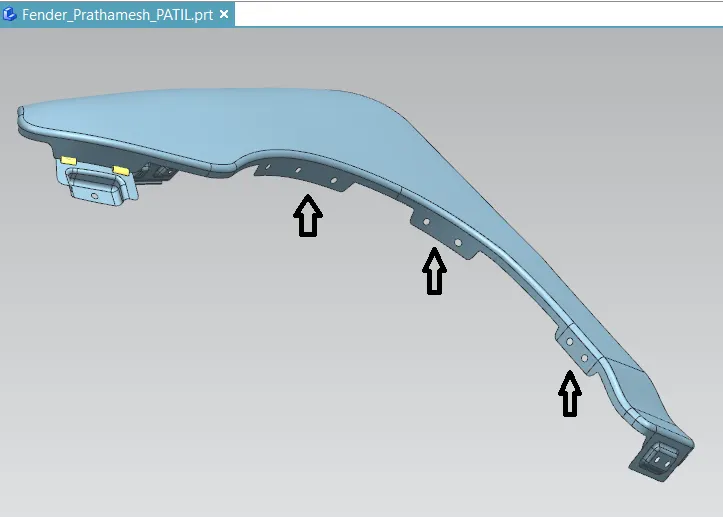
Mounting points on a fender:-
- Drip Area:- Drip area is the important part in the fender.This mounting is attached to the engine compartment of the car.Fender drip area is mounted via weldnuts to the engine compartment.A min of 150mm distance is kept from the front side and a distance of 300mm or less is kept on rear side.
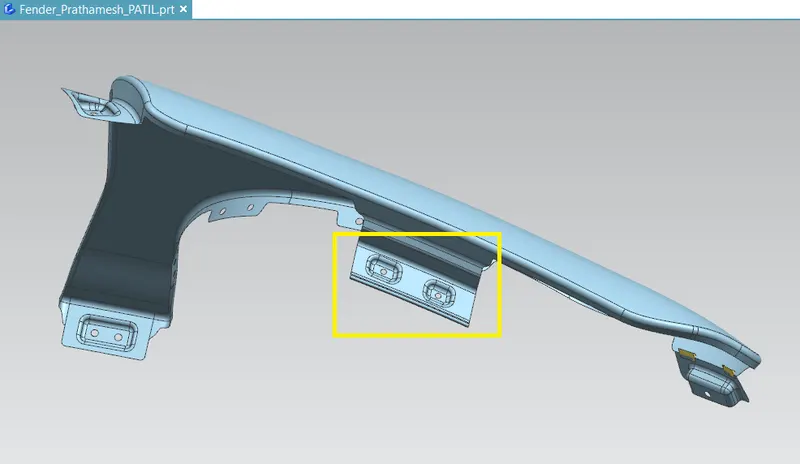
- Bumper Mounting Region:- Bumper mounting area is used to fix the plastic bumper to the fender with help of the fastner.
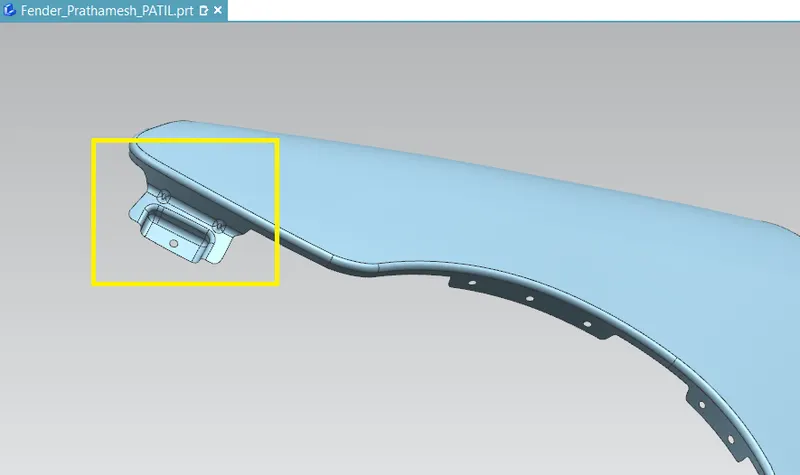
- Sill mounting:- Sill area mounting is also an important mounting part.This mounting point is basically on the bottom of the fender.The mounting part should be created such that the fender is firmly attached to the sill.
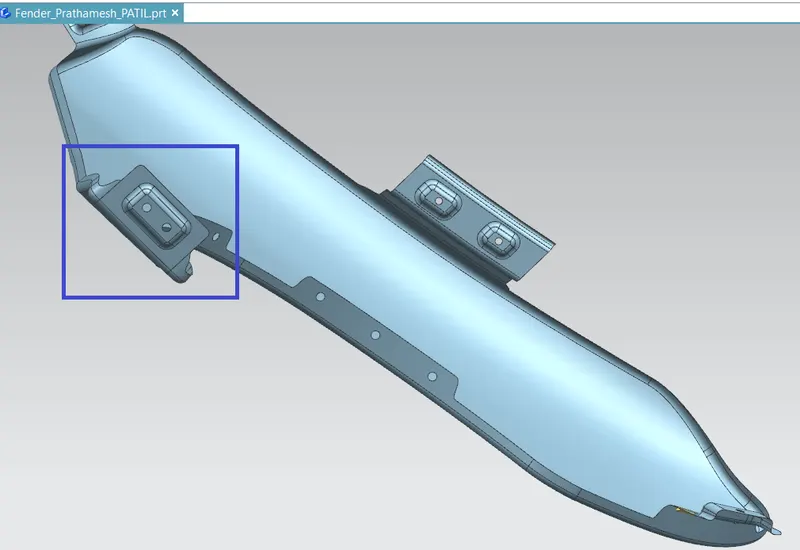
- A-pillar Mounting Region:- The A-pillar area mounting depends upon the a-pillar of the car.The mounting can also be provided with ribs to strength the part.This mounting is critical in design as it has to be mounted on A-pillar properly.
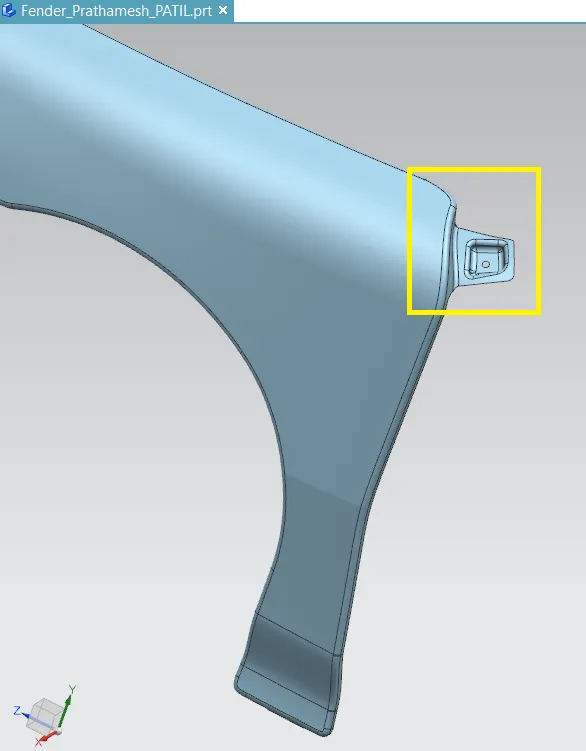
- Baffle Mounting Area:- Baffle mounting or mudguard are clip fit type of mounting on the inner side of the fender arch over the Tyre.It protects the car engine compartment and pedestrians from causing injuries from chip out debris on the road when the car is in motion.They are mounted on the fender using a special type of locking clips which are made up of plastics.
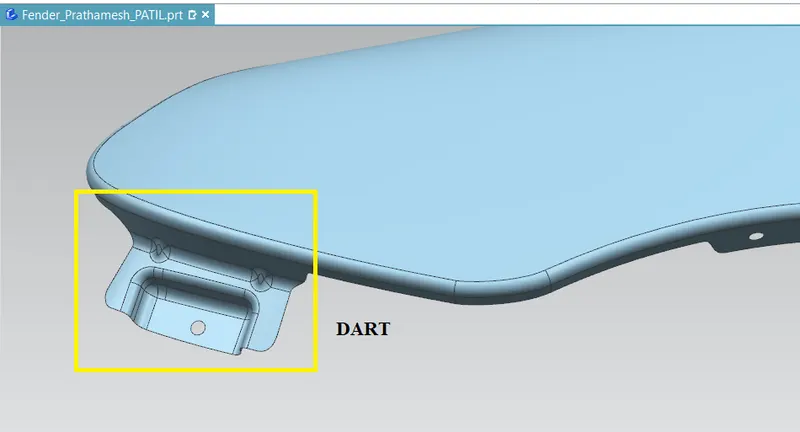
- DART :-
Creating dart on two surfaces it use in the increasing the strenght of two joining surfaces.
- Cowl area:- Somtimes fender is also provided with the cowl area mounting.This mounting is on the top side of the fender.Cowl top area consist of Wiper motor and its instruments.
- Drip Area:- Its the critical mounting area located inside the engine compartment.Designed according to the master section provided,an optimal opening angle is maintained to make it look well assembeled from outside.Minimum clearance from headlamp and cowl part is maintained.
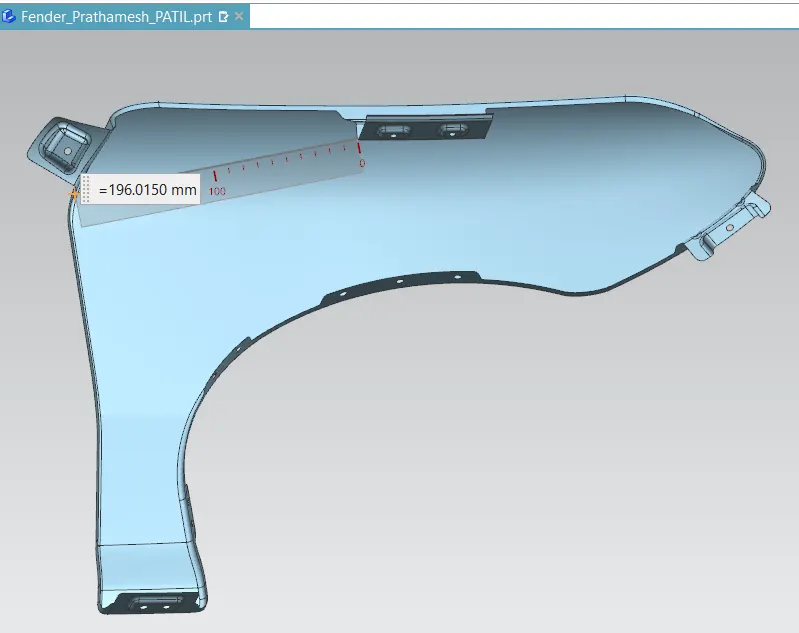
DIFFERENT VIEWS OF FENDER :-
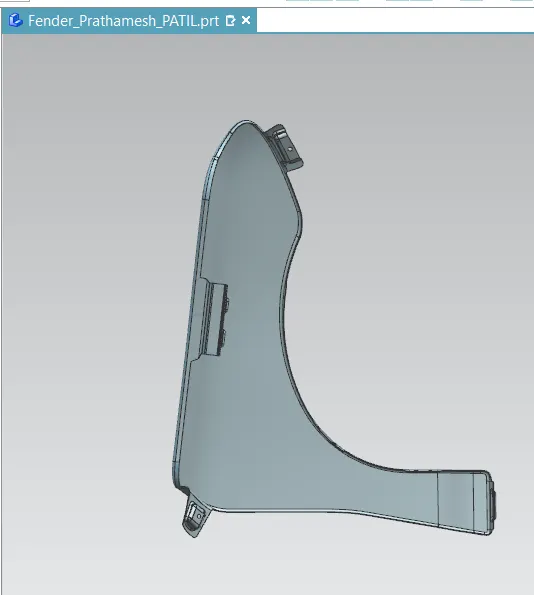
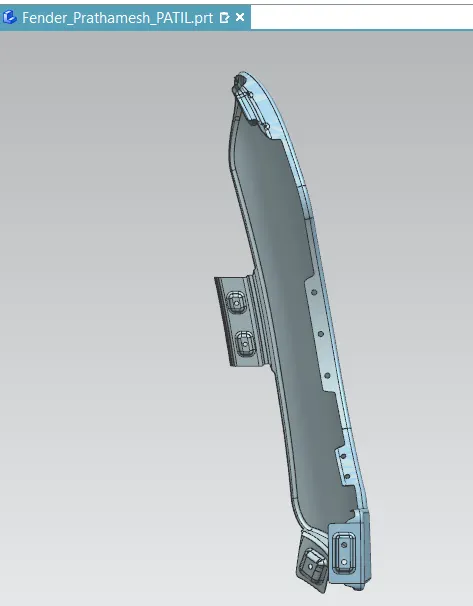
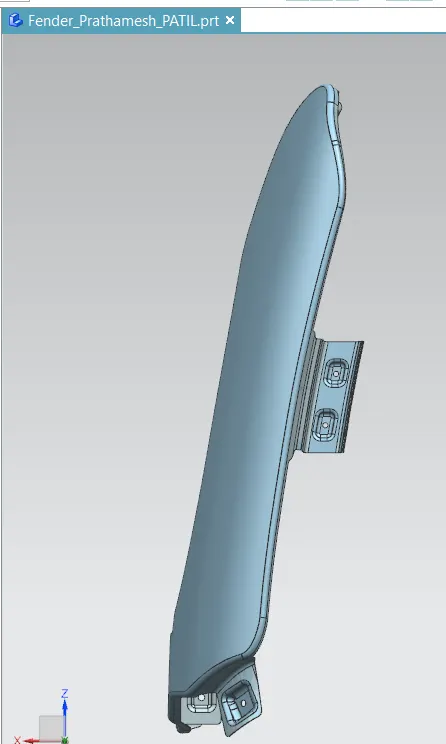
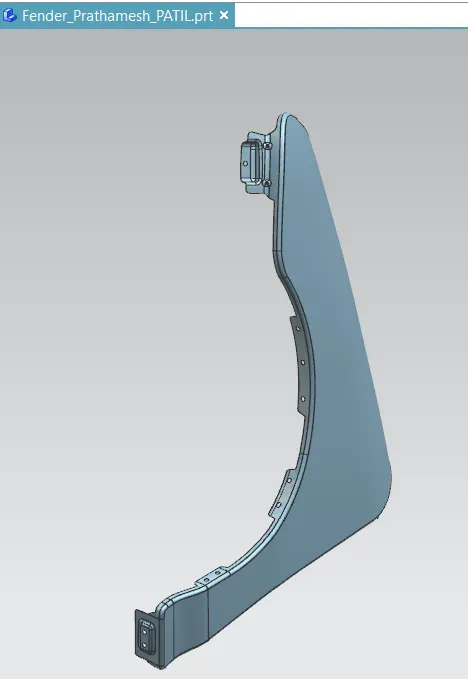
CONCLUSION :-
Finally design of fender is done with the help od NX-CAD software by following the master section.