Fender Design Challenge
Fender Design:
Objective: Design Front fender using NX CAD Following the parameter given by into the master Sketch.
Introduction:
In most of the English-speaking world the fender is another word for bumper. It’s the part of the car that attempts to fend off major damage in the event of an accident. Fender is the American English term for the part of an automobile, motor cycle or other vehicle body that frame a wheel well (the fender underside). Its primary purpose is to prevent sand, mud, liquid and other road spray from being thrown into the air by the rotating tire which may herm the pedestrians cause problem because of that the calculation of wheel arc radius is to position the wheel inside the fender body. Fender also enhance the car’s aerodynamics.
Driving will be very messy if your car doesn’t have fenders that house the wheel wells. The tires of your car spin fast when you drive. As they rotate, they catch moisture and debris from the pavement and spray them into the air.The tire’s kinetic energy ejects these foreign matters into the air at high velocities. As this thing is happening, the moisture and debris that fly in the air can cause the following to happen:
- Get other vehicles or pedestrians on the road side dirty
- Hurt pedestrians
- Scratch the bodies of other vehicles
- Cause minor, and even major damage to other vehicles
Type of Fender:
- Full Bumper type

- Half Bumper Type
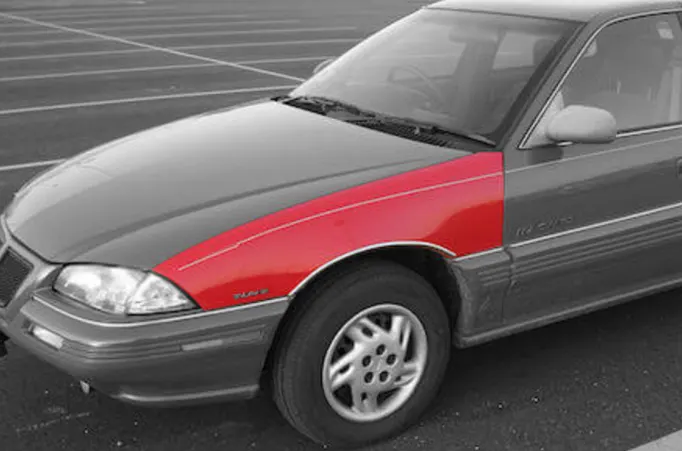
Design Parameter: Mainly Front Fender connected with this five Body. But it’s varying car to Car or OEM to OME.
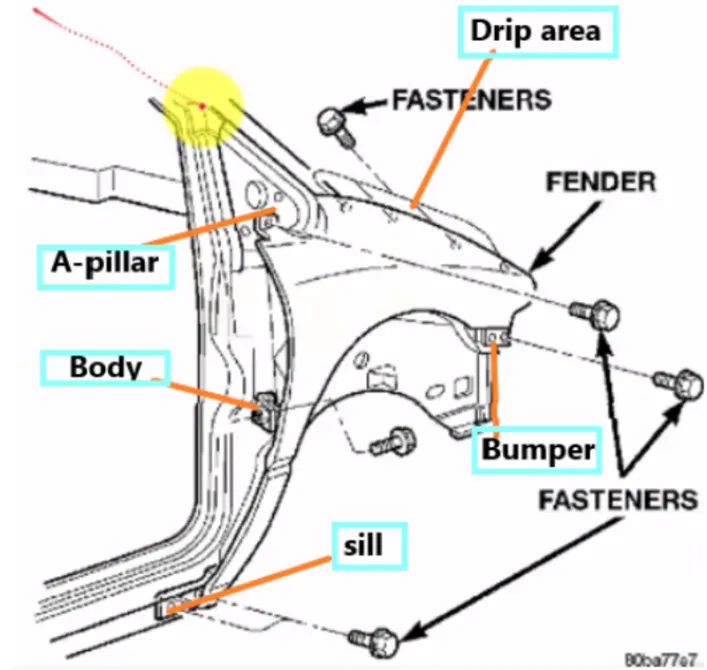
Mountings of Fender:
- Body Mount
- Drip Mount
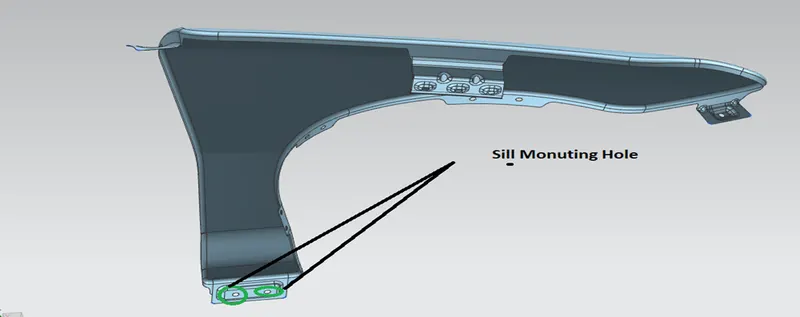
- Sill Mount
- A-Pillar Mount
Drip Mount:
Master Sketch of Drip Area
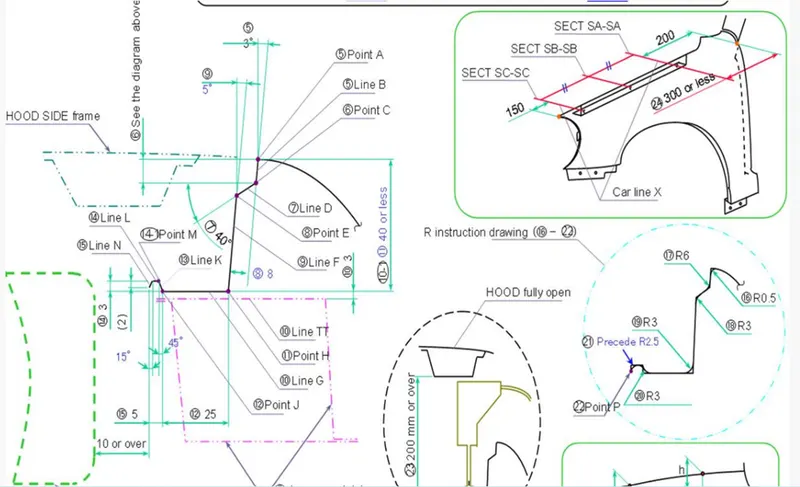
It’s the area through which fender attached to engine `housing through fasteners. There should be some consider followed to design the drip area of fender.
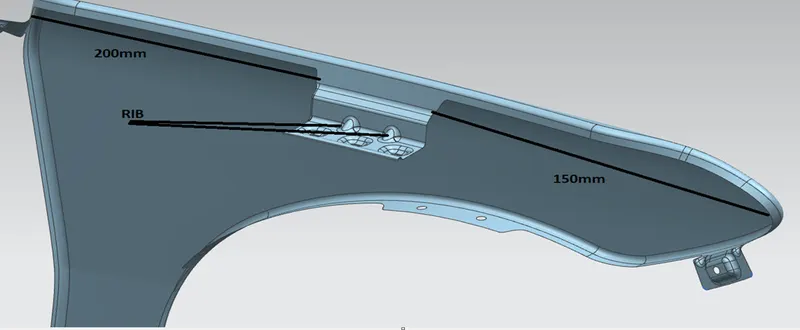
As per master Sketch while design drip area we have to leave 150mm from headlamp area front and from cowl area we have to leave 200mm to 300mm in between. From fender we have kept 40mm, we should not keep more than 40mm because it’s problem for spring back during manufacturing. To make more strength we given two ribs in the drip area.
A-Pillar Mount:
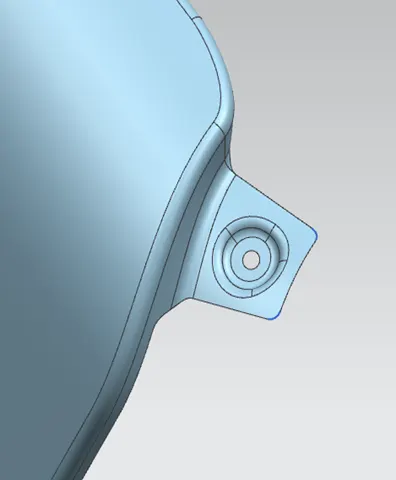
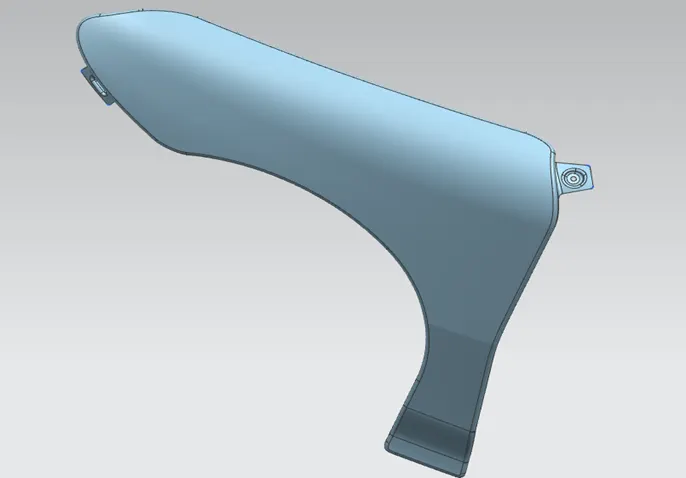
We have created created one mount hole on the A-Pillar Mount.
Baffle Mounting Area:
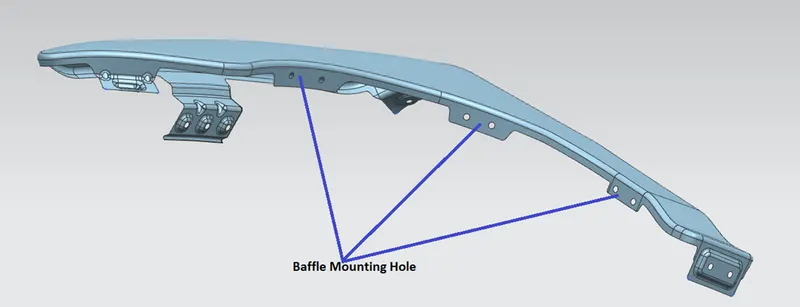
In this section, holes are created while allow the baffle to be fitted with good tolerances
Sill Area:
Bumper Side:
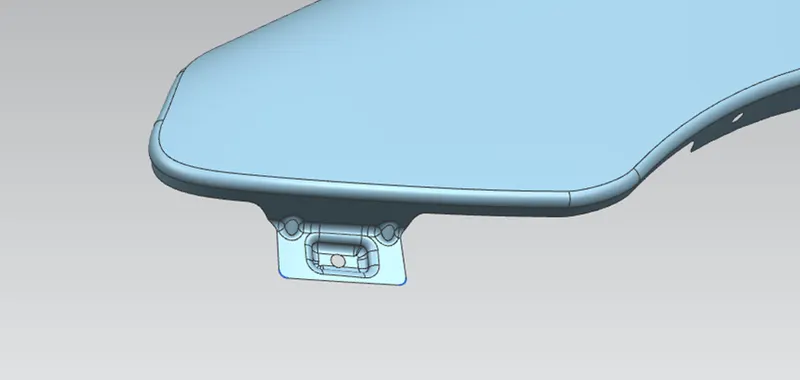
Two Ribs provided to make more strength & mounting also given for tiding this body .
Final Design with thickness:
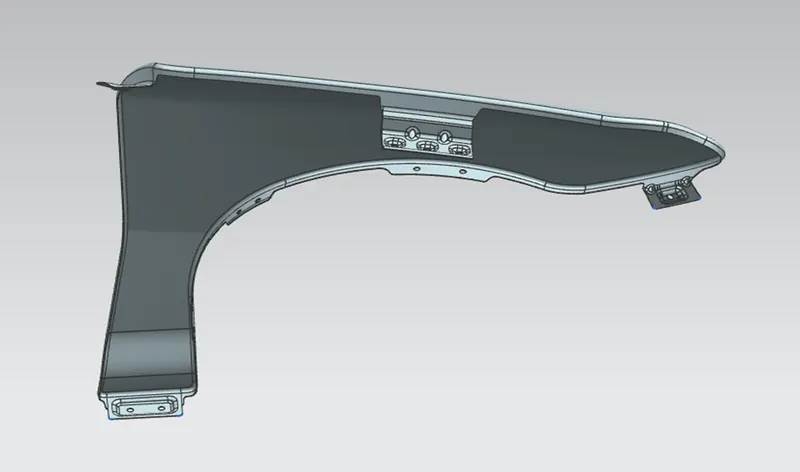
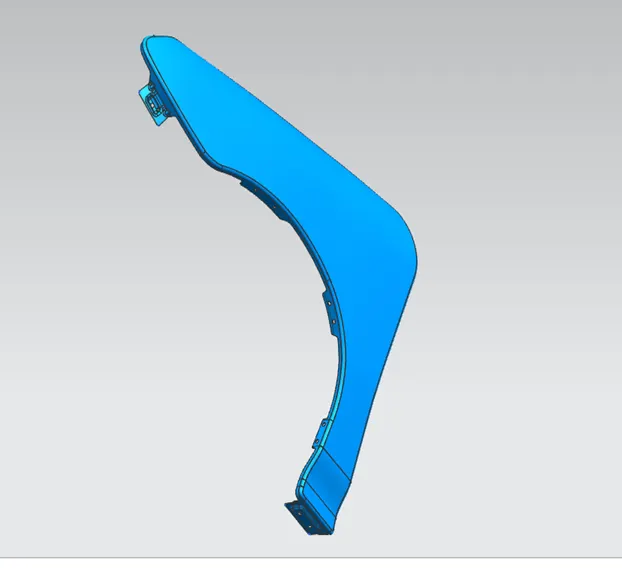
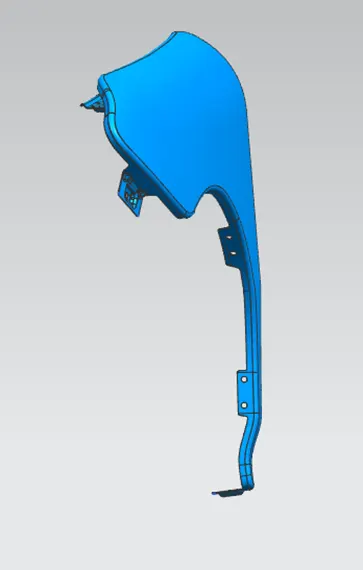
Final Design with 0.75mm thickness.
Conclusion:
Finally design of Fender is done with the help of NX-CAD software by following the master section.