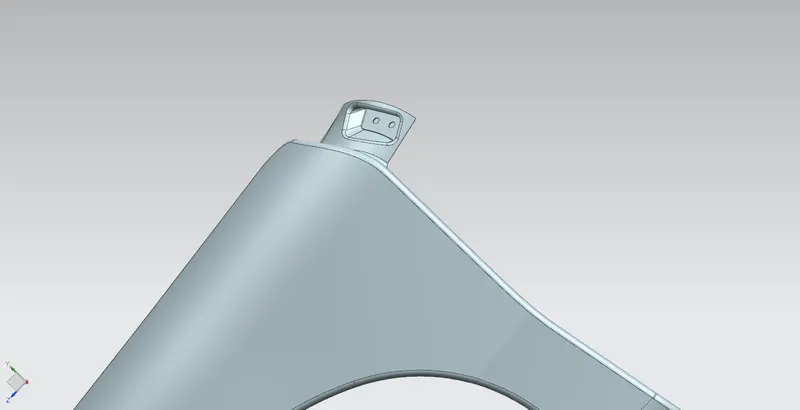
Fender Design Challenge
Fender Design
Aim:
The main goal is to use the class-A surface to design the fender model with the appropriate mounts.
Mounts:
1. Bumper
2. A-Pillar
3. Sill
4. Cowl
5. Drip
Fender:
A fender is a car component that frames a wheel well (Fender underside). The major function of this device is to keep sand, dirt, pebbles, liquids, and other road sprays from being flung into the air by the revolving tyre. Because they do not move with the tyre suspension, the holes for the wheel wells on the fenders are significantly bigger than the diameter of the tyre and must be large enough to enable the whole range of tyre motion on the suspension without contacting the interior of the wheel well.

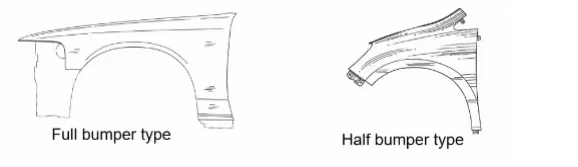
Types of Fender:
Full front fender:-
If the fender covers the tyre, the wheel well surrounds the tyre and is not visible from above the car body. It increases the component's weight and scrap.
Half front fender:
It cuts down on weight and scrap. It only generates half of what a full front fender does, and the other half is generated by the bumper.
Parameters to desgin a Fender
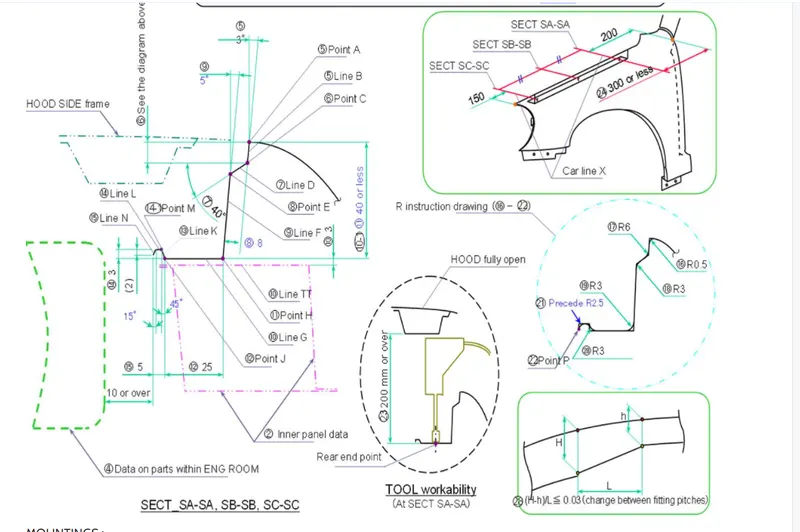
Desgining Process:-
1. Creating the sections:
- Check the model and design the mount area layouts after opening the file.
- To make a gap for the mountings, use the parallel curve option to offset the line by 5mm and the split option to cut the class A.
- Now, except the top surface, join the divided surface.
2. Creating the Mount part:
- To build the mount areas, utilize the Law extension option near the mounting spot.
- After the Law extension has been completed in accordance with the design model, link the surface that has been generated.
3. Creating the embosses and relief:
- Following the creation of the mounts, embosses and holes must be constructed.
- To make an emboss, draw a sketch of the desired form. Before projecting the drawing onto the mounting area, remove the surface.
To make an emboss, break the surface to create a hole around the anticipated region. - Near the clipped region, use the sweep command. Offset the extracted surface now.
- Trim the surfaces together and drill a relief hole into which the screw will fit.
- Follow the instructions for the Drip Mount portion and create the product.
- To make beaks, first build an angular surface and then trim the surfaces together.
4. Giving the Fillets
- After the surface has been trimmed, add fillets around embosses and beads. fillet should be 3mm+ thickness i.e 3+0.75mm.
- To add crisp edges to the curved areas near the mountings, by the edge blend and face blend.
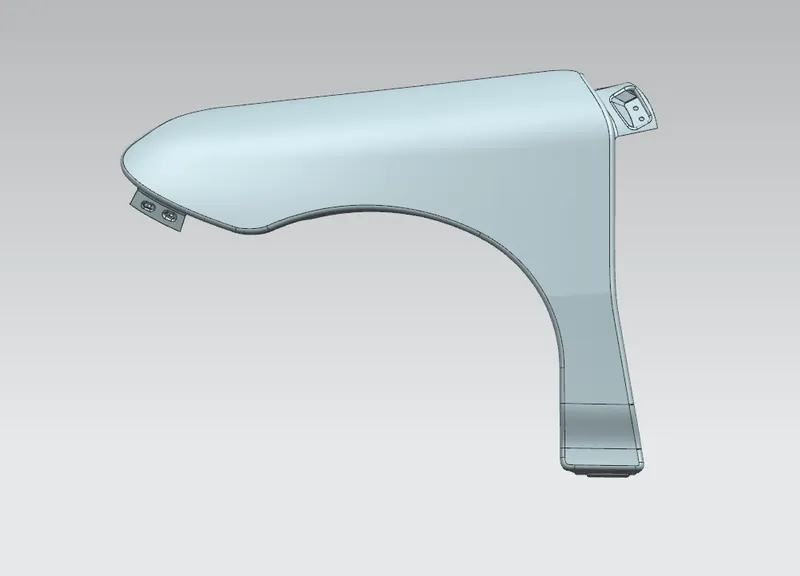
The fender model is created with a thickness of 0.75mm with the given mounts and embosses.
Final Model
Drip Mount:
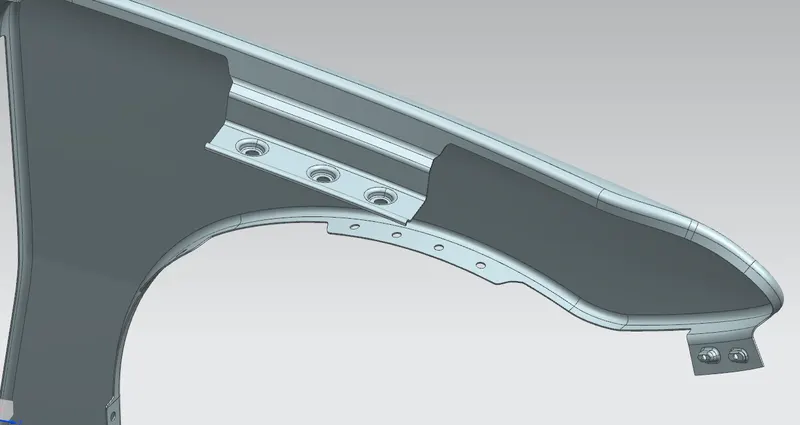
Sill Mount:
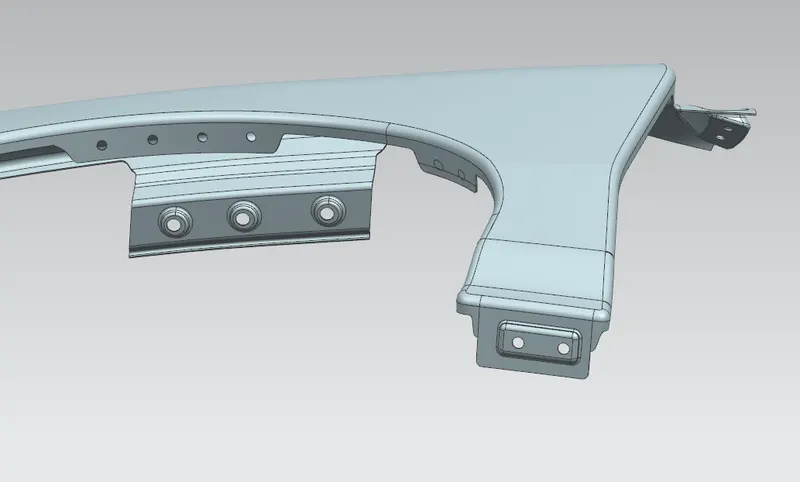
Bumper Mount:
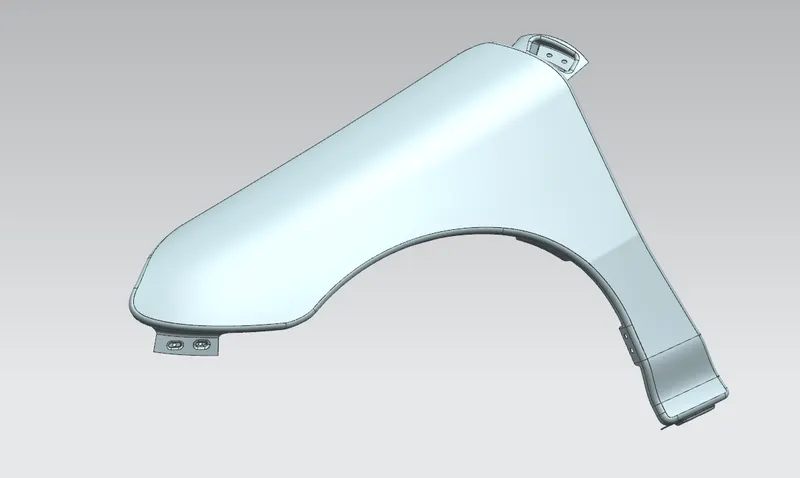
Cowl Mount:
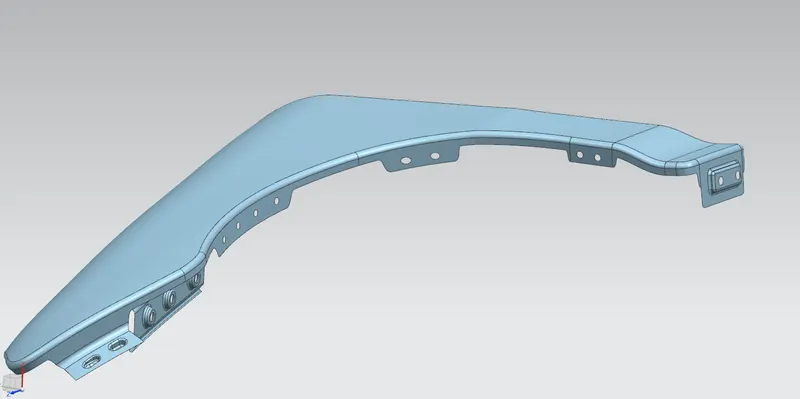
A-Pillar Mount:-