Fender Design Challenge
FRONT FENDER
AIM
The objective of this challenge is to create the design of the front fender from the given fender skin data and sketch using Siemens NX-CAD.
THEORY
Fender is a BIW component that is used to cover the wheels and is placed above them. It also is the component that covers the side area of the engine compartment. The primary purpose of a fender is to prevent sand, mud, rocks, liquids and other road spray from being thrown into air by the rotating tire and hitting the pedestrians. Fenders can be classified mainly into two types: full bumper and half bumper type. While in the early days full bumper types were widely used nowadays half bumper types are preferred due to the less material is lost in the scrap and also less weight is added compared to the full bumper type fenders. Another way we can classify the fenders is based on where there are used and can be classified as Front fender and Rear fender.
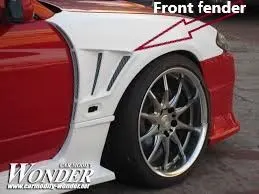
IMPORTANT DESIGN CONIDERATIONS WHILE DESIGNING A FRONT FENDER
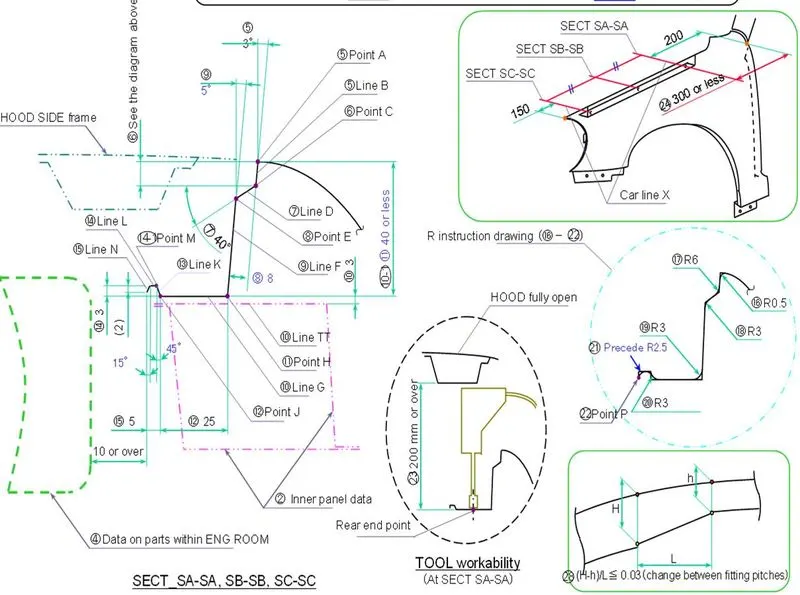
While designing a Fender there are several parameters to be considered and the important design consideration is the dimensions and the orientation of the drip area and we are provided with all the dimensions in the master sketch. The thickness of the fender that is required is also to be noted while designing.
PROCEDURE
1.MOUNTING POINTS ON A FENDER
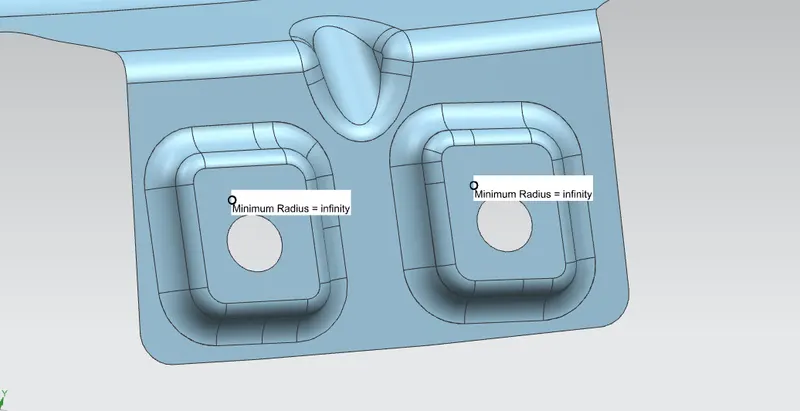
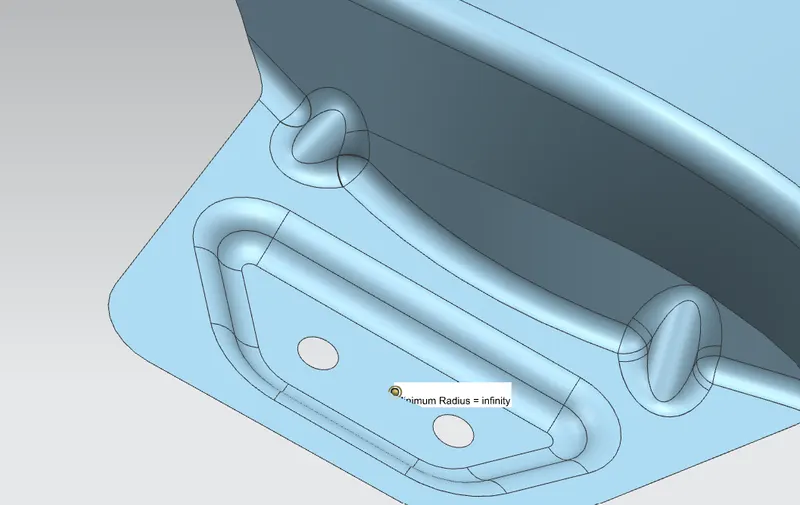
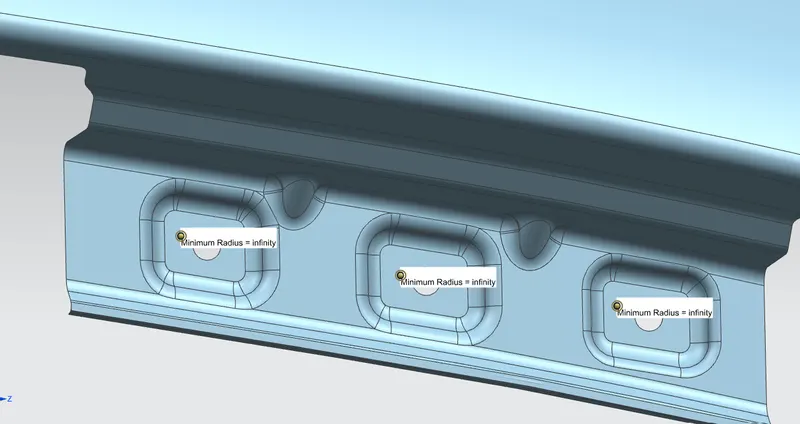
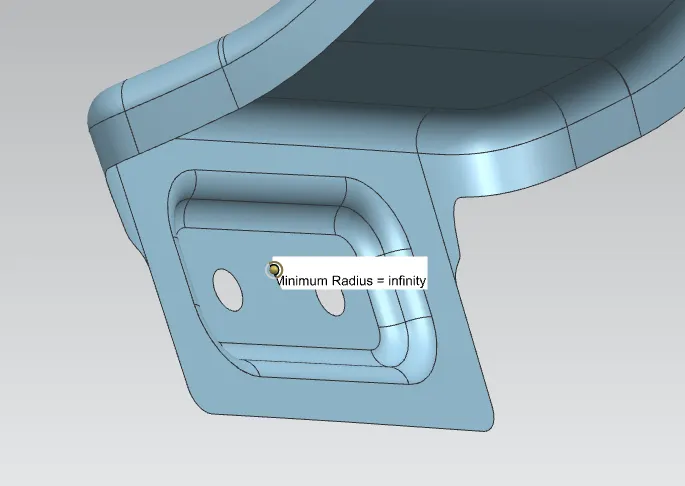
In a car is assembly fender is manufactured separately as a part and then it is attached to the engine compartment, bumper, A-pillar area, Sill area and baffle with the help of mounting points using bolts and all these holes that we create has to be in the direction perpendicular to our machining since it is impossible for us to fix these holes in the direction normal to the face and all the embosses that we create must not have a radius of curvature. The various mounting points on a fender are:
1.) Drip area mounting
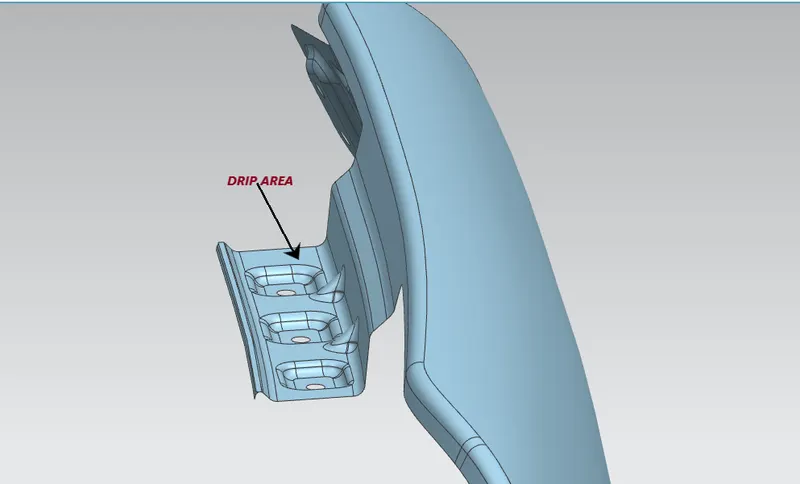
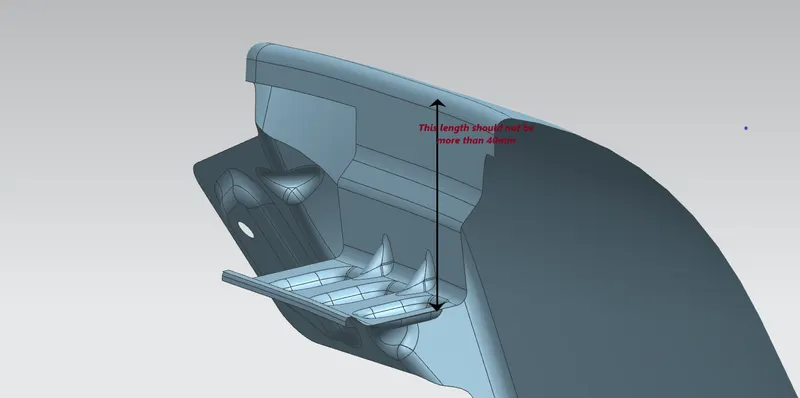
This is the portion which attaches to the engine compartment and one end must be at a distance minimum of 200mm and maximum of 300mm from the A-pillar mounting area in order to accommodate the cowl mounting and the other end must be at a minimum distance of 150mm from the bumper mounting to house the headlight unit. The vertical height of this drip area should not exceed 40mm in order to avoid spring back effect. With these given consideration proper area needs to be cutout and embosses should be given to accommodate the mounting holes.
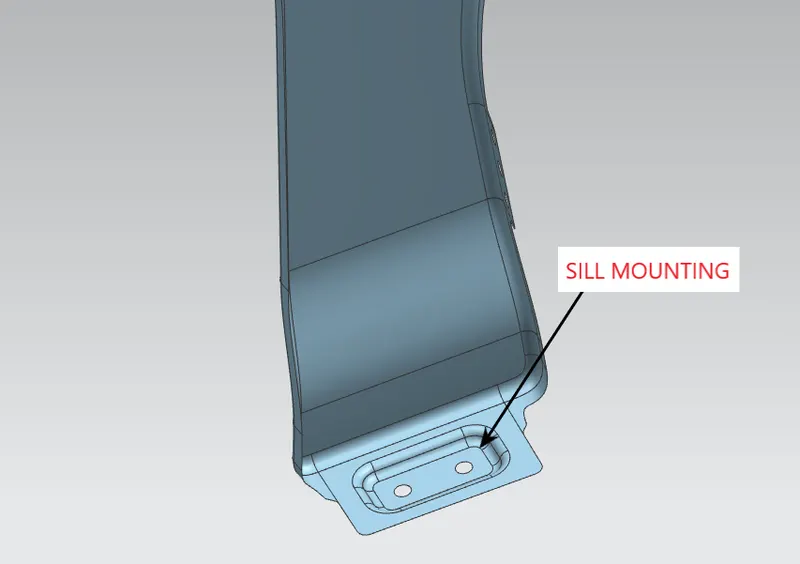
2.) Sill mounting
This is located at the bottom end of the fender. Proper emboss and mounting points have to be provided to attach this area to the car frame.
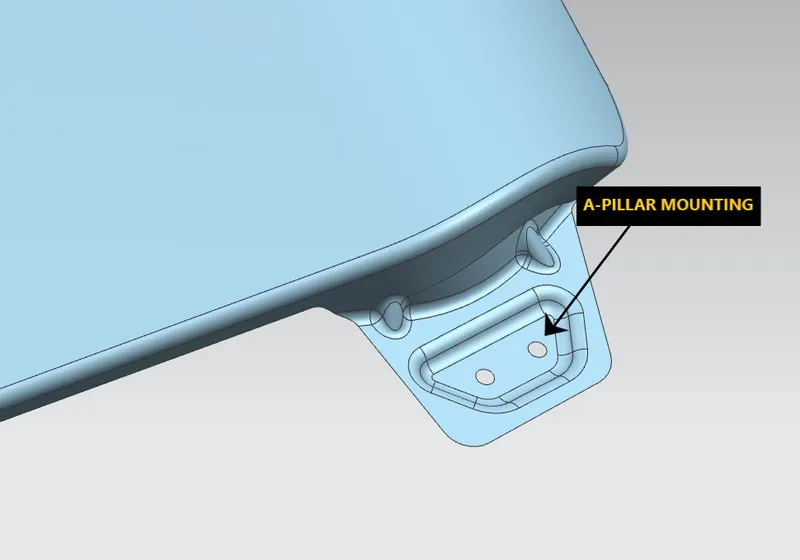
3.) A-pillar mounting
The car body consists of pillars which are nearly vertical and provides support to the car body. The pillars in the car are named alphabetically from A to D starting from front to rear. A-pillar is the one that comes in the front and the mounting area corresponding to that is referred as A-pillar mounting.
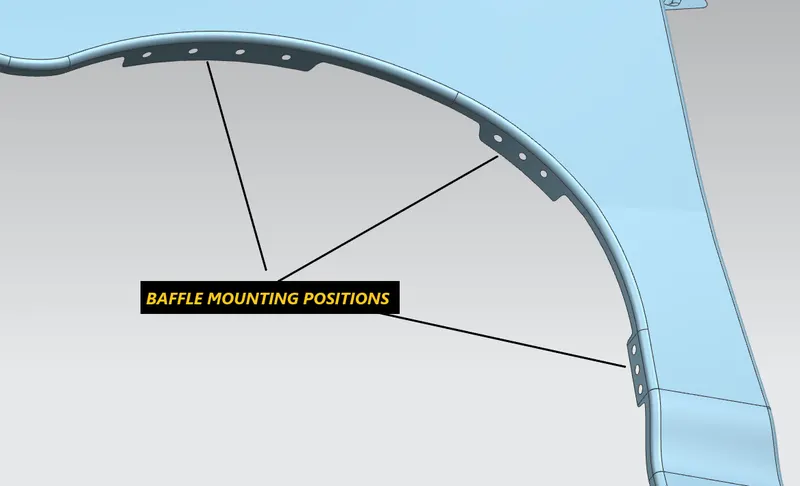
4.) Baffle Mounting
Baffles are provided on the wheel arc area to prevent the mud and other road spray to get accumulated on the lower car frame. These are mostly made of plastic and are light in weight. So appropriate mounting holes need to be created and in case of this mounting we try not to give emboss to the holes because emboss will create a gap between wheel arc and the baffle while mounting which is not favorable.
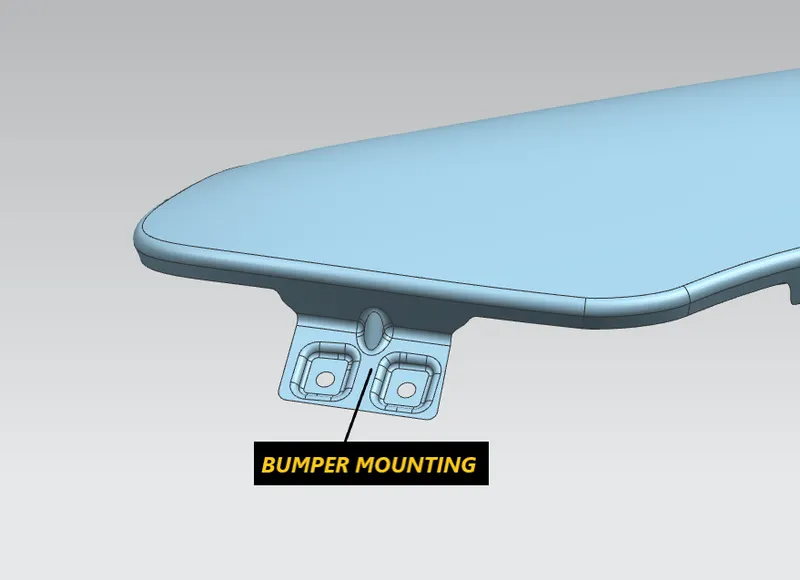
5.) Bumper Mounting
The front end of the fender is fixed to the car assembly by mounting it to the bumper of the car. So, holes and embosses need to be created for mounting purpose.
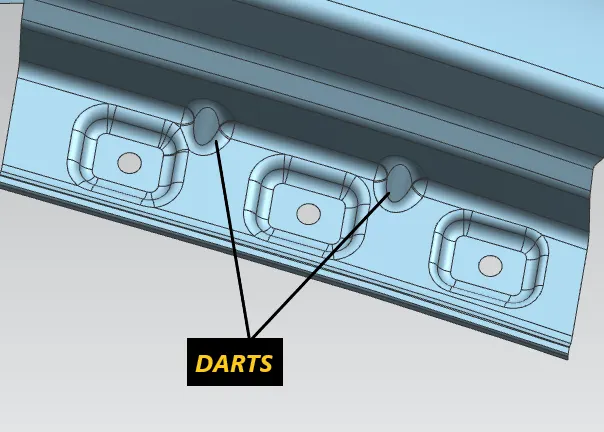
2.DARTS/BEADS
After completing the mounting points in all the regions we need to provide darts/beads to strengthen the component and provide stiffness locally without adding much weight to the component
3.RELIEF ANGLE
Proper relief angles have to be provided wherever necessary to avoid stress concentration leading to the chipping of the part.
EMBOSSES
FRONT FENDER FINAL DESIGN
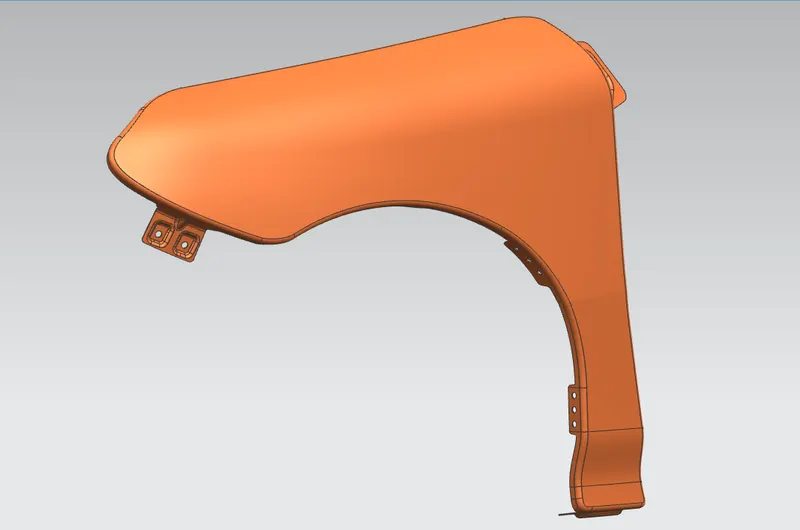
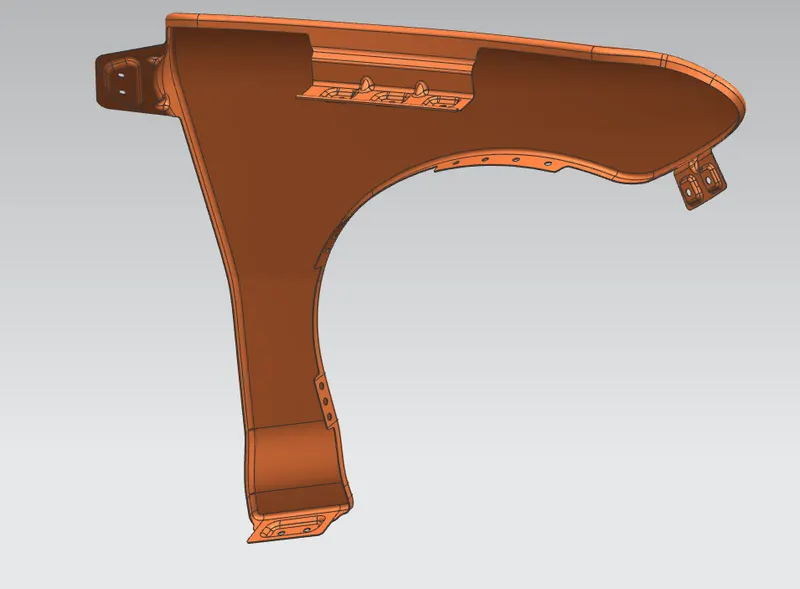
RESULTS: With the given skin data and the master section we created front fender design by taking all the design considerations and with all the mountings that most of the fenders possess.