Fender Design Challenge
FENDER DESIGN
Introduction to Fender
Fender is the part of an automobile, motorcycle or any other body vehicle that is used to frame the wheel underside. The main purpose of fender is to protect the automobile or vehicle body against sand, mud, rocks and obstacles from being thrown by the rotating the tire in the air. This is a separate part that is assembled with the bumper and engine compartment of the automobile.
Types of Fender design
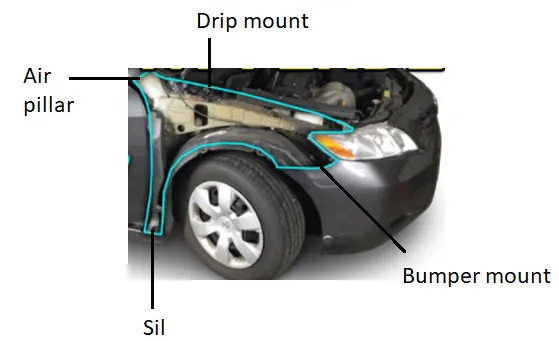
- Full – Bumper Fender
- Half – Bumper Fender
Full – Bumper Fender design is a traditional design and is not in use as it consumes bigger size blank and thereby producing large scrap. Therefore, half – Bumper Fender design came into the picture which is modified and produce less scrap. This fender design can also be made of plastic which further helps to facilitate light weight to the body.
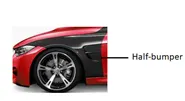
Fender Design and mounting points
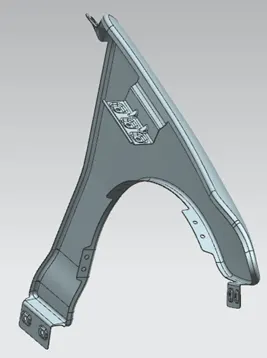
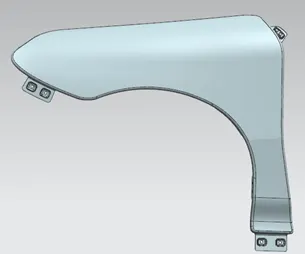
The selected fender design is of half-bumper type and is designed as per the European standards and is designed using NX CAD.
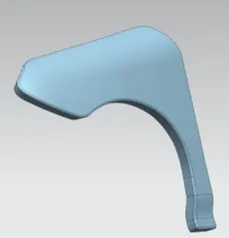
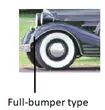
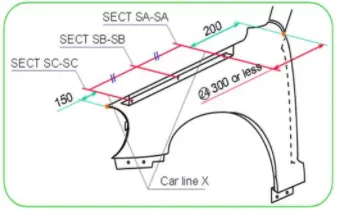
- Drip mounting:
The dimensions to add drip mounting on the fender is predefined and requires front and rear distance of 150mm and 200mm respectively. Dimensions used to add drip mounting on the fender is given as below:
Master section of drip used in fender design is as follows:
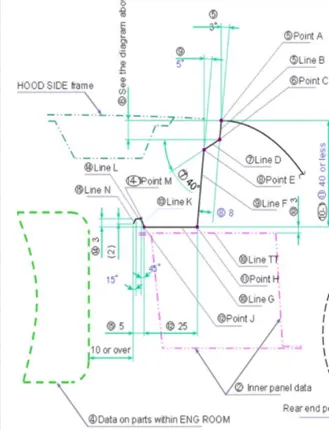
Considering all the drawing and engineering standards described in the master sketch of drip, drip mounting is designed accordingly and is the most important part of the fender design. The drip is mounted over the engine compartment and hence, necessary design considerations were made such it holds it firmly.
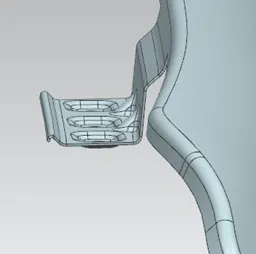
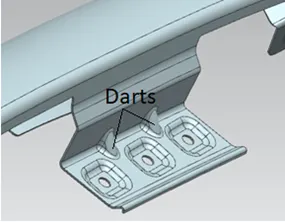
The embosses and darts are employed on the drip to increase its strength. The major challenge is to avoid nosie and vibrations caused by the drip when attached to the engine compartement. Therefore, darts play a major role in providing more strength by minimizing the shaking and making it stable and rigid. Three holes are given to accommodate M10 bolts to fasten the drip to the engine compartments for higher strength.
- Bumper mounting:
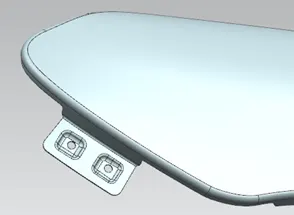
The bumper mounting is used to mount the bumper to fender as shown in below figure.
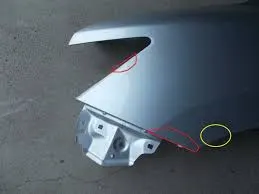
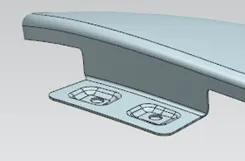
Two holes are given for M10 bolts that will be used for fastening the comaprtment to the bumper. Also, the embosses are given to improve the strength of the compartment. The similar design concept used is as follows:
- Sil mounting:
The Sil is used to mount the bottom end of fender to the frame for helping the fender to be held upright firmly without any vibrations.
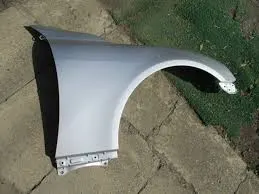
The design used is as follows:
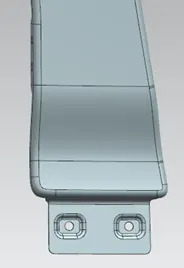
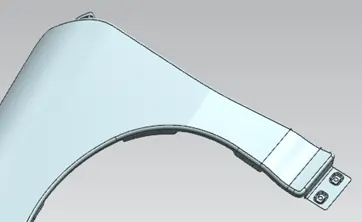
Here, again two holes are given to accommodate M10 bolts for fastening the compartment to the frame.
- Baffle mounting:
The baffle is a protecting layer and usually made of plastic or rubber. It is used resist corrosion of the metal body caused by the foreign objects such as rocks, dirt and moisture thrown by the tire. This layer is thus, added to bumper and inner wheel arch for protection and also helps to improve strength of fender. The design is as follows:
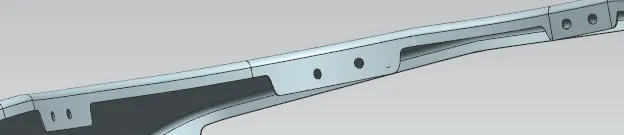
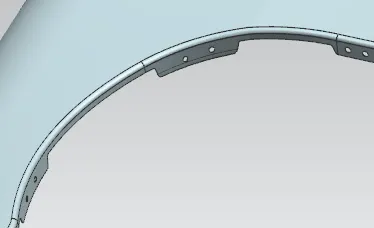
As we can see, the fender lining is fastened along the wheeel arch and covers the fender inwards.Here, again 2 holes for each baffle compartment is provided for fastening M10 bolts to the baffle layer or a plastic reinforcement.
- A – Pillar mounting:
The pillars are used as vertical supports on a vehicle. They are located around all the glass on an automobile. In the fender design, A – Pillar is used to mount on the windshield frame to provide structural integrity and add additional strength.

The similar concept used in my fender design is as follows:
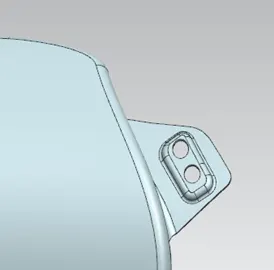
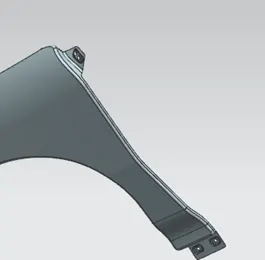
Again, M10 bolt size holes are given to fasten the A-pillar to the windshield frame.
Important design considerations for all the fender components:
- All holes the holes are of 5mm diameter and can accommodate M10 bolts for fastening.
- Thickness of the Fender and components = 75 mm
- Radius of curvature of the face and edge blends used = 2-3 mm
- All the sharp corners are blended to avoid chipping.
Final design output of Fender design: