Design of the fenders mountings with the help of given skin data of fender and master's drawing.
Aim: Design of the drip mount, bumper mount, Sill mount, A-Pillar mount, and splash mount on the given fender skin data.
Objectives:
- Study fender design according to rules and regulations and its types.
- Study about the drip mounting for the fender on the engine.
- Study the location of the sill, A-pillar, and bumper mountings on the fender.
- learn about manufacturing requirements for mounting design.
Theory:
Fender: Fender is the American English term for the part of an automobile, motorcycle, or other vehicle body that frames a wheel well (the fender underside). Its primary purpose is to prevent sand, mud, rocks, liquids, and other road spray from being thrown into the air by the rotating tire. Fenders are typically rigid and can be damaged by contact with the road surface.
Fender’s primary purpose is to prevent sand, mud, rocks, liquids, and other road spray from being thrown into the air by the rotating tire. Since the start of modern sports cars, sleek fenders are designed to make a vehicle more aerodynamic. There are also features such as grooves or grilles that help improve the car's performance at high speeds.
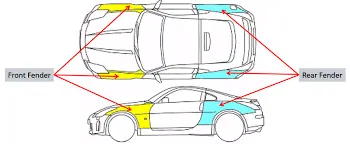
Types of the fenders:
- Full Bumper fender: This type of fender is made from single sheet metal.
- Half Bumper fender: This type of fender's half part is made from sheet metal and half part is made from plastic.
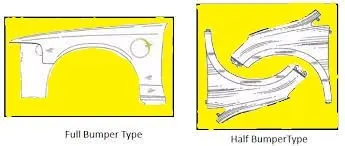
Comparison between full and half bumper type fender:
1.Material required for manufacturing one full bumper is more than one half bumper type.
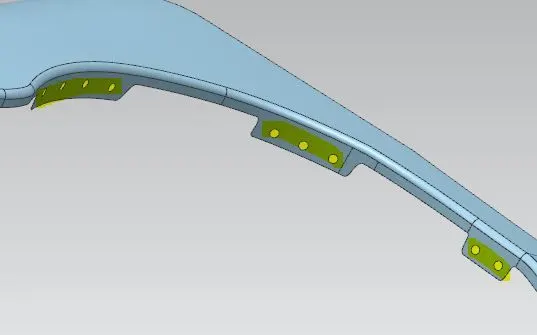
2.Scrap produced from full bumper is more than half bumper fender as we can see in above diagram marked with yellow color.
3.As in the half bumper fender the half part is made from plastic so the weight of the half bumper fender is less than the full bumper fender.
4.The half bumper fender prevents head injuries to happen because the half part is made from plastics.
Consideration for the design and manufacturing of the fenders mountings:
1.The emboss and hole surface for drip. sill, A-pillar, Bumper mounting surface should be flat.
2.There should be at least 5mm clearance between the hole and the next surface.
3.All the outer edges of the fender should have at least a 2.5mm fillet radius to avoid sharp edges that can harm people.
Given Skin data file:
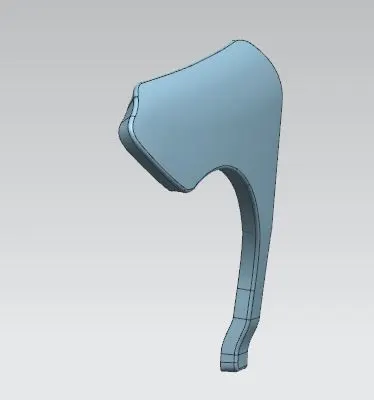
Mounting Descriptions:
1.Drip Mounting:
It is used to connect the fender to the engine with the help of a bracket between them.
Master's drawing of the drip mounting:
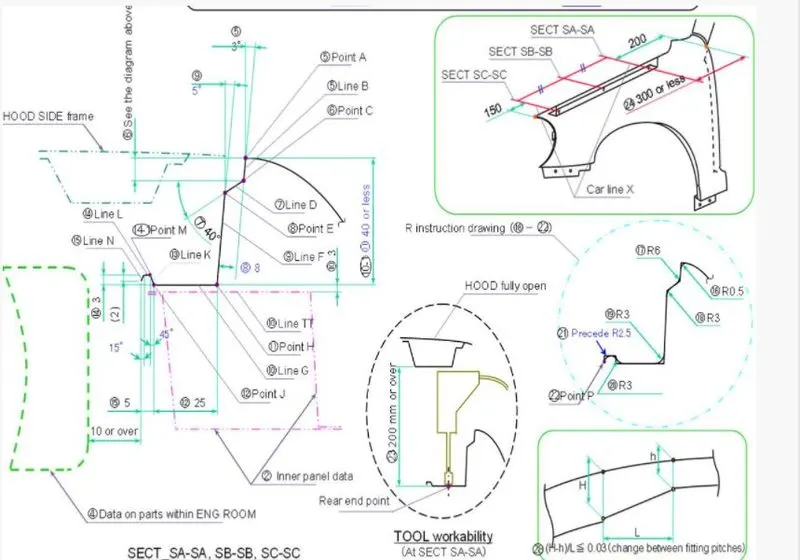
In this master diagram, we can see that the drip mounting distance from the bumper is 150mm and from A-Pillar it should be between 150mm to 200mm. As we can see the LineB is not vertical it had some angle this angle is kept for ease of manufacturing next we have kine D which has an angle of 40°, because we have a split line between the hood and the fender so avoid human eye to see which is not good so that's why it is kept. Next, as we can that we have a limit on the drip length which is the maximum length of 40mm, this limit is kept because the maximum tool length which it can press is 40mm. We have a bend at the end of the drip because it increases the strength of the drip. The maximum distance of the drip endpoint should be more than 10mm so that engine can be removed easily. We have to also consider that the minimum distance between the hood inner panel to the drop hole position should be more than 200mm for easy handling of the tool inside the engine compartment.
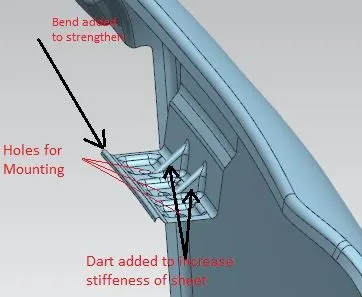
2. Bumper Mounting: It is used to join the half plastic part of the fender to cover the wheel.
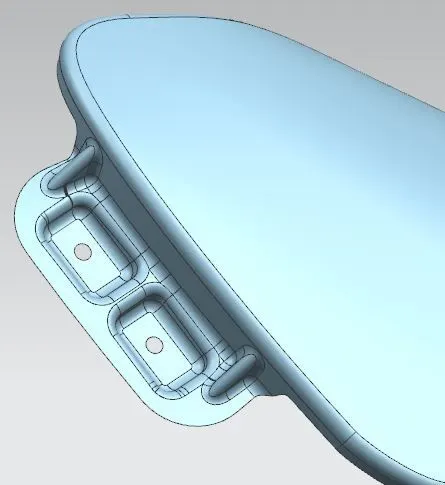
3.Sill-Mounting: It is used to join the fender rear bottom to the vehicle frame.
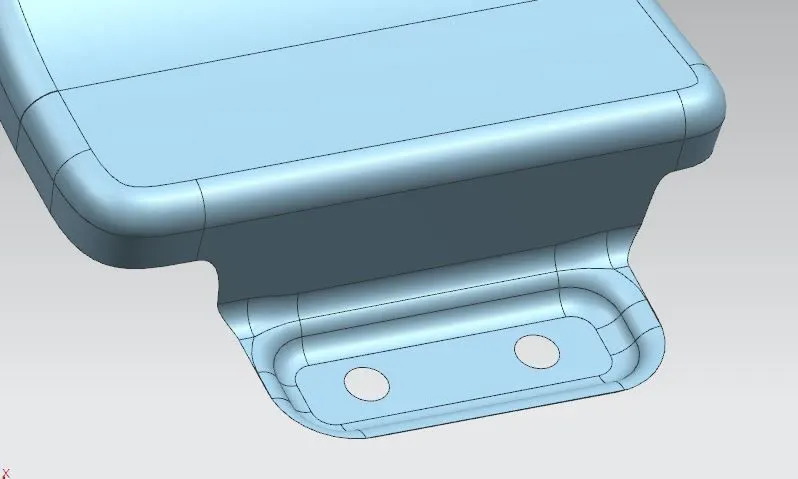
4.A-Piller: It connects the fender to the front windshield frame.
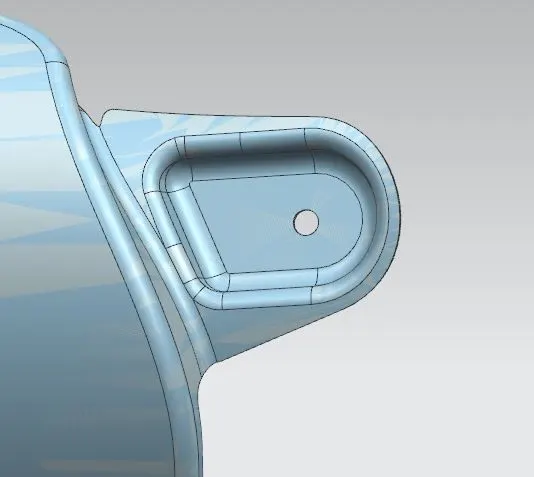
5.Splash Mounting: It is used to connect the splash guard to the fender, and this prevents the engine and other components which are under the hood to get damaged from the stones and mud, and water.
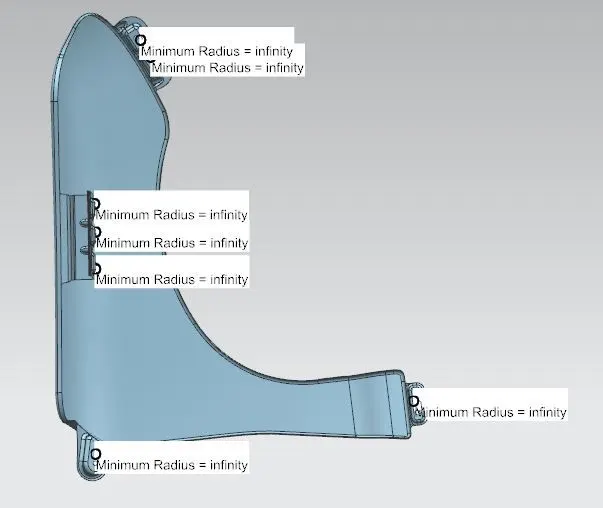
Local radius analysis: This analysis is done to check the raids of the surface, f the surface is flat then the radius will be infinite. so let's check whether our created mounting has a flat face at the hole or not.
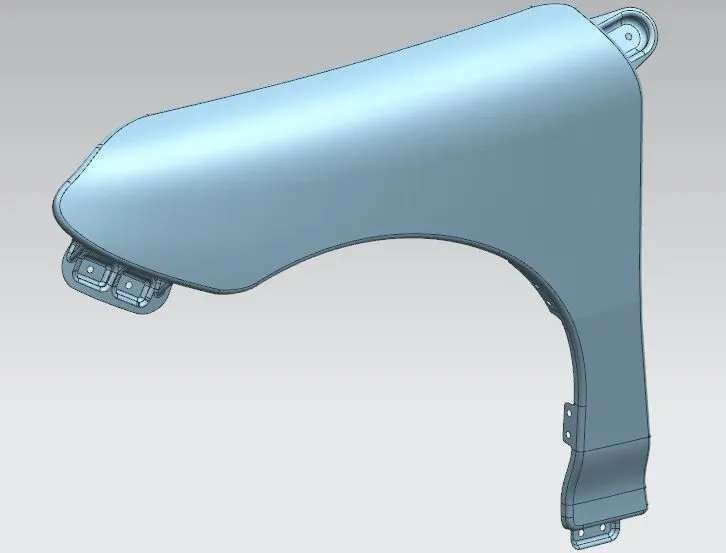
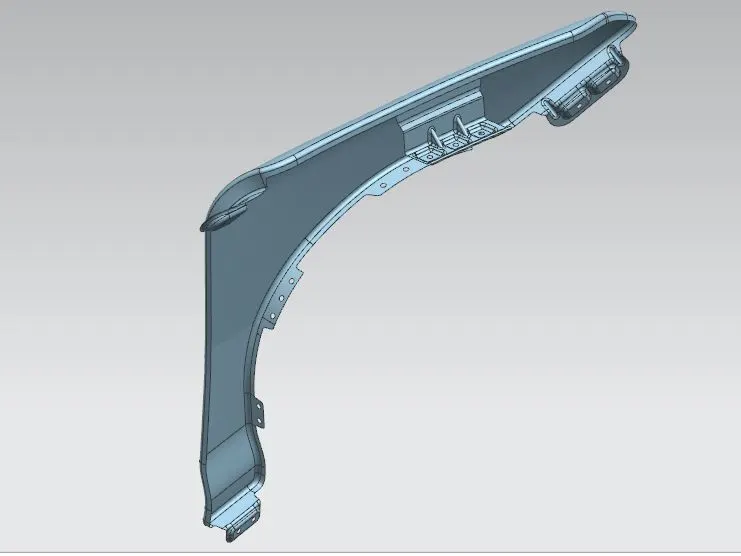
Images of the fenders:
1.
2.
Conclusion:
So from this project, we learned what are considerations are used while designing the various mounting such as Drip mounting, A-pillar mounting, Bumper mounting, sill mounting, and Splash mounting on the fenders. also learned different types of approaches by using the different tools available in the NX. Learned different manufacturing constraints considered while manufacturing mounting.