Fender Design Challenge
Design of fender
Objective:
- Design Drip area according to the master section
- Bumper mount
- Sill area
- A-Pillar Mount
- Baffle mounting
Software used: NXCAD 12
Tools used:
- Law extension
- Extend sheet
- Datum
- sketch
- project curves
- Curve on surface
- bridge curve
- Thicken
- offset curve in face
- Dart
- sew
- face blend
- edge blend
- trim sheet
- emboss
What is a fender:
Fender is the body part above the front wheels of the car. The fender covers the wheel to prevent damage to the car boy due to rocks thrown at the body by the tires. The fender also is designed to provide saftey to the pedestarian.
There are two types of fender: 1. Full bumper fender. 2. Half bumper fender, in morden cars half bumper type fender is used as it's cost effective.
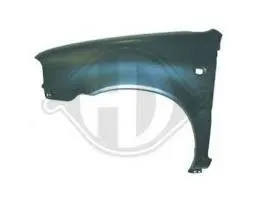
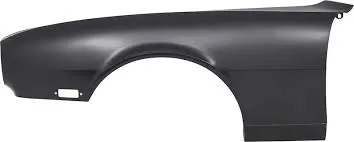
Regions of the fender:
1. Drip area:
This is where the fender is attached to the chassis of the car. The end of the area must be 150 mm from the head lights and 300mm or less from the A-pillar. This area is made according to the master section/Standards.
2. Bumper mounting:
- This area is where the bumper is mounted.
3. Sill area:
- This is the area under the fender which attaches to the side skirt.
4. A-Pillar Mounting:
- This is the part which is attached to the A-pillar.
5. Baffle Mounting:
- A baffle mounting is provided to mount a baffle which is used for reducing the NVH level of the car.
Design of Fender:
- Use the skin data provided. Offset a curve 5 mm inward on the surface using offset curve in surface.
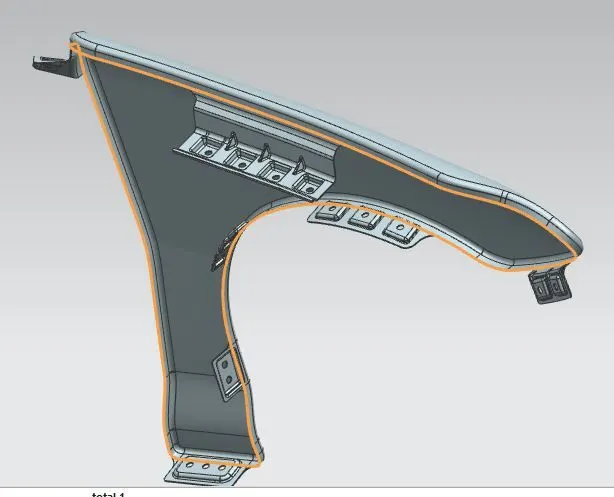
- Make curves according to the design need
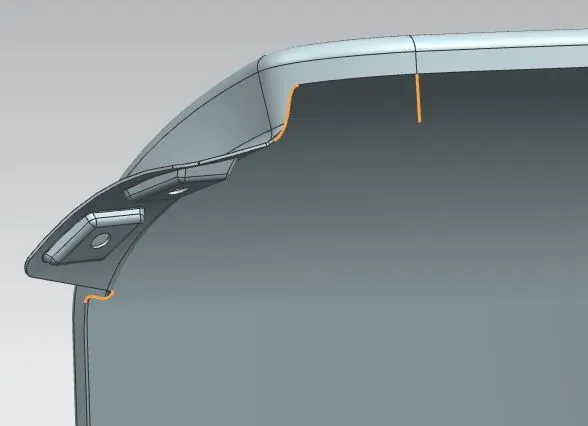
- Using Trim sheet command remove the unwanted portion of the skin
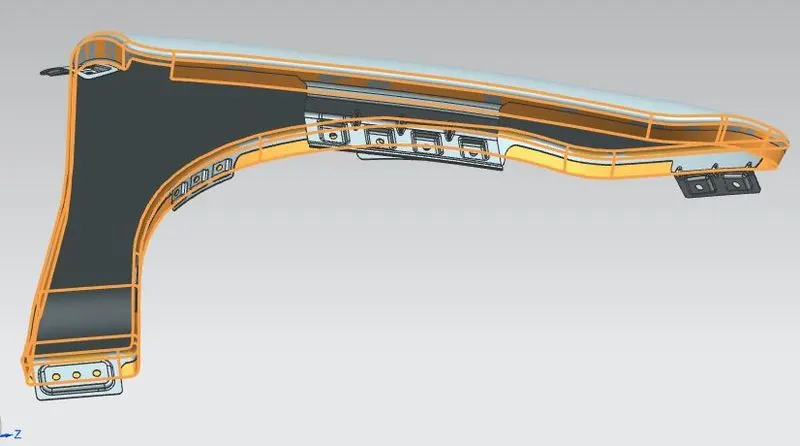
- Similiarly using curve on surface/ bridge curve make curves for the Sill, A-Pillar, Bumper mounting and drip area.
- Make the drip area:
- Use offset curve to make a curve and then use a datum plane from the starting of the headlight upto 150 mm behind according to the master section.
- Make another plane on the same curve which is 300mm or less from the covel.
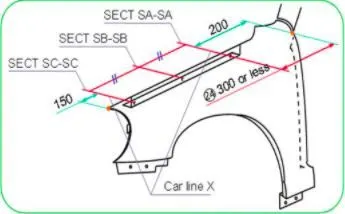
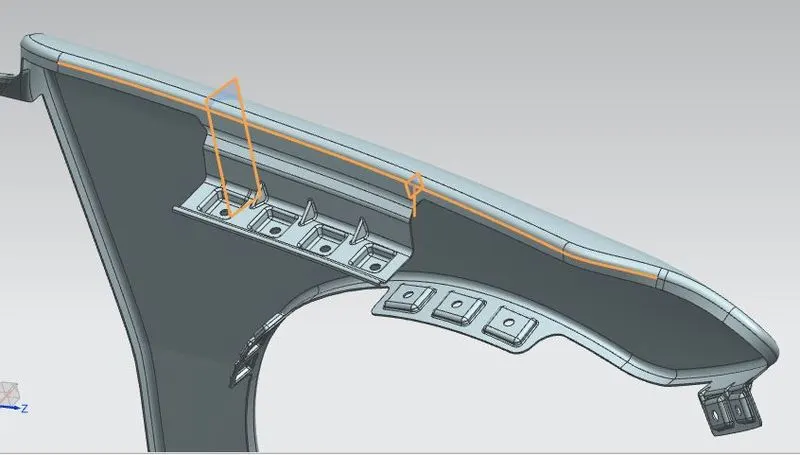
- Using Law Extension commad make the drip area as per the master section.
- Use sew command to to make the drip area as one sheet.
- Use dart command to make dart as shown above.
- make sketches for the embosses
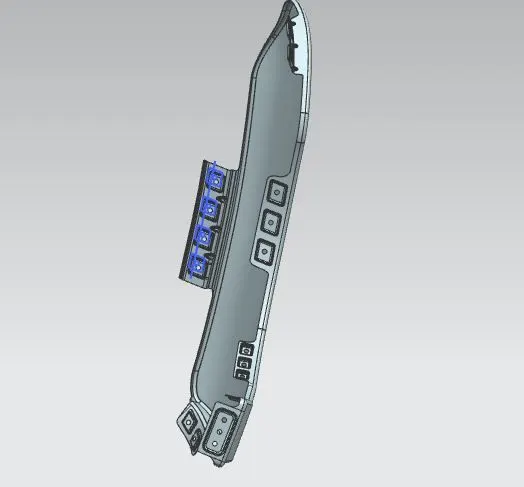
- Use project curves to project the curves on the drip area surface.
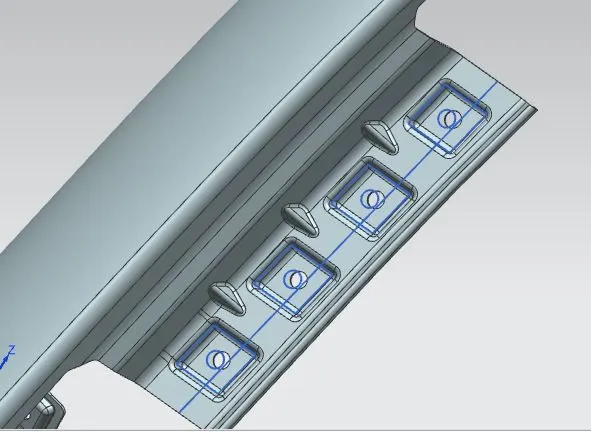
- Use emboss command to make embosses as above
- make a plane using curve and point option on the drip area
- use the pane to amke the base of the drip area.
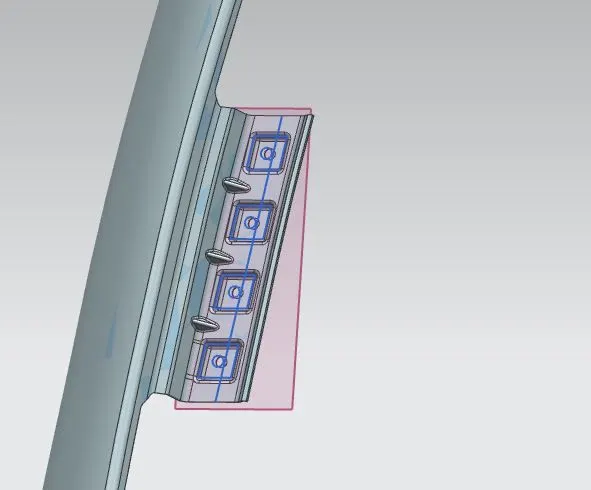
- use trim sheet to cut holes in the embossed area. Use normal to vector option.
- Use face blend to fillet the edges of the drip area according to the master section.
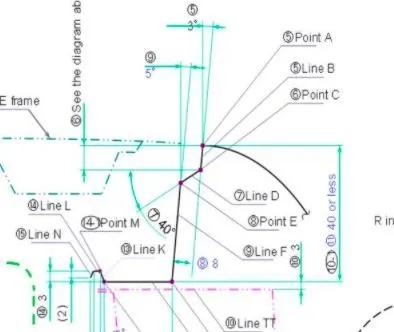
- Similiarly make mountings for A-Pillar, Sill area, Baffle mounting and bumper mounting
Baffle mounting:
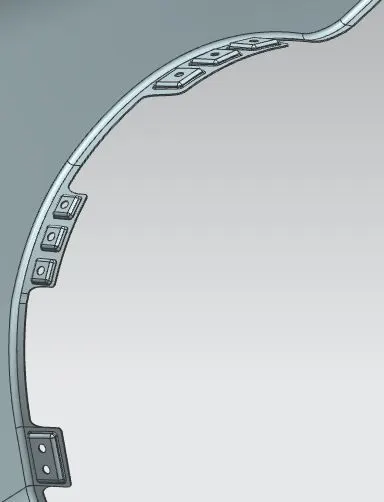
Bumper Mounting:
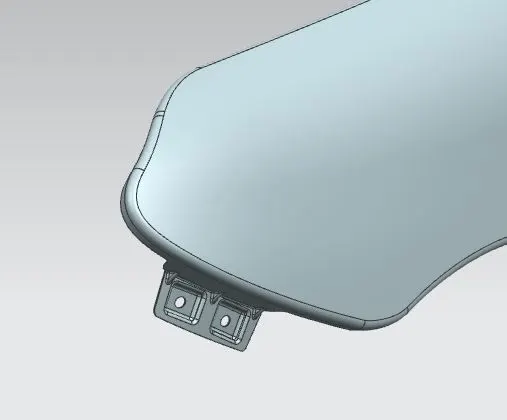
Sill Mounting:
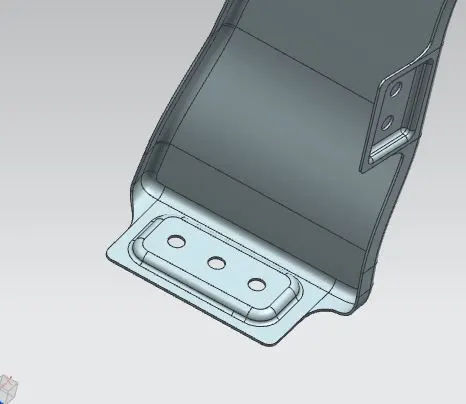
A-Pillar Mounting
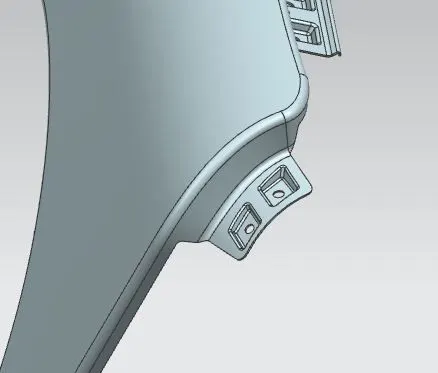
- Use Thicken command to thicken the body by 0.75 mm
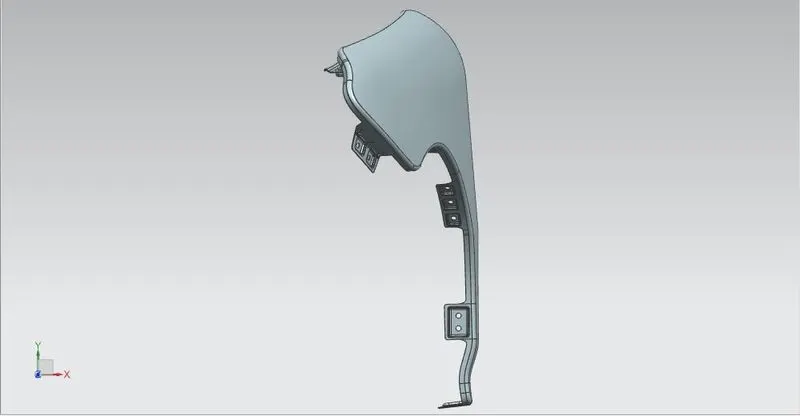
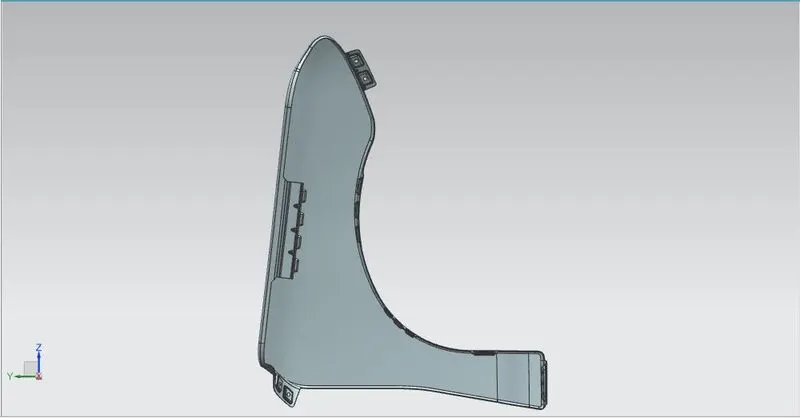
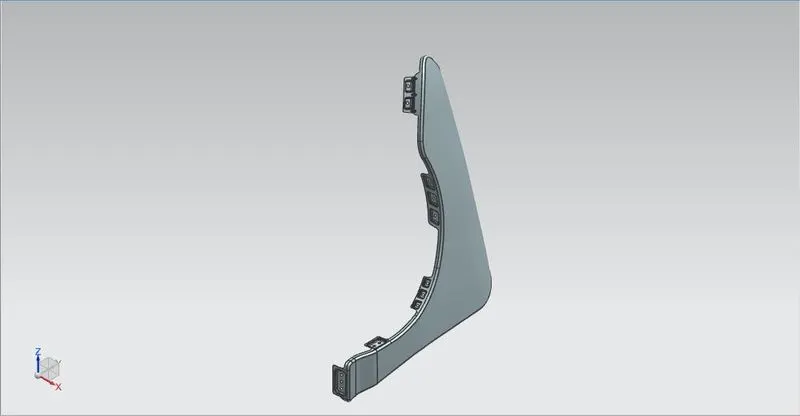
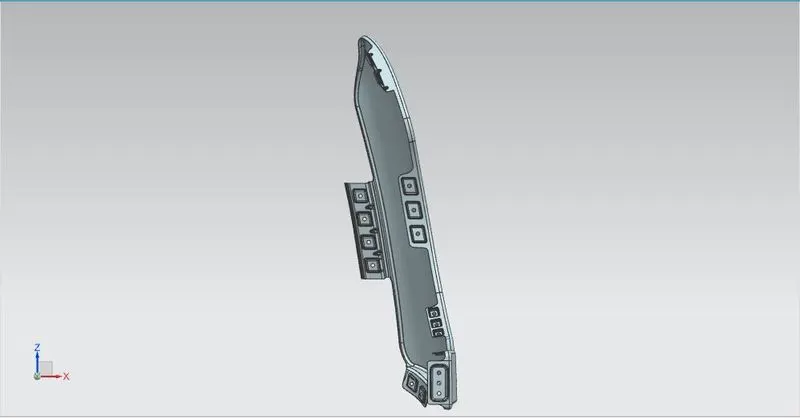
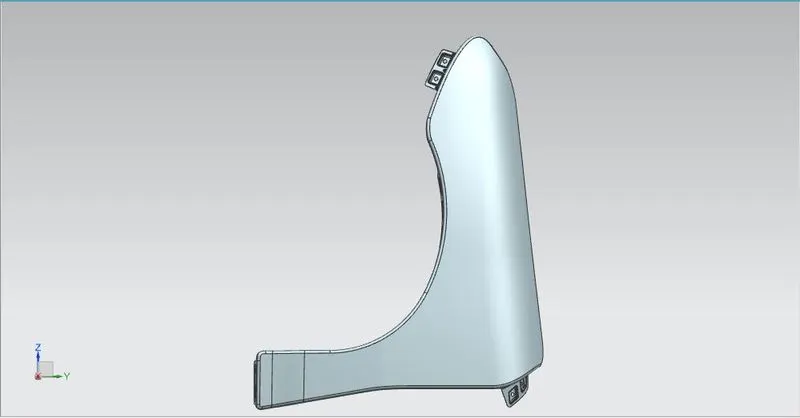
Conclusion:
The fender was designed according to the master section. All the necessary parts were made.