Fender Design
Report On Fender Design:
Objective:
- The main objective is to design the mountings of front fender for A-Pillar,Bumper,Sill,Baffle/Splash and Drip Area as per design parameters.
Fender:
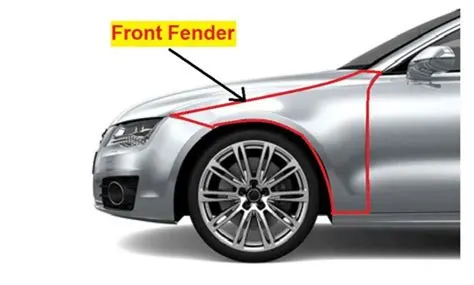
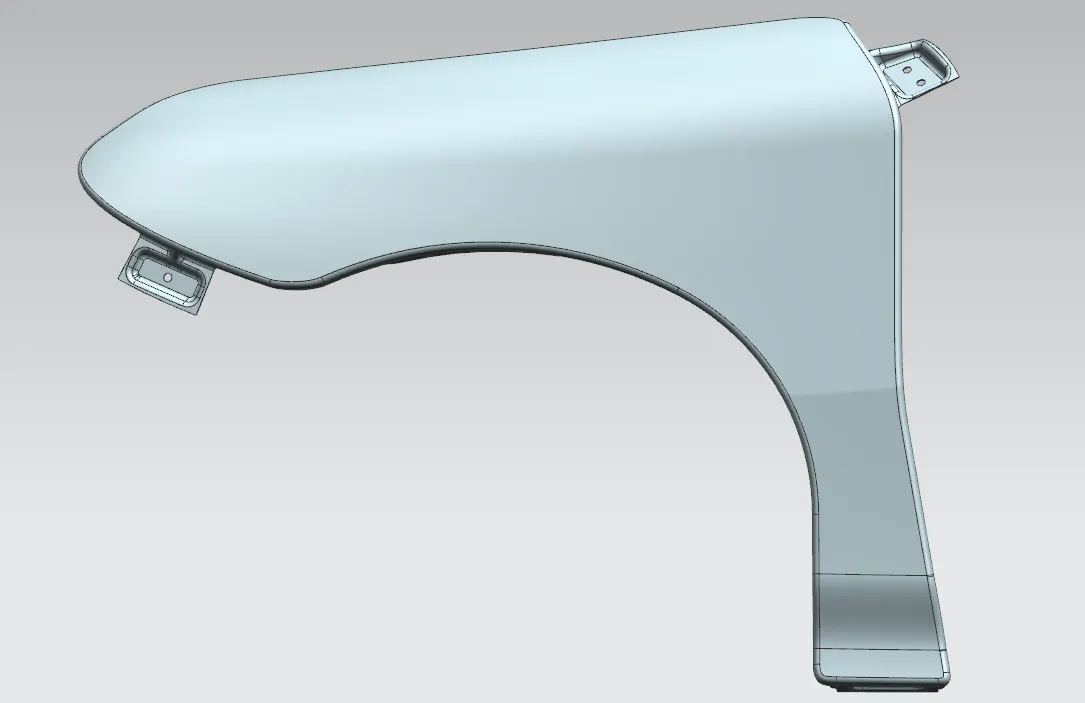
- Fender is an automotive part that covers the wheels and protects the engine from dust,mud,rocks,stones and others.
- The Front Fender is located near the bumper and above the wheel.
- Baically fender is classified into two types.They are:
- Full Bumper Type Fender.
- Half Bumper Type Fender.
- Full Bumper Type Fender.
- Tesla Cybertruck
- Land Rover Defender
- Mercedes-Benz G-Class
- Ford Bronco
- Jeep Wrangler
- Rivian R1T
- Bollinger B1 and B2
- Hummer EV
- Rivian R1S...
- Half Bumper Type Fender.
- TATA Nexon
- TATA Harrier
- MG Hector
- Swift Dzire
- Hyundai Creta...
Master-Section Of Front Fender Design:
Command Used:
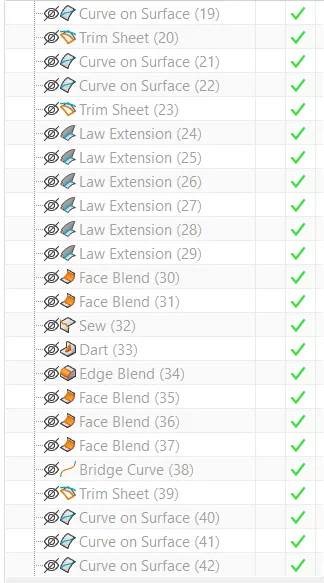
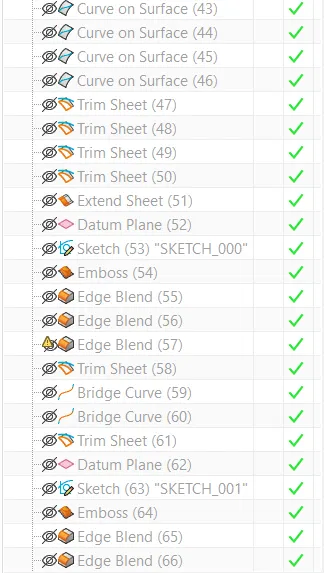
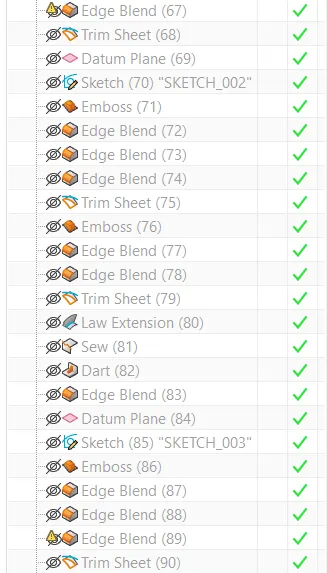
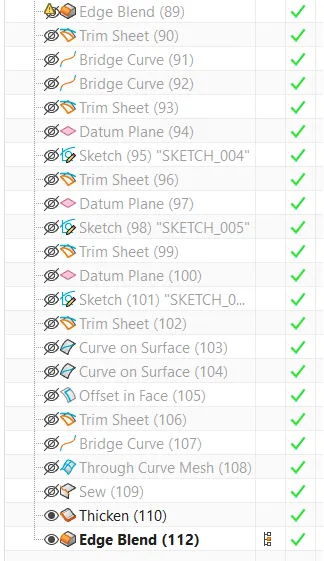
- Curve on surface,Trim Sheet,Law Extension,Offset in face,Datum Plane,Intersection Curve,Face Blend,Sew,Dart,Edge Blend,Bridge Curve,Emboss,Sketch,Extend Sheet,Through Cruve Mesh,Thicken.
Design Methodology:
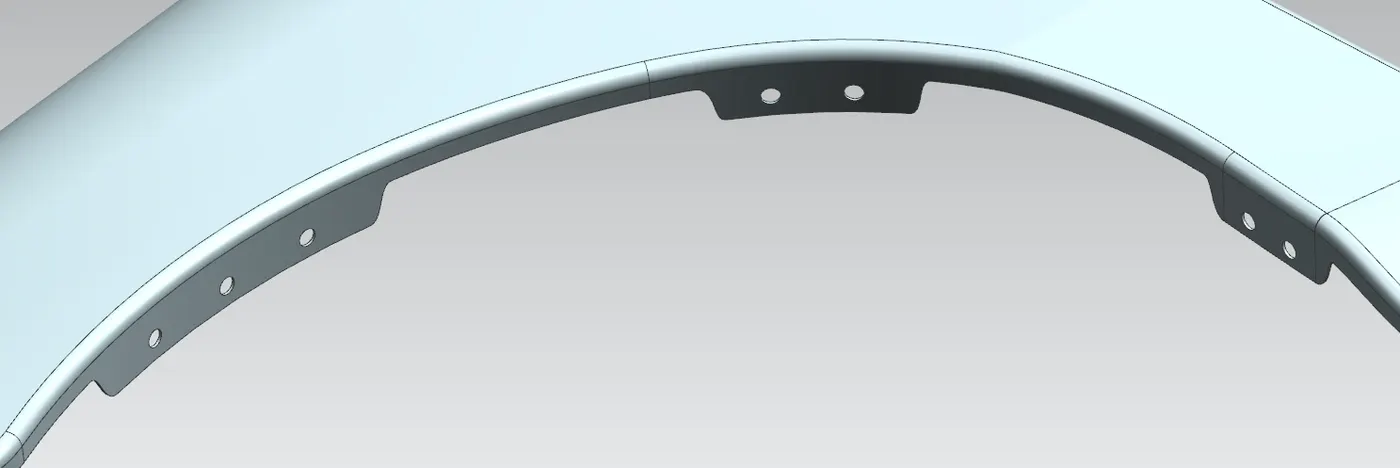
1.Drip Area
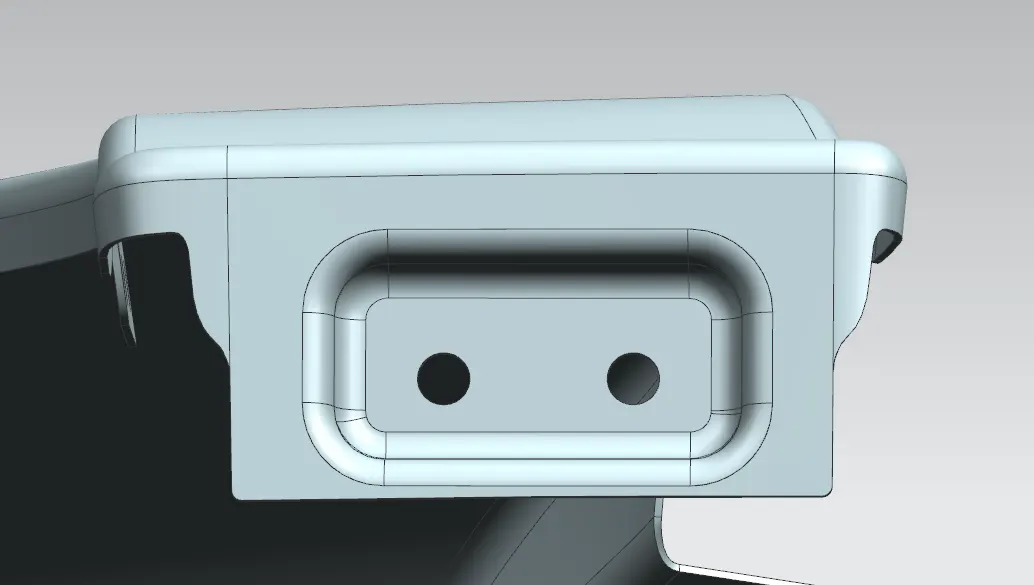
2.Bumper Mount
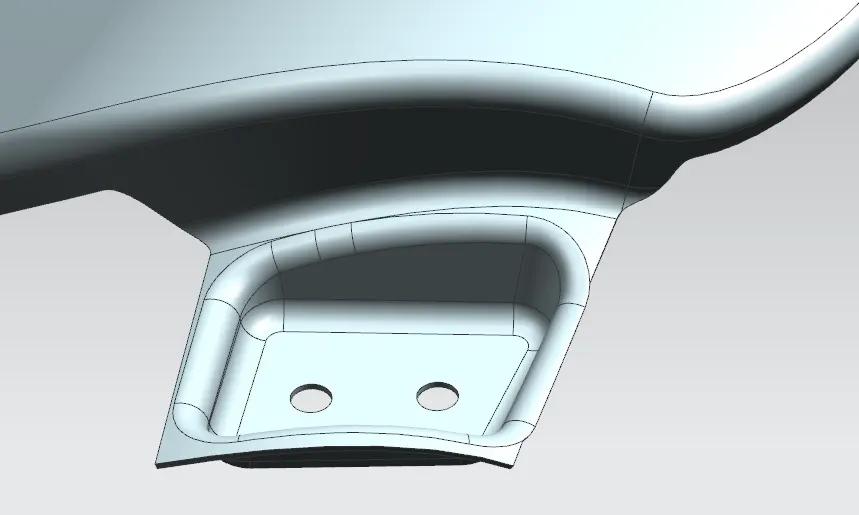
3.A-Pillar Mount
4.Sill Mount
5.Bafflel/Splash Mount
Design Procedure:
A-Pillar Mount:
- At First,created a curve on the A-pillar mount area of the fender using curve on surface command.
- Trim the surface using trim sheet command.
- Using Law Extension command the sheet is extended in horizontal.
- Some area of the sheet is trimmed as they are improper.
- Now sketch is drawn on the sheet and embossed to depth of 5mm.
- Fillet is created on the edges of the emboss and holes are also created for mounting purpose.
- A-Pillar Mount is used to mount the A-Pillar Section to the fender
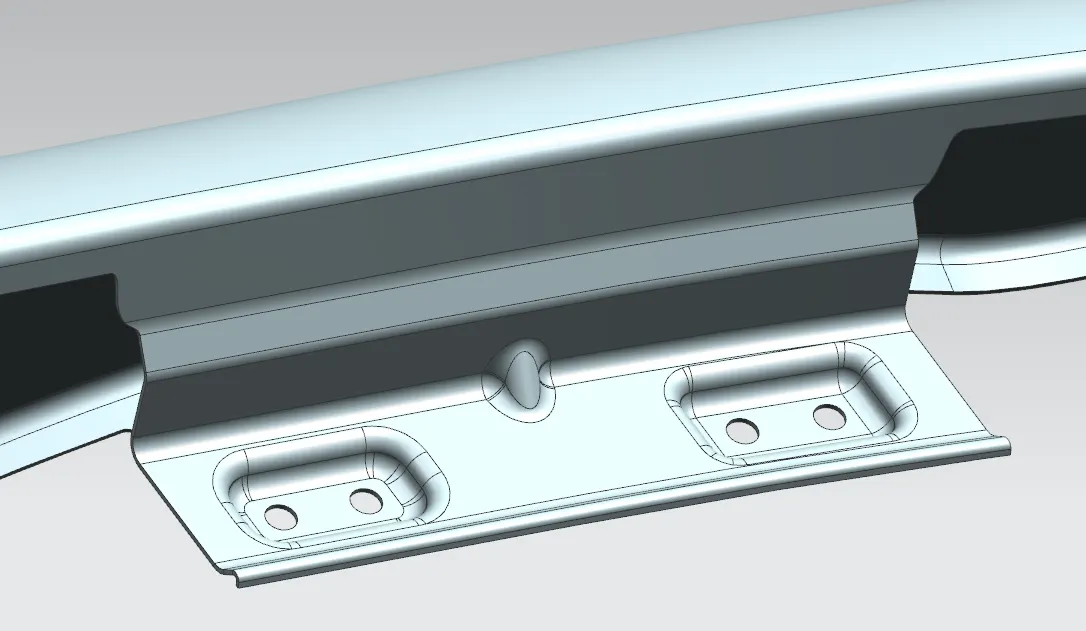
Drip Area:

- Datum Planes are created to find the distance of drip area.
- A curve is created on the drip section area of the fender using curve on surface command.
- Trim the surface using trim sheet command.
- Using Law Extension command the sheet is extended as per the given master section.
- Now a sketch is drawn on the sheet and embossed to depth of 5mm.
- Fillet is created on the edges of the emboss and holes are also created for mounting purpose.
- And a dart is created on the drip area for improving the strength.
- Drip Area is used to mount the Hood on to the fender.
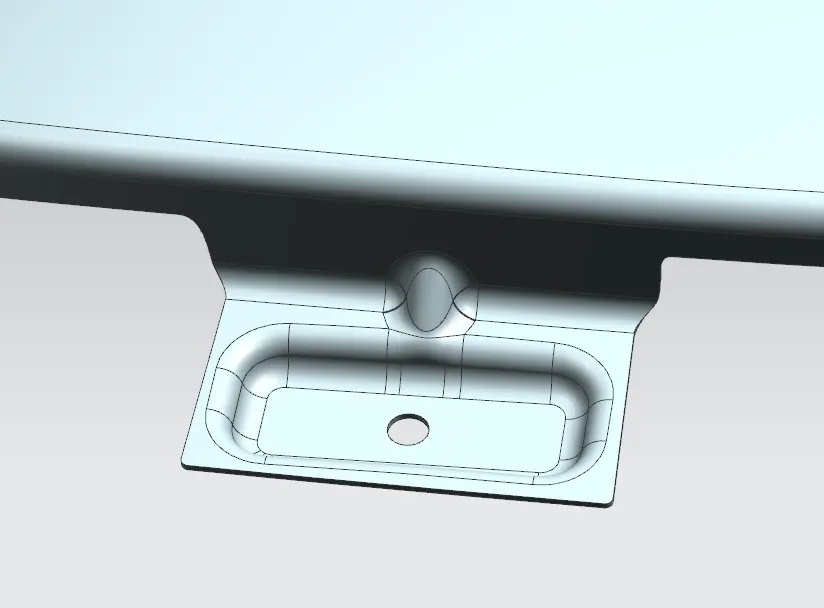
Bumper Mount:
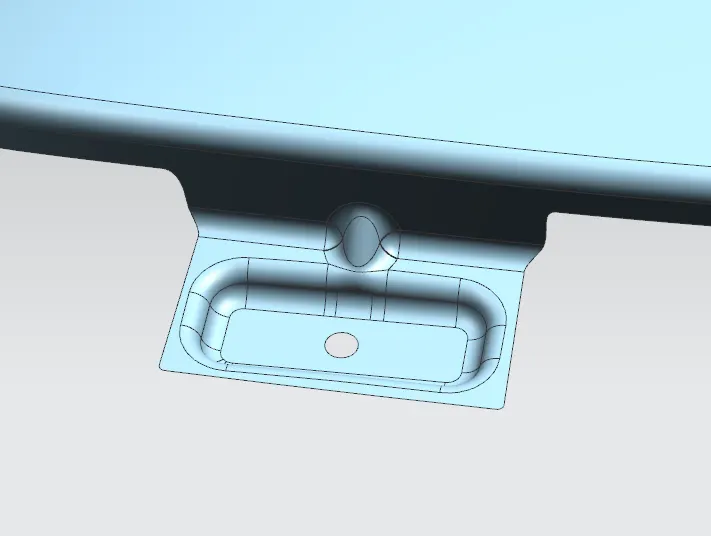
- A curve is created on the Bumper mount area of the fender using curve on surface command.
- Trim the surface using trim sheet command.
- Using Law Extension command the sheet is extended in horizontal.
- Now sketch is drawn on the sheet and embossed to depth of 5mm.
- Fillet is created on the edges of the emboss and holes are also created for mounting purpose.
- And a dart is created on the bumper mount for improving the strength.
- Bumper mount is used to mount the bumper to fender.
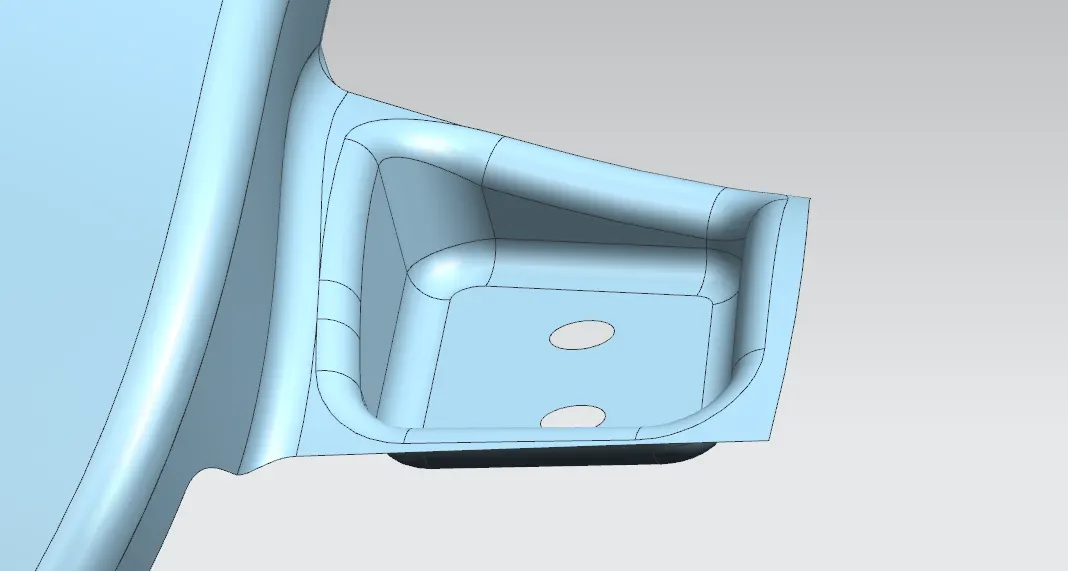
Sill Mount:
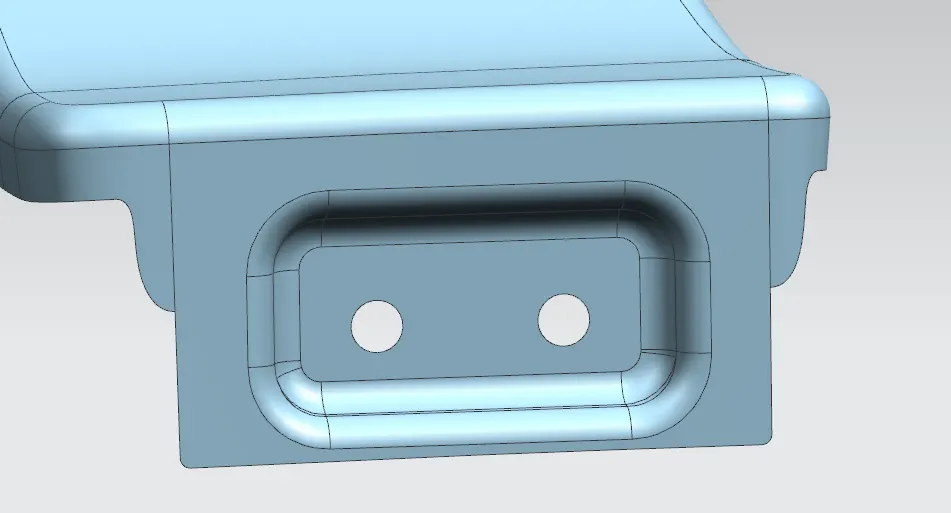
- A curve is created on the Sill mount area of the fender using curve on surface command.
- Trim the surface using trim sheet command.
- Using Extend sheet command the sheet is extended.
- Now sketch is drawn on the sheet and embossed to depth of 5mm.
- Fillet is created on the edges of the emboss and holes are also created for mounting purpose.
- And a dart is created on the bumper mount for improving the strength.
- Sill mount is used to mount the Sill to fender.
Baffel/Splash Mount:
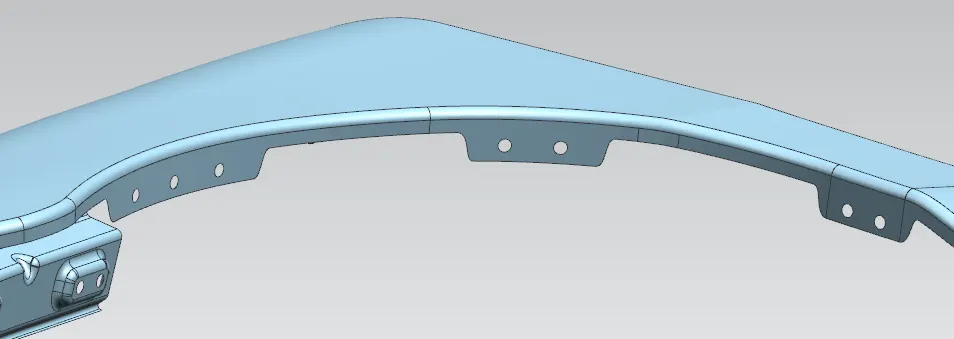
- A curve is created on the Sill mount area of the fender using curve on surface command.
- Trim the surface using trim sheet command.
- And holes are also created for mounting purpose.
- Baffel/Splash mount is used to mount the Baffle/Splash to fender.
Views:
Front View:
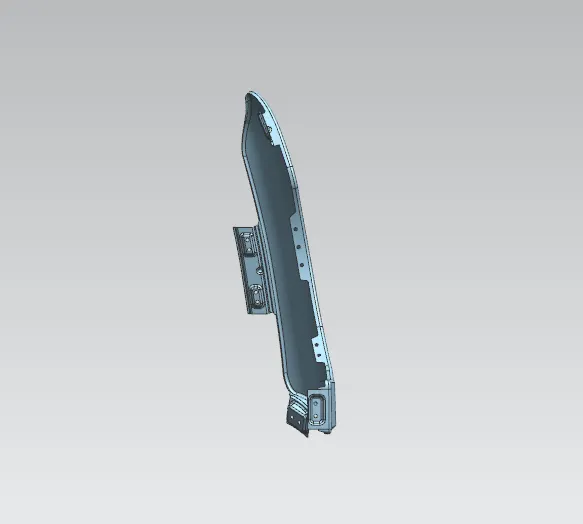
Top View:
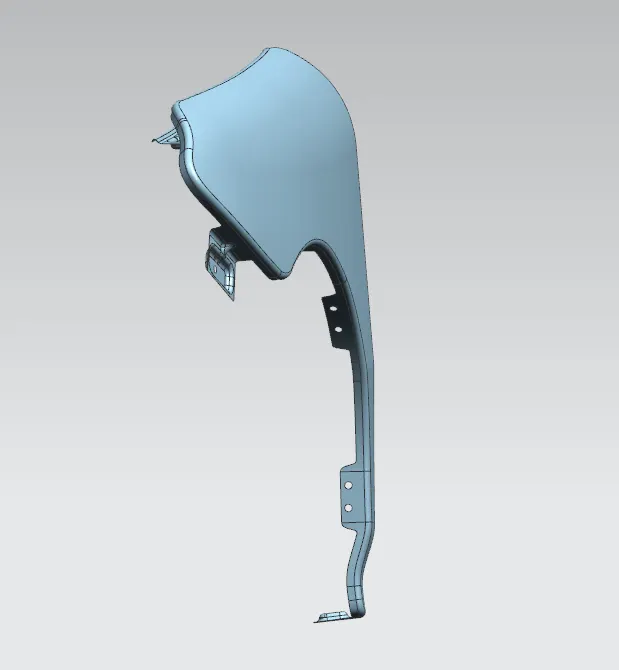
Side View:
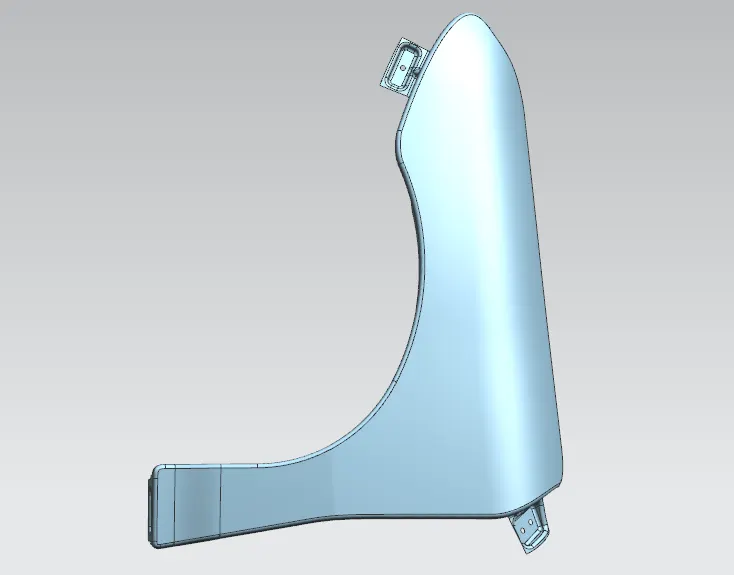
Isometric View:
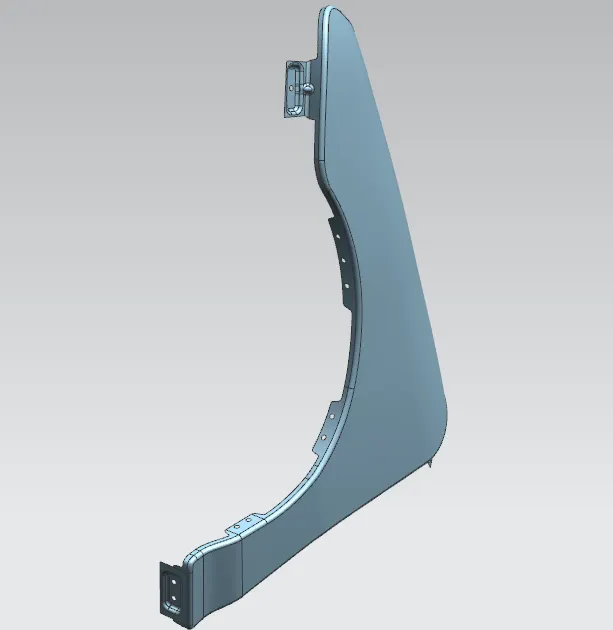
Tree Structure:
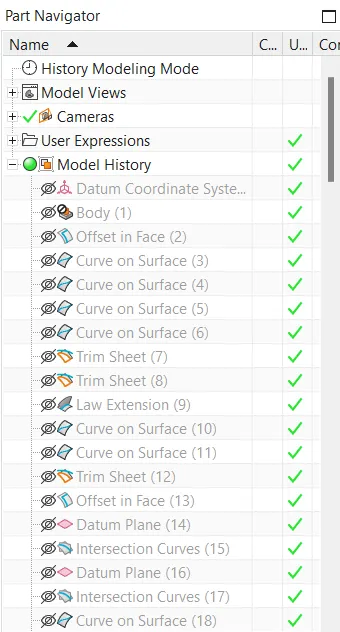
Conclusion:
- A-Pillar Mount,Drip Area,Bumper Mount,Sill Mount,Baffle/Splash Mount is designed from the mastersection by considering all the design Parameters.