Fender Design
Aim
To design the Front Fender of a car by following the given Master section as per the design consideration of OEMs.
Introduction
Fender is an American English term given to the part of vehicle body that frames a wheel wall. Its primary work is to prevent vehicle as well as pedestrian from the sand, mud, liquids and other road sprays. It is a front outer side member of a car, which covers the wheel side. In some designs, Fender comes with turn indicators and in some it comes with ORVMs.
Fender
It is an aesthetic component or part of vehicle that frames the wheels. It prevents from sand, mud particles and other road contaminants from being thrown into the engine compartment. Also, it prevents the pedestrians by getting hit from these obstacles like mud, sand and other road contaminants.
The Fender is separate for front and rear. The Front fenders are separate component whereas the rear fenders are integrated with the body sides.
Type of Fenders
1. Full Bumper Type: In earlier models these type of fenders are used. These fenders will cover the front headlights with respect to the bumper region. Due to this full bumper fender the weight and cost also increases.
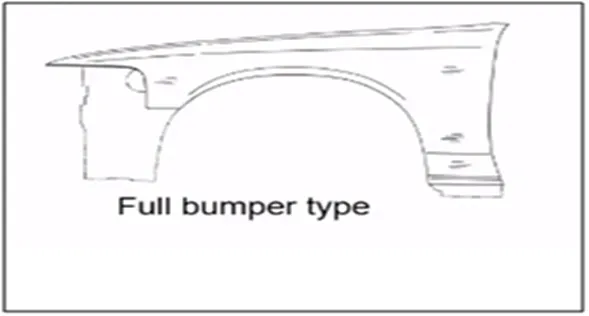
Figure 1 – Full bumper type
2. HALF BUMPER TYPE: These types of fenders are upgraded from the full bumper type. In this type of fender their weight is reduced so the cost is also reduced. They can be economically manufactured i.e. by slightly increasing the blank size, we can produce two fenders at a time.
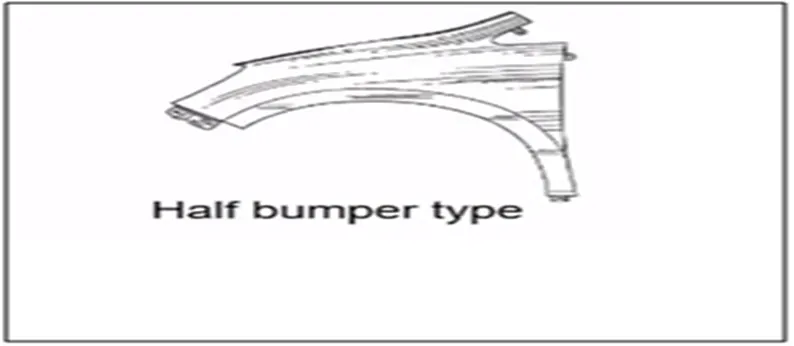
Figure 2 – Half bumper type
Mounting Regions on Fender
There are 5 mounting regions on the fender by which it is attached to the vehicle body.
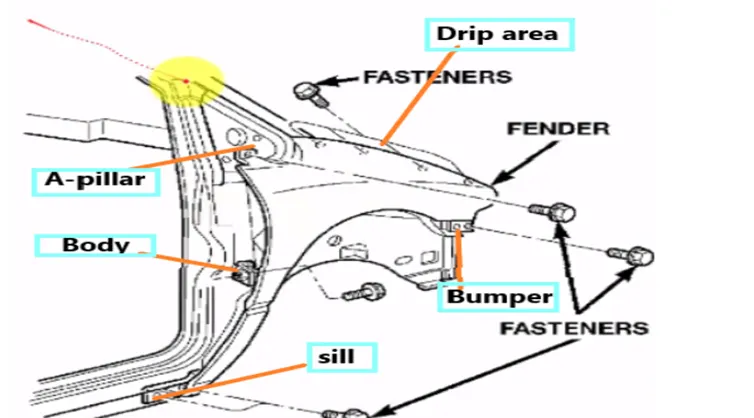
Figure 3 – Mounting positions of Fenders
These are as following,
1. A-pillar mounting
2. Body mounting
3. Sill mounting
4. Bumper mounting
5. Drip mounting
Master section
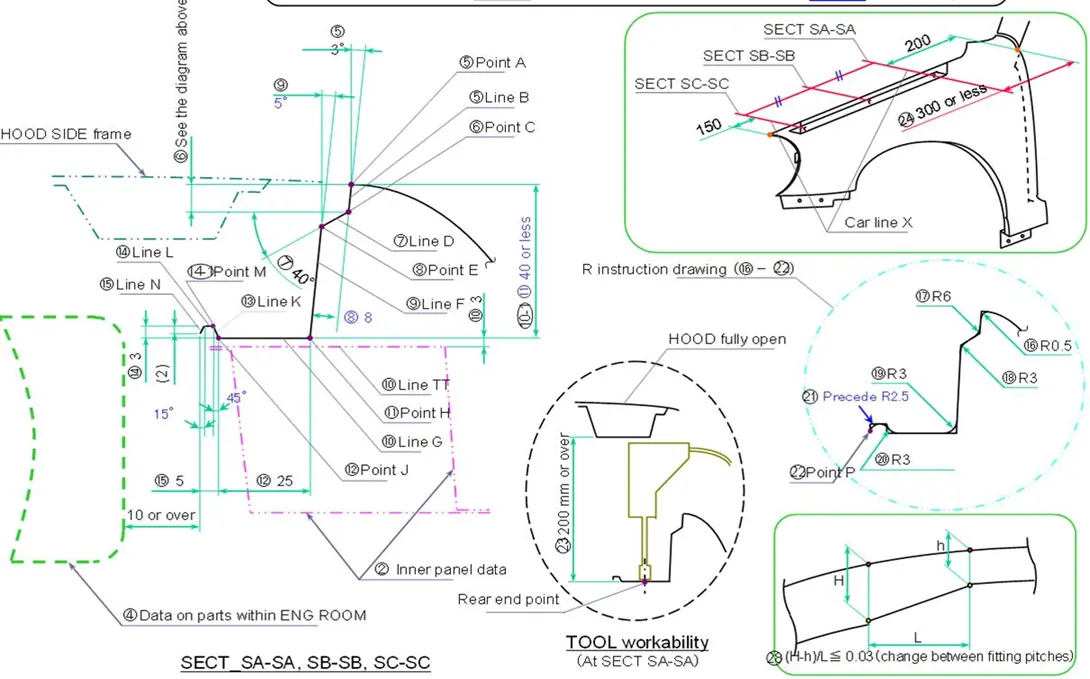
Figure 4 – Master section of Fender Design
1. Design of Drip Mounting Area
It’s an important mounting unit of Fender which is connected to the engine compartment; therefore, a lot of design constraints are to be followed while designing the mounting area of fender. Considering the design aspects, we leave 200 mm from Cowl area for mounting wiper motor and wiper blades and 150 mm from front to place head lamps of vehicles. After that considering these points, we made a flange on which emboss are created to strengthen the flange and provide holes to fasten the screws.
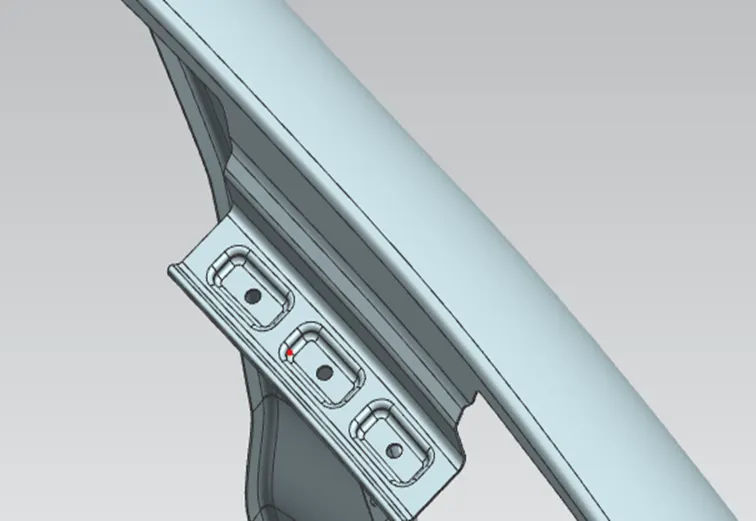
Figure 5 - Drip mounting area
2. Design of Sill Mounting Area
Sill mounting is the mounting area from which the Sill is attached to the Fender with the help of the Fasteners. Emboss and holes are created on the Sill mounting area for Providing strength to the part. There should not allowed sharp edges so fillets are created on the edges to avoid sharp edge.
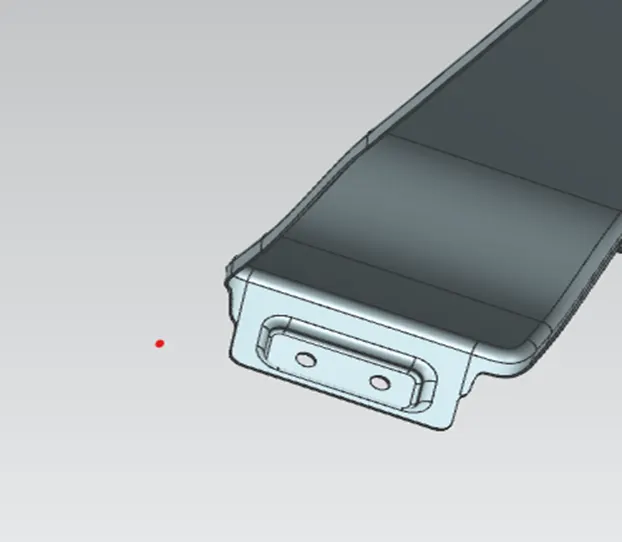 Figure 6 – Sill mounting area
3. Design of A-Piller Mounting Area
This mounting is attached to the A Piller of the vehicle body which joins the vehicle body to the roof of vehicle. This makes the side of windshield.
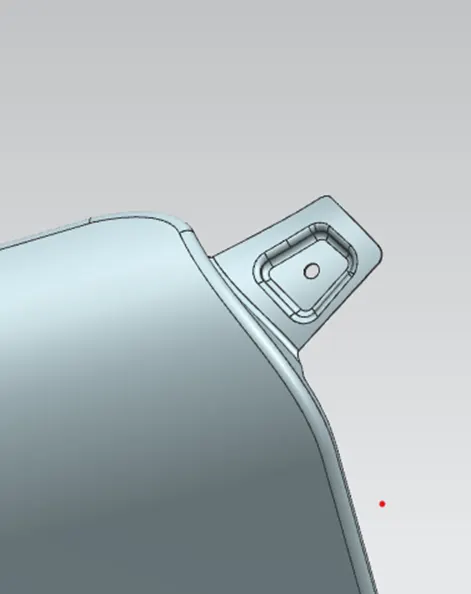
Figure 7 – A Piller mounting area
4. Design of Baffle Mounting Area
Baffle mounting or Mud guard are clipping fit type of mounting on inner side of the Fender arch over the tyre. Baffle protects the engine compartment and pedestrians from chip out debris on the road during running condition. The mounting is done using the looking clips which are made up of plastic.
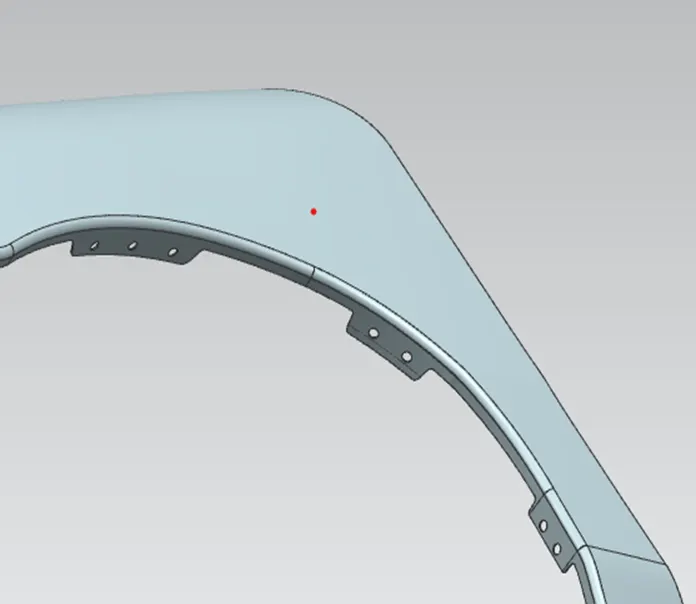
Figure 8 – Baffle mounting area
5. Design of Bumper Mounting
The Bumper mounting area is used to mount the bumper with the Fender using the fasteners.
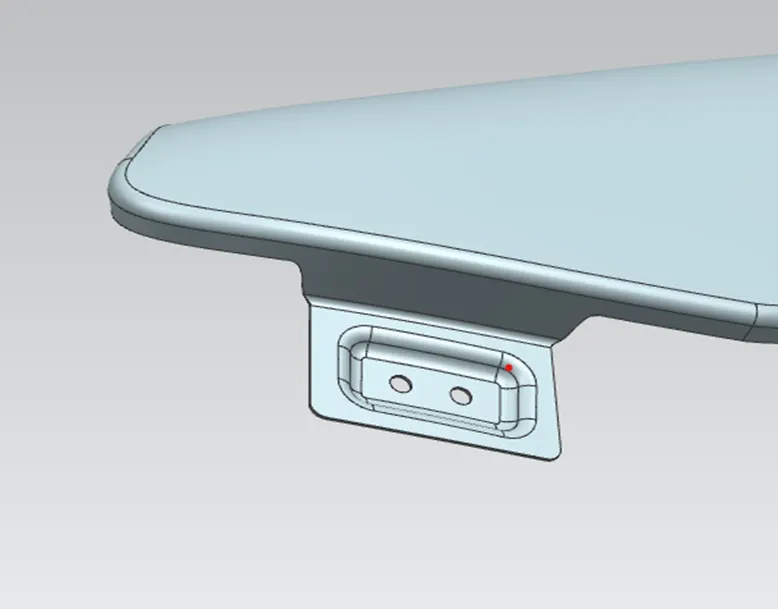
Figure 9 – Bumper mounting area
Different Views of Fenders
Isometric view
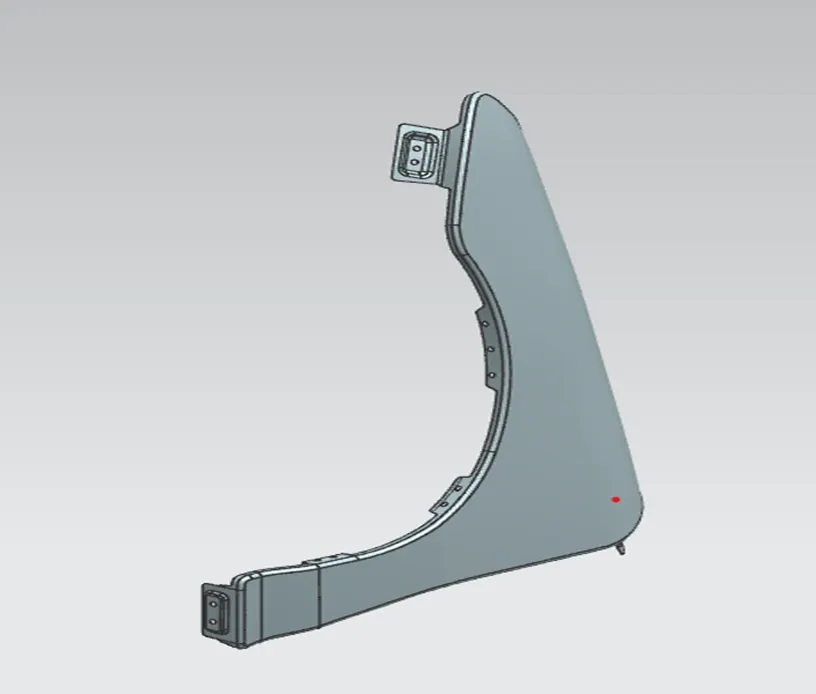
Figure 10 Isometric view
Top view:
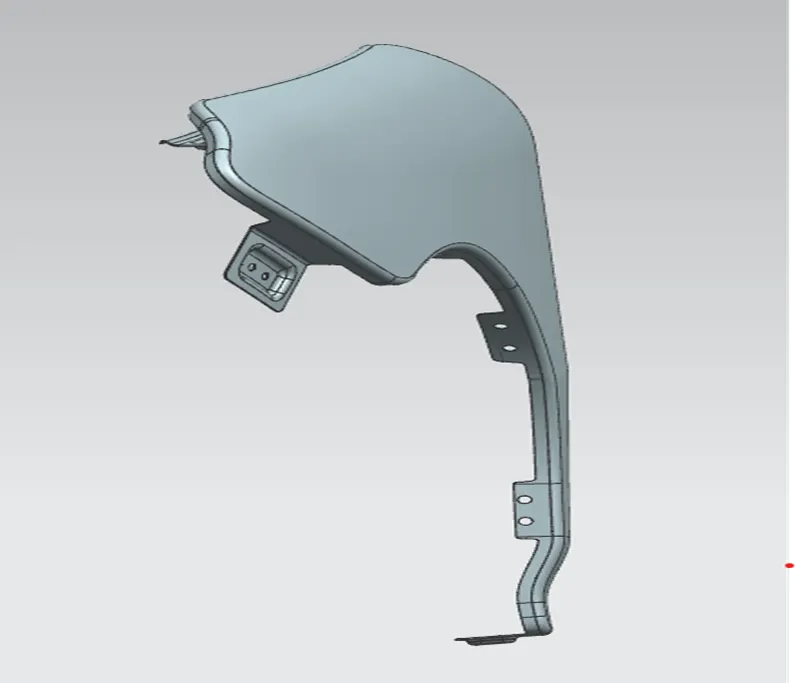
Figure 11
Side view:
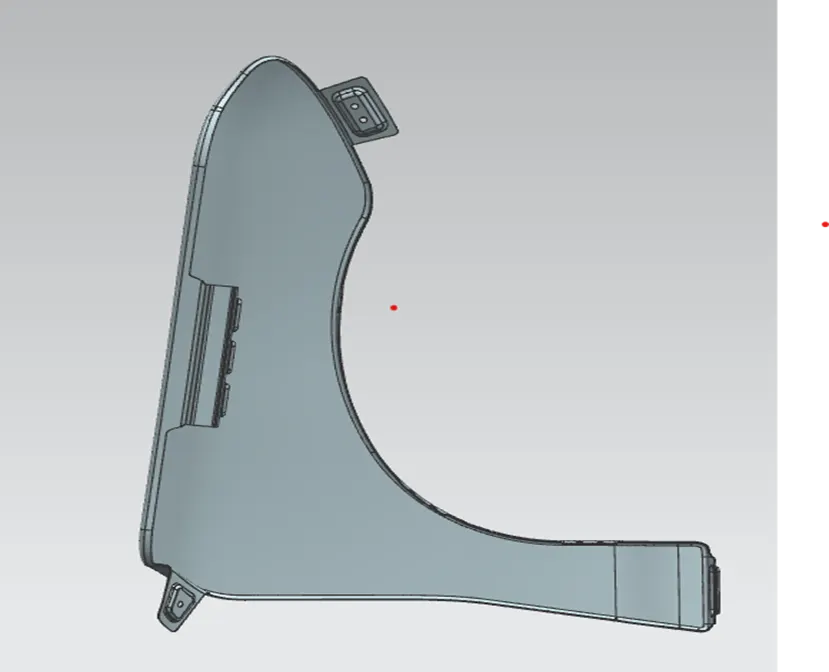
Figure 12
Front view:
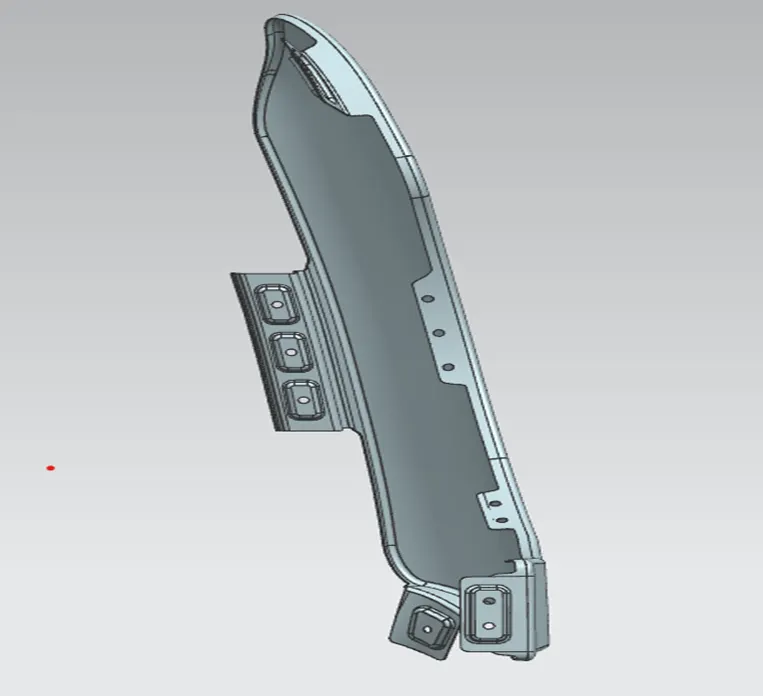
Figure 13
The Fender is thickened up to 0.75 mm down word to convert the surface into the sheet metal.
Purpose of Fenders
· Safety: It protects engine compartment and the pedestrians from the chip debris during running of vehicle.
· Appearance: The outer surface if provide a smooth and shiny surface which enhance the look of the vehicle.
· Cleanliness: It protects the car, occupants and passengers from mud, water, and road residues thrown off by tyres.
· Aerodynamics: It smooths the car profile so you don’t get a lot off drag off the uncovered wheels.
Conclusion
All the mounting areas are designed according to the master section and get the proper result that we want.