Fender Design
Aim - Follow the given master section to create a drip area in Fender And for the sill, Bumper, Baffle, and A pillar mount create your own design according to the engineering standards.
Fender Drip Area Section
What is Fender - The car fender is a crucial component of the vehicle's body that is typically located above the wheel well. Its primary function is to protect the wheel and tire from road debris, water, and other external elements. Fenders also contribute to the aerodynamics of the vehicle.
Technically speaking, a car fender is usually made of sheet metal and is designed to be structurally rigid while also providing some flexibility to absorb impacts. It is often bolted or welded to the vehicle's body and may have an inner liner to further shield the engine compartment from debris. In addition to its protective role, the fender also contributes to the overall aesthetics of the vehicle, as it is a visible part of the exterior. Modern vehicles may feature fenders made from a variety of materials, including plastic composites or aluminum alloys, to achieve a balance between strength, weight, and cost. So, in essence, the car fender is not just a cosmetic element but a key structural and protective component designed with both form and function in mind.
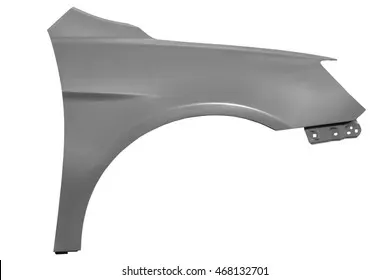
Contact and joining areas for Fender are -
- Drip area - It is the most crucial and important joining area of Fender which give its major joining strength it is joined in the engine compartment and has certain design consideration for it.
- Sill - It is the lowermost area of joining the fender and it is covered with a side rail.
- Bumper - It is the area that joins on the bumper and is covered with bumper and it gives additional strength to both the bumper and fender.
- Baffle - It is the area that joins the fender lining with the Fender to prevent foreign particles from entering the engine compartment while driving the vehicle.
While designing the Fender We have to take care of design considerations of these Joining areas
Designing procedure of Fender -
We have given Fender Skin as a work part and now we have to work on it
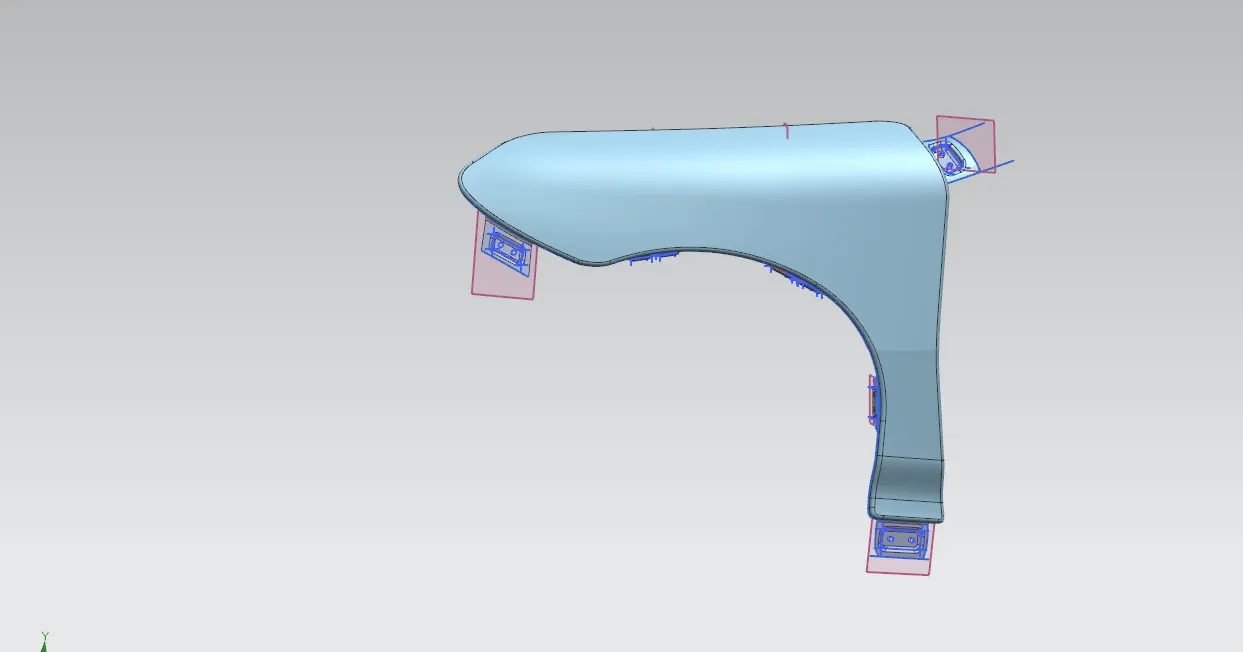
we have received this type of skin data so we make curves according to our needs and start trimming off the extra area that is not needed i.e
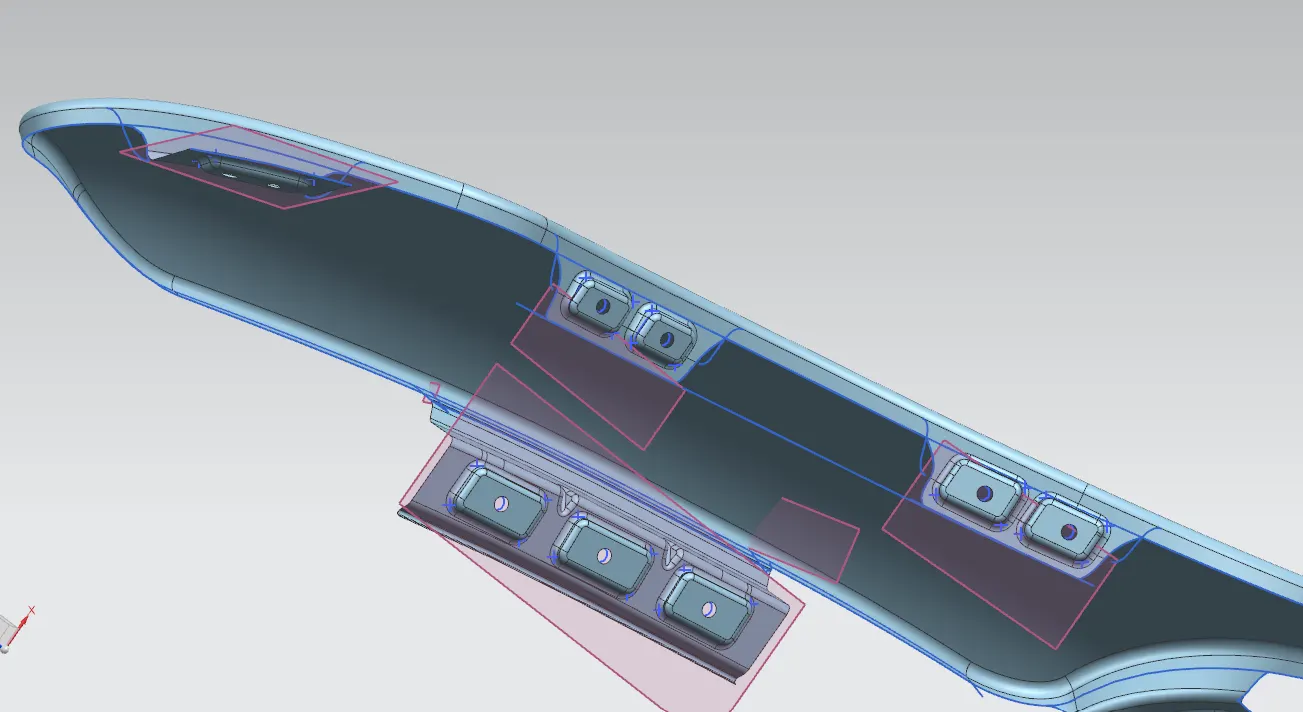
As shown in above figure these curves are made according to our flanges placement and extra surface is trimmed off after trimming extra surface we have to start work on given master section of drip area.
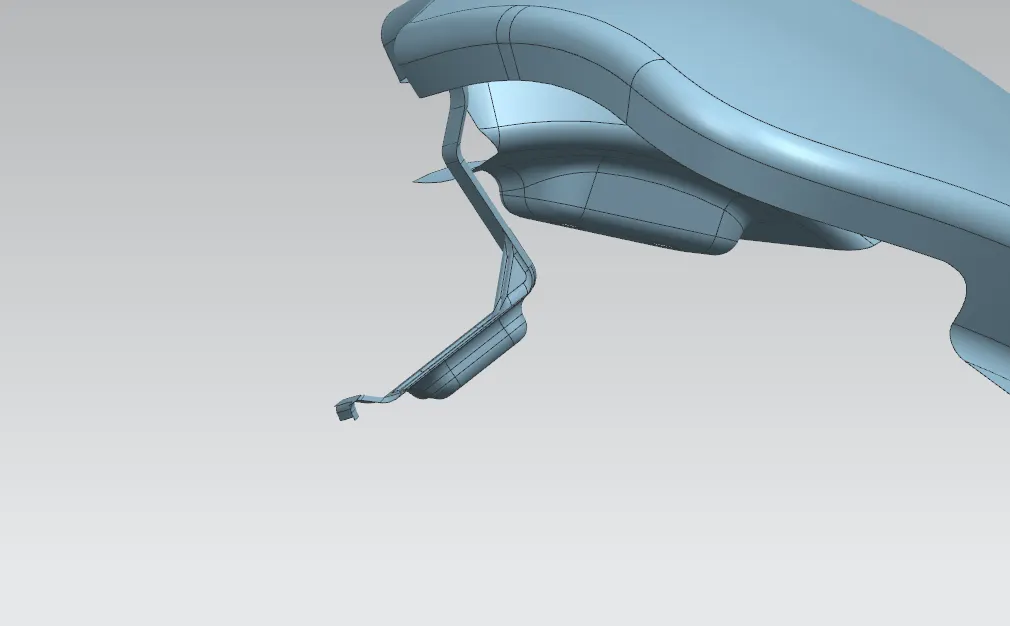
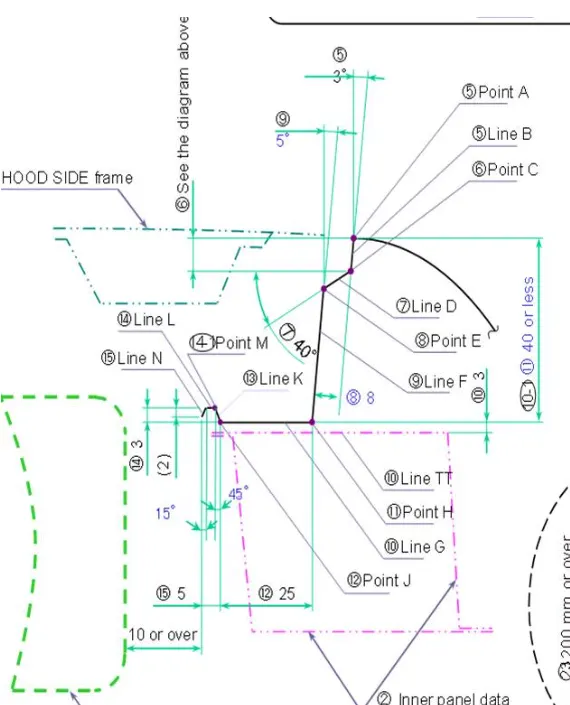
I took the idea from the master section created this flange and made an emboss on it for other flanges, ive created them with my creativity and made an emboss on it with a 5 mm hole.
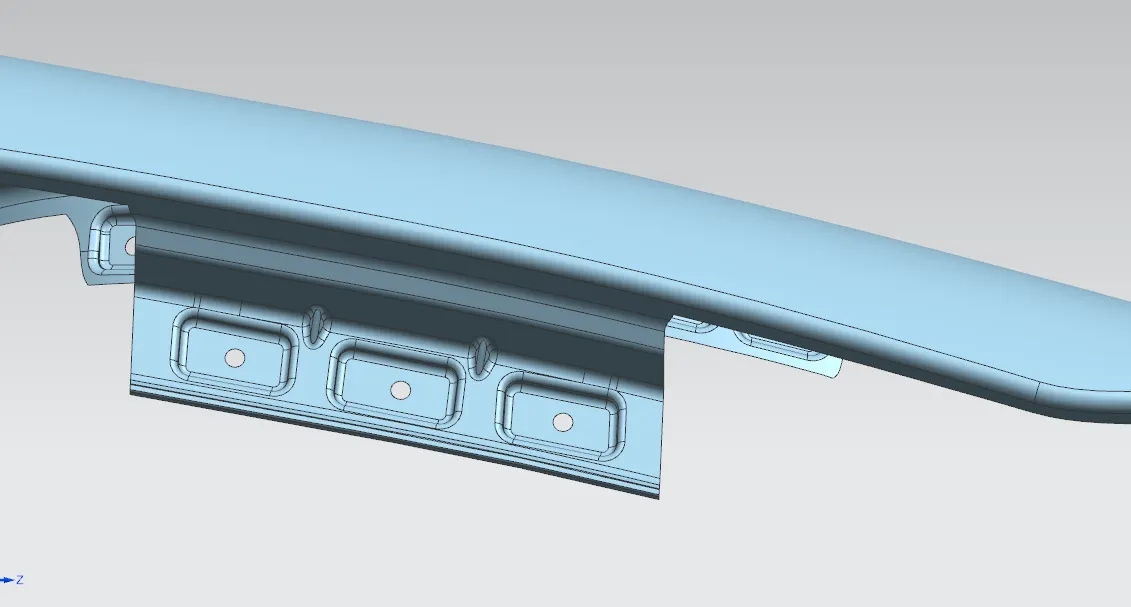
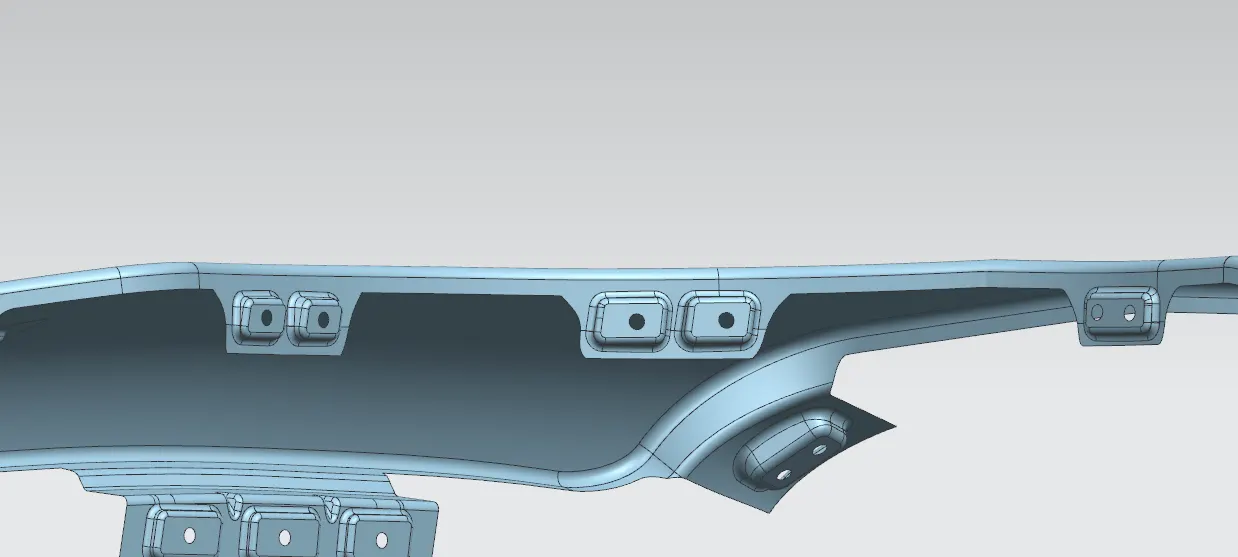
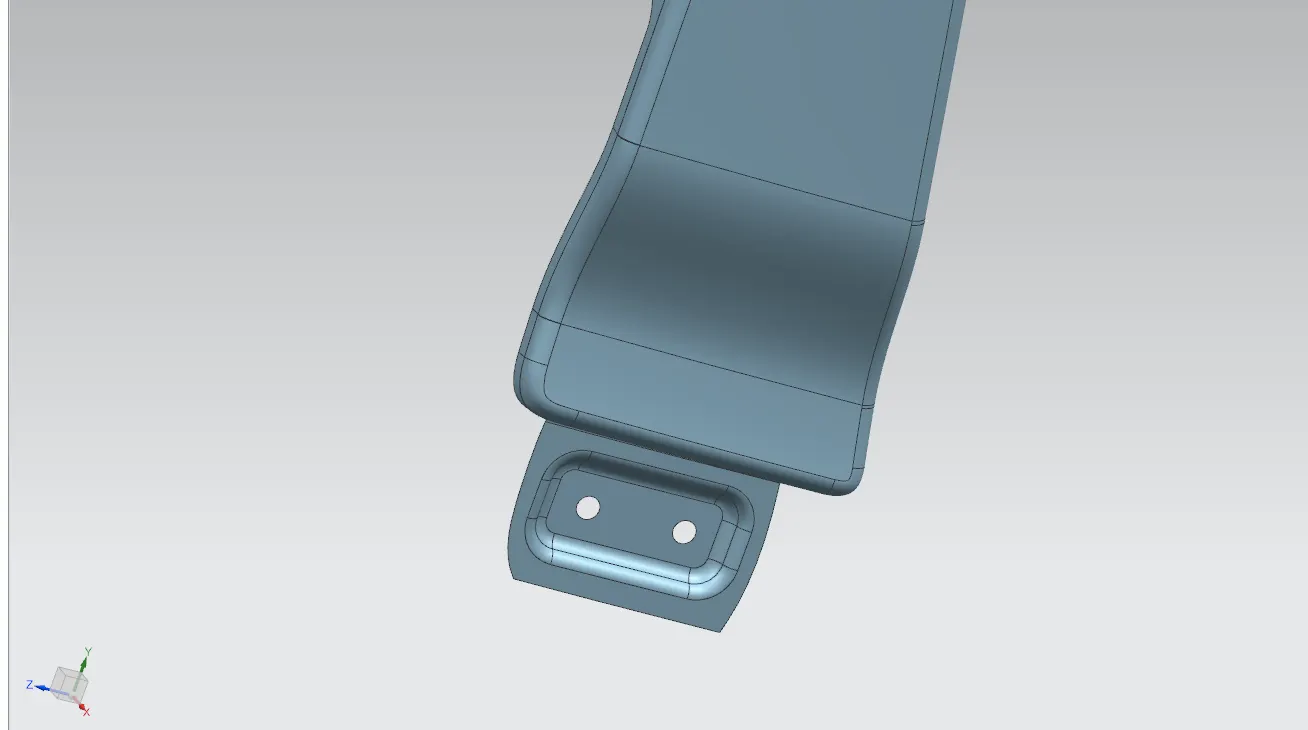

these are all the flanges and after creating and improving them I gave a final thickness to it of 0.75 mm to make it the final completed fender panel.
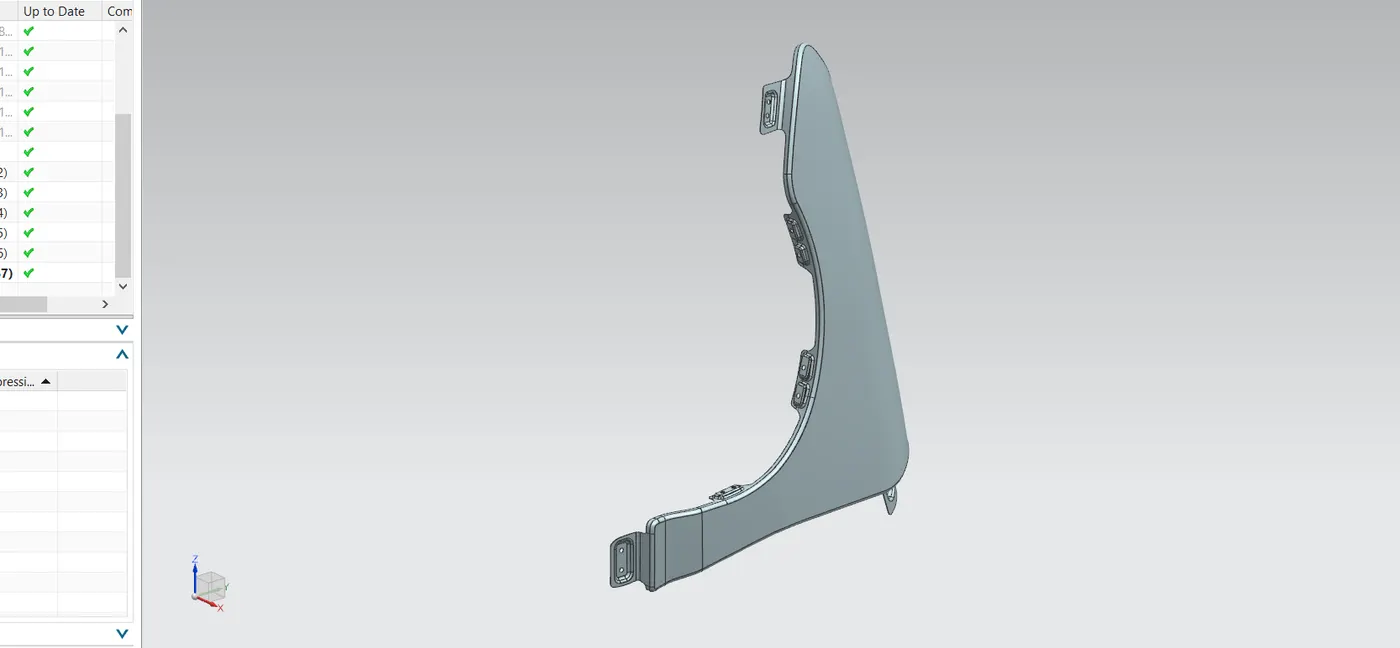
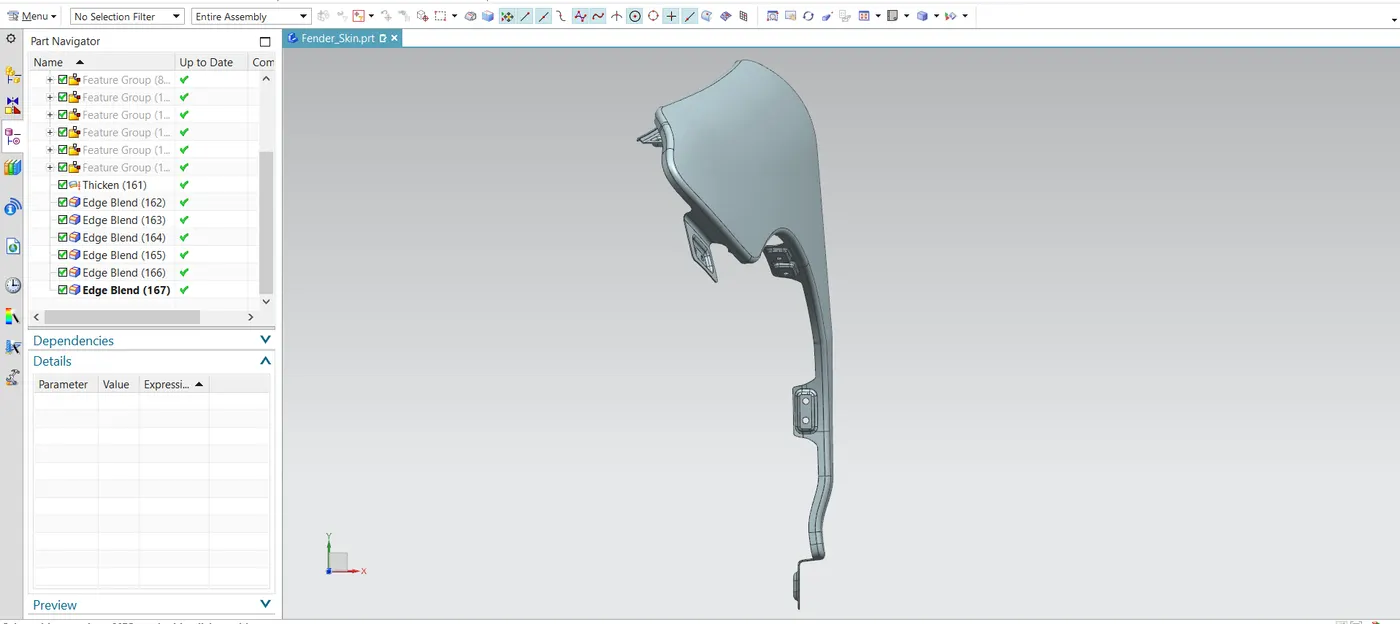
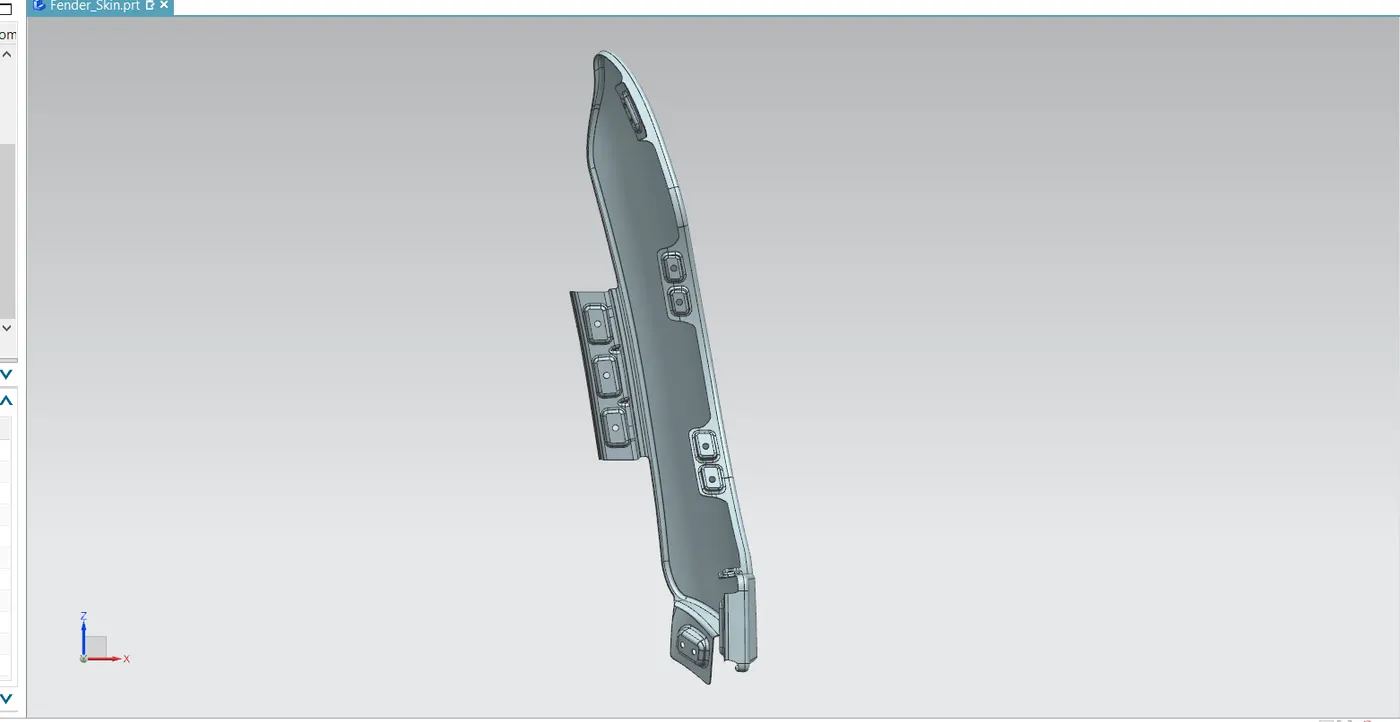
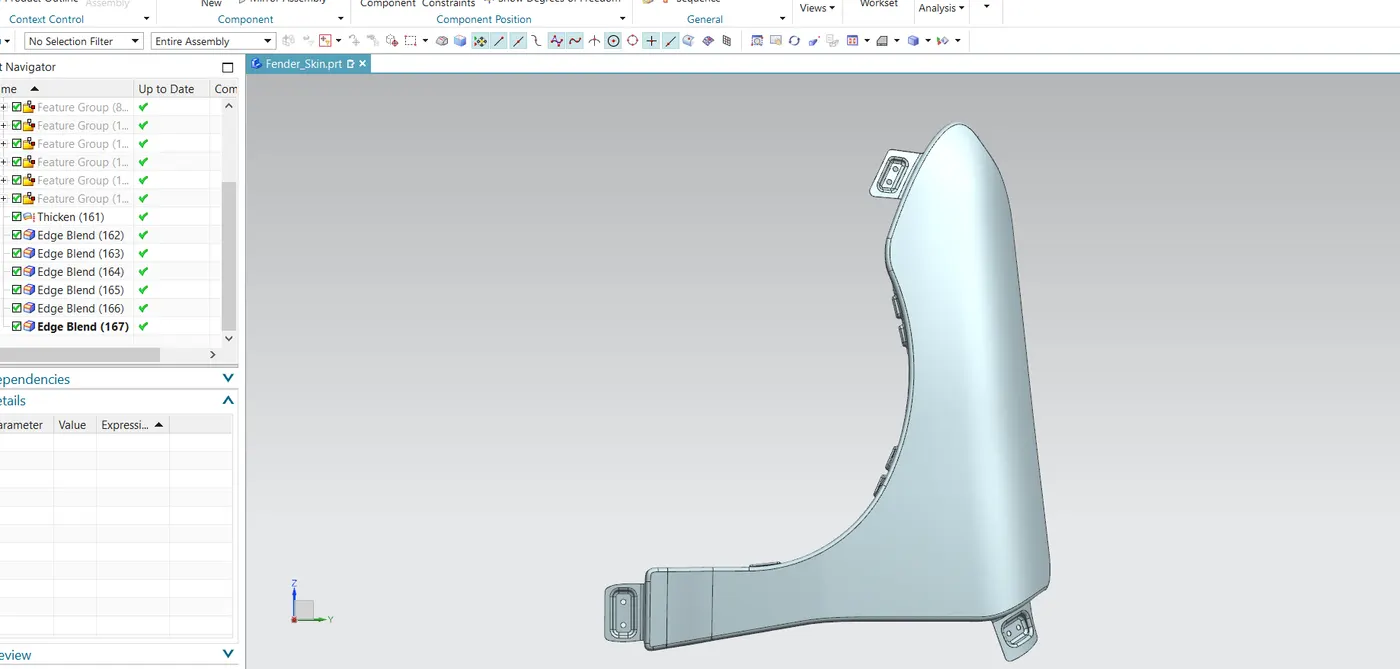
This is how I created the fender panel.