Fender Design
OBJECTIVE
To design a front fender of a car by following the given master section and as per the design considerations of OEM.
WHAT IS FENDER?
Fender is the term for the part of a vehicle body that frames a wheel well (the fender underside). Its primary purpose is to prevent sand, mud, rocks, liquids, and other road particles from being thrown into the air by the rotating tire. Sticky materials, such as mud, may adhere to the smooth outer tire surface, while smooth loose objects, such as stones, can become temporarily embedded in the tread grooves as the tire rolls over the ground. These materials can be ejected from the surface of the tire at high velocity as the tire imparts kinetic energy to the attached objects. For a vehicle moving forward, the top of the tire is rotating upward and forward and can throw objects into the air at other vehicles or pedestrians in front of the vehicle.
The front fenders are separate components whereas the rear fenders are integrated with the body sides or the quarter panel.
TYPES OF FENDER
There are two main types of fenders:
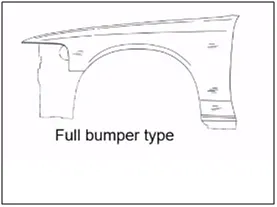
- FULL BUMPER TYPE: These types of fenders were used in earlier models of vehicles. They contribute to the major increment of the steel weight by just covering the front headlights with respect to the bumper region. The problem associated with this kind of fender is there is a lot of waste in the blank and every inch of a material is a cost to the industry.
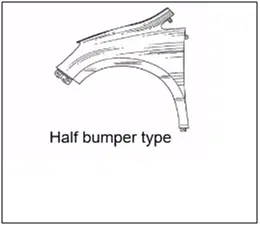
- HALF BUMPER TYPE: These fenders are mainly used for serving the purpose of cost-cutting and reducing enough proportions of the steel weight resulting in a reduction of the weight of the vehicle. They can be economically manufactured, i.e by slightly increasing the blank size, we can produce two fenders at a time.
COMMON FENDER MOUNTING POINTS
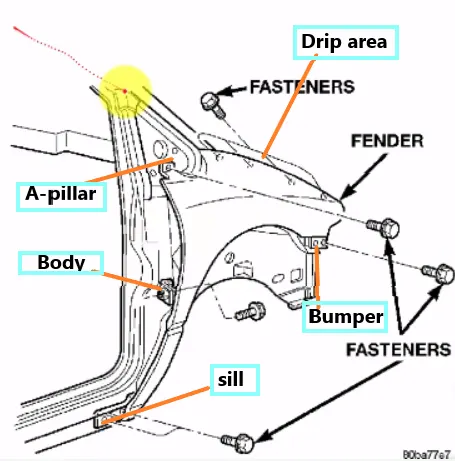
There are 5 general mounting regions on the Fender
- A- pillar mounting
- Body mounting
- Sill mounting
- Bumper mounting
- Drip mounting
- Also, the baffle is mounted on the fender wheel arch
GIVEN MASTER SECTION OF FENDER
PROCEDURE
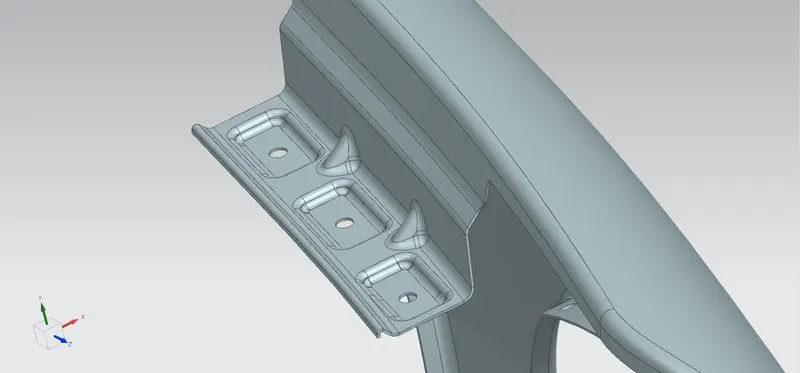
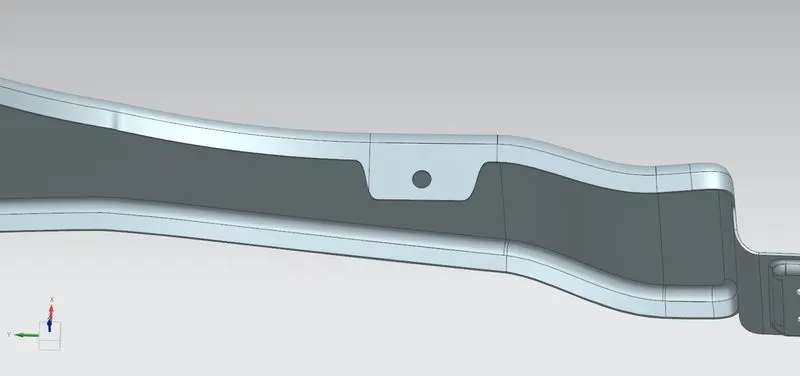
- Drip Area Mounting
- The mounting region is confined within 300mm from the A-pillar mounting position and 150mm from the headlight contact region.
- A flange is created according to the master section provided.
- Each mounting hole is made sure to have at least 5 mm of flat surface all around.
- 2 darts are provided for increasing flange strength and reducing vibration/spring back.
- Embosses are provided on the mounting to strengthen them during fastening.
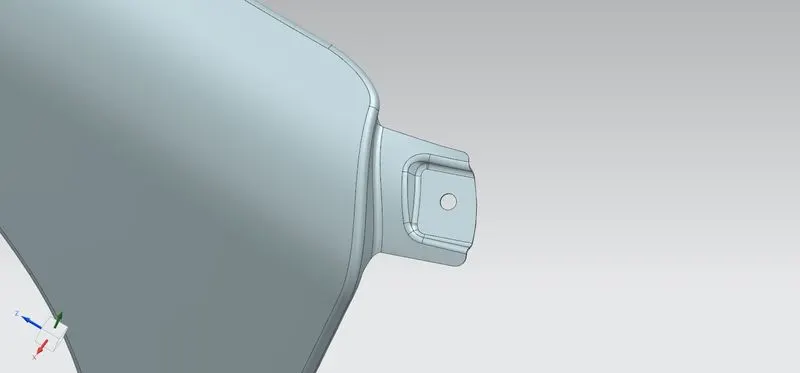
- A-Pillar Mounting
- A-pillar is the structural member that connects the bottom with the roof and provides a pasting location for the windshield glass.
- we again create a mounting emboss with a flat base to facilitate fixing using nuts.
- Sill Mounting
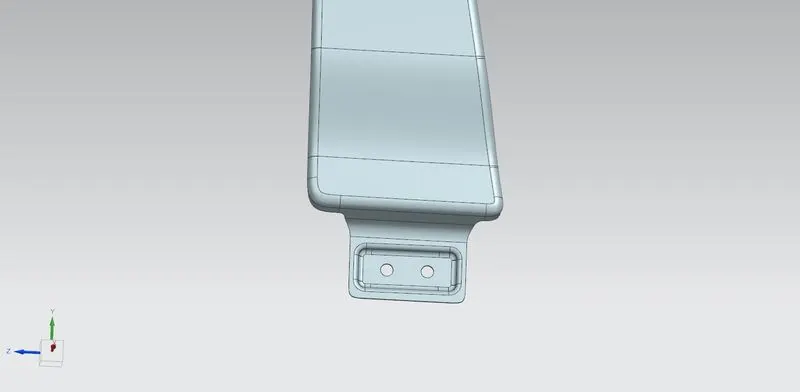
- Sill is the lowermost side panel of a vehicle.
- Also known as a rocker panel or running board.
- The fender is again fastened with bolts and thus requires a mounting emboss with a flat base.
- Bumper Mounting
- The bumper is fastened with the fender and in turn to the apron strut tower and thus mounting embosses are required.
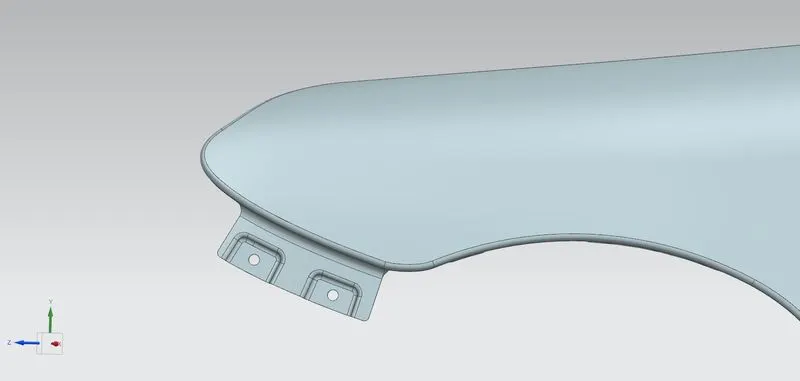
- The bumper is fastened with the fender and in turn to the apron strut tower and thus mounting embosses are required.
- Baffle Mounting
- Baffles act as splash guards around the wheels and are fastened onto the fender using plastic clips thus doesn't require special mounting embossed.
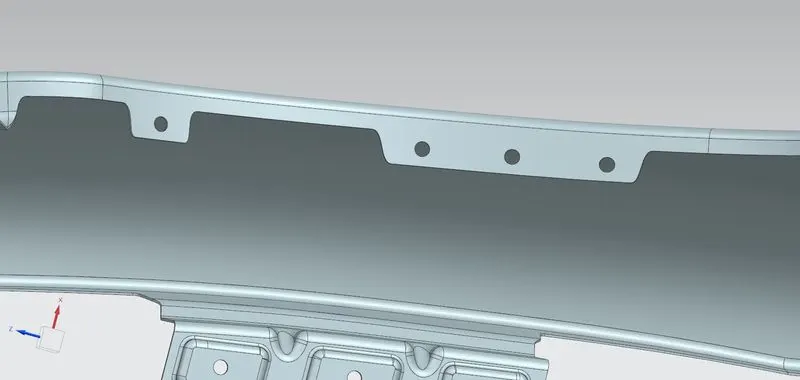
- Baffles act as splash guards around the wheels and are fastened onto the fender using plastic clips thus doesn't require special mounting embossed.
THICKENING OF FENDER
The thickness of 0.75 mm inward on the final sewed surface of the fender to the sheet metal parameters.
DIFFERENT VIEWS OF FENDER PART
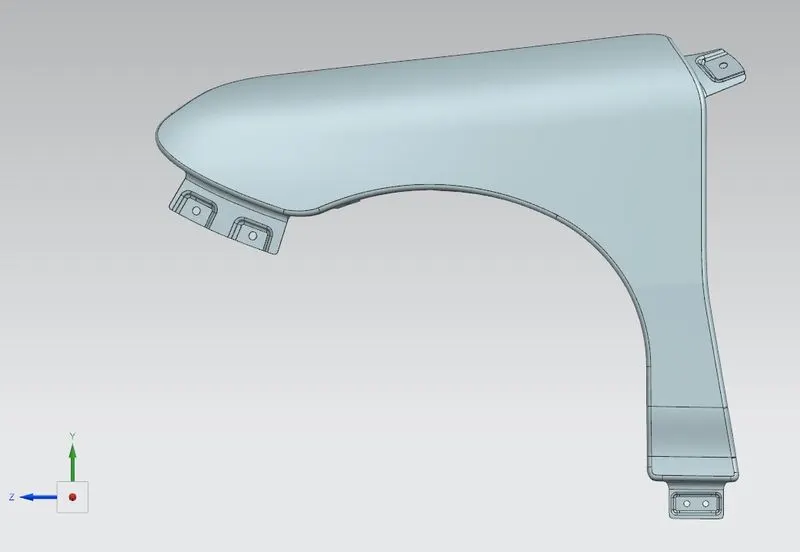
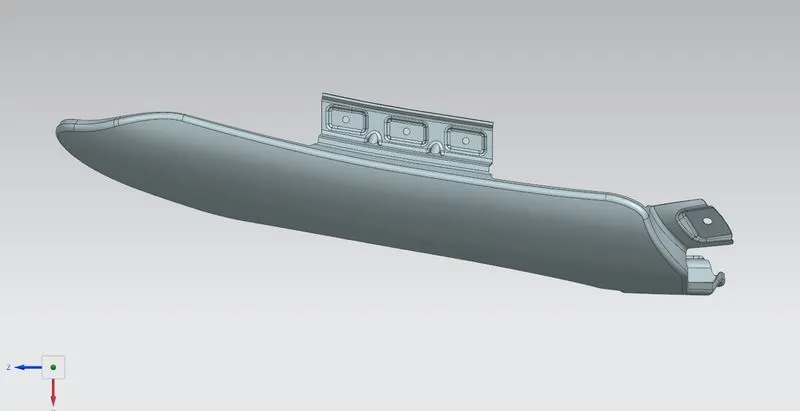
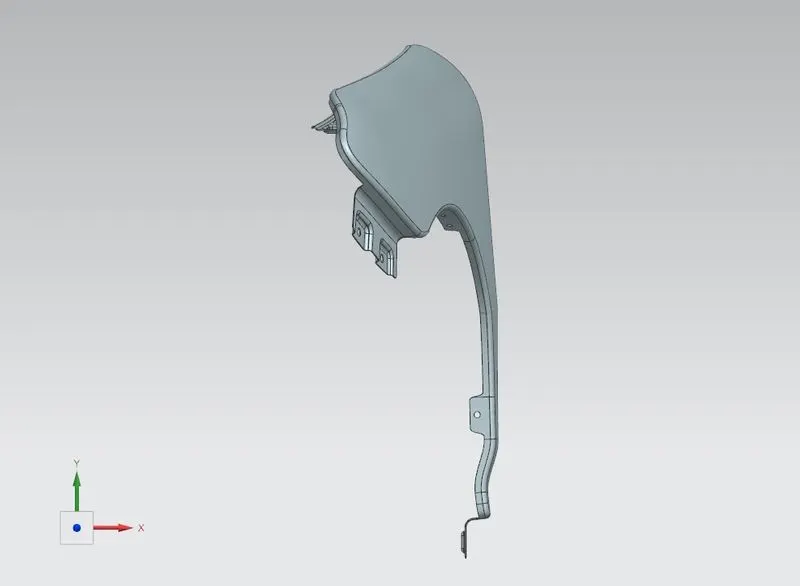
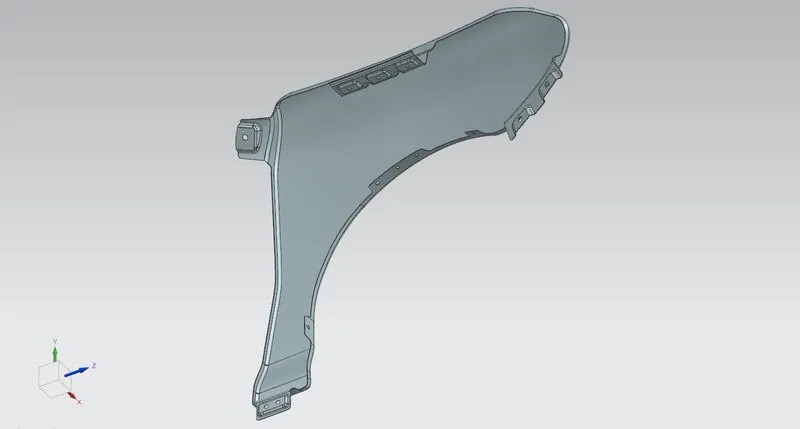
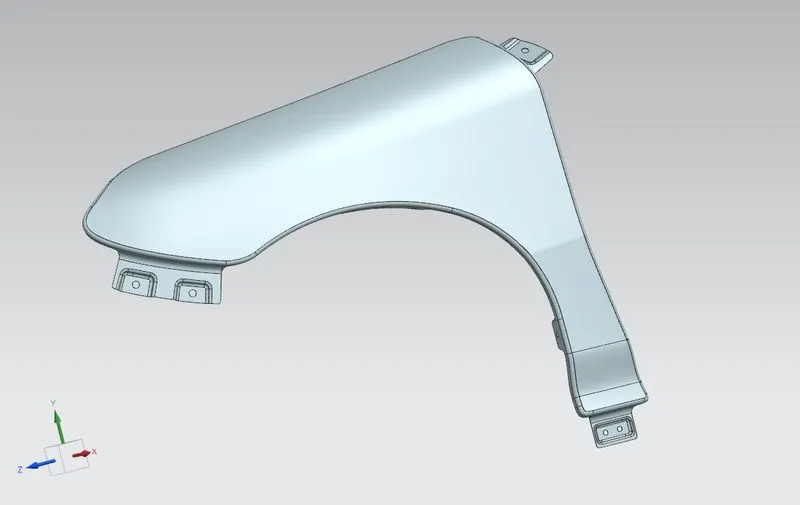
CONCLUSION
The fender thus designed follows all rules as in the master section and design considerations taken by OEMs.