Fender Design
FENDER DESIGN
AIM:
The primary goal of this project is to create a fender utilising the cutting-edge design programme NX - CAD.
PART FILE
INTRODUCTION:
Any product's design begins with a requirement. Based on the requirements, the design engineer creates a sketch of the product. Using cutting-edge CAD software, the 2D sketch with the correct dimensions is then turned into a 3D model. Every product that is designed should be able to be made; this is another crucial aspect of design. So, the design engineer's job is to create products that are simple to make and less expensive to produce. When creating any product, this is where design for manufacturing and design for assembly come into play.
The design development process continues until the final product meets the needs of the client. The thing that we will create in this project is an automobile fender.
FENDER:
The primary function of the fender is to stop the revolving tyre from hurling debris into the air, including sand, mud, boulders, liquids, and other road spray.
Types of Fenders:
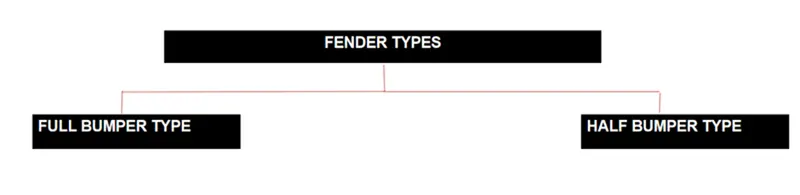
There are two types of fenders, they are
1) full bumper type
2) half bumper types.
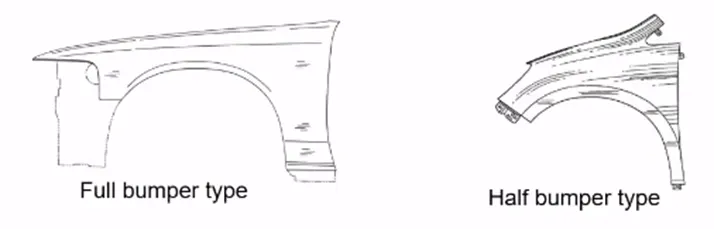
- At the moment, we are employing the half bumper type. The reason for this is that when we choose the full bumper type, the blank used to create it is extremely huge and also has a lot of wastage, however with the half bumper type, we have the opportunity to reduce the scrap. We referred to this as scrap management.
- In the half-bumper design, we employ a lot of plastic instead of steel, which ultimately reduces the weight of the car and improves performance.
MOUNTING REGIONS ON FENDER:
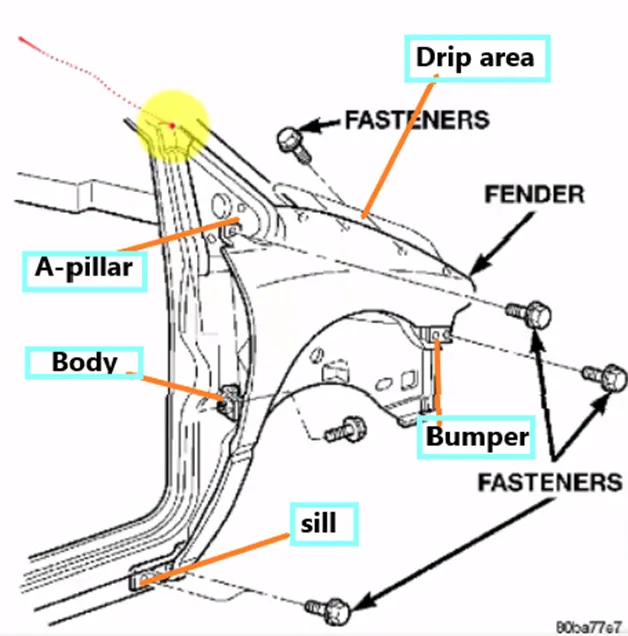
There are 5 mounting regions on the fender, they are
- Pillar mounting
- Body mounting
- Sill mounting
- Bumper mounting
- Drip mounting
DESIGN METHODOLOGY:
GIVEN DATA:
DRIP AREA MOUNTING DESIGN:
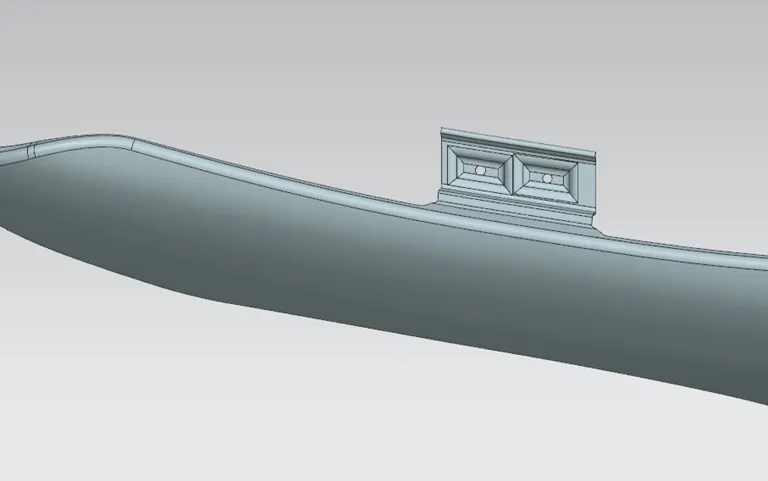
- It serves as the fender's crucial mounting unit. It is attached to the engine compartment, so there are many design restrictions that must be adhered to when constructing the fender.
- We must first account for the cowl top when constructing the drip area by leaving 200–300 mm.
- When creating the fender, we must leave at least 150 mm at the front for mounting the headlamp.
- Wiper motor and associated instruments are located in the cowl's top section.
DESIGN OF THE SILL MOUNTING AREA:
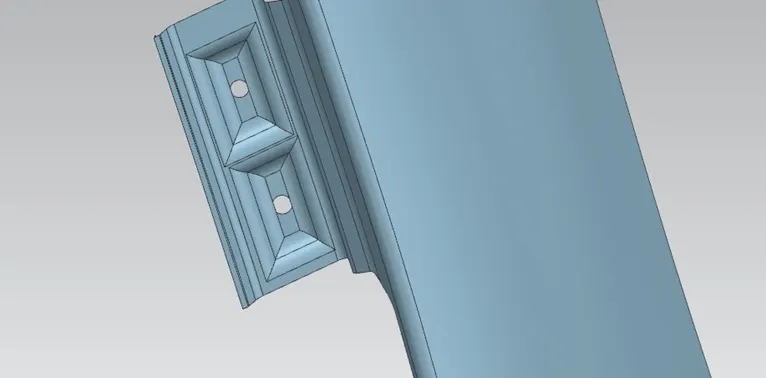
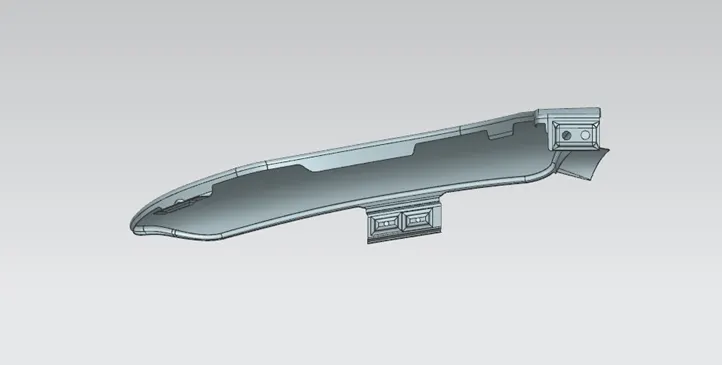
- The sill is the panel that supports the floor right beneath the bottom of the door and can be used to join the floor and the body.
- The sill mounting location is built with holes and emboss because the bottom end of the fender is fastened to the sill body for reinforcement of the fender panel. The fenders are fastened to the sill body with M5 bolts.
DESIGN OF A-PILLAR MOUNTING AREA:
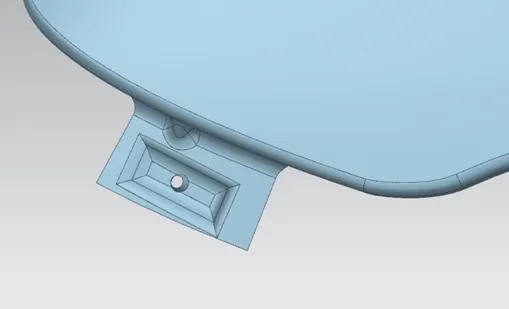
The A -pillar is the structural pillar that combines the body to the roof. this makes the sides of the windshield rest. front fenders are fastened to the A -pillar to form a robust structure.
BAFFLE MOUNTING AREA DESIGN:
- Mudguards or baffle mounting are clip-fit mountings that are placed above the tyre on the inside of the fender arch. When the automobile is moving, it shields the engine compartment from damage and prevents pedestrians from getting hurt by road debris. They are attached to the fender utilising a unique design of locking clips made of plastic.
APPLYING OF THICKNESS TO THE SURFACE.
- The thickness of 0.75 mm inward on the final sewed surface of the fender to the sheet metal parameters
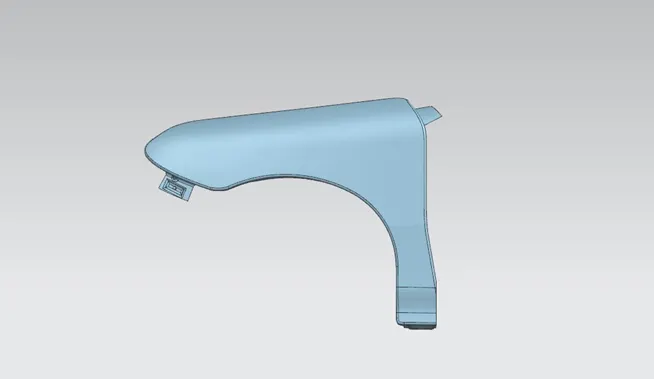
DIFFERENT VIEWS OF FENDER:
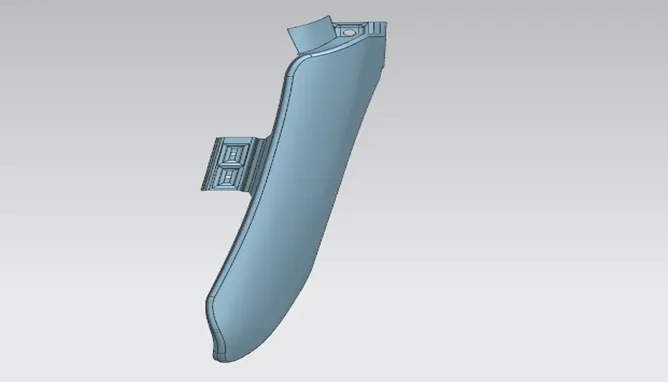
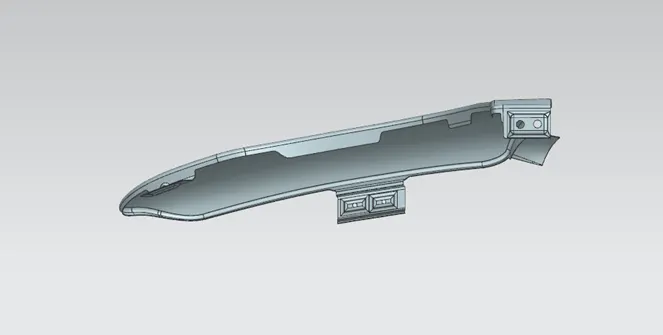
CONCLUSION:
Finally design of fender is done with the help of NX-CAD software by following the master section