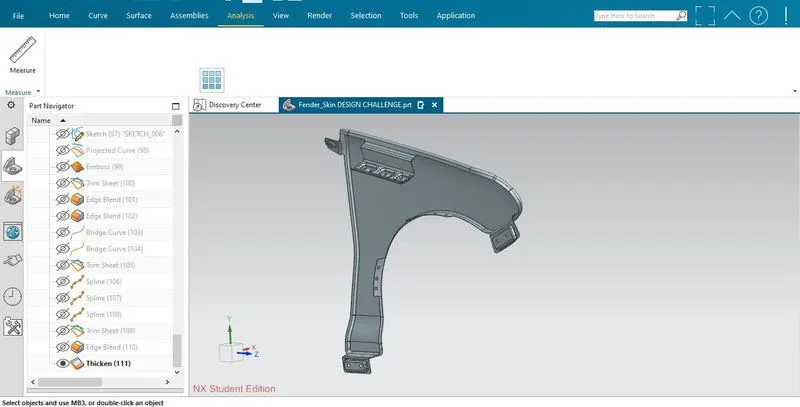
Fender Design
Report on the design of Fender in the vehicle
Aim: To create different mountings on the fender considering all the design parameters in mind and finally thickening the design to create solid body.
Given Class A surface:
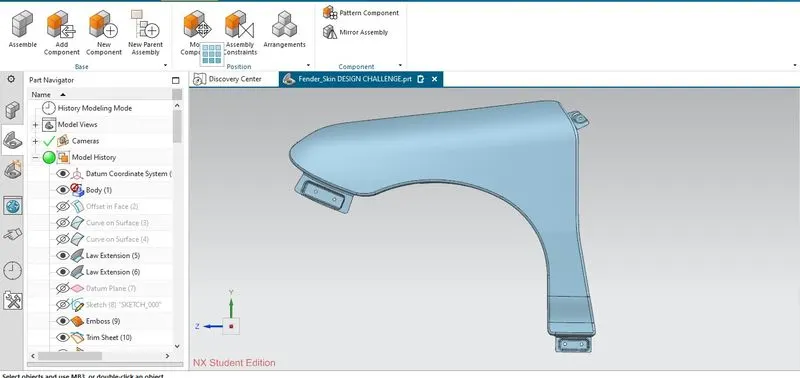
Note:- This design is performed on NX-CAD student edition.
Fender design: Fender is essential part of a vehichle which protects the vehicle from external foreign material like mud, sand and stones from damaging its internal components as well as provide safety to the pedestrians from those foreign objects coming onto them. It mainly consists of mountings on it which are: Drip mounting, A-pillar, Sill, Bumper and Baffle (splash) mounts.
Drip mount: It is the largest mounting on the fender which attach the fender to the engine compartment with the help of tool, it contains the surface which helps the mounting to avoid spring back effect.
Bumper mounting : This mounting attach the bumper with the fender thats why its called bumper mounting.
Baffel mounting: This mounting is created to attach the baffel which is the plastic part on the fender it requlates the NVH on the carbody.
Sill mounting : It is bottom most mounting on the fender which attach the fender with the car body.
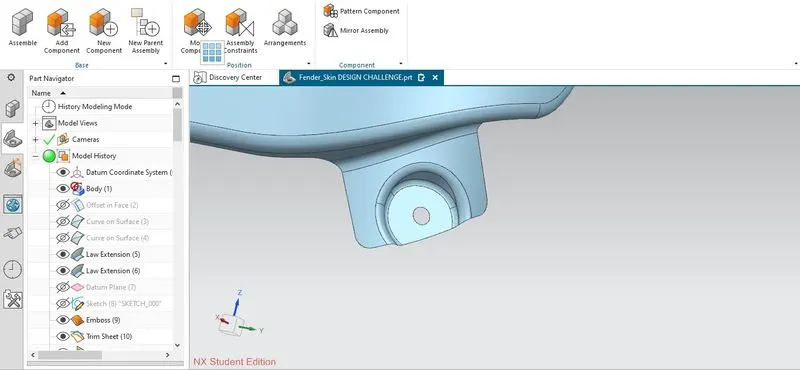
Apillar mounting: This mounting lies at the corner of fender to strengthen the attched fender with the body.
Step 1: We have given body with large flange se we will create it short as we proceed in creating the mountings one by one, starting with A- pillar design we proceed with the steps as shown:
- Removing side by unecessary extra flange we start working on the required flange area, to avoid the sharp corner we will go with the curve on surface command to create smooth curve on the sides of flange.
- Now use law extension command to extend the last edge perpendicular to create extended surface, now create sketch on that surface to make emboss by creating datum plane first.
- Taking the appropirate depth of emboss, we apply blend to every sharp corner, radius of blends we are taking is 3.75 mm if blends are creating more than 5mm clearance with the fastener hole, if not we try to adjust the blends accordingly.
- Now create fastener's hole by creating its sketch first then projecting the curve on surface and finally using trim sheet to make cutout on the surface,
- Our A pillar design will look like this:
Step 2: Now create the drip mounting by creating the datum plane first and offseting them, one with 150 mm distance from headlight and one with distance of 300 mm or less from the A- pillarmount.
- Now intersect those plane with the given class A surface to get the idea of mounting's length now create smooth urve on the extra flange by curve on surface command.
- Trim the side by extra flange as well as trim the not required area of flange now start working on the desired portion of the flange area. Create the surface acc. to the given mastersection, using the law extenstion with inputs of length,angle such that vertical height of the combined mounting surface should be 40 mm or less to avoid the spring back effect.
- Now create the last edge of drip mounting with the curve end, by calculating their dimension with given triangle diagrams in the master section, now mounting surface is ready this is ceated to avoid the spring back effect on the horizontal surface.
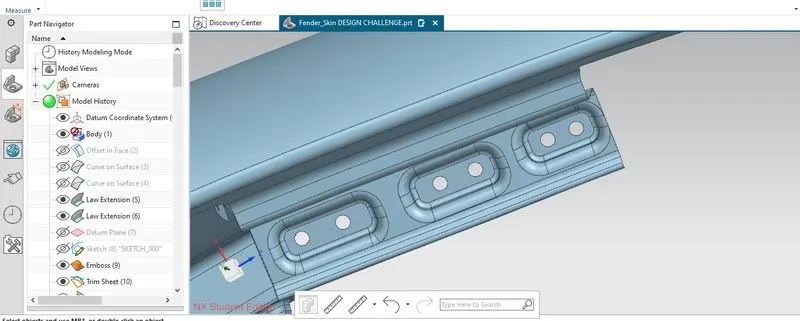
- Start creating the sketch for three emboss on horizontal surface of the mounting, by creating datum plane first and then create the fastner's hole with the clearance of 5 mm around it that would be our first priority.
- Now create blend of radius 3.75 mm as second priority adjusting that radius acc. to clearance around the fasteners hole.
- Our drip mounting will look like this:
Step 3: Now come to bumper mounting, clear the non-required flange length, strat working the required flange area same process as we did in the last two mountings\
- Create smooth curve around the flange area to avoid sharp corner by curve on surface command.
- Extend the last edge of the flange by law extension perpendicularly with length of 30 mm now create sketch on its surface by creating datum plane and for fastener's hole.
- Now that sketch would be required to create emboss on the surface mounting and create hole on the emboss surface by trim sheet keeping the clearance around hole to be 5mm in the mind.
- Now create the blends to avoid the sharp corner taking the priorities in consideration. i.e our first priority would be to give clearance of at least 5mm around the fastener's hole, second would be thickness radius to be 3+ thickness of solid, third would be clearance between two blends sholud be 5-10 mm
- Also use bridge curve around the sharp corner to finally cutout that portion with trim sheet.
- Our Bumper mounting will look like this:
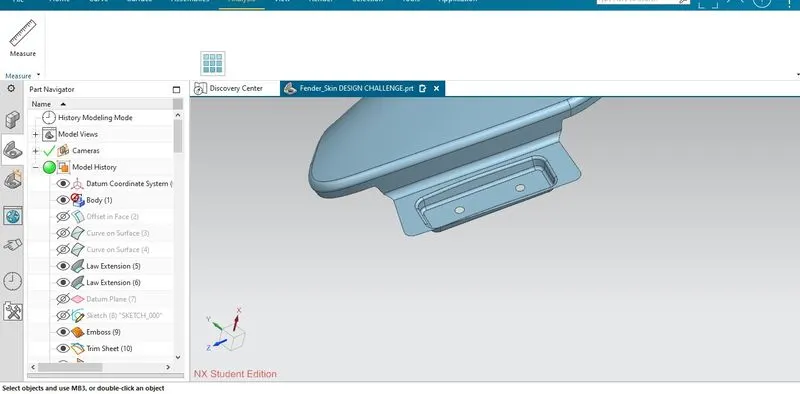
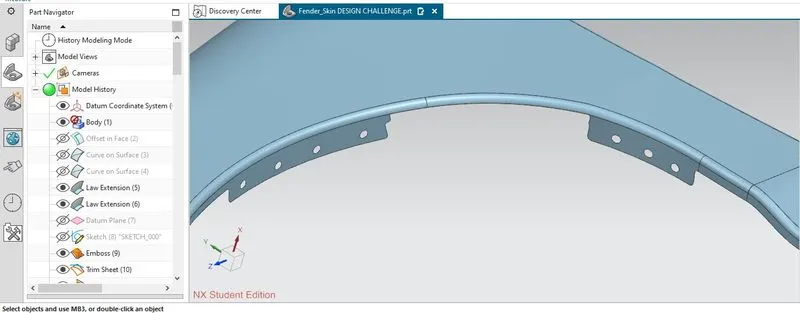
Step 4: Create Baffle mounting by cutting out extra flange side aways.
- Now create fastener's hole by creating the datum plane first on the appropirate flange surface then creating the sketch of these holes keeping the clearance of 5mm around these holes in mind.
- Now trim those hole sketch by trim sheet command we create total 4 holes and create smooth curve around flange and trim them to create smooth surface.
- our baffle mountings will look like this:
Step 5: Create sill mounting , same design considerstion and steps we followed in the bumper mounting we follow here also :
- Remove the extra sideways flange area by using the trim sheet command, extend the last edge of flange are perpendicularly to create mounting surface.
- Now create emboss surface on the created surface by creating sketch on the datum plane on the surface, also create sketch for the fasteners hole and finally trim it to create hole.
- Avoid the sharp corner by creating the bridge curve , start giving the fillets with the priorites on the radius of blends as mentioned before.
- Our Sill mounting will look like this:
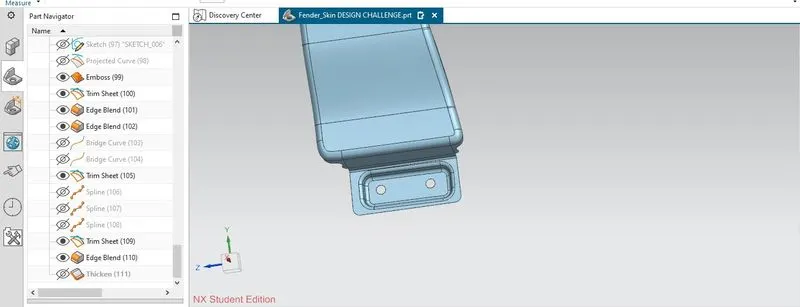
Step 6: Now thicken the final surface to create the solid body out of design as shown: