Fender Design
AIM - Design a front fender of a car by following the given master section and skin data using NX CAD.
INPUTS -
- SKIN DATA
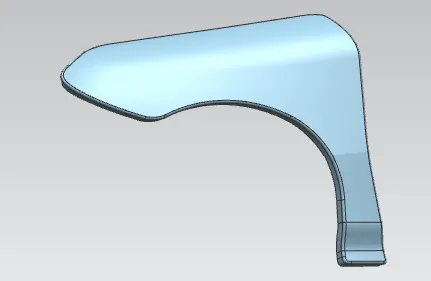
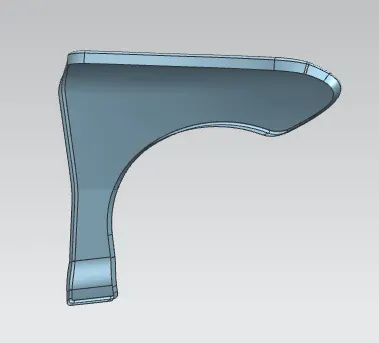
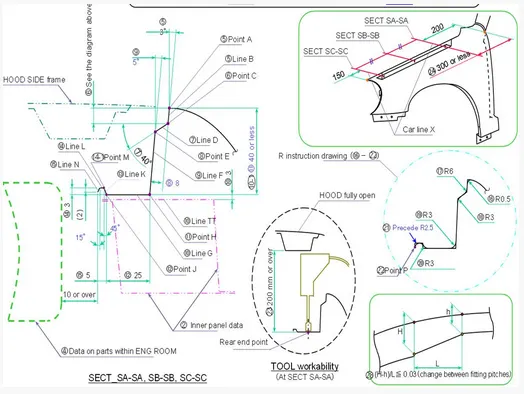
- DRIP AREA MASTER SECTION
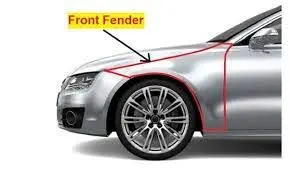
FENDER
It is an aesthetic component/part of a car that frames the wheels. Prevention of sand, mud particles, and other road contaminants from being thrown into the engine compartment and also to the pedestrians by the rotating tires are the main purpose served by the fenders. The front fenders are separate components whereas the rear fenders are integrated with the body sides.
TYPES OF FENDERS
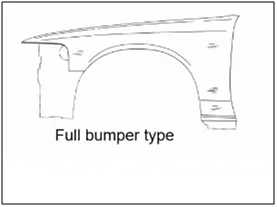
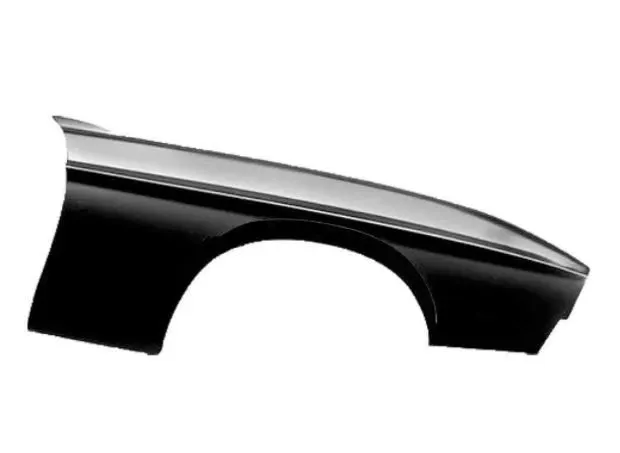
- FULL BUMPER TYPE: These types of fenders were used in earlier models of vehicles. They contribute to the major increment of the steel weight by just covering the front headlights with respect to the bumper region. The problem associated with this kind of fender is there is a lot of wastage in the blank and every inch of a material is a cost to the industry.
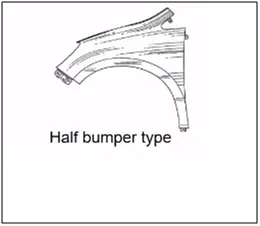
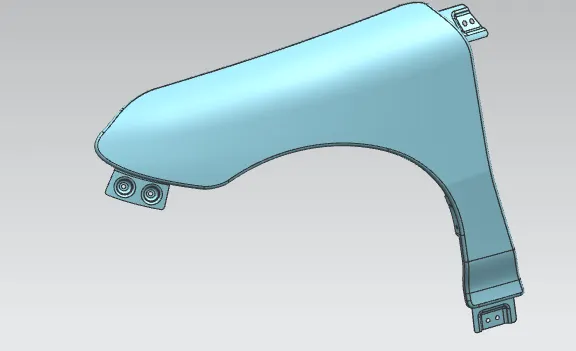
- HALF BUMPER TYPE: These fenders are mainly used for serving the purpose of cost-cutting and reducing enough proportions of the steel wait resulting in a reduction of the weight of the vehicle slightly. They can be economically manufactured, i.e by slightly increasing the blank size, we can produce two fenders at a time.
DESIGN CONSIDERATIONS
The front fender has basically five mounting positions with respect to the other components. The mounting positions are as follows:
- Drip Area Mounting.
- A-Pillar Mounting.
- Sill Mounting.
- Bumper Mounting.
- Baffle Mounting.
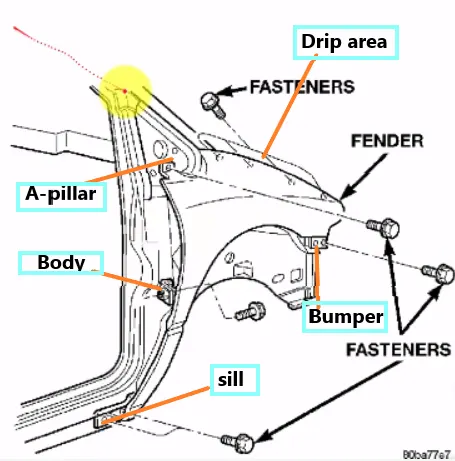
For the creation of the Drip Area Mounting, the given Master Section is followed, and the other mounting points are created by assuming appropriate positions with the respected components.
Design of Drip Area Mounting
- The drip area should be designed in such a way that it should be at least 150mm away from the front end of the fender to have sufficient space for mounting headlamps housing.
- Mostly the drip area starts from 200mm away from the rear end of the fender, to have sufficient space for the cowl which carries the wiper equipment.
- The length of the drip area depends on the length of the fender.
For drip area we have the mastersection, following the mastersection we created the drip area in the given skin data.
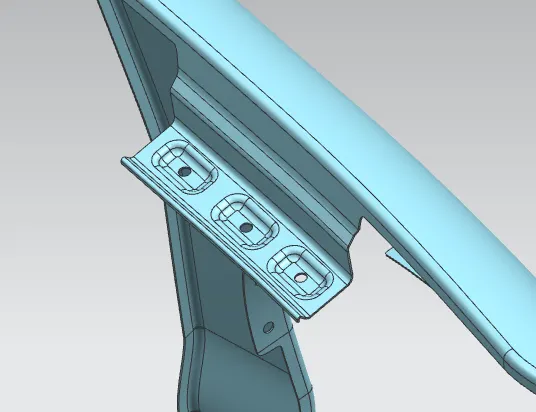
Design of A-Pillar Mounting
- This mounting position is created for attaching the fender to A Pillar of the vehicle.
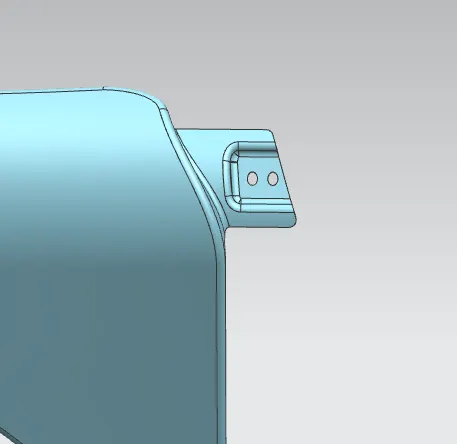
Design of Sill Mounting
The Sill Mounting area is in the bottom of the fender. It is mostely gets connected with the door region of the car.Here, proper embossing and holes for the fasteners are provided.
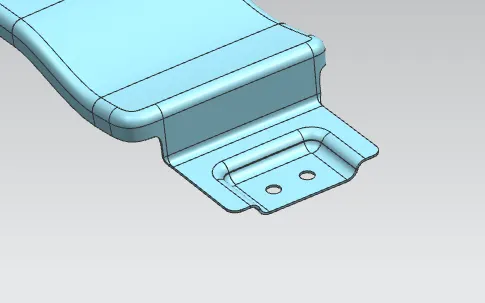
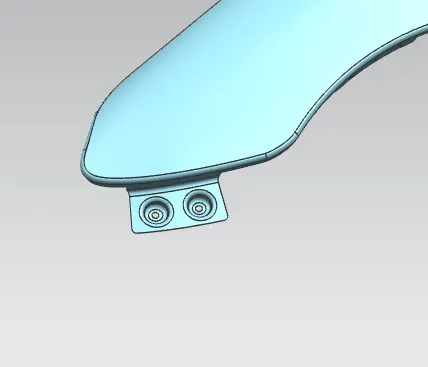
Design of Bumper Mounting
This mounting point is created for attaching the bumper to the fender with the help of the fasteners. It should have enough strength to hold the bumper steadily.
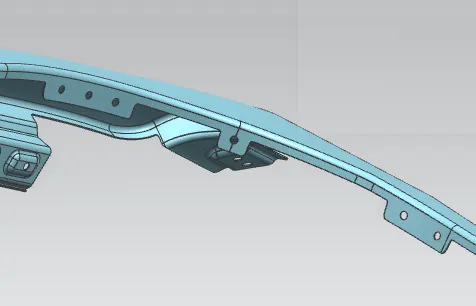
Design of Baffle Mounting
Baffles are mounted on the fender using a special type of locking clips which are made up of plastics. it protects the car engine compartment and pedestrians from causing injuries from chip out debris on the road when the car is in motion.
THICKNENING
Before thicknening the surface, make sure the all the below mentioned design parameters are followed ,
- Make sure that drip area design is followed my master section.
- All the blend radius is more or equal to minimum blend radius (ie,3.75mm)'
- All the top surface of the emboss are flat.
- All the cuts in the sheet is minimum 6-8mm from the edges and blend.
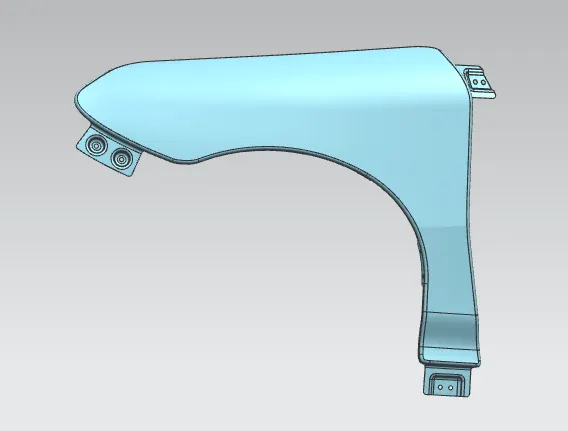
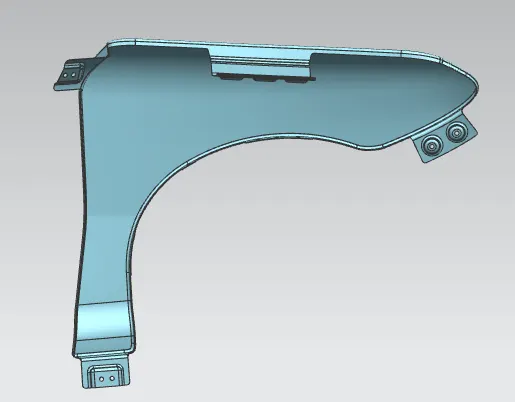
After creating all the mounting points in the given skin data, Using the thicken tool we thickened the surface to 0.75 mm. And also add some blend to the sharp corners. The final fender is below,
MANUFACTURING PROCESS
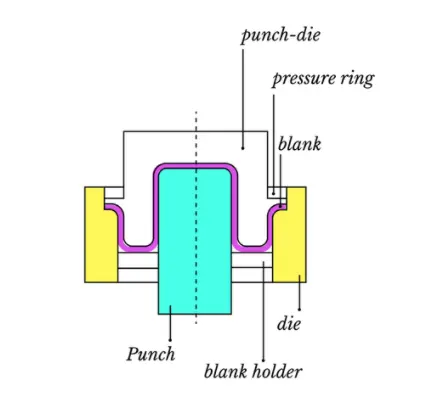
STAMPING METHOD is used to manufacturing the fender.
Stamping: In stamping, a device called a stamping press is used with a series of dies to cut and form metal into various shapes. This is commonly used to make auto parts such as hubcaps and fenders.
CONCLUSION
Finally design of fender is done with the help of NX-CAD software by following the master section