Fender Design
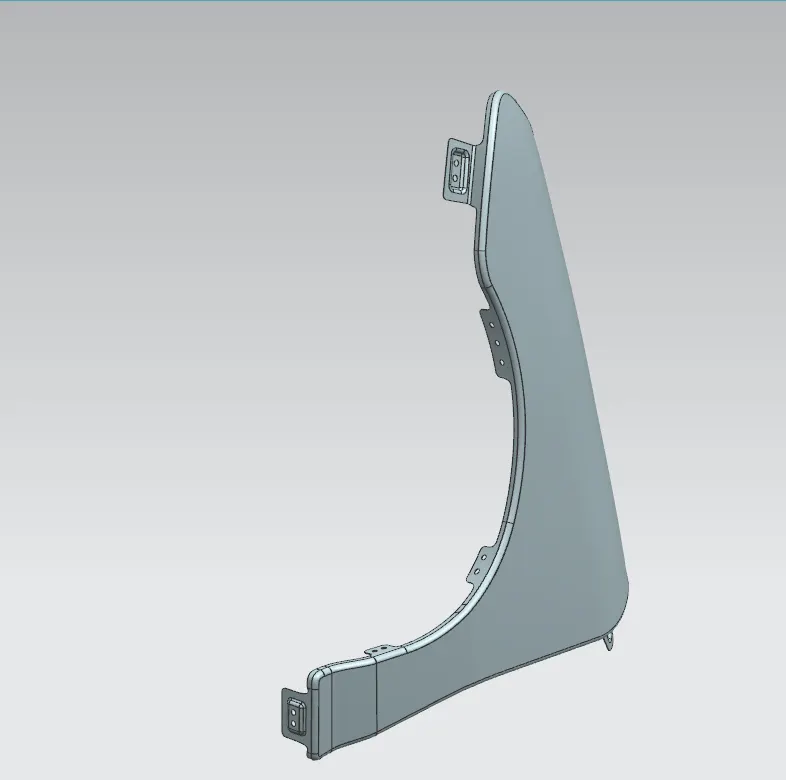
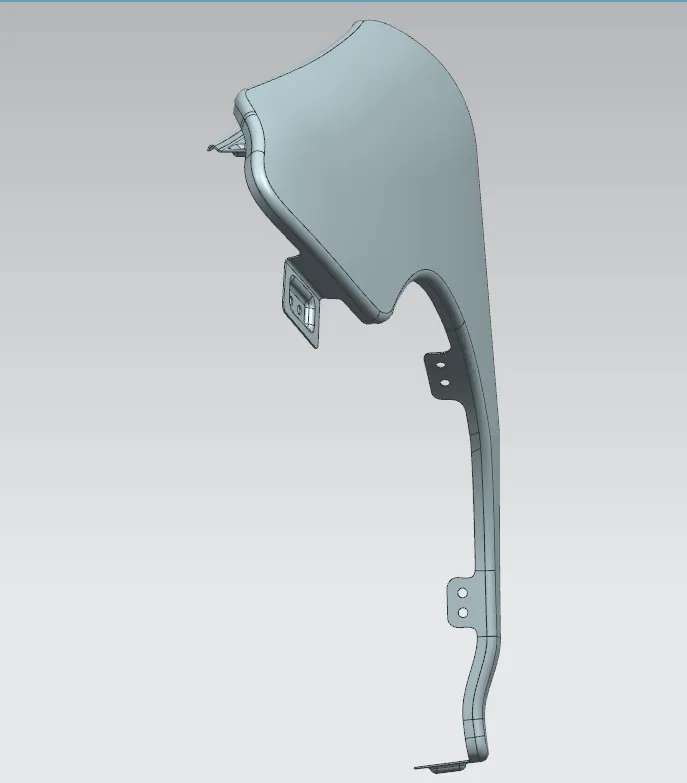
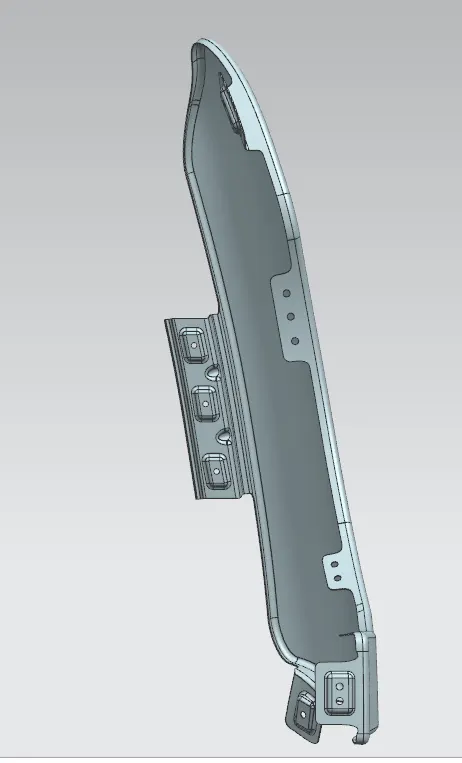
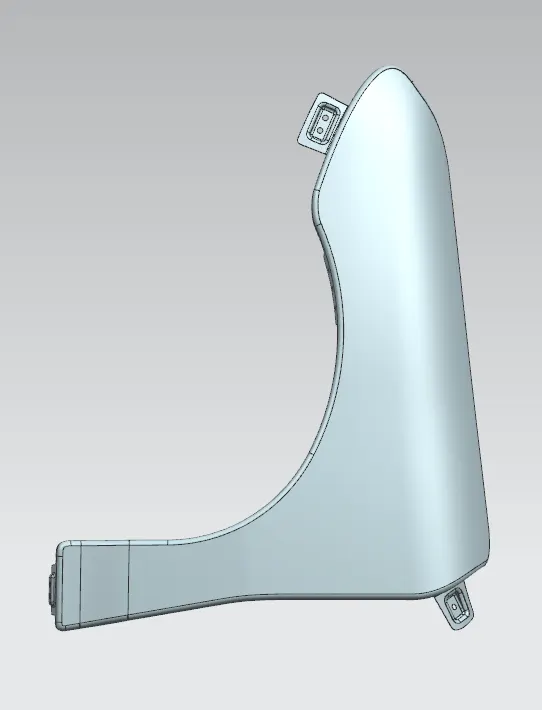
AIM- Design a front fender from given input surface, and designing drip mounting using master sections , A-pillar, bumper,sill mounting and buffle mounting.
Fender
- Fender is an aesthetic part, which is located over The wheels of the vehicles both left and right side of vehicle.
- It is used to protect and frames its wheel.
- It prevents from debris, mud, rocks pieces, sand and liquids away from engine and pedestrian while the wheels rotate.
- It is mounted with A-pillar ,sill , drip area , bumper and body of vehicle.
- The material with suggested for thunders are Steel , Aluminium or fiber material .
- There are total 4 fenders (2 Front Fender and 2 Rear Fender)
Types of Fender
- Full bumper type
- Half bumper type
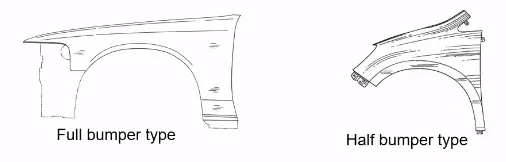
Full bumper type
- This type of bumper were mostly used in old model cars
- Since it cover more area ,so the weight of car will increase and it will result in its performance.
Half bumper type
- The type of fender are commonly used in today's vehicles.
- This is also able to save lot of material, as we are reducing blank size and are able to create two or more fenders from same amount.
- It also reduce wastage of scrap.
- the decrease in sheet metal will increase the performance of our car.
Fender Regulations
- For the safety of pedestrian there are different regulation set by different countries.
- This regulation will depend on the condition of roads.
- In this regulation the common thing is that the tires will always inside the fender but the distance between them will vary for different countries.
Sum of regulation are
- Japan regulation
- European regulation
- United State regulations
- As per Japanese regulation the gap should be 5 mm or more at 3 points(1st image).
- As per US regulation the distance should be 5 or more but the points will lie after every 10° between -20° to 180°(2nd image ).
- As per European regulation the minimum distance should be 10 mm or more at 5 different points(3rd image ).
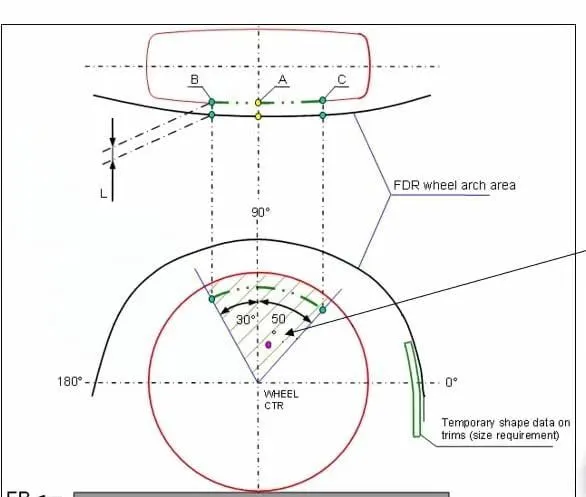
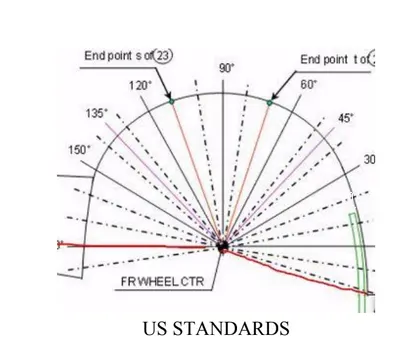
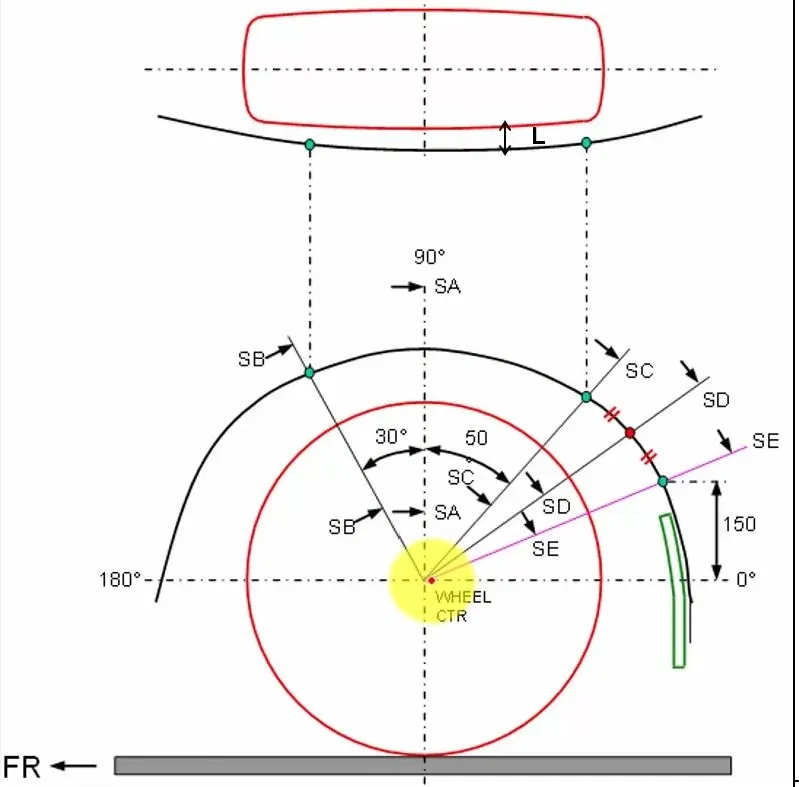
MOUNTING OF FENDER
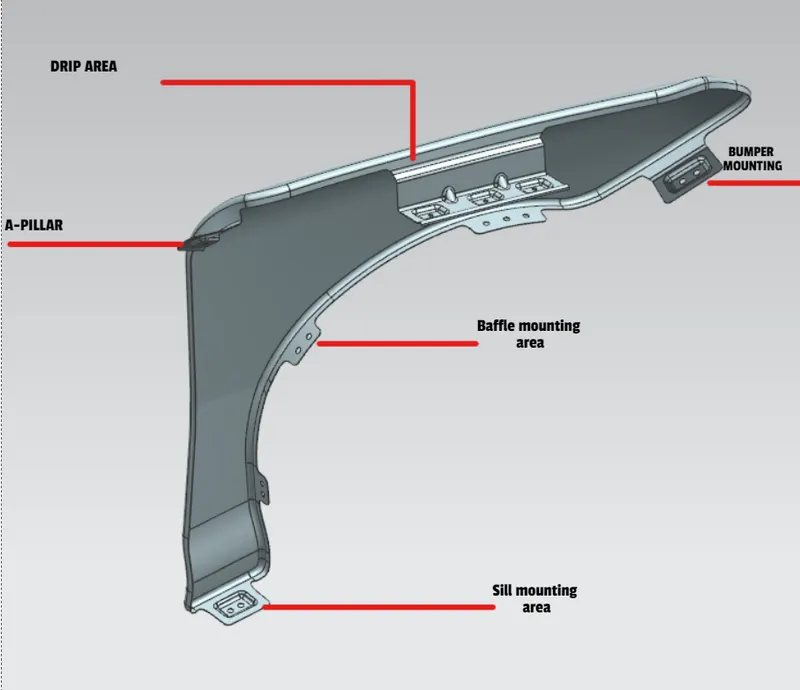
Front Fender consists of 5 mounting portions
- Drip Area
- Bumper mounting
- Sill mounting area
- A pillar mounting area
- Baffle mounting area
1.DRIP AREA
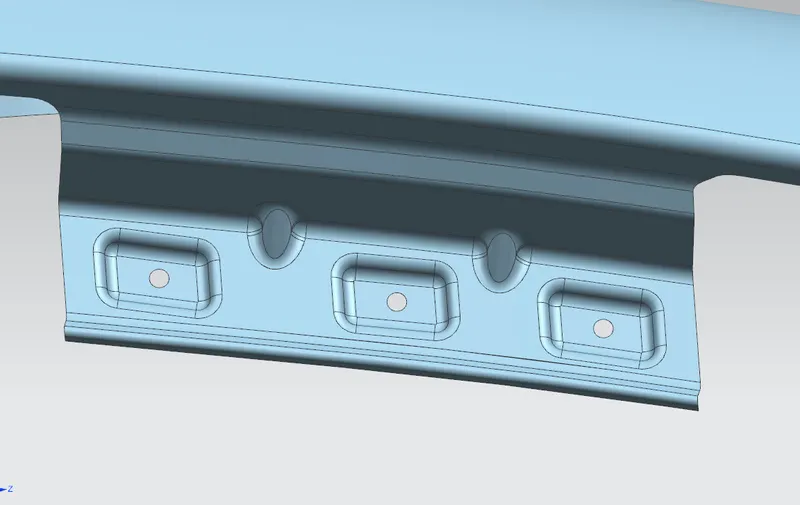
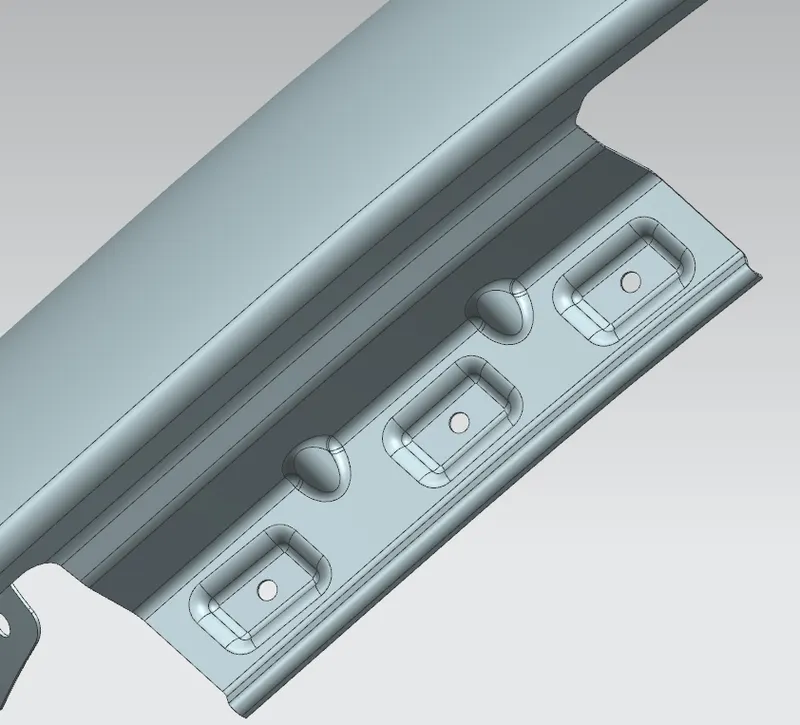
- Drip area is the area on which the fender is mounted to engine bay.
- While designing of drip area we should keep following consideration.
- From front the clearance distance of front fender should be 150 mm for headlamp housing units.
- The minimum clearance distance from Cowl to drip area should be 200 mm.
- The height of the drip Mounting should not be greater than 40 mm.
- If it is more than 40mm , there will be spring back effect and noise vibration harness (NVH).
- We have constructed the drip area with the help of master section below.
STEPS FOR DESIGNING OF DRIP AREA
- First We Will Offset The Curve 5mm in lower direction.
- Now we make curves for drip area and trim it as soon in below image.
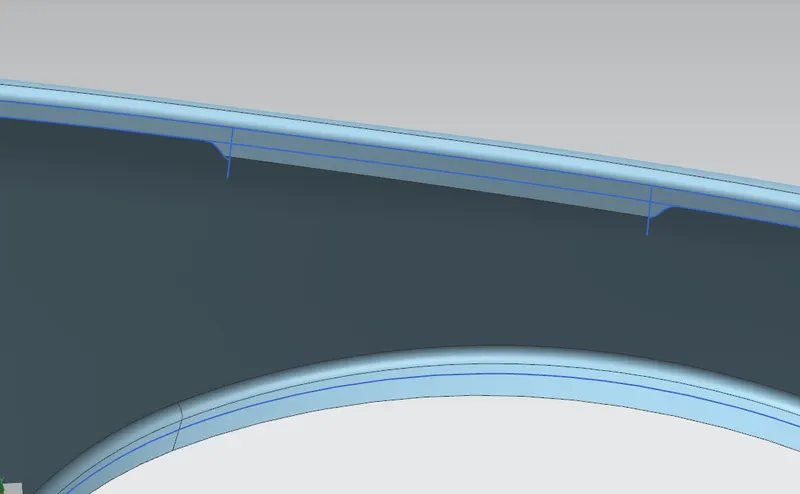
- Next with the help of law extension we will make our structure of drip area, following master section and apply the blends.
- To add the strength we will make ribs with the DART command.
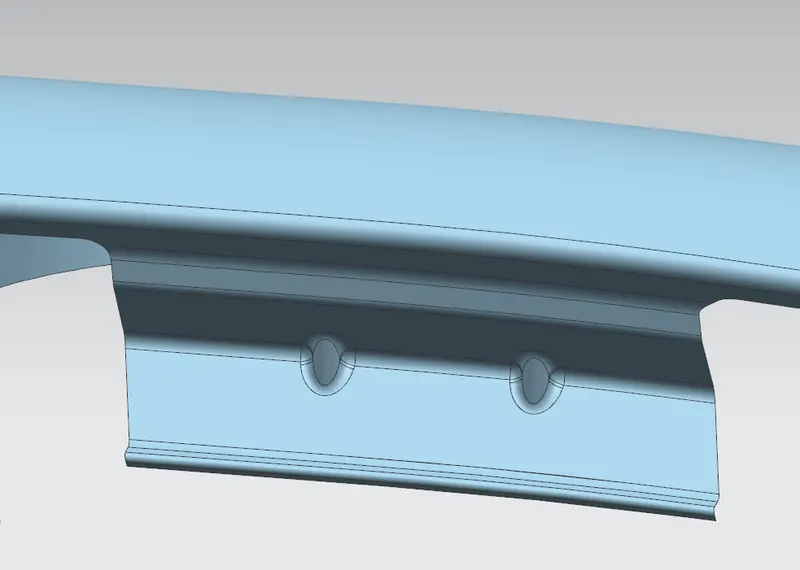
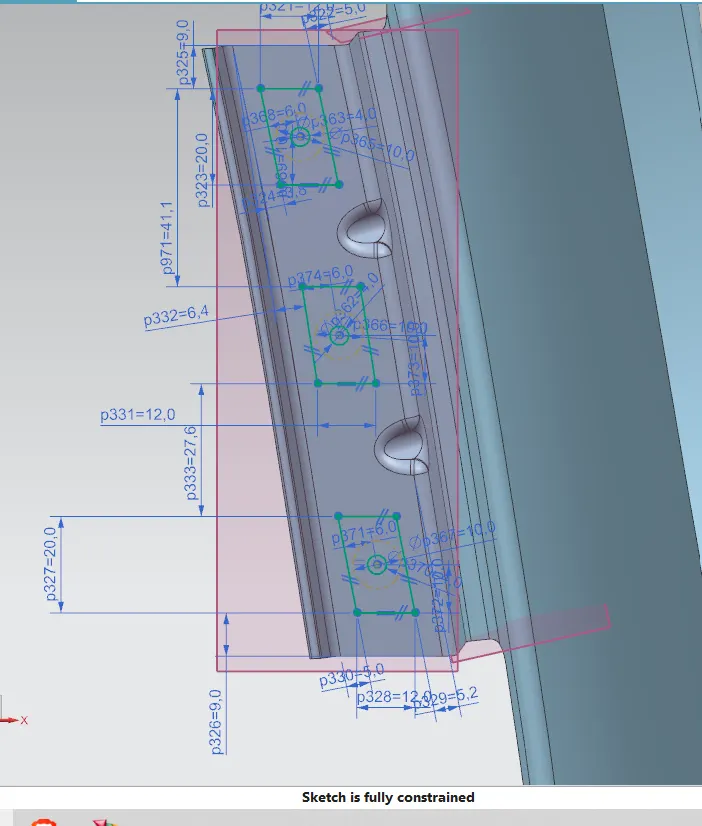
- Next we have to create emboss for mounting and apply the fillets.
- For this we have made a Sketch as shown below.
IMAGES OF DRIP AREA MOUNTING
Sill Mounting region
Sill mounting is the bottom side mounting of the fender, where the mounting is done at the sill of the car.
- First I have used extend sheet command to extend the sheet.
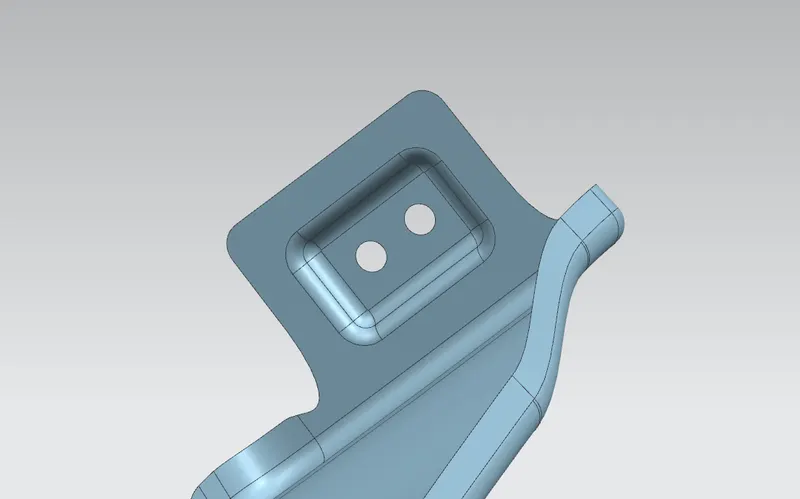
- With the help of below sketch we have made sill mounting area and made corner smooth with curves and trim commands.
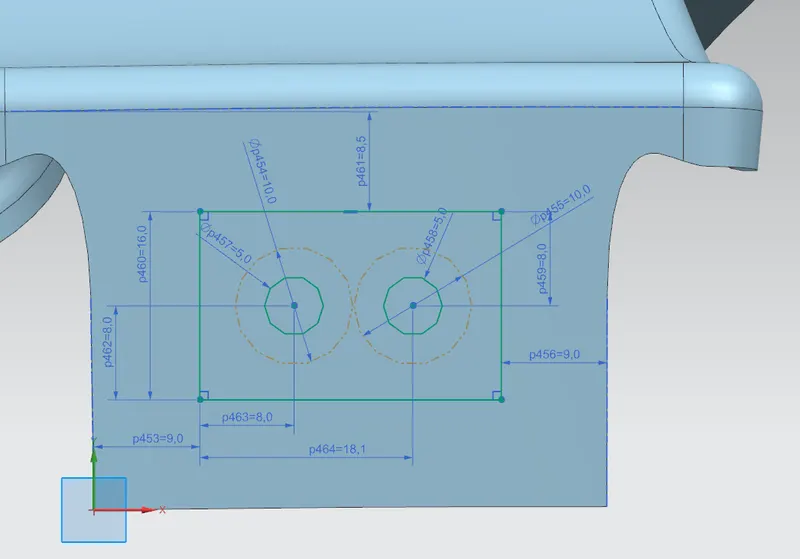
IMAGES OF SILL MOUNTING AREA
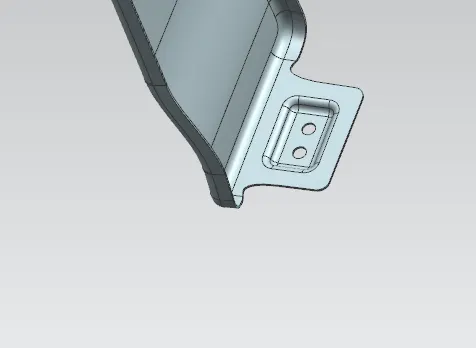
Bumper Mounting Area
Bumper mounting is used to mount bumper with the Fender.This is located at the front of fender.
- Here first I have used law extended extension
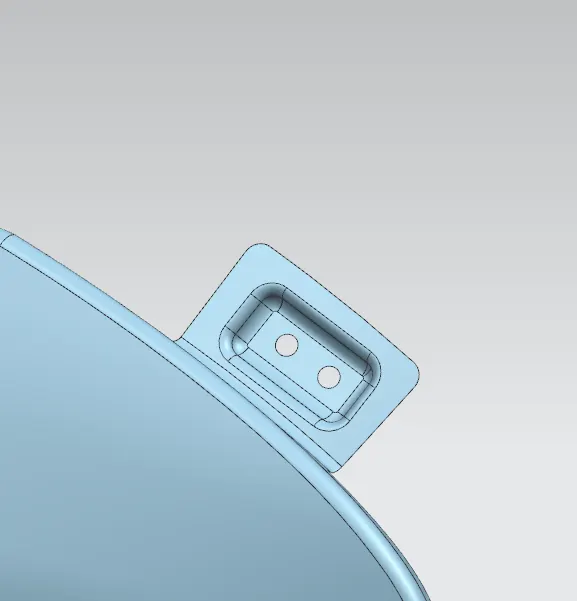
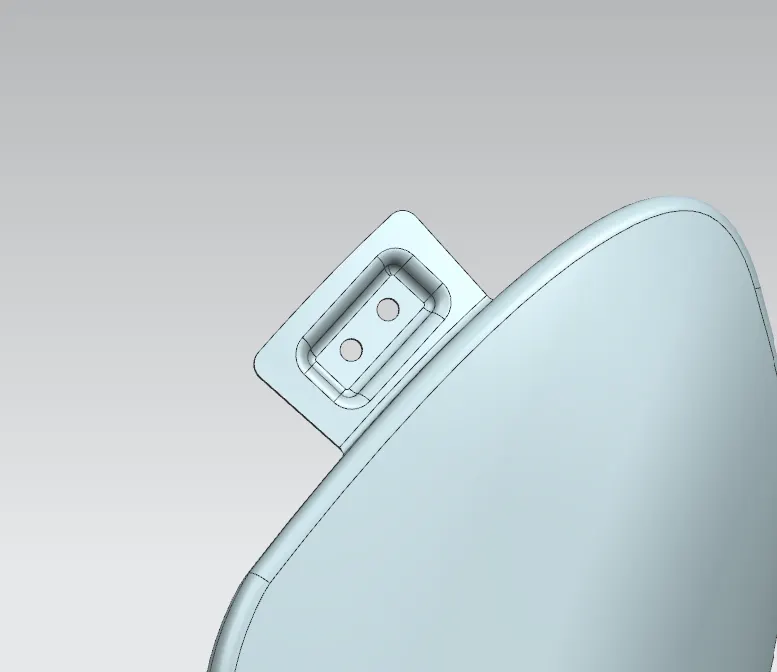
- Now I have drawn I sketch and with the help of sketch I have created a emboss as shown below.
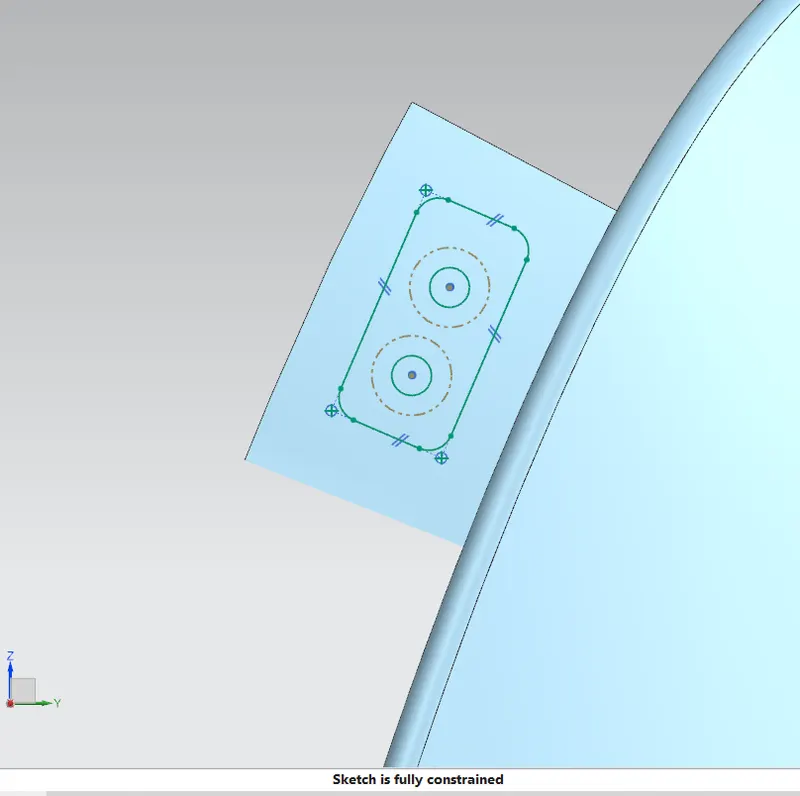
IMAGE OF BUMPER MOUNTING AREA
BAFFLE MOUNTING AREA
- In baffle mounting wheel arch will be mounted with fastener.
- There are three location for mounting.
- The baffle is the component which protect our engines components from rock,sand and other debris.
- To make these Buffle mounting area we have made a plane with 3 points and made a Sketch of circles.
- Now we have projected circle in the surface and use trim command and our mounting area is obtained.
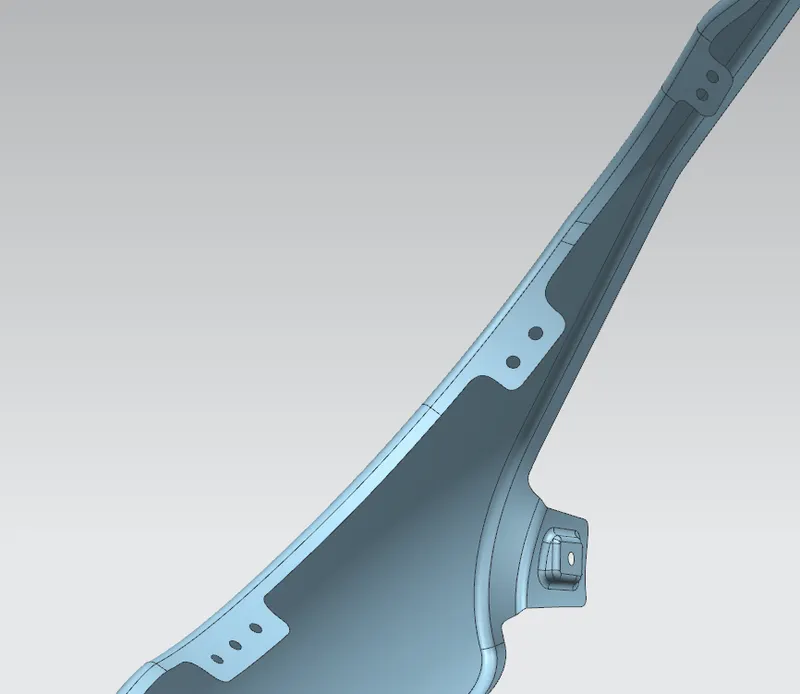
A-pillar Mounting Area
This is use to mount the A pillar of vehicles to the Fender using fastener.
- To make this first we will use law extension.
- Now we will make a plane with the help three points
- Draw the sketch as soon below for making emboss
- Now apply the fillets and make corner smooth.
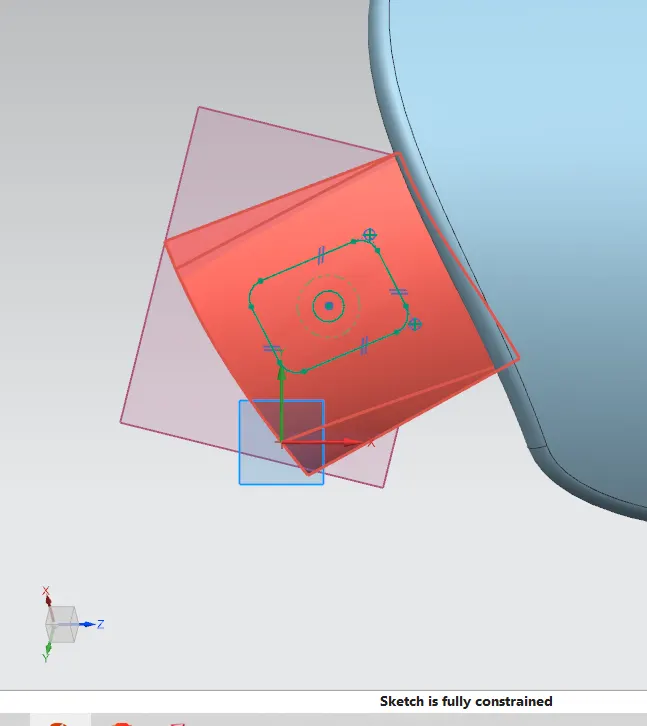
IMAGE OF A-PILLAR MOUNTING AREA
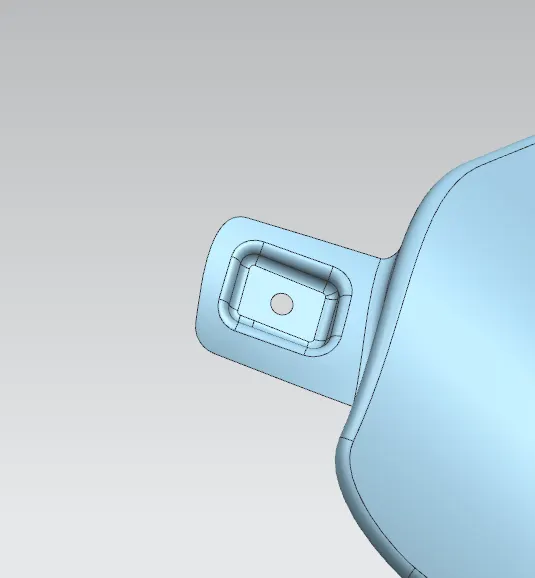
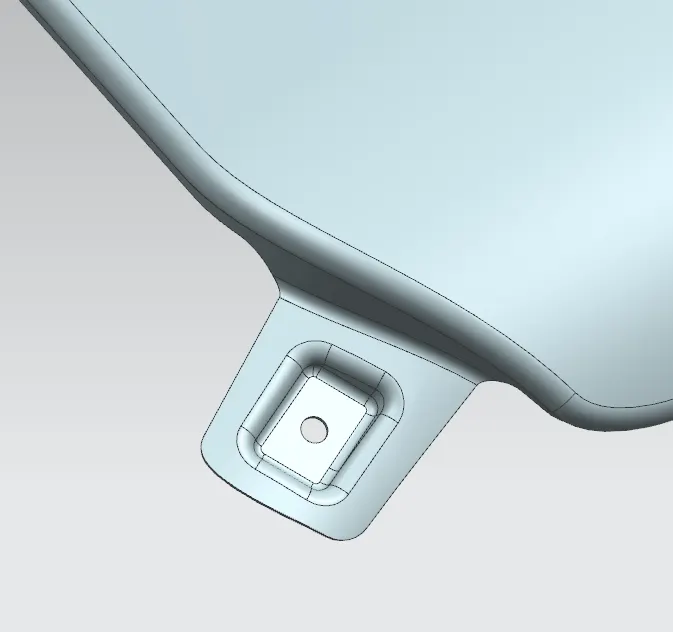
VIEWS