Door Arm Rest Week 8 Challenge
Aim - Create the Door Armrest component using the given Class-A Surface of the armrest and the door.
Objectives:
- Create CLASS B and Class C Surface for the Door Armrest using the given Class-A Surface.
- Use the given Class-A Surface of the Door for reference.
- Use the Close Surface feature to make a solid body from the surface.
- Use the publication option and publish the Class A, Class B, and Class C Surfaces and the tooling axes.
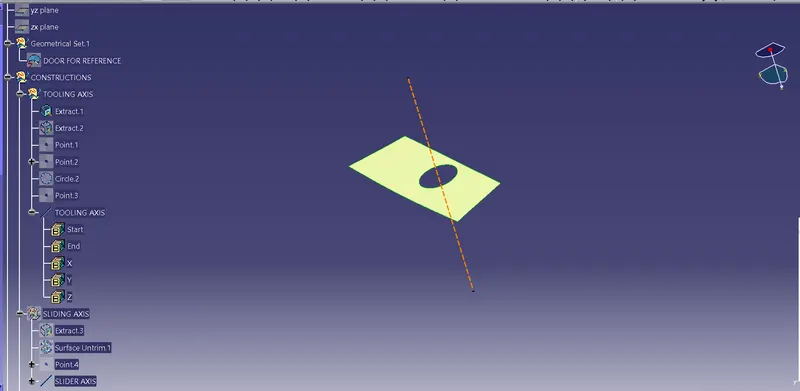
Tooling Axis :
The base surface or base from the pocket from the Door armrest class A Surface is extracted and the tooling axis is created normal to the surface. The point for the tooling axis is created by extracting the boundary from the base hole and an arc is created since the extracted boundary is discontinuous, using the third point created on the extracted boundary using a ratio of 0.5.
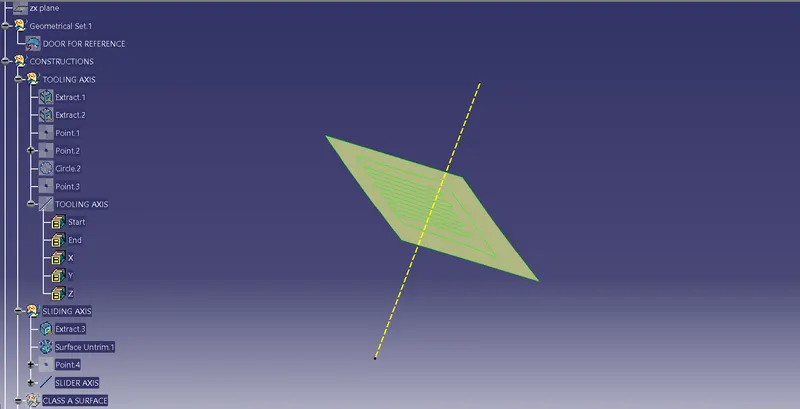
Slider Axis :
The side face of the door armrest class A surface is extracted and untrimmed and a point is created on the surface. A line is now drawn normal to the surface which acts as the slider axis.
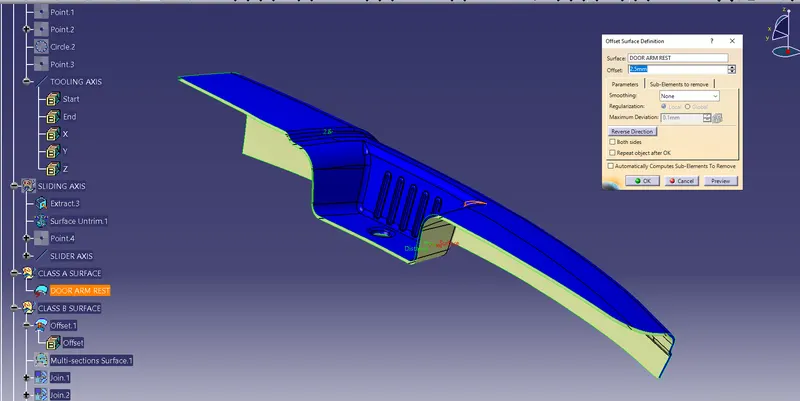
Offsetting Class A Surface :
The class A surface is offset to a distance of 2.5mm as per the design parameter.
Removing side ribs :
Generally, in a door armrest, any inward ribs can not be created and there is a surface which has not been extrapolated.
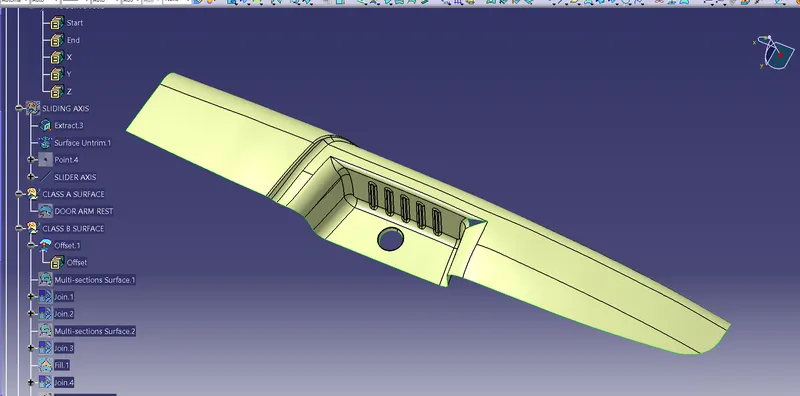
Removing the ribs :
The ribs from the back surface is removed by using join sub-elements to remove command.
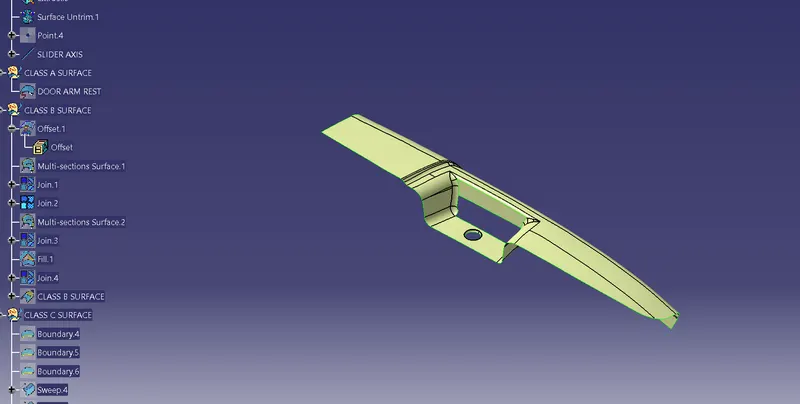
Class B Surface :
The fillet surface on the bottom is created using multisection selecting the side edges as profile and the edge of the base as guide. Then the remaining portions are filled using fill command.
Now the edges of the created offset is extrapolated and is named as class B Surface.
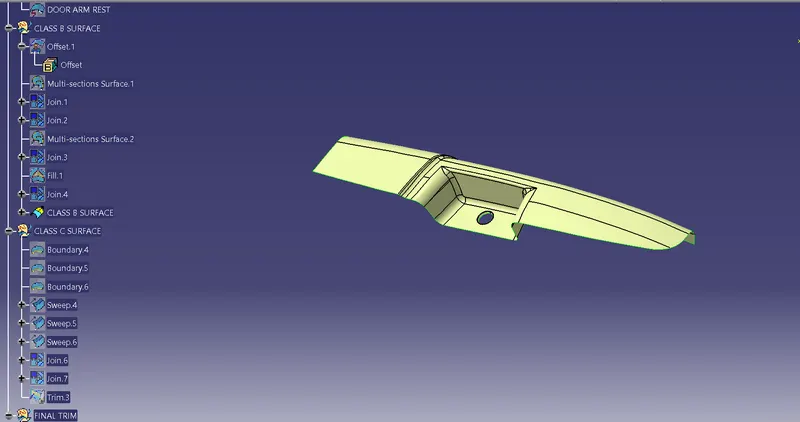
Boundaries :
Boundaries are extracted from the class A surface and are curve smoothened using the curve smooth command with a curvature value of 0.001mm.
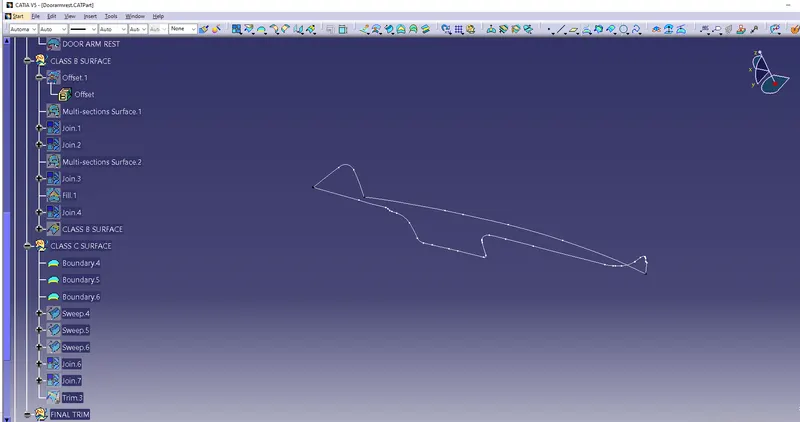
Class C Surface :
The smooth curve is swept using sweep > Line type >with reference surface > 90 deg angle (5mm sweep length). The edges are joined to form the class C surface.
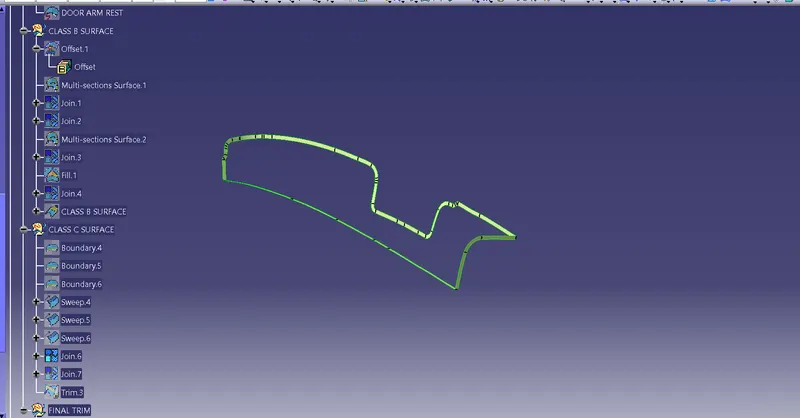
Joining A & C surface :
The class A surface and class C surface are joined using the join command.
A,B & C Part :
class C surface is trimmed with the A & C surface join to create the final part of A, B & C surface trims.
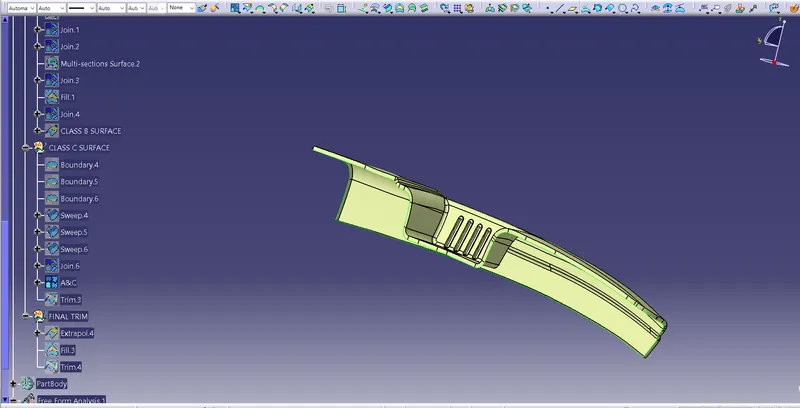
Final Part :
After joining all the faces there will be a surface left to fill in the bottom.
The class B surface hole is filled and the Class A surface hole is extrapolated and then trimmed to form the final part or final surface.
The final Surface finish of door armrest :
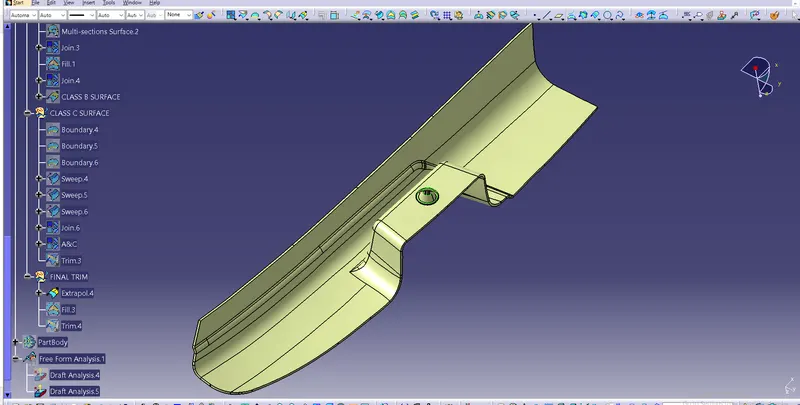
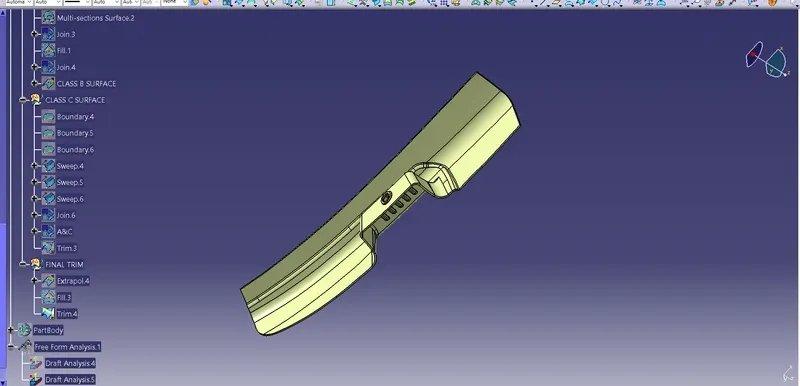
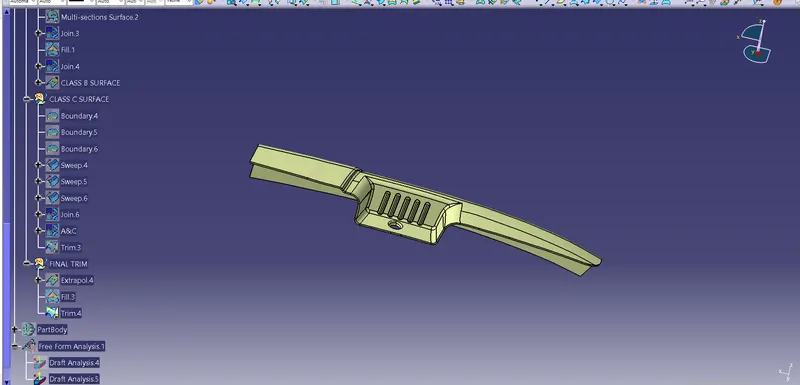
Part body conversion :
The workbench is changed to a part body workbench from a surface design workbench. Using the closed surface command the surface model is converted into a solid part body.
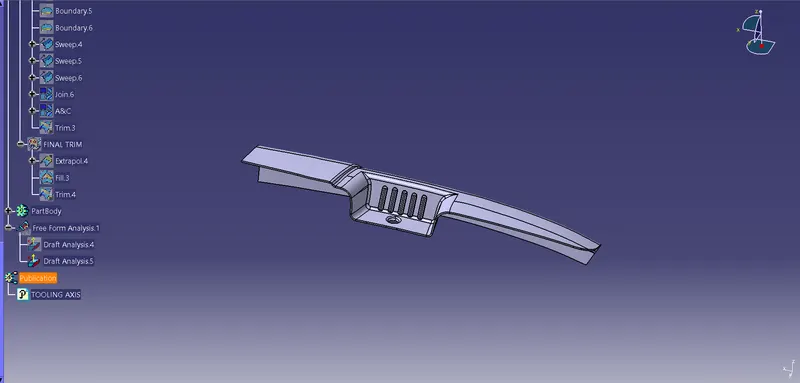
Draft Analysis :
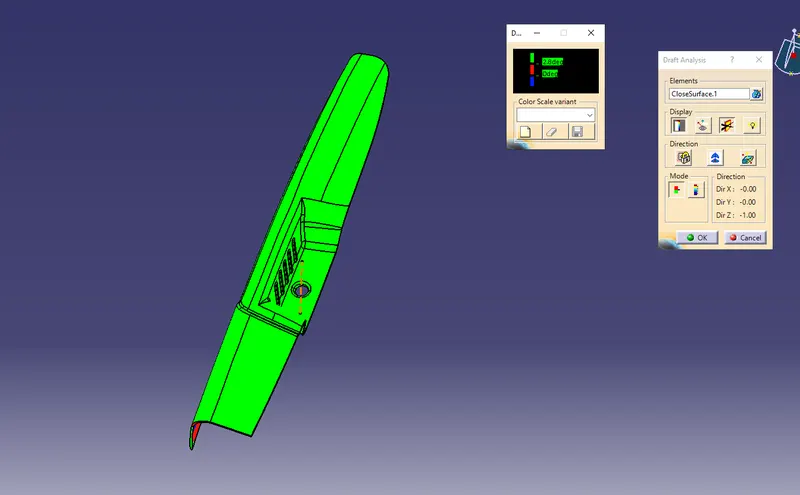
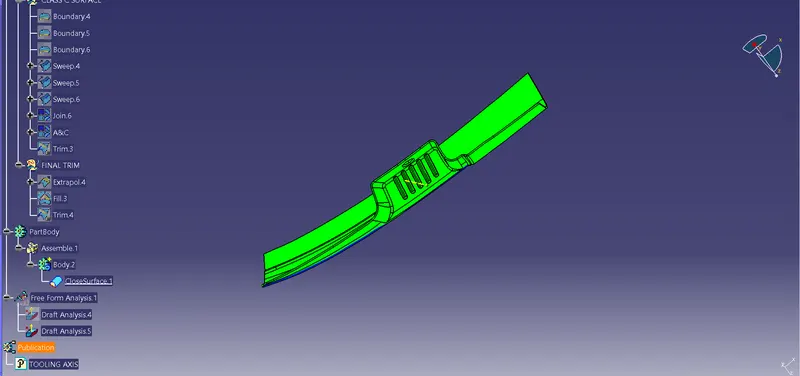
Conclusion: There are lots of deviations and corrections to be done with the class A surface which have to be done by the surface A designers. The part body is created for the given surface and a draft analysis is done and submitted.