Door Arm Rest Week 8 Challenge
Drafting analysis on door arm rest
Tooling axis creation
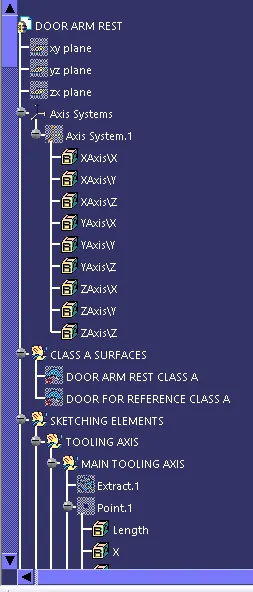
- Extract the base surface and create a point on the extracted surface.
- So using the point create a line in Z direction.
- Now, again extract the side wall surface and create a point on extracted surface.
- Using the point create a line in X direction.
- So these two lines will be considered as tooling axis of the model.
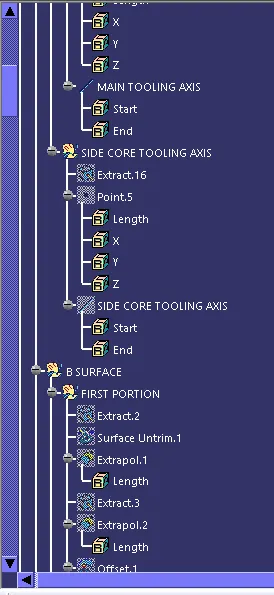
- Z direction line is considered as the MAIN TOOLING AXIS and X direction line is considered as SIDE CORE TOOLING AXIS.
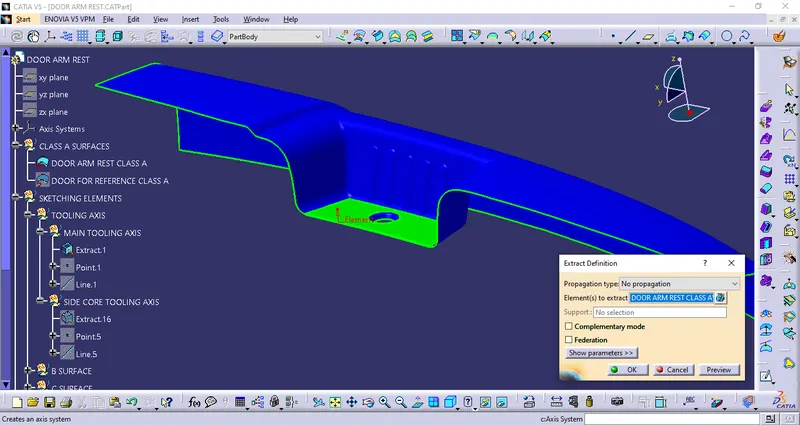
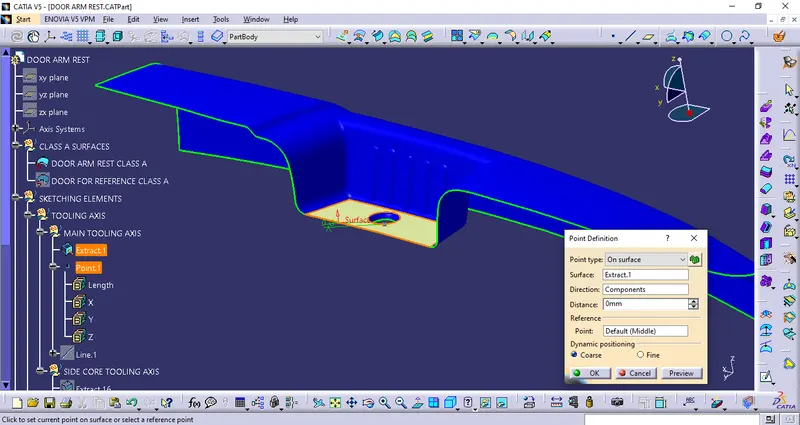
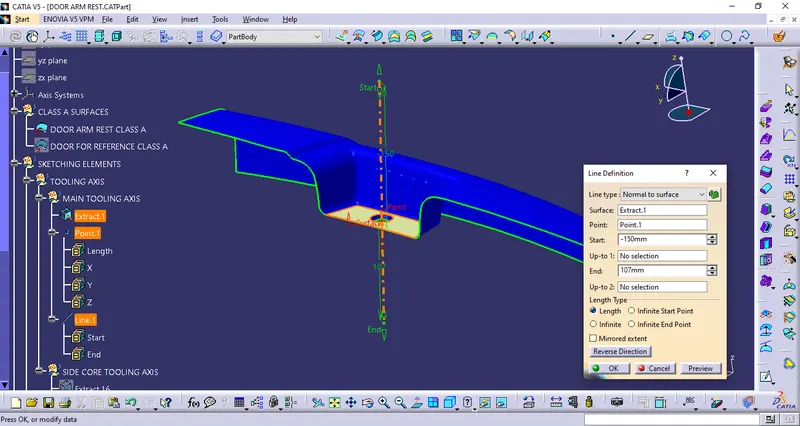
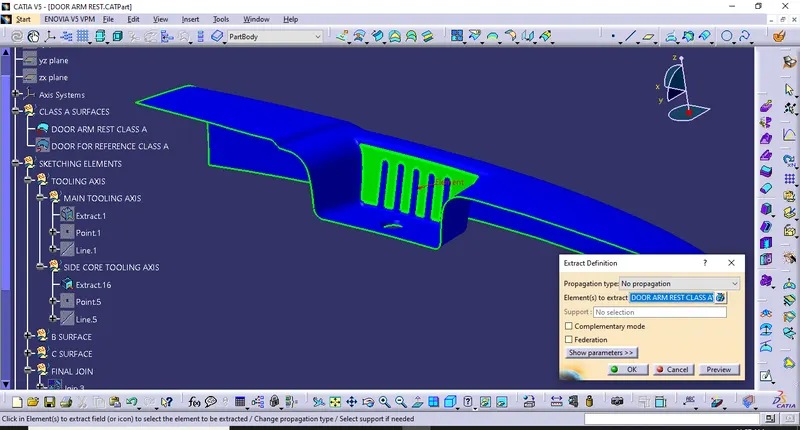
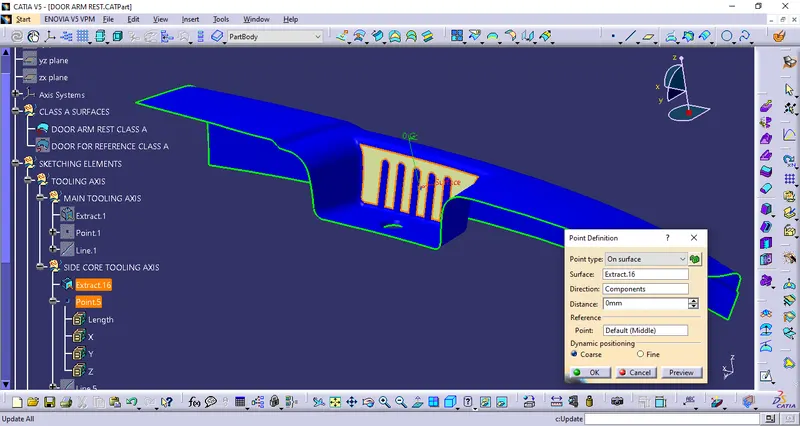
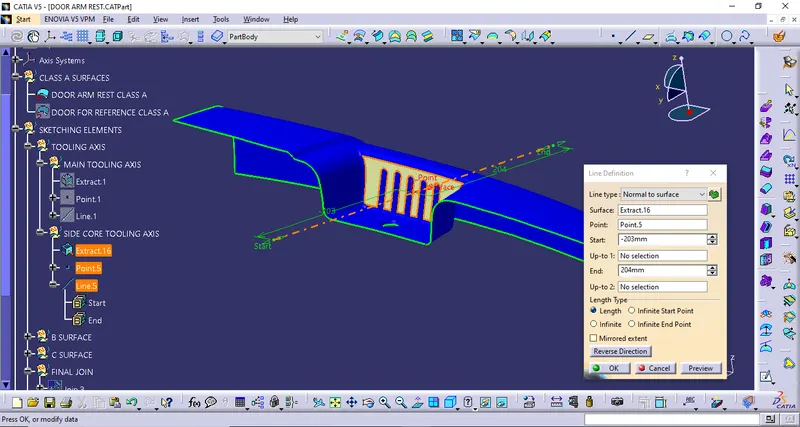
Draft analysis on class A surface
COMPASS METHOD
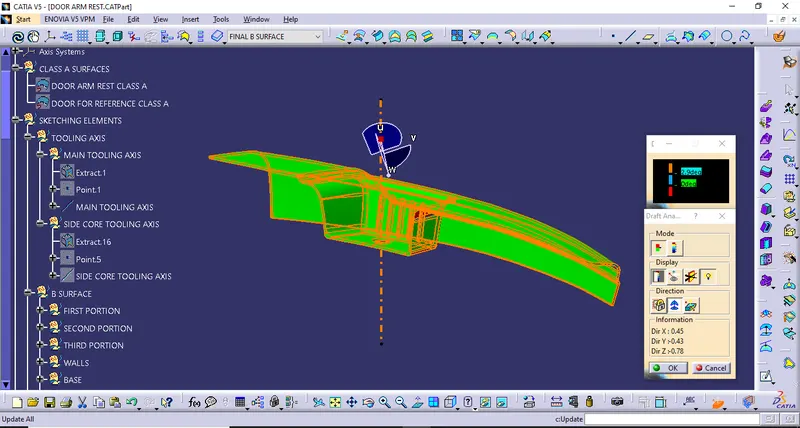
- The first step in draft analysis is to change the view into material mode.
- Then considering main tooling axis, select draft analysis feature.
- Now grab the compass and place it on the main tooling axis.
- Adjust the compass so that the surface get turns into green.
- Now the red color surfaces may get solve in other tooling axis i.e side core tooling axis.
- Select the draft analysis feature, grab the compass place it on side core tooling axis, adjust the compass until the surface turn into green.
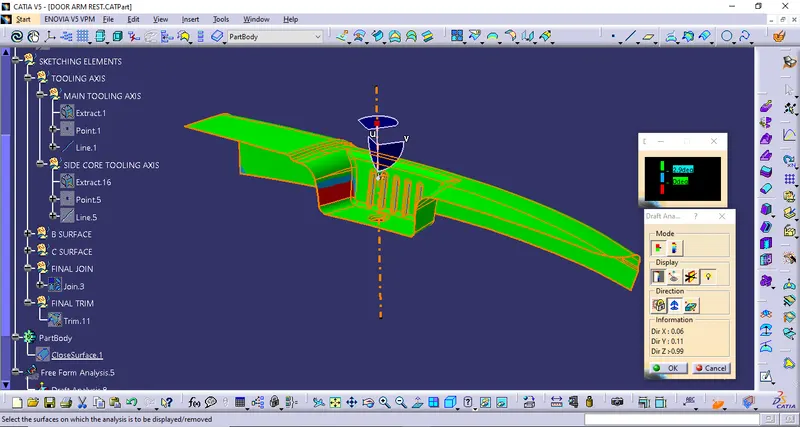
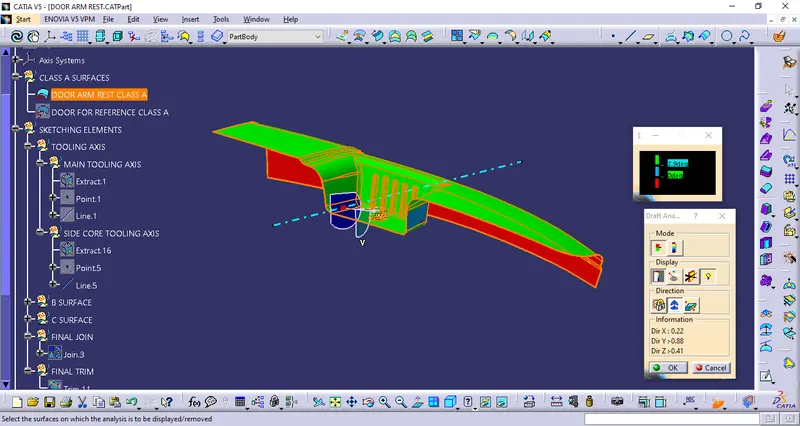
B surface creation
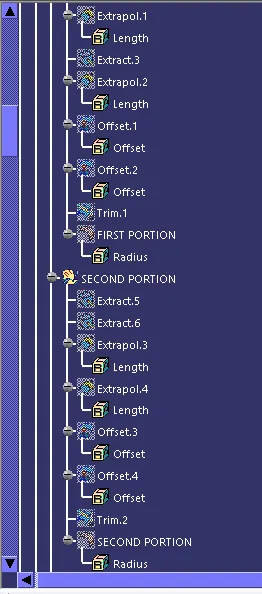
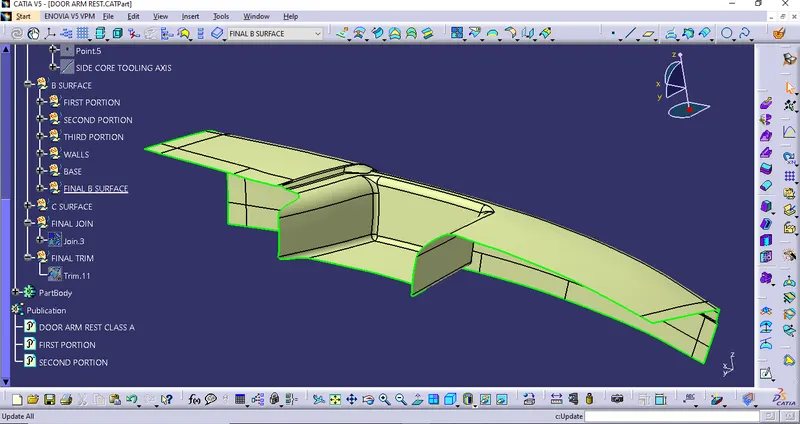
- Extracting the required surfaces of class A surface
- Untrim the extracted surfaces.
- Extrapolate the untrimmed surfaces to some extent.
- Trim the surfaces according to required shape.
- Now offset the surface inside to the class A surface about 2.5mm.
- Now create the fillets at required edges.
C surface creation
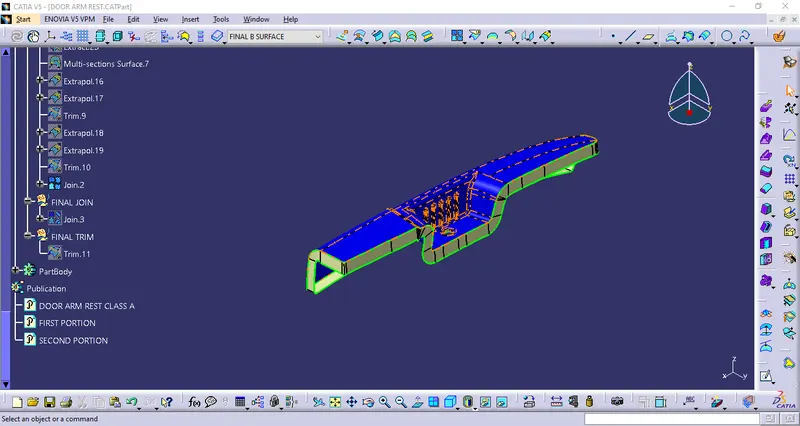
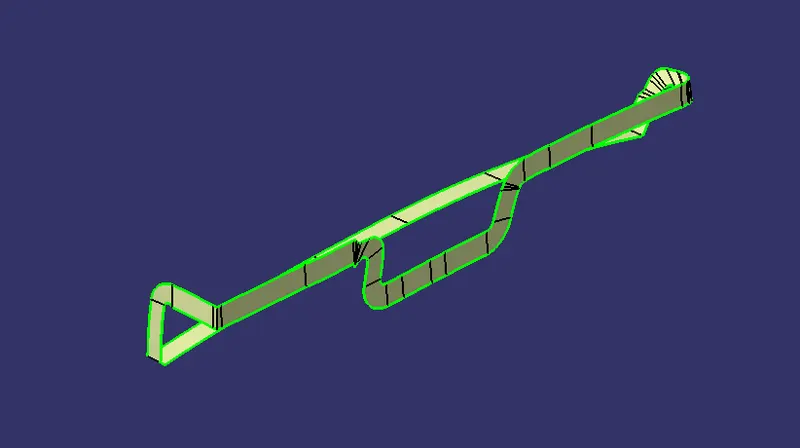
- Extract the boundaries of the class A surface.
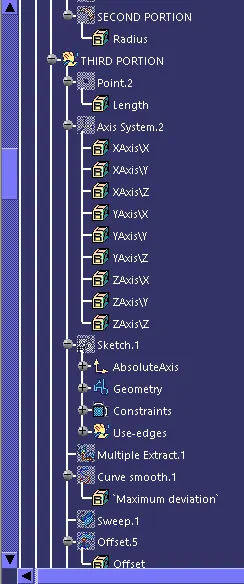
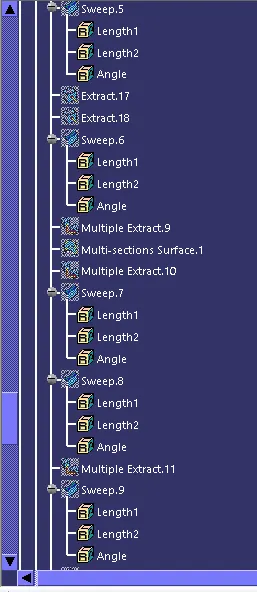
- Use sweep command to create surface.
- Extracted surfaces as guide curve and tooling axis as draft direction, using draft angle as 3 degree.
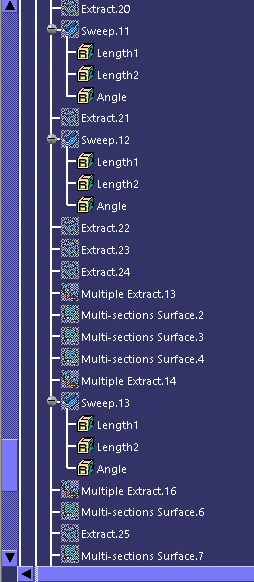
- So multi section surface command is used at some curves to ensure proper surface creation.
Final body creation
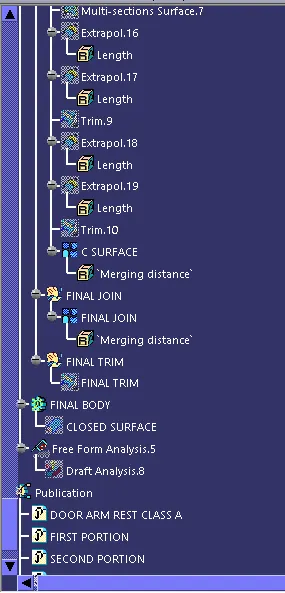
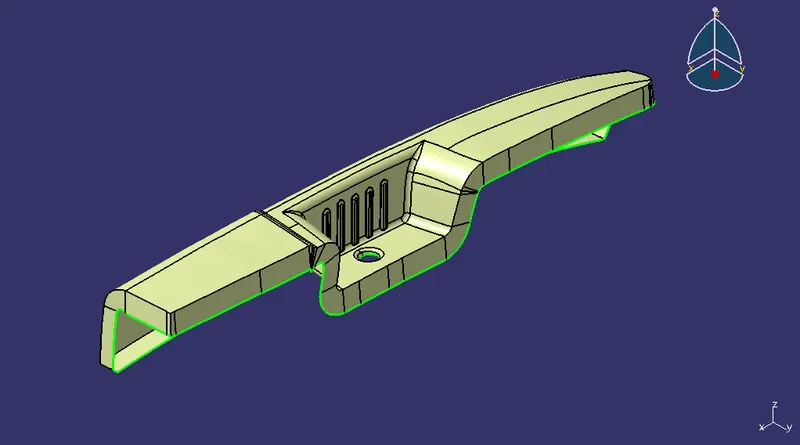
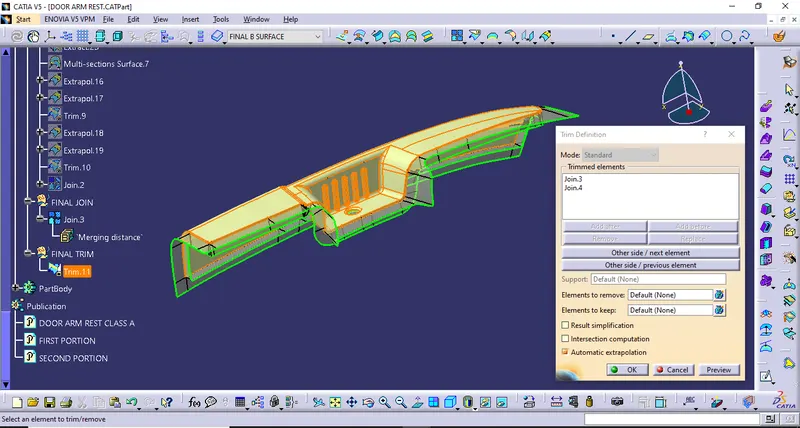
- Now join the class A and class C surfaces.
- And using trim command trim the joined surface of class A & class C with B surface.
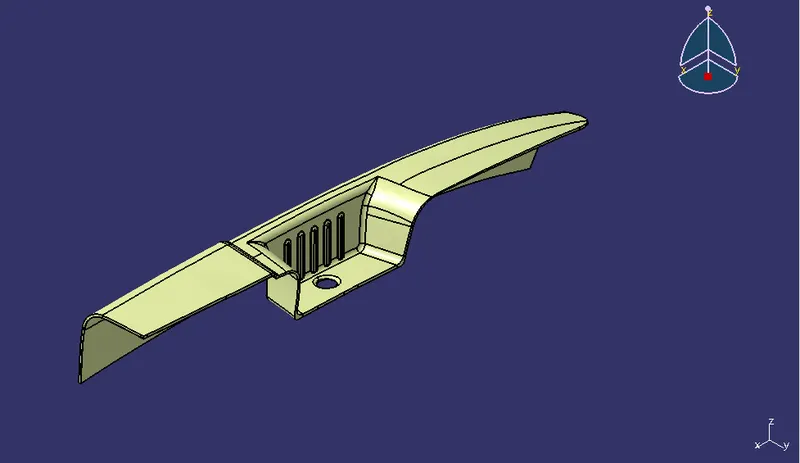
- So a new surface is created.
Closed body creation
- Change the workbench into part work bench
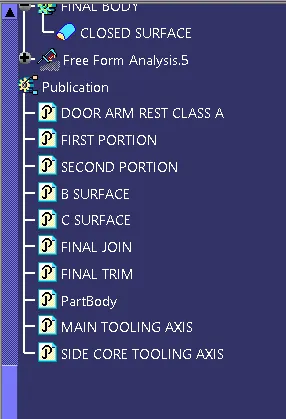
- Use the closed surface command to close the surface
- So a closed body is generated.
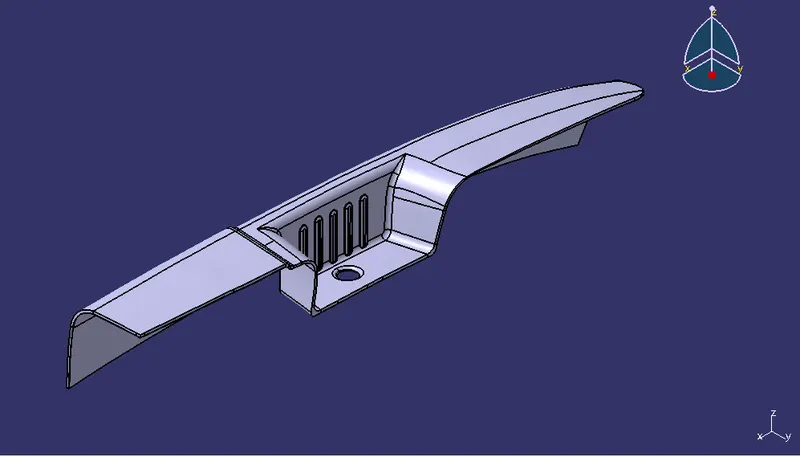
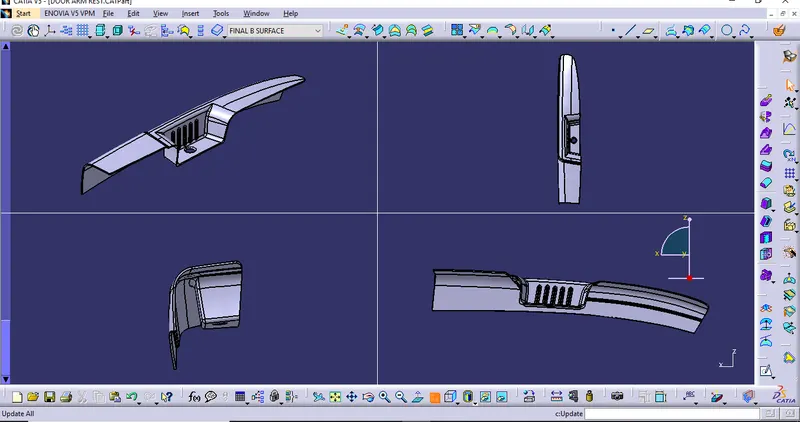
FINAL DRAFT BODY
VIEWS:
ISOMETRIC VIEW, TOP VIEW, FORNT VIEW, SIDE VIEW
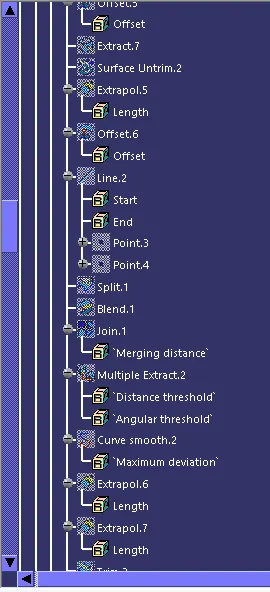
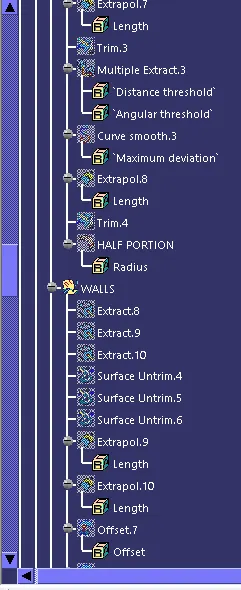
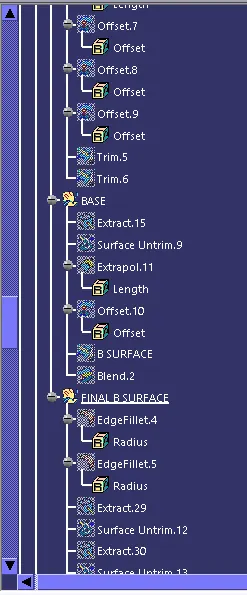
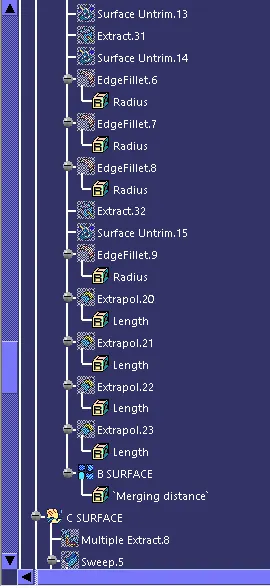
FEATURE TREE: