Door Arm Rest Week 8 Challenge
AIM: CREATION OF DOOR ARM REST AND ADD THICKNESS OF 2.5 mm
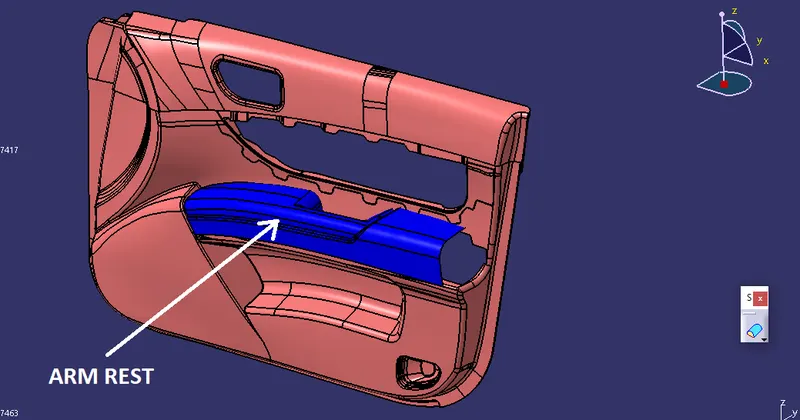
In an automotive context, an armrest (or arm rest) is a feature found in many modern vehicles on which occupants can rest their arms.
Tooling Axis:
- It is the direction in which the component will be ejecting after the molding process is completed.
- The direction of tooling axis should clear the maximum portion of the part.
- It should be selected in such way that number of side cores will be minimum as it will add more cost to the process.
procedure:
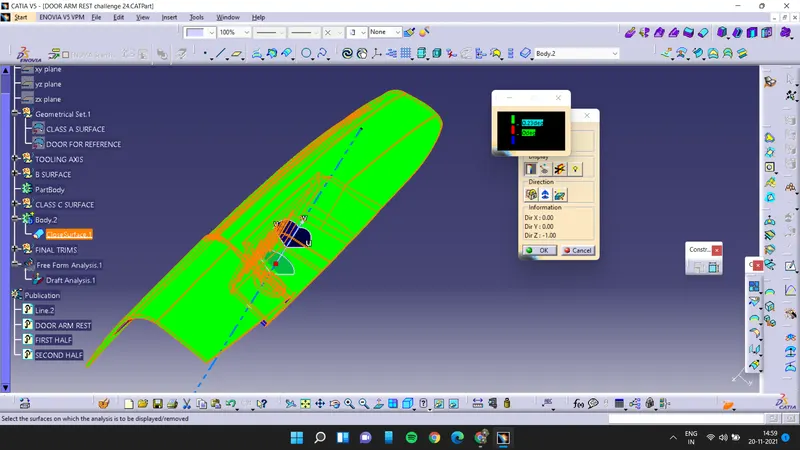
first cheak if any open surfaces are there or not on the given class a surface then create the tooling axis for the class a surface, for this component we used a different approch to draw the tooling axis.
first we have to open the draft analysis and then we have to put the compass from where we will get all the surfaces green in color. then we have to close the draft analysis and create a point over there and we have to crate a tooling axis with respect to the point and direction
Creation B surface:
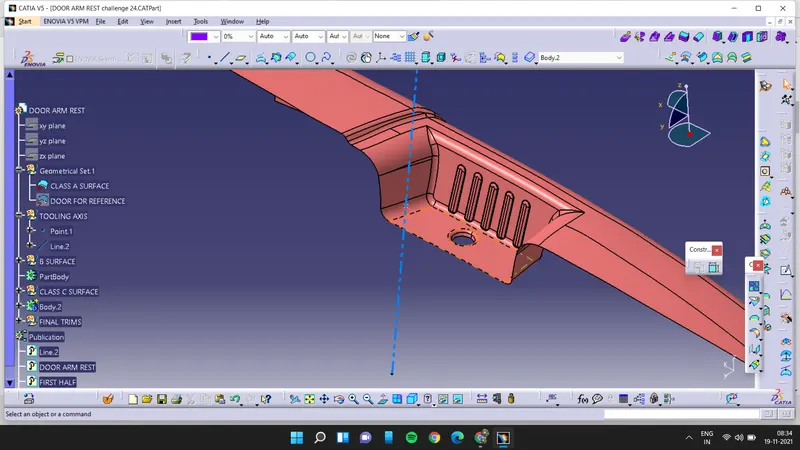
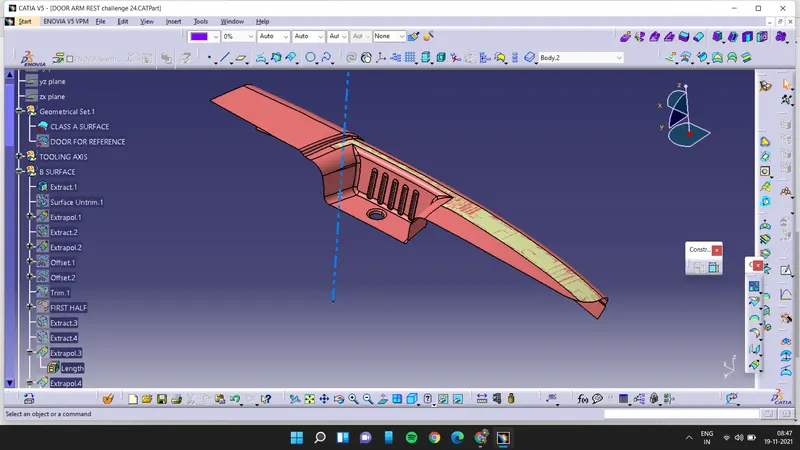
- extract the top surface of class a surface, then untrim the surface and extrapolate it,and then extract the other surface and untrim it and extrapolate it and then offset both the surfaces for 2.5mm inwards and then trim both the surfaces and finally apply the fillets according to the class a surface this is our first half
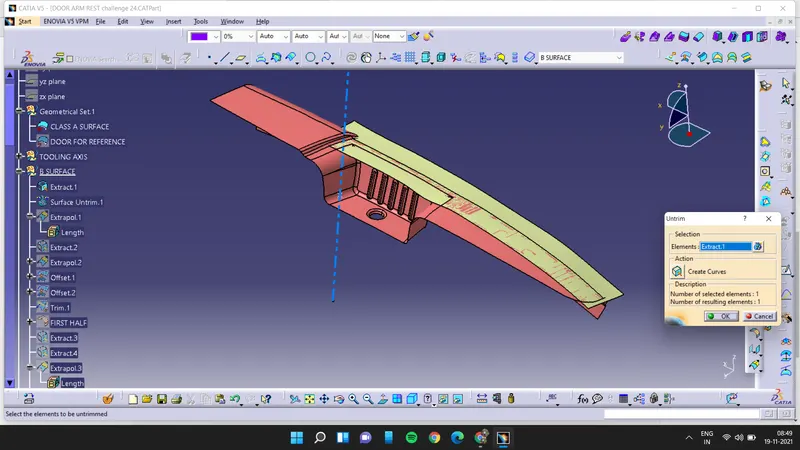
extrapolate:
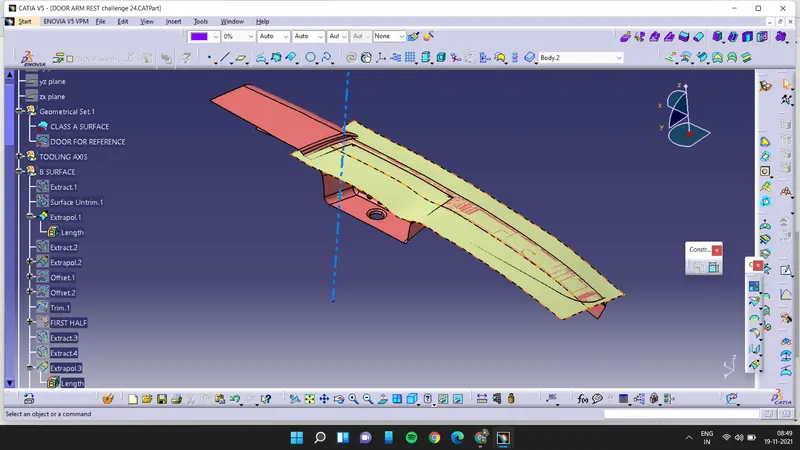
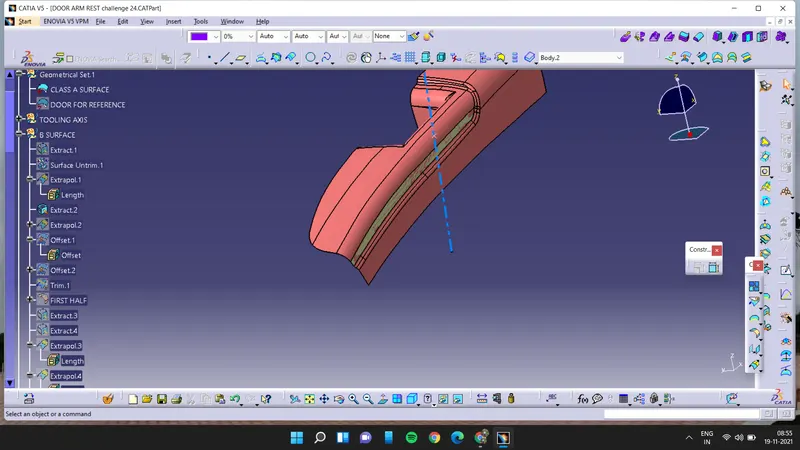
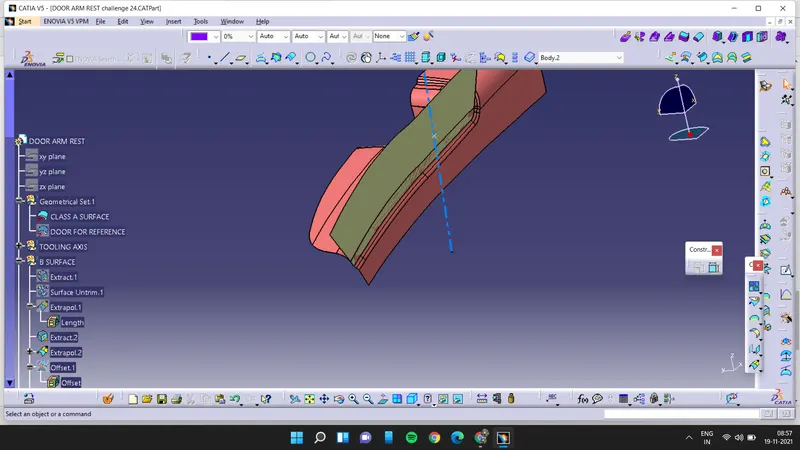
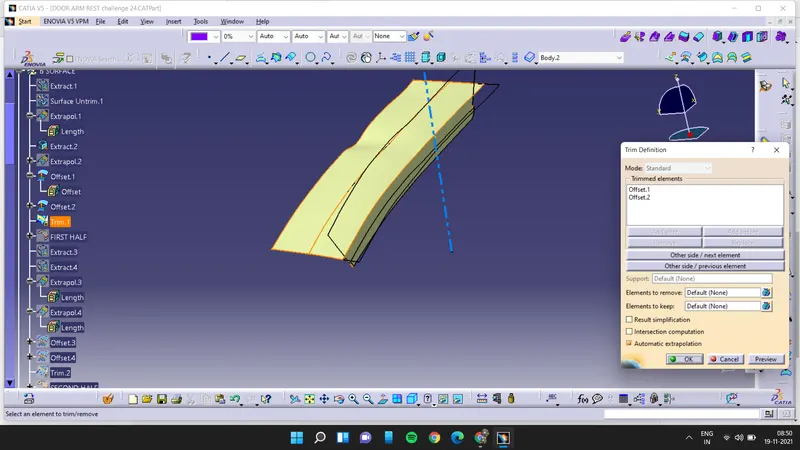
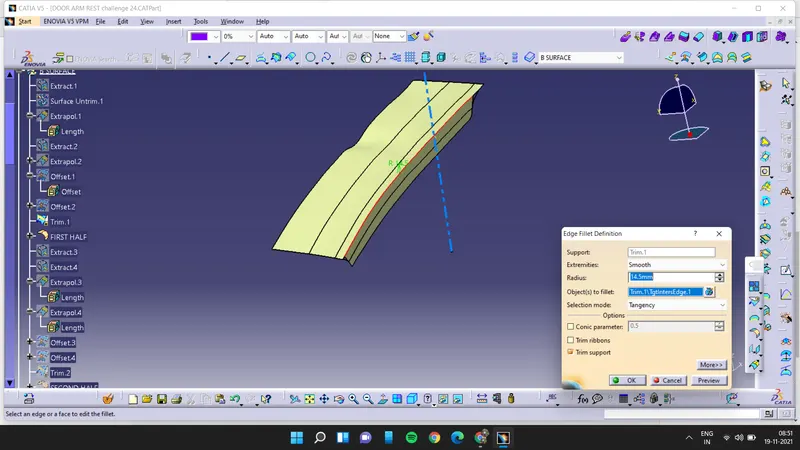
Now extract the upper part and lower part of the class a and then offset it inwards for 2.5mm then etxrapolate both the parts to make a intersection and then trim it and also apply the fillets it will complete the second half
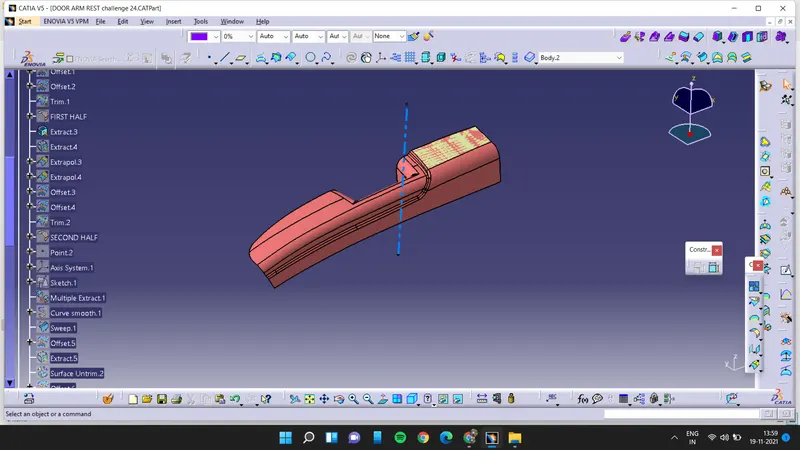
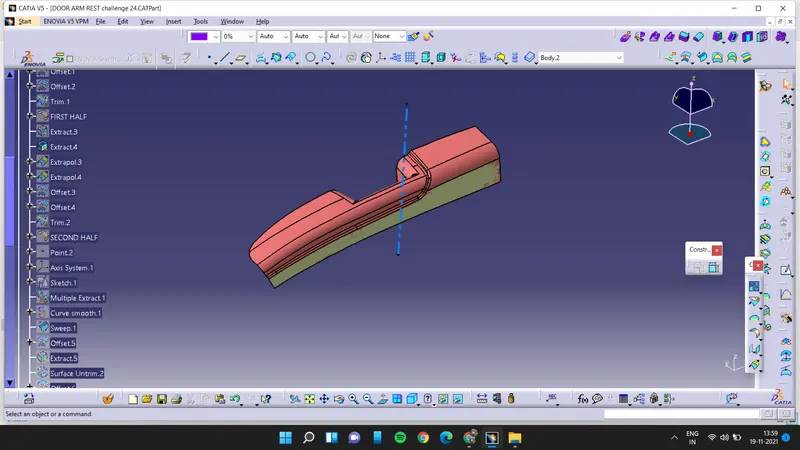
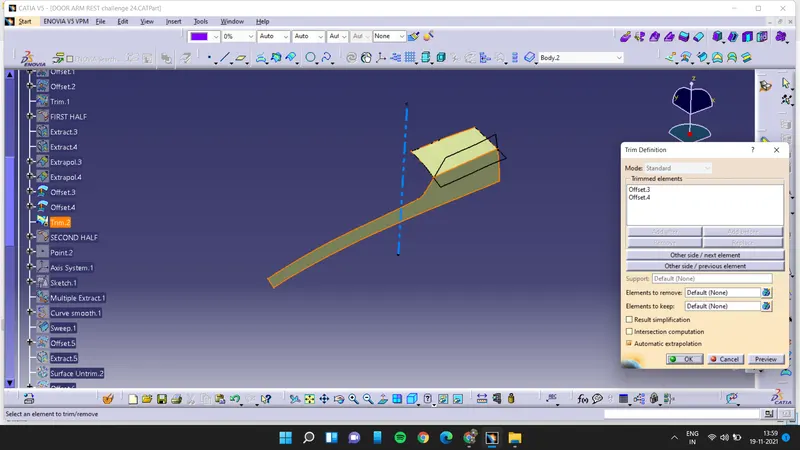
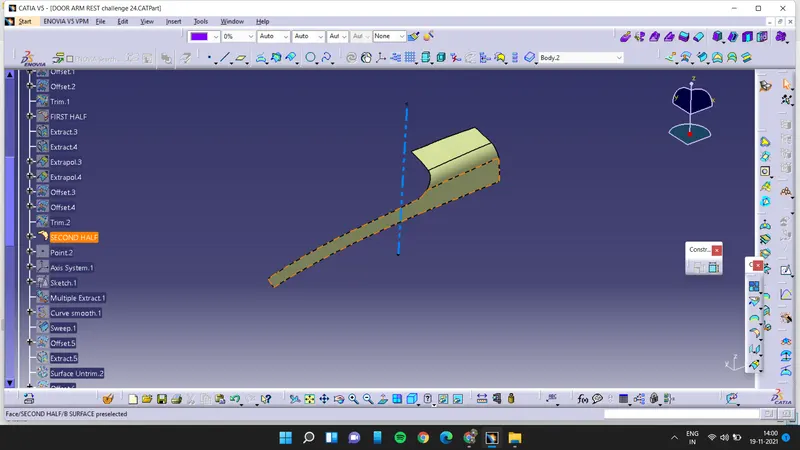
first half & second half:
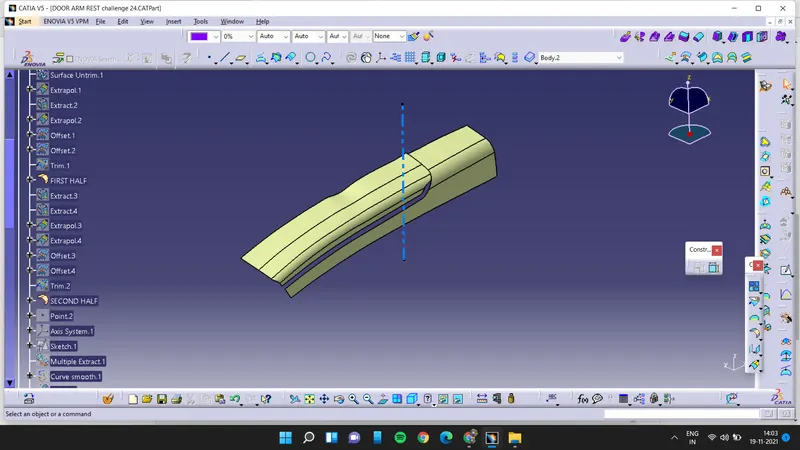
now to create the middle part first we need to draw the sketch for that first we need to insert a axis first we will create a point and then we will insert the axis system on it.
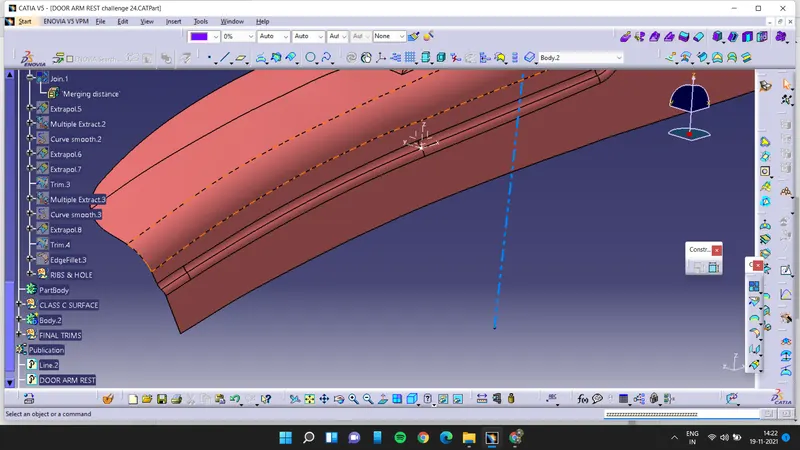
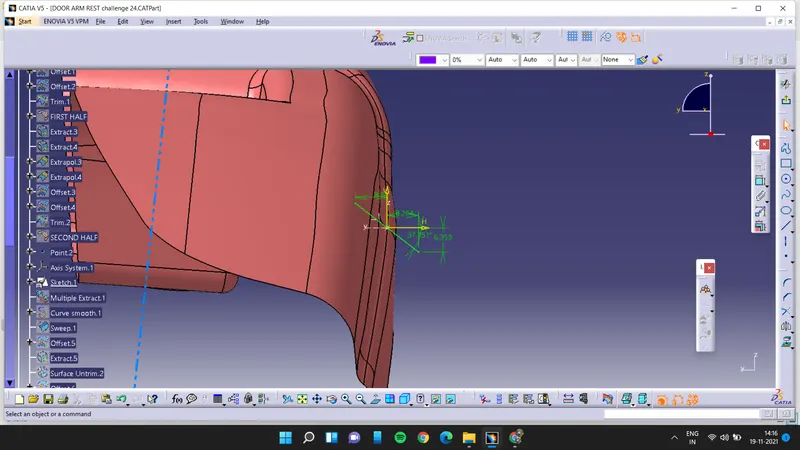
now using multiple extract extract the end and then sweep it with respect to surface. and then offset it for 2.5mm
now also extract the upper side and untrim it then extrapolate it and draw a line to split it so that it will be come near to the swept surface then use joined surface to join both pieces
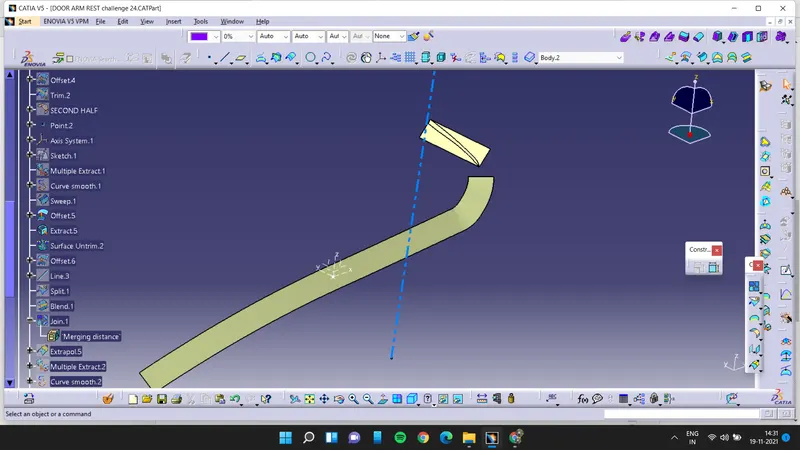
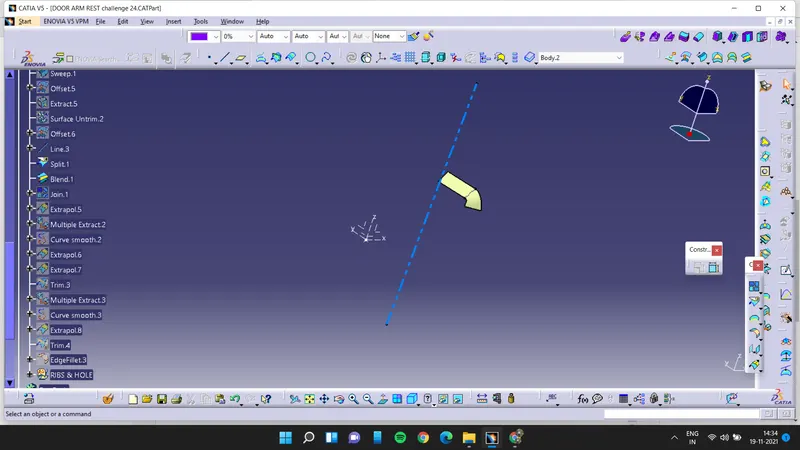
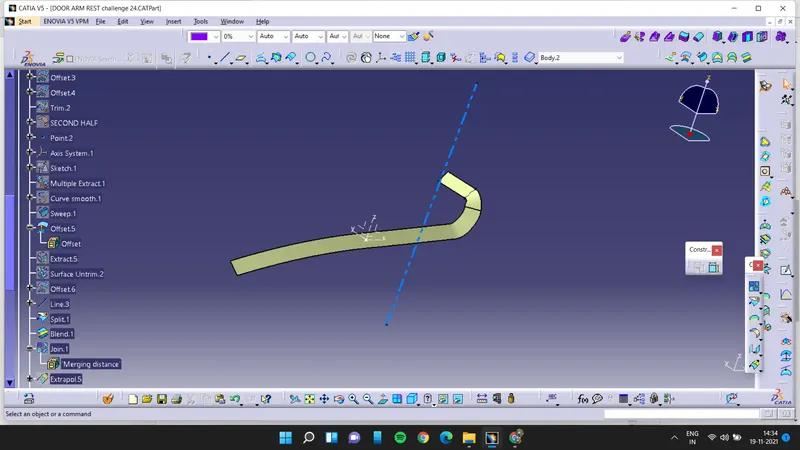
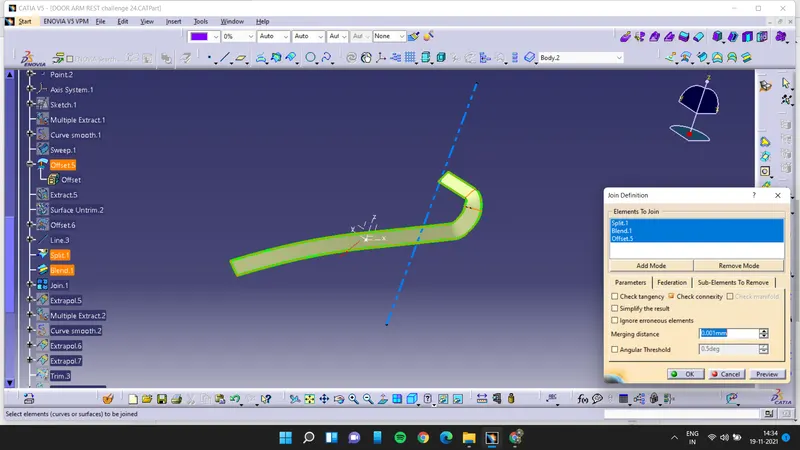
then extrapolate the first half and this join and trim with it and do the same with second half it will give us a half surface
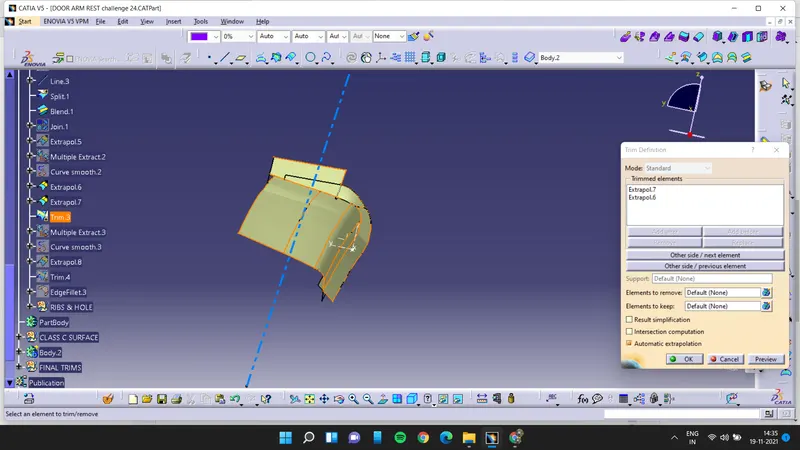
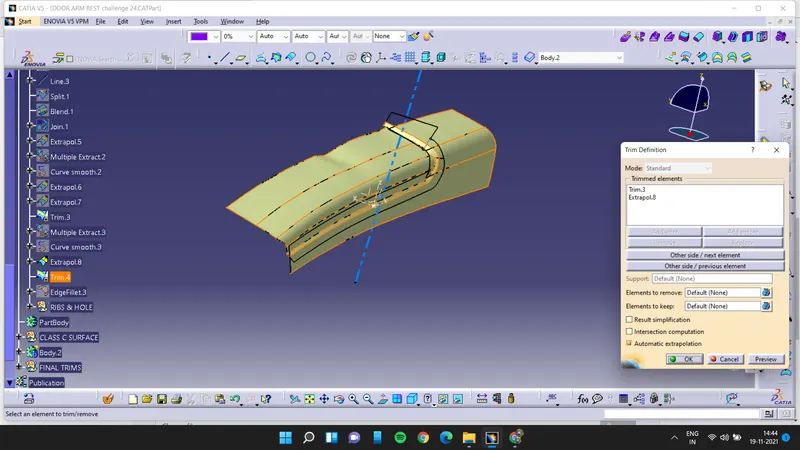
now extract the inner walls of class a surface and then offset it outwards for 2.5mm and then extrapolate it and finally trim with the last output surface which was a joint of first half and second half
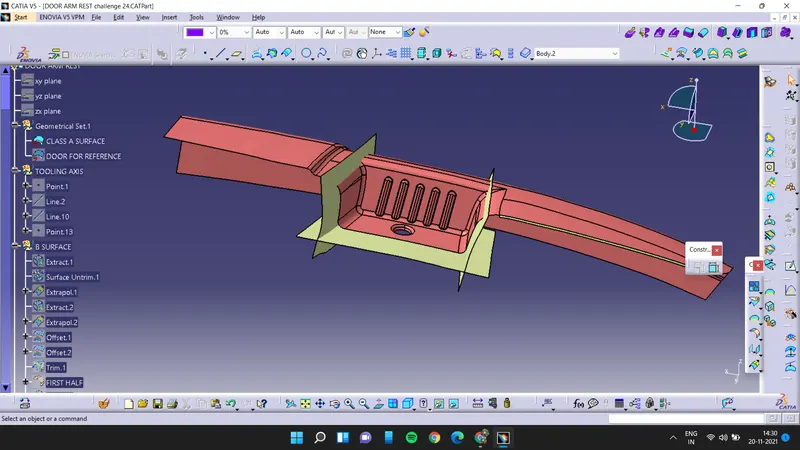
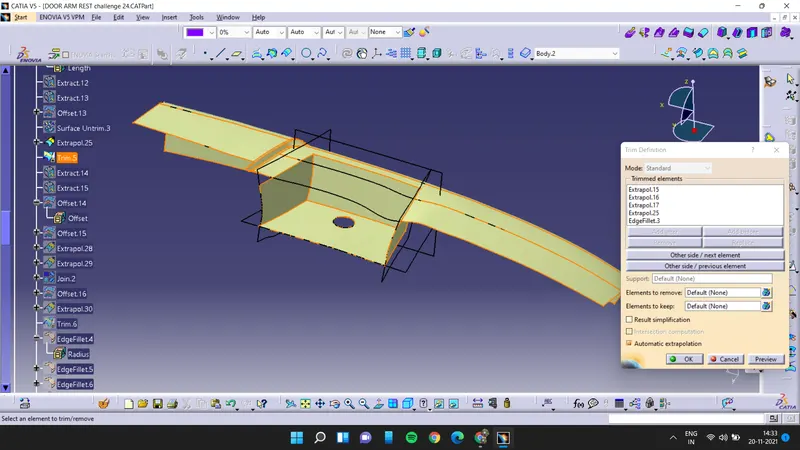
also extract the walls of the hole and extrapolate and trim it
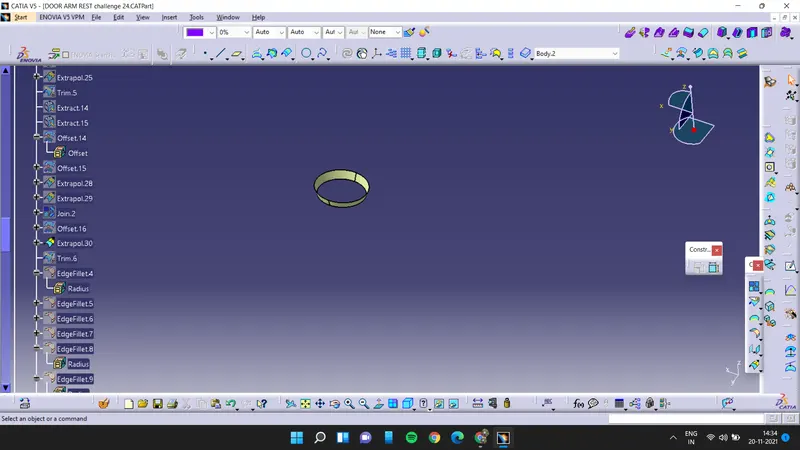
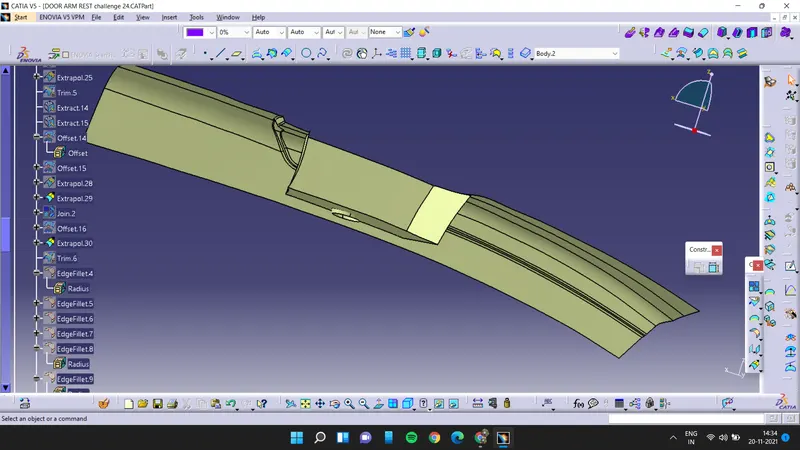
now apply the necessary fillets on the surfaces where needed according to the class a surface
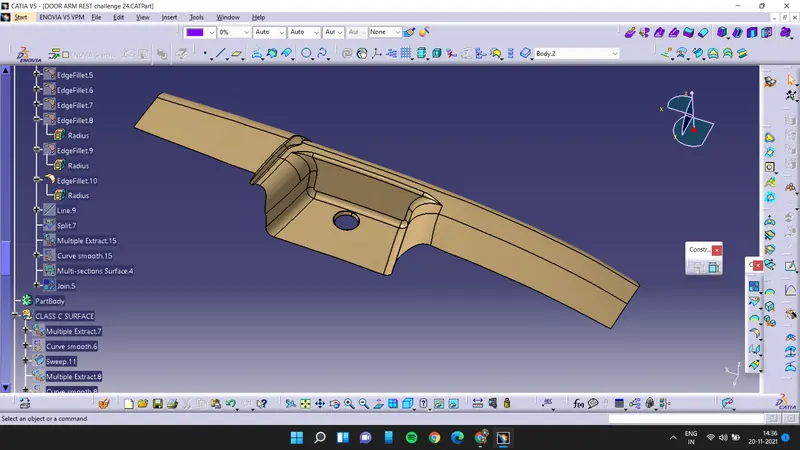
Class C surface:
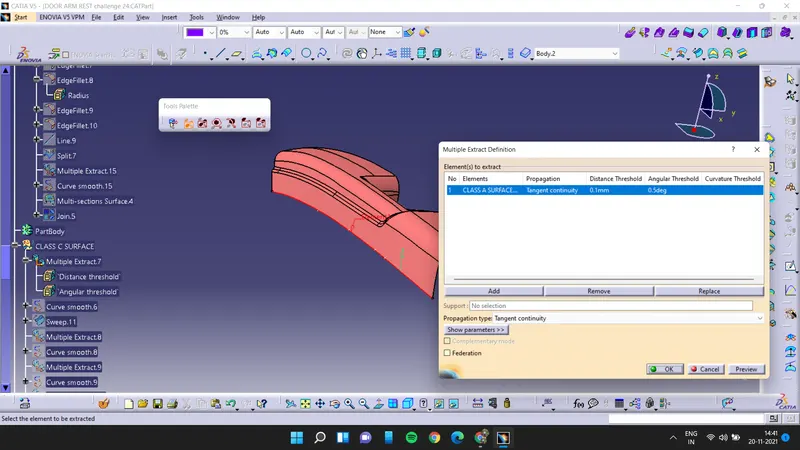
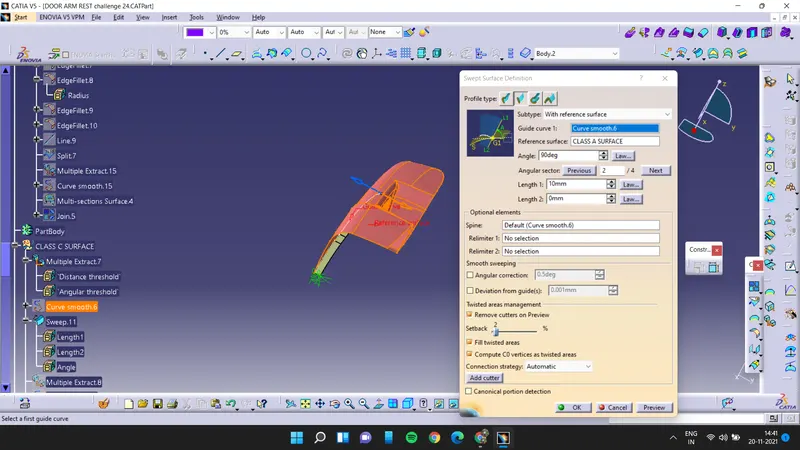
first use multiple extract the class a surface and then use curve smooth option to make it as smooth curve then sweep it for 90 deg and do the same sweep all the edges and make a complete c surface by extrapolate and trim ptionand join it then join the class A and class c surface with the help of join option
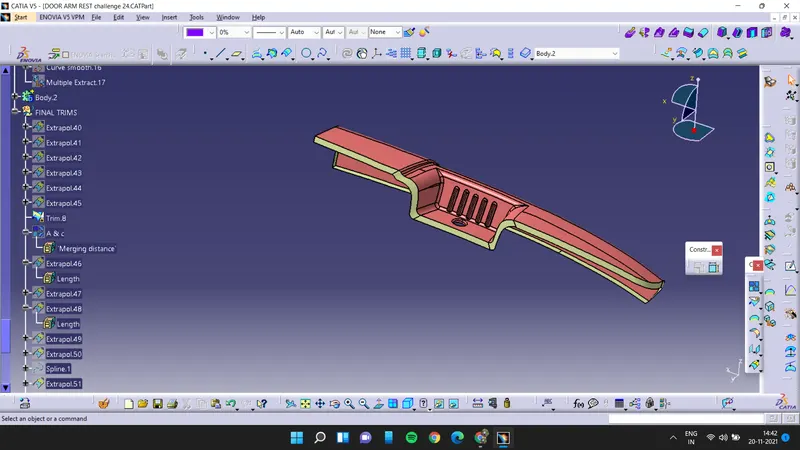
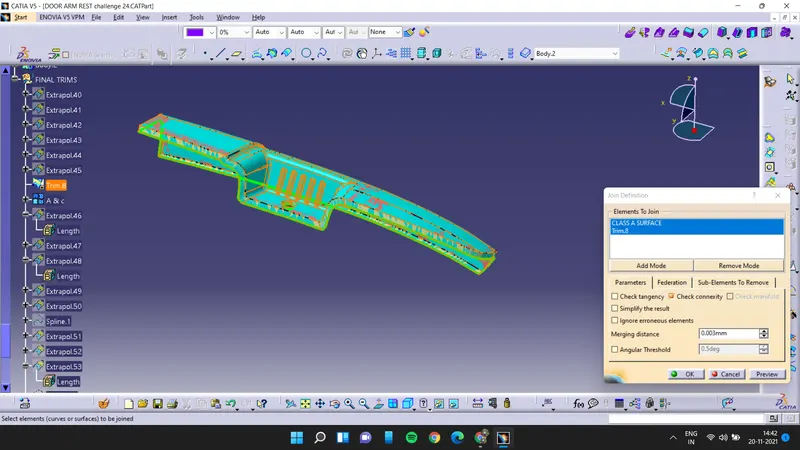
then extrapolate the class b surface where needed and also extract the boundary of hole and then fill it and join it so and also extarct all the surfaces so that it will intersect and then trim with the class A and class C
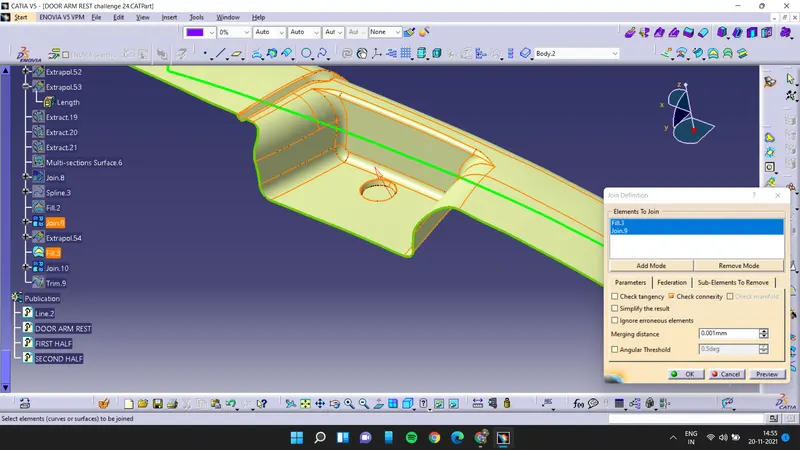
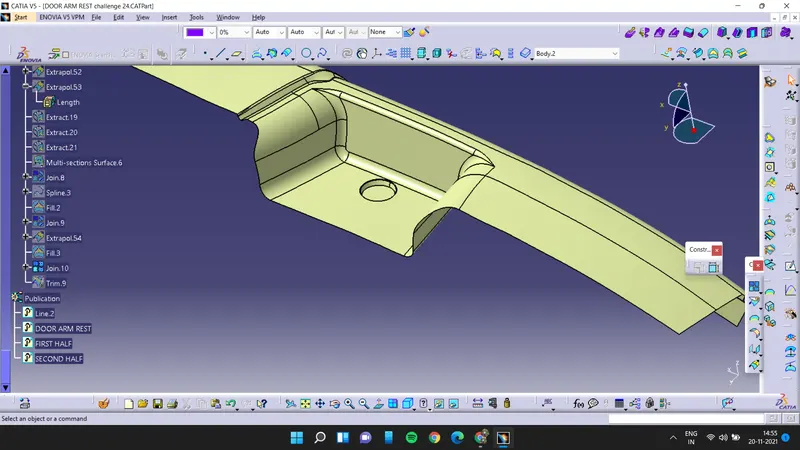
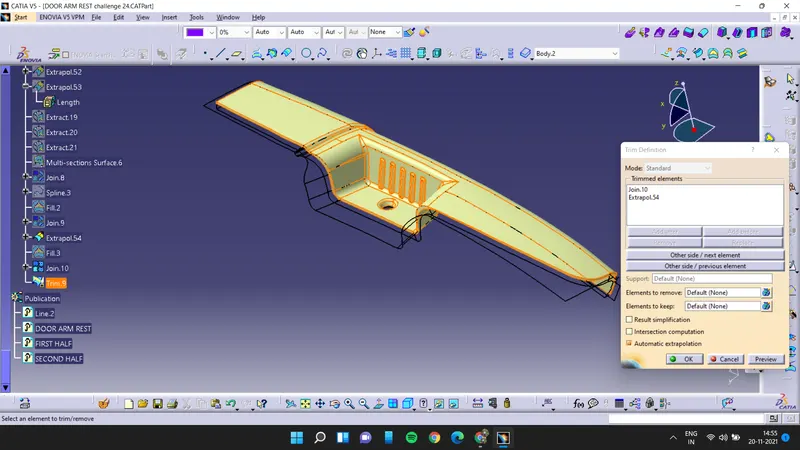
now use the thicken surface to thick the surface'
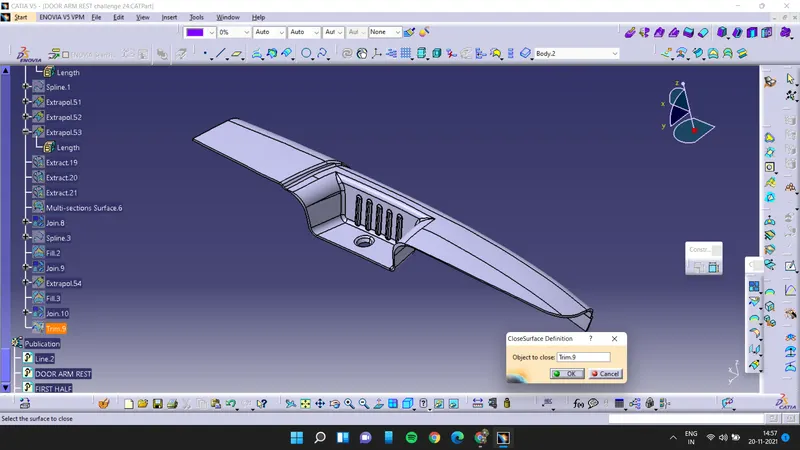
draft analysis: