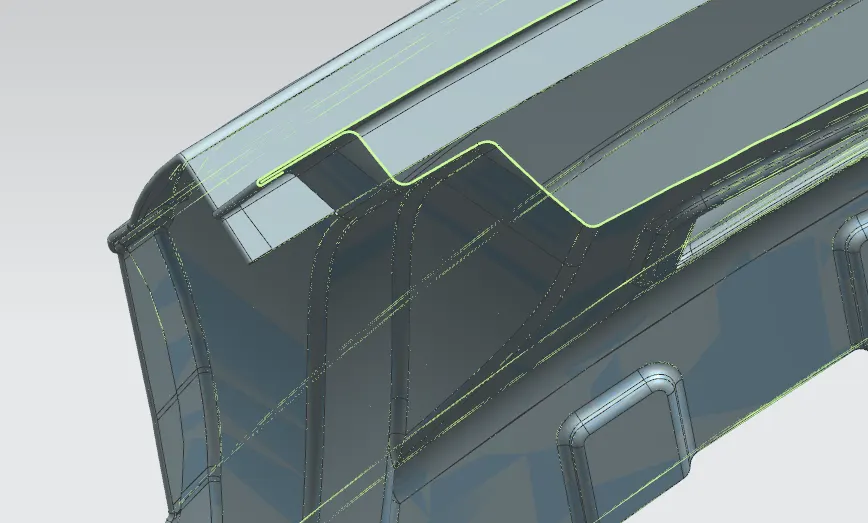
Design of backdoor
Challenge is to Complete Back door assembly by creating inner panel and relative reinforcement brackets.
Opened the given skin data "Back door" file in NX.
First checked the skin surfaces by joining them by sew command. Where ever joining failed, blends points were hidden and new blends were created by blend surface or by creating bridge curves and creating surface using "Through Curve Mesh"
In one area the surface was merging to sharp edge, this area a new surface was created by triming a distance of 5mm as this sharp merging of surface will give error in offseting the surface or creating thickening.
In another case there was extra projection of the edge seen and rectified.
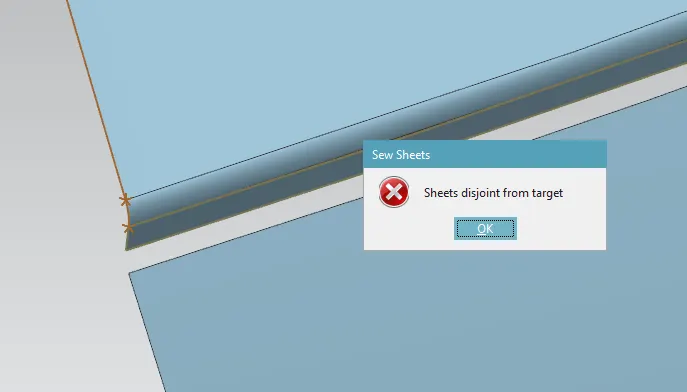
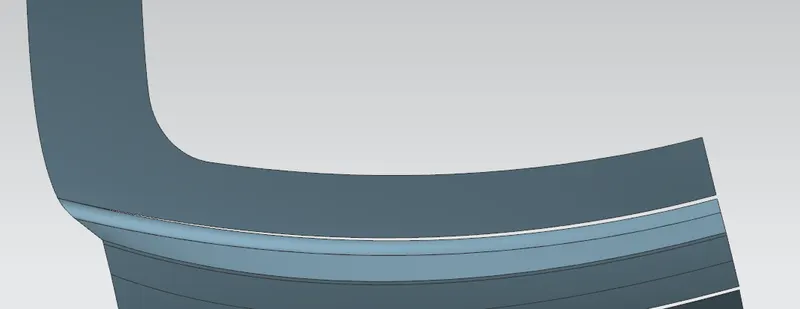
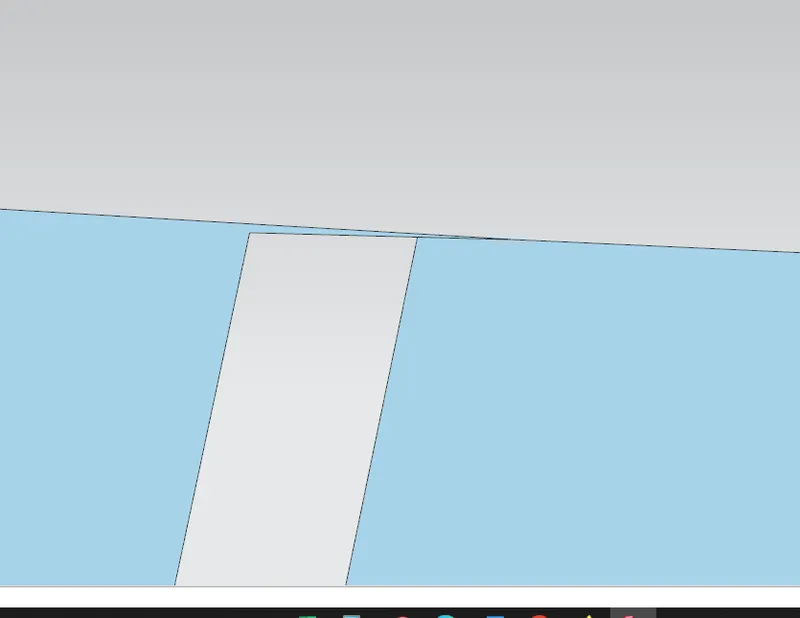
After creating all blends the surface was and found no errors.
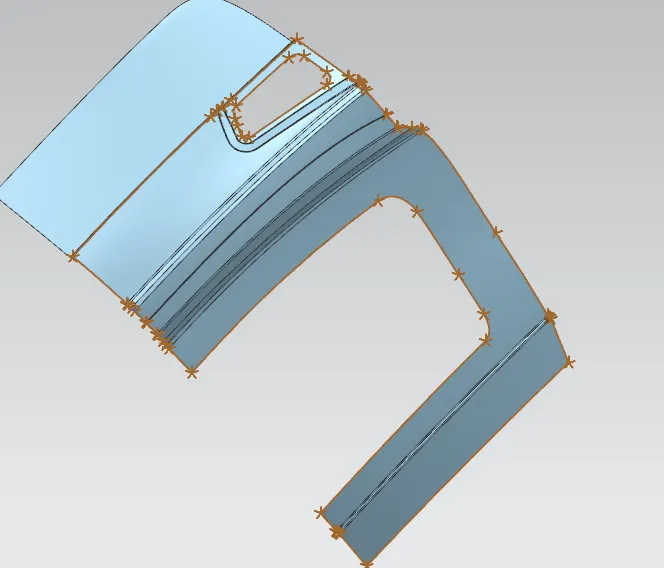
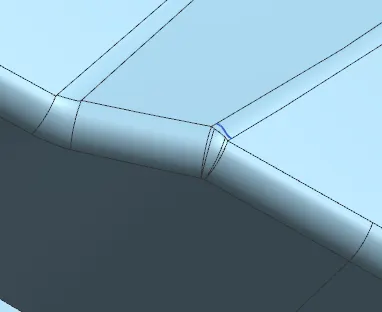
Now the bottom side of the door outer had no bend area. So the matching surface of the upper surface was extracted and used. The edge of surface were extended to get a flat area of 8mm minimum for spot welding between back door top and bottom. After this an extract of the upper and lower was created. New part files of back door outer upper and back door outer lower was created using the linked surface from extracted surfaces respectively. One more new file back door inner was created where we used the linked surface of the upper and lower of the back door outer.
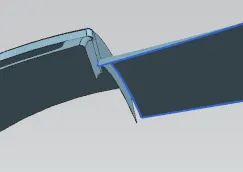
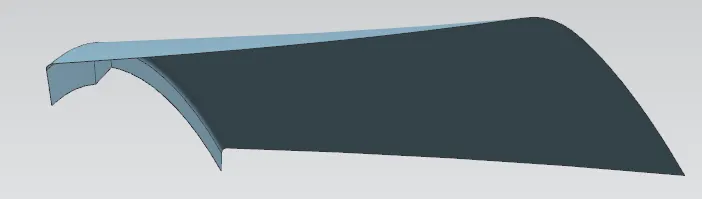
A new assembly was created naming it Back door assembly, in which all the above files were added and first the inner panel designing was started by opening this part file in the assembly.
First step was by offsetting the surface by 1.7mm for creation of inner panel hemming area with outer surface. Using this the surface offset for 25mm for creation of sealing area with reference to the with the car back sealing area created by top roof, pillars in the sides and bottom body.
Along with the inner panel, reinforcement bracket for hinge, gas-stay, striker and wiper motor design was also done from extracting the surfaces of the inner panel where the part was going to sit.
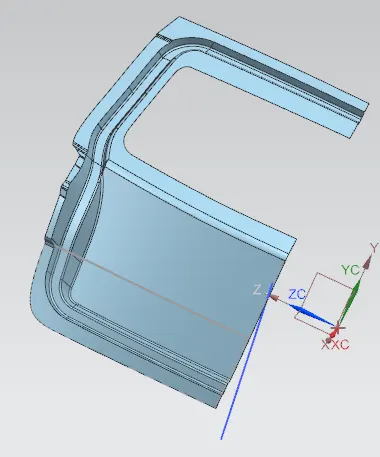
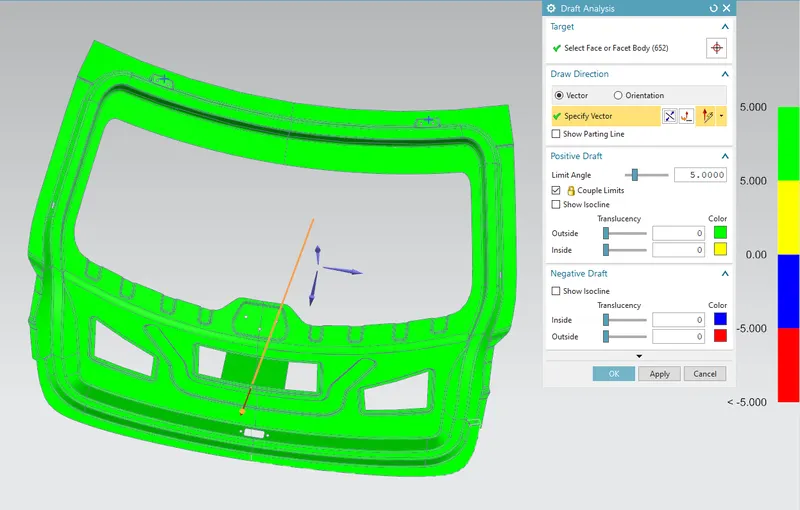
A reference tooling axis line is created as shown in the picture for proceeding with the design keeping in mind the draft anlalysis with respect to tool manufacture.
Back door outer upper and lower parts which will be brazed together and these two together will be fixed by hemming on the inner panel which is developed by us. While desigining the back door assembly we have to mainly fix the sealing area of the back door inner panel with the area if provided, in our case we our self create the sealing area on the inner panel. This inner panel sealing area is 25mm from the back door surface and around 40-50mm from the edges of the surface of outer panel edges provided. The sealing area and the inner hemming surfaces are joined by creating side surfaces using law of extensions.Once the sealing area is created then the surface towards glass is created which is again 1.7mm off set from the outer surface. The inner panel area towards hemming with back door and sealing area and the merging surface of glass will form a master section. Once the upper inner panel is finished, the lower panel designing is taken up. The given surface is offset approximately 90-120mm for creating space for accomadating Latch lock motor.
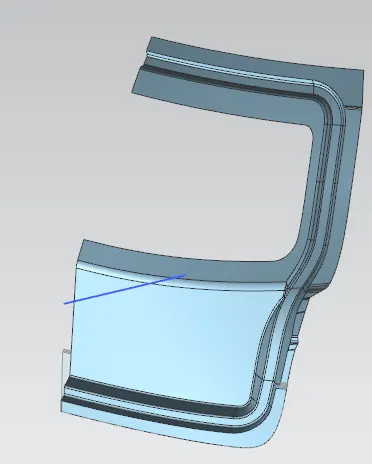
Next stage was creating cut out for tail lamp lens assembly cut out and some surface to accomodate mastik sealent with the back panel.
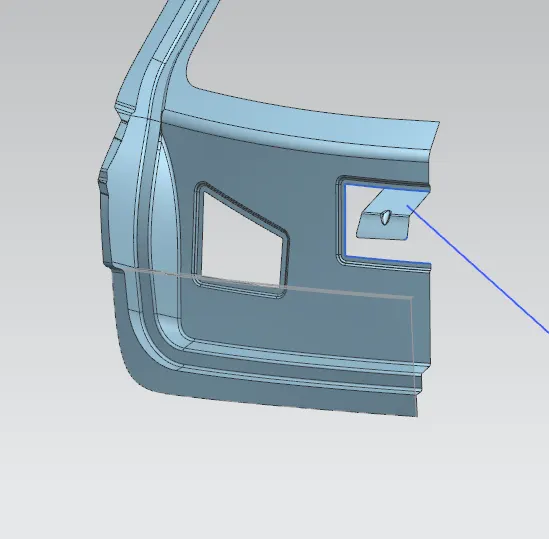
Next some embosses for strengthening of the inner panel was created.
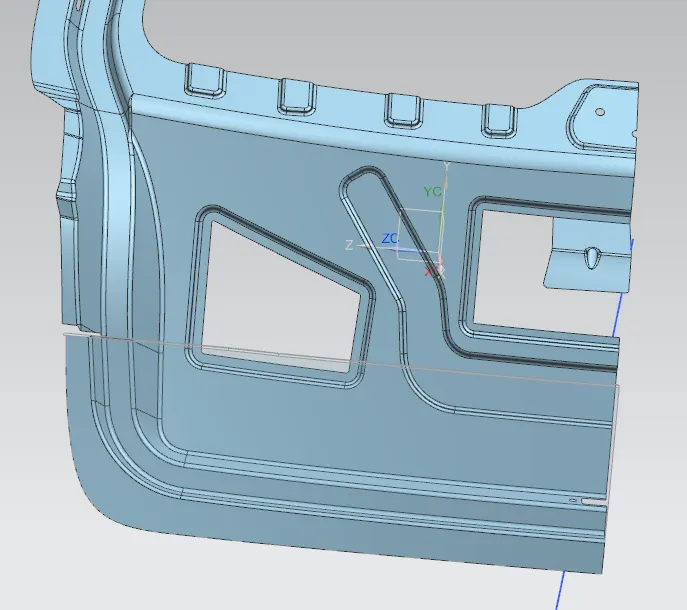
Next the hinge area
To create hinge area plane on curve was used and on the plane sketch at particular angle was drawn. Using this sketch line a surface was created by law of extension. Side wall surface for this flat surface was created using law of extension, then side wall and bottom flat surface were sewed and trim and extend command was used between the new surface and the inner panel surface. Finally a flat portion was created. Then a circle was drawn for assumption of the hinge axis. This geometry was mirrored and a line between centre of the hinge axis circle to the mirrored geometry was drawn. This is the final axis of the hinges of the door. With this as reference on the y0 plane circle of diameter 1885mm and a line tangential to the circle was drawn for placing the latch bracket.
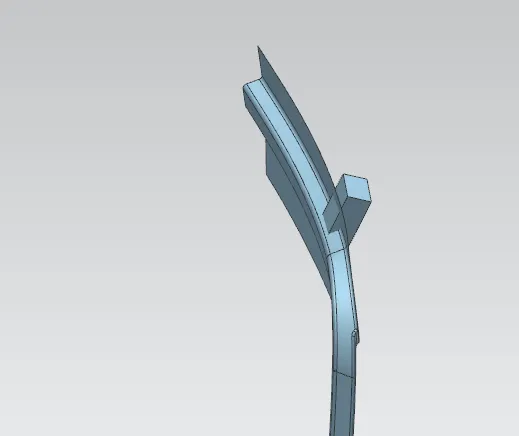
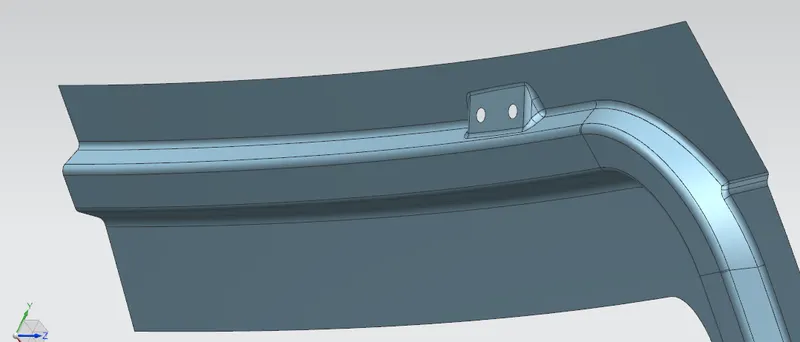
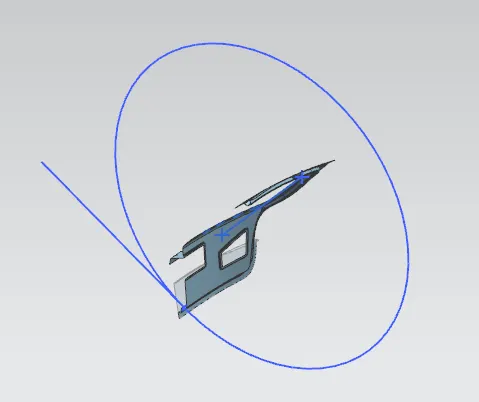
Surface for hinge area creation hinge area after creation Circles drawing on the axis of hinge
Striker area
Stricker area was fixed by drawing a tangential line to the circle of hinge axis. Now a line was drawn and this area was fixed for placing either striker latch or latch lock. Cut out provision and hole to fix bracket was created.
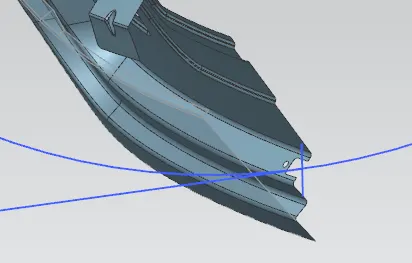
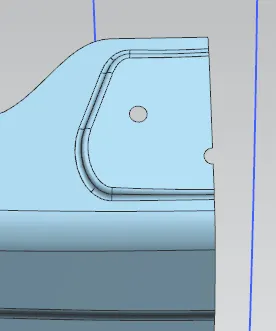
next Gas stay hole provision was made as shown, these position is again imaginary.
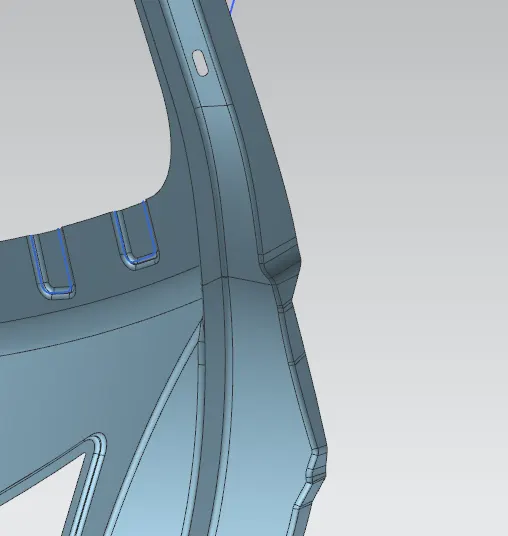
Next is wiper motor fixing area provision.
AS the inner panel was complete it was checked for draft analysis with respect to the tooling axis created and the result is green as seen below.
Next step was extracting the hinge area surface for creating hinge reinforcement bracket, extract the surrounding area of gas stay slot area for creating reinforcement bracket, extract striker surrounding area to design appropriate reinforcement bracket, extract area surrounding wiper motor for creating bracket.
The extracted faces were coppied in a new files and files were saved with respective names. Now working in the new files each extracted faces were trimmed and offset the surface 0.75mm which is sheet thickness. This offset and trimmed faces are applied with thicknes of 1.5mm and saved.
The hinge bracket is mainly designed to give extra strength surrounding the area where the hinges are fixed. So the brackets are designed covering some area considering the load be distributed to this area and thickness of 1.5mm gives strength to the inner panel. Similarly the Gas stay bracked, Stricker bracket and wiper motor designed are shown bolow.
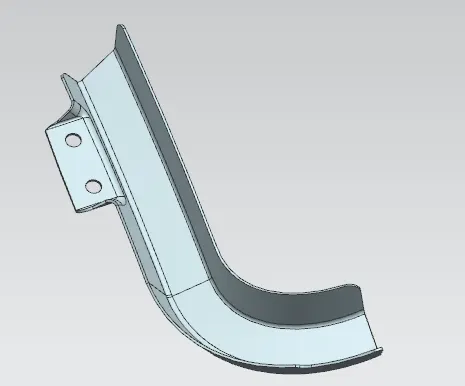
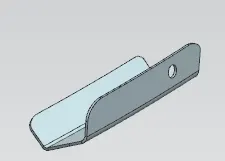
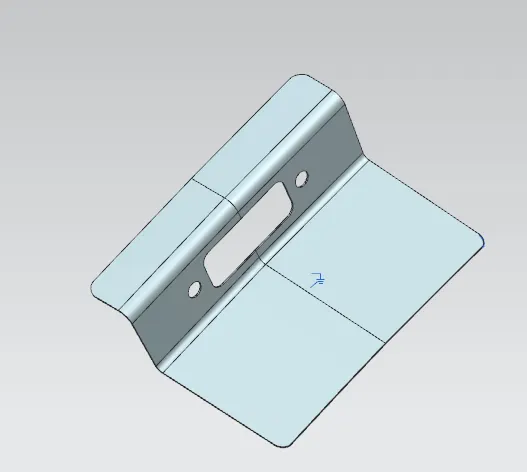
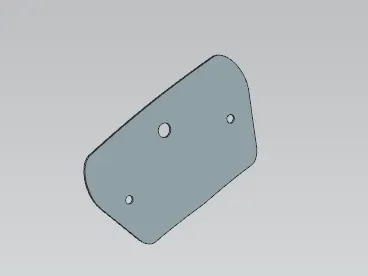
Hinge Reinforcement bracket Gas Stay reinforcement bracket Striker reinforcement bracket Wiper motor reinforcement bracket.
Below is the section view of the assembly