Design of backdoor
Design Of Car Inner Backdoor Panel utilising the surface of the specified Outer panel, and creating the necessary mounts with reinforcement.
Introduction:
Car Back Door
A door is a hinged part used for entering and exiting vehicles. The backdoor, also known as the tailgate, is one type of vehicle door that provides access to the luggage compartment and can be raised or lowered during loading and unloading. It is typically found in pickup trucks or hitchback cars.
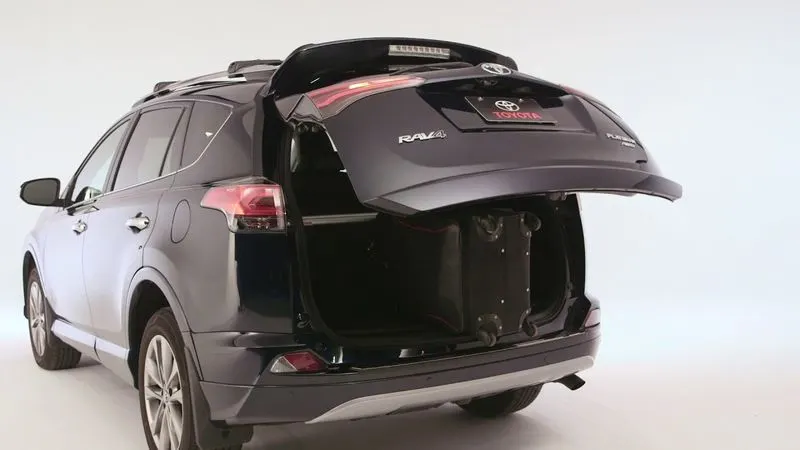
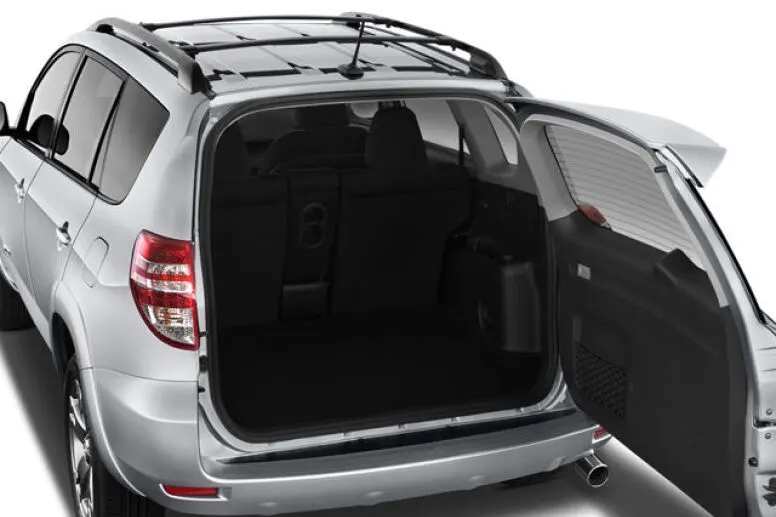
The following is a list of necessary back door components
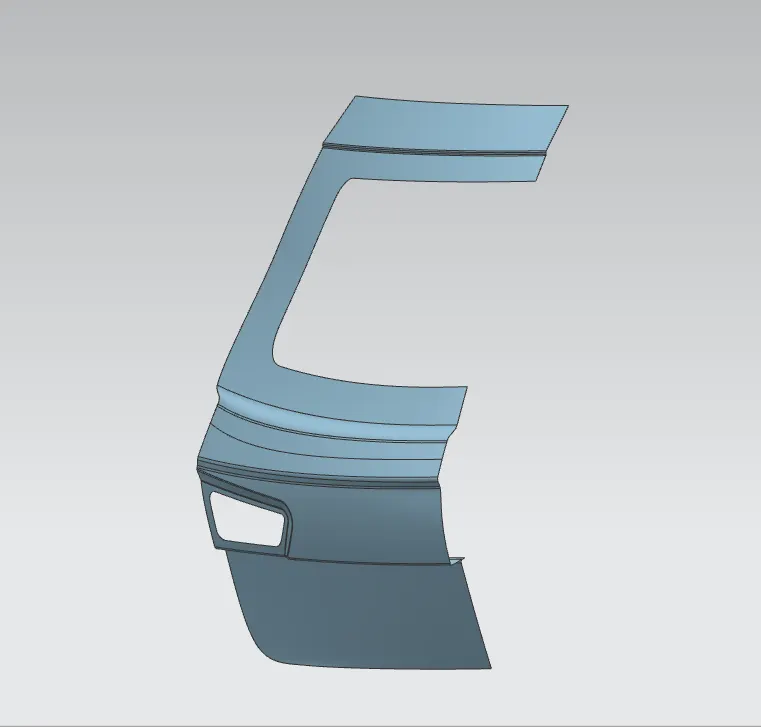
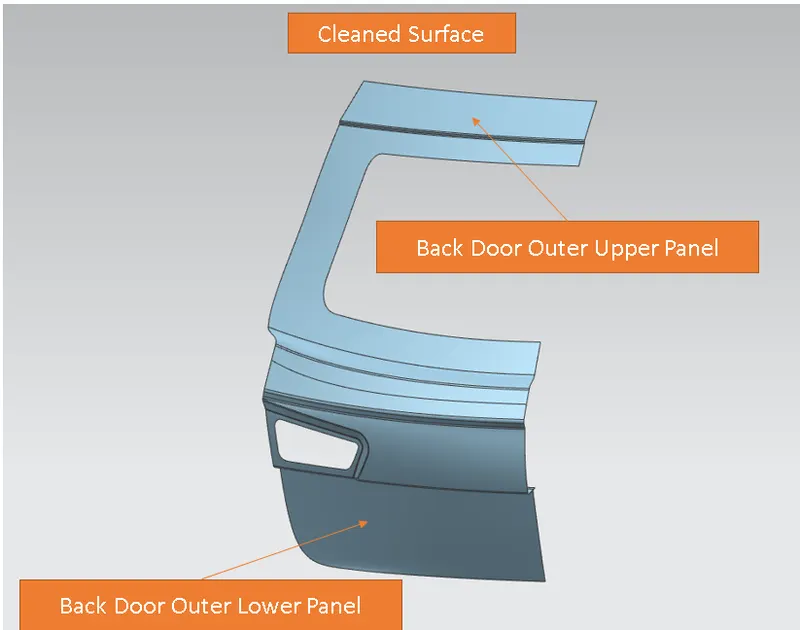
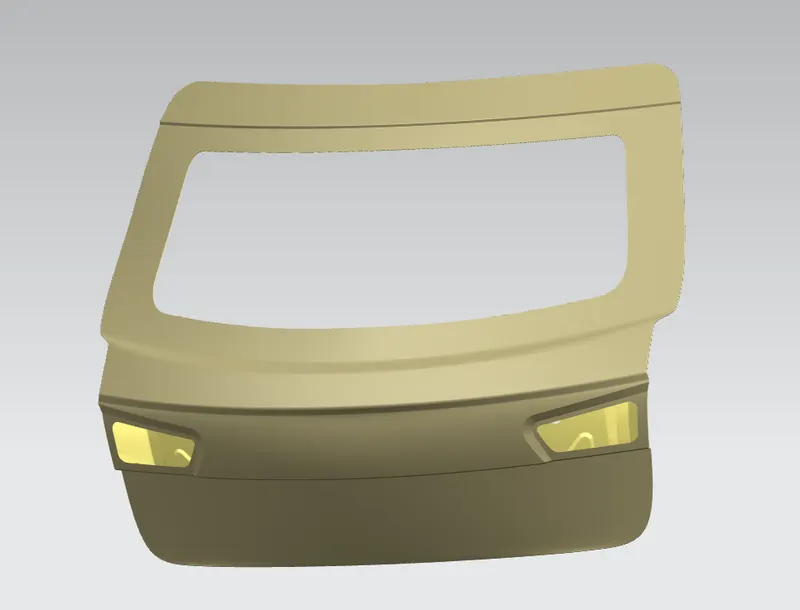
1. Backdoor Outer Panel: The back door outer panel is a styles surface which equipped with a unique light housing and a number plate.
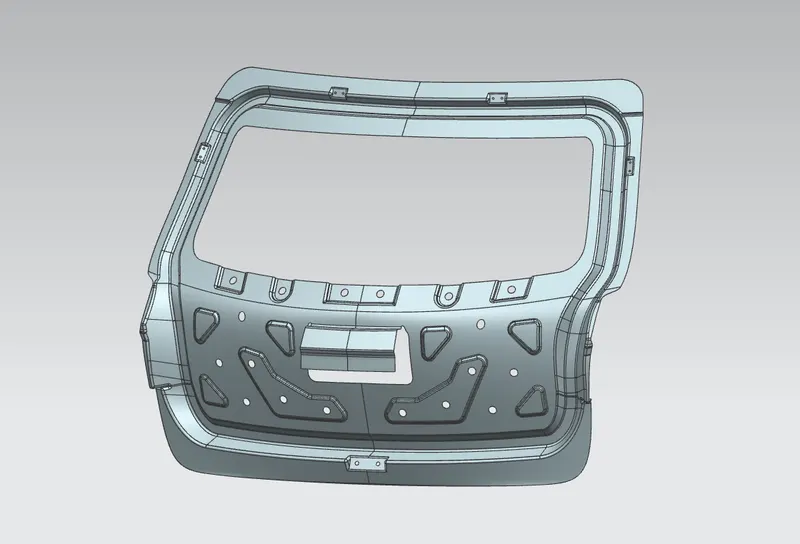
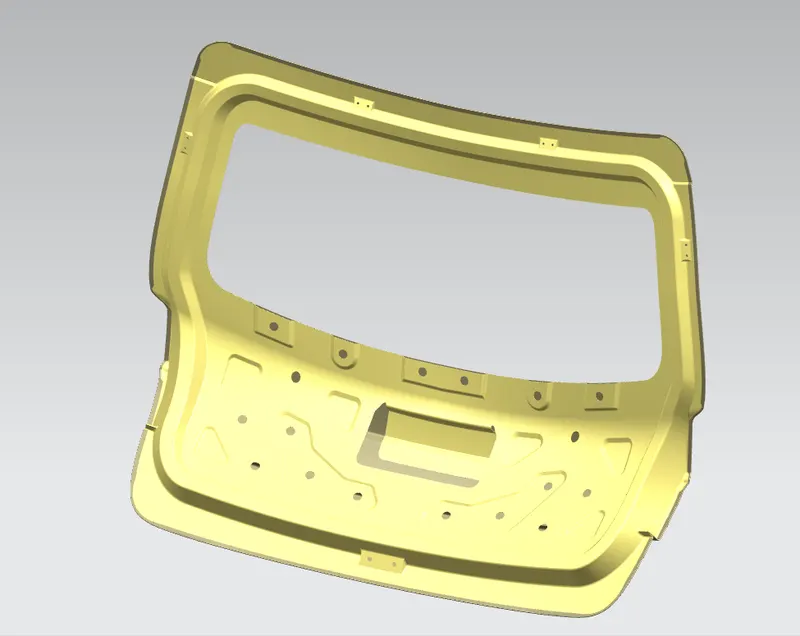
2. Backdoor Inner Panel Upper & Lower: This component set includes flanges for mastic sealant as well as embosses for the windshield, wiper, hinge, gas-stay, and latch.
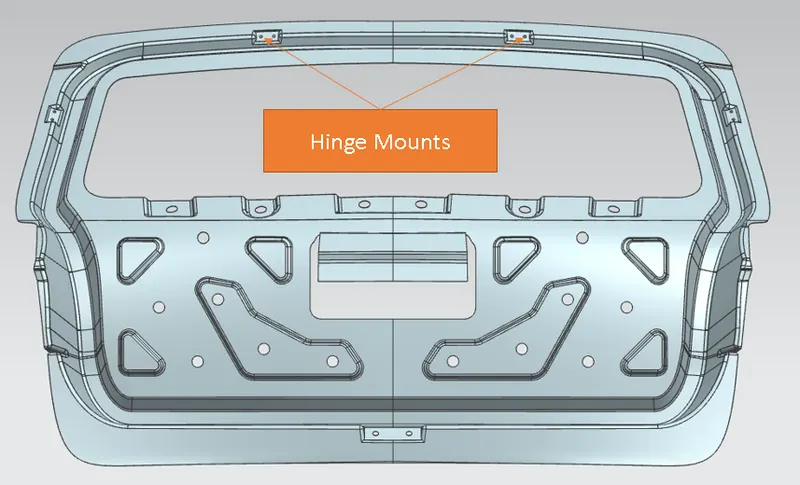
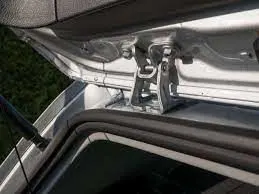
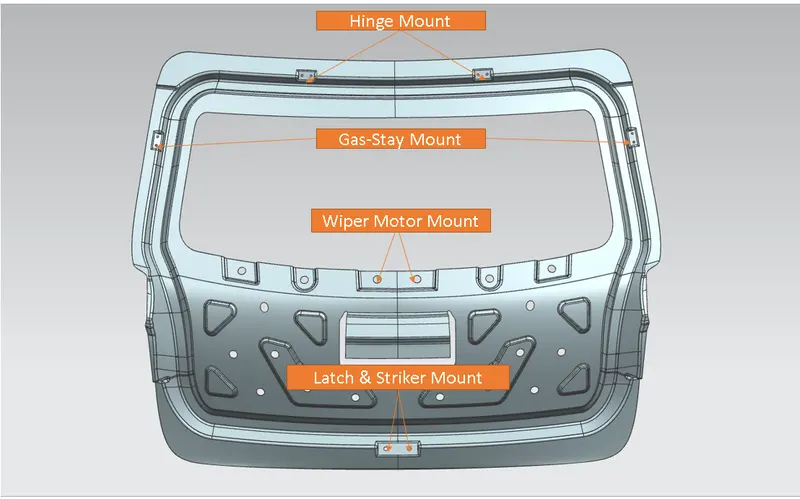
3. Hinge Mount: It is a strengthens parts that are used to pivotably fastening a tailgate to the car body. When loading and unloading, the backdoor can slide up and down using the hinge.
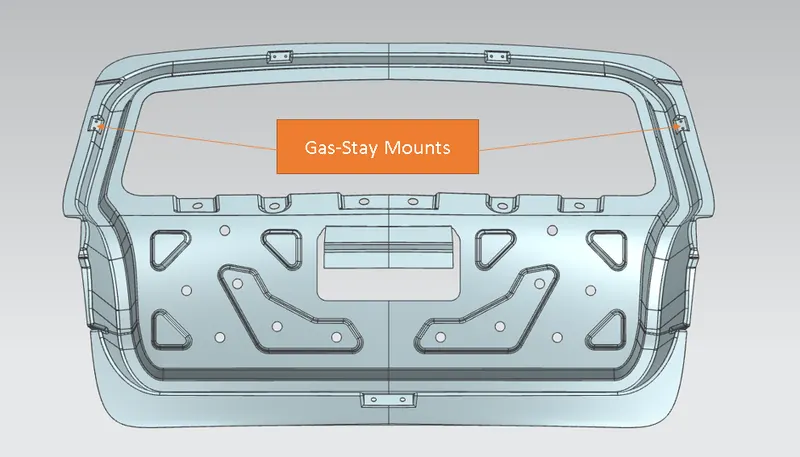
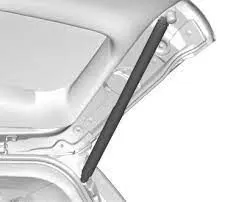
4. Gas-stay Mount: Gas stay are tailgate mechanism used to open back doors less forcefully.
5. Latch and Striker: The back door locks in this location where the striker and latch are positioned in accordance with the location of the hinge mount to lock the back door securely.
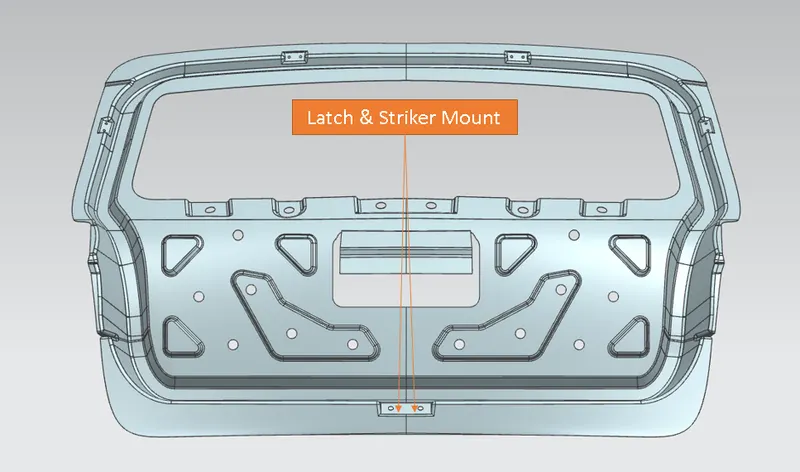
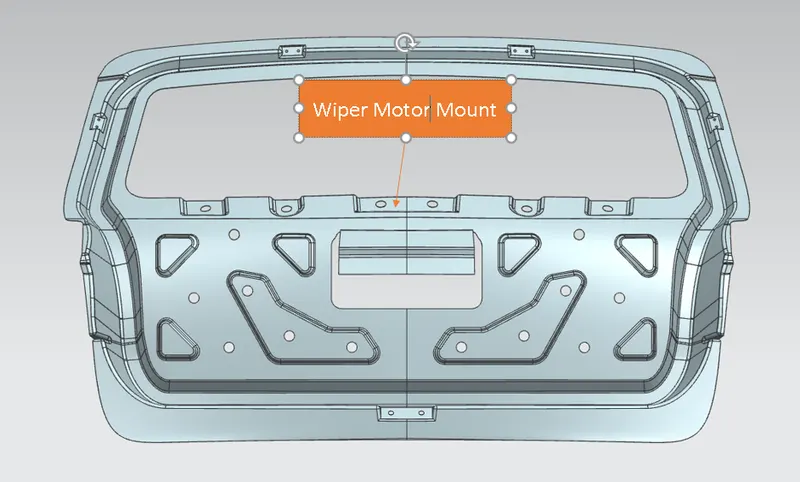
6. Wiper Motor Mount: In order to clean the wind shield, an unusual wiper is fitted in the inner panel of the car's back door.
challenge:
Aim: Use the provided styling surface to come up with a back door design, use appropriate design methodologies, and provide the necessary reinforcements and embosses
Objective:
- To Creat Back door Inner Panel
- To Creat Hinge Mount
- To Creat Gas-Stay Mount
- To Creat Latch and Striker Mount
- To Creat Reinforecment
- To Creat Flange for Mastic Sealent
- To creat Hemming
- Draft Analysis
Design Consideration:
- All sheet metal components are 0.75 mm thick.
- In areas where mastics are used for adhesion, there should be a 5 mm clearance.
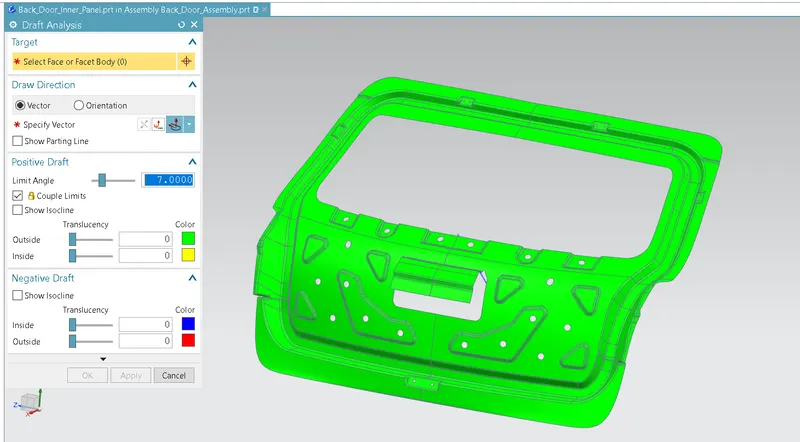
- All faces must have a minimum draft angle of 7 degrees.
- There shouldn't be any sharp edges and all the edges should have fillets.
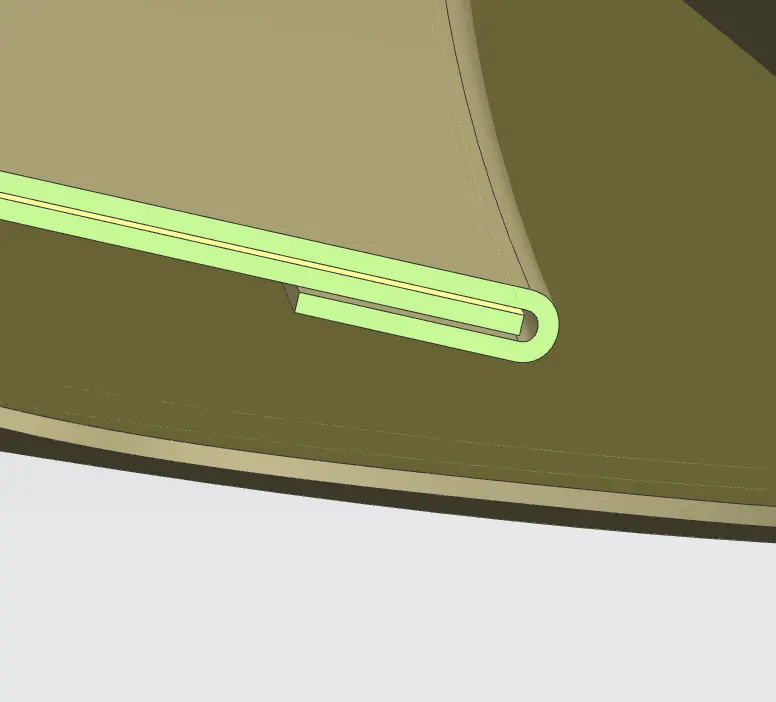
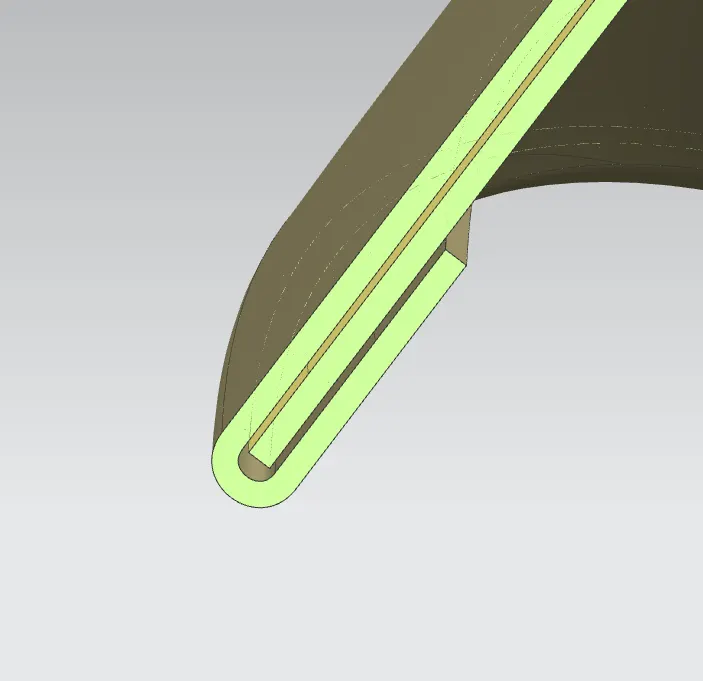
- There Must be 0.2mm gap in hemming process.
Step 1: Surface Conversion
- Extracting the required surface from the given styling surface.
- It is necessary to repair the style surface by adding new surfaces where there are gaps.
Step 2: Inner Panel Design
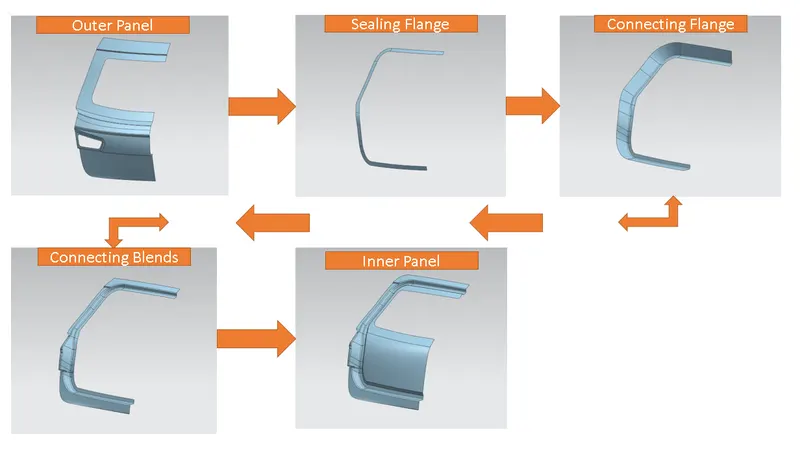
- By offseting the different outer panel's sections for required distance, an inner panel's flange surface is created.
- We must design the lower side of the inner panel by according the luggage area.
Step 3: Embosses and Mastic Sealent Flange Design
- Embosses are designed to withstand impact forces, to strengthen components, and remove material from Components.
- The outcomes of the load test cases determine the embosses' shapes. The backdoor is subjected to a variety of load situations, including impact, torsion, and bending.
- All of the impact forces were directed toward the C-Piller using backdoor embosses.
- To avoid NVH we provide support between the outer and inner panels in more gap regions, mastic sealant flanges are crated in the inner panel.
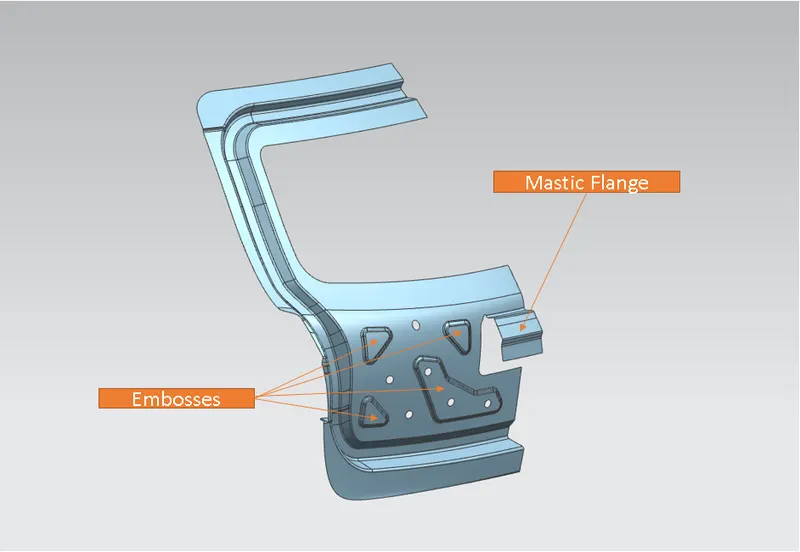
Step 4: Creating Hinge Mount, Gas-Stay Mount, Wiper Mount, Latch & Striker Mount
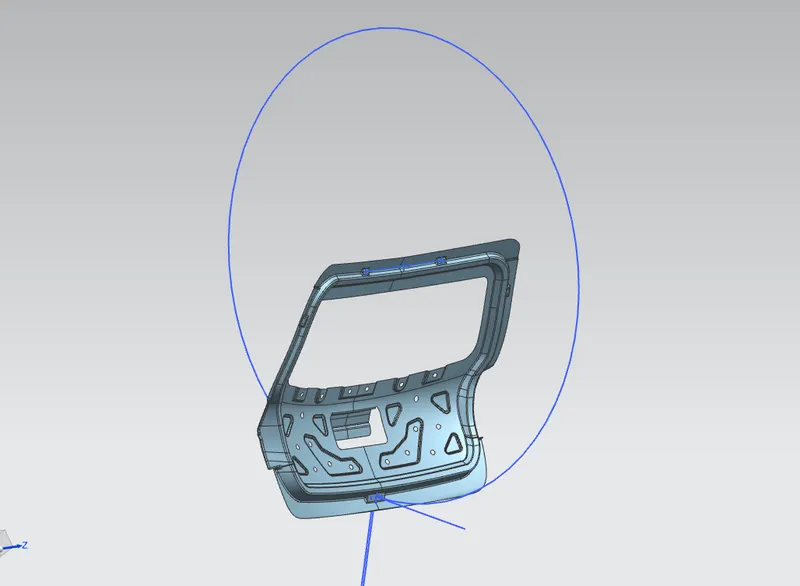
Step 5: Study of the hinge axis and striker position:
- The striker's placement is importanct in ensuring good door closing and determining the opening angle of the back door.
- We must properly position the latch mount by using the hing axis's centre point.
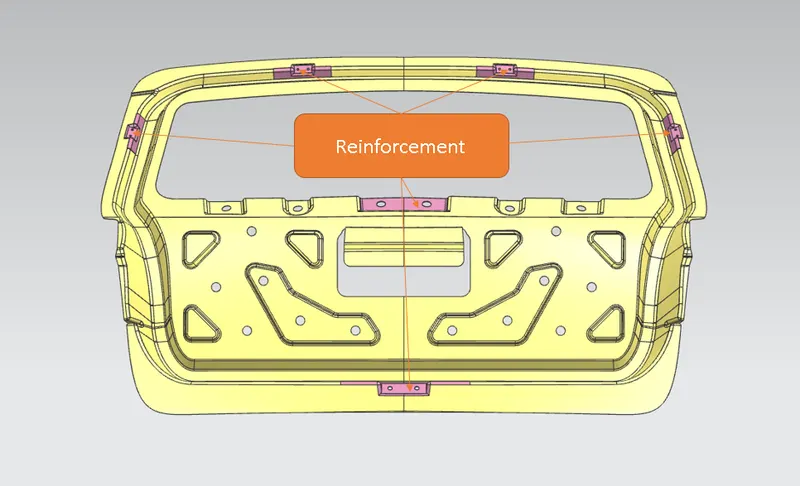
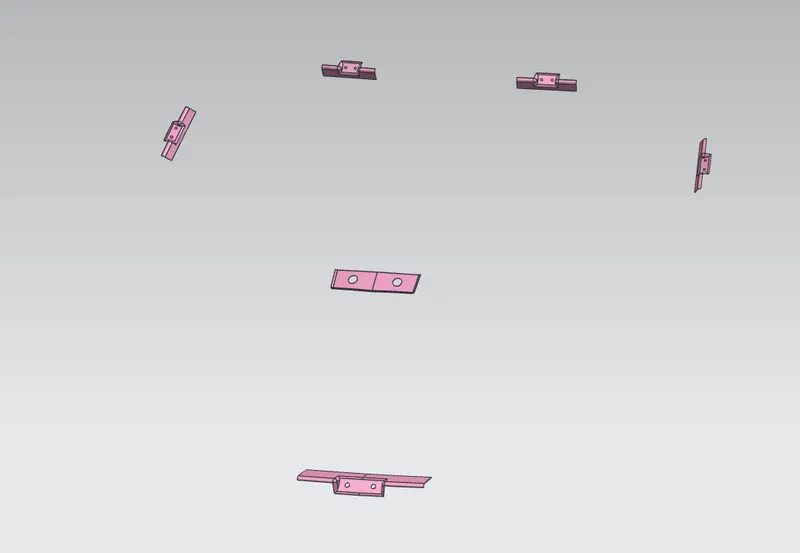
Step 6: Reinforcement
- The inner panel and reinforcement are spot welded. The fastening areas, such as the hinge, gas-stay, wiper, latch, and striker, are strengthened by the reinforcement.
Step 7: Hemming
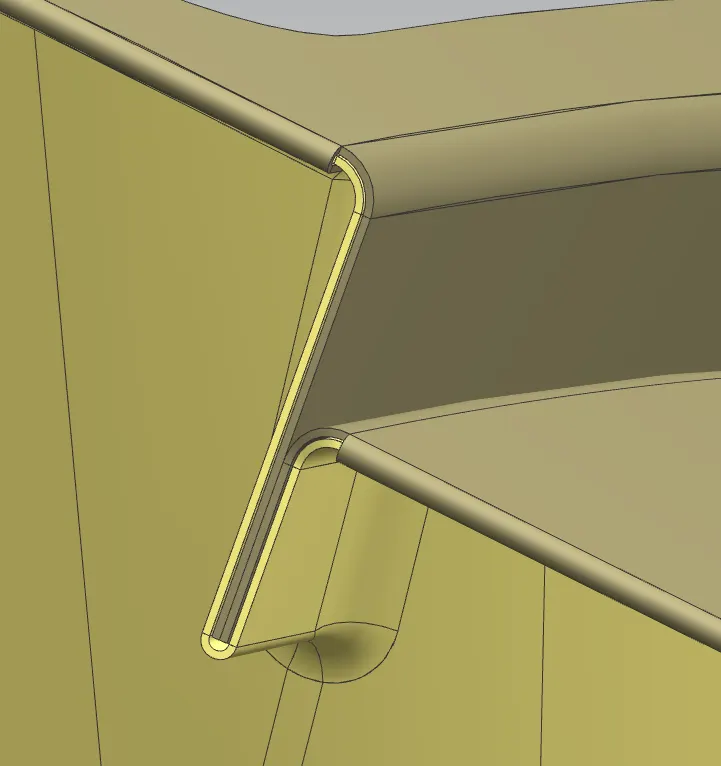
- In order to obtain a tight fit, the sheet's edges are folded over another area during the hemming process. Hemming procedures are typically used to join components together, enhance a part's appearance, and strengthen part edges.
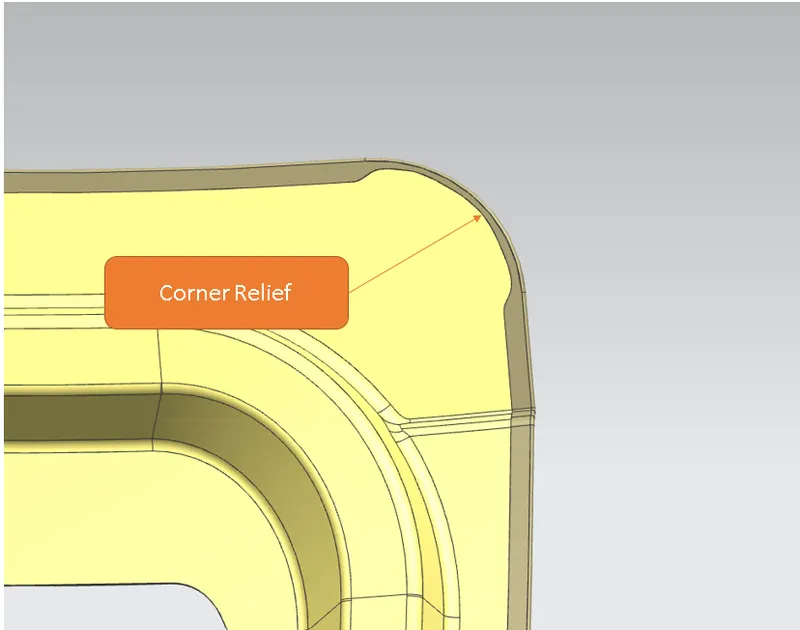
Step 8: Corner Relief
- This eliminates the overlapping sections and relieves stress.
Step 9: Draft Analysis
- Analyzing the draft angle on a surface is demonstrated in this commend. You can determine whether the part you drafted will be simple to remove using the Draft Analysis tool.
- Minimum 7 degrees should be the draft angle.
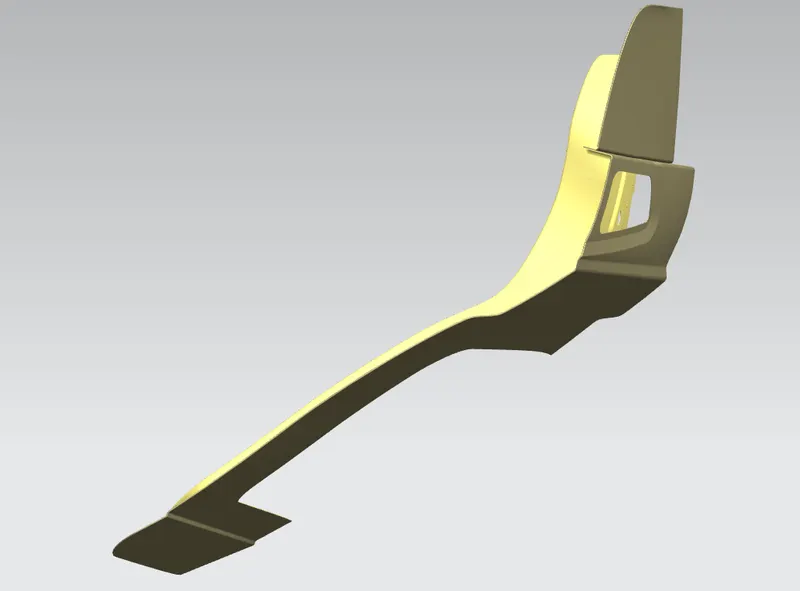
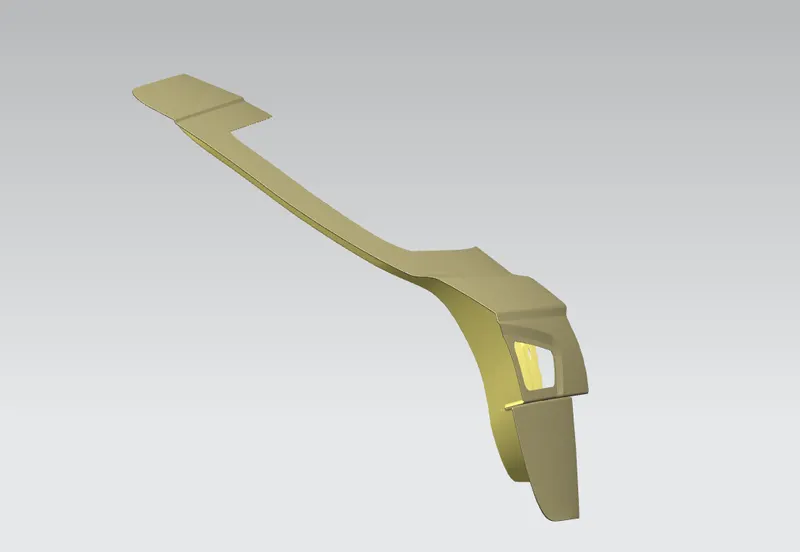
Below are pictures of the final assembly:
Conclusion:
The inner panel of the back door is designed with nessarey reinforcement and a calculated draft angle in accordance with the given Outer panel surface.