Design of backdoor
CAR BACKDOOR DESIGN
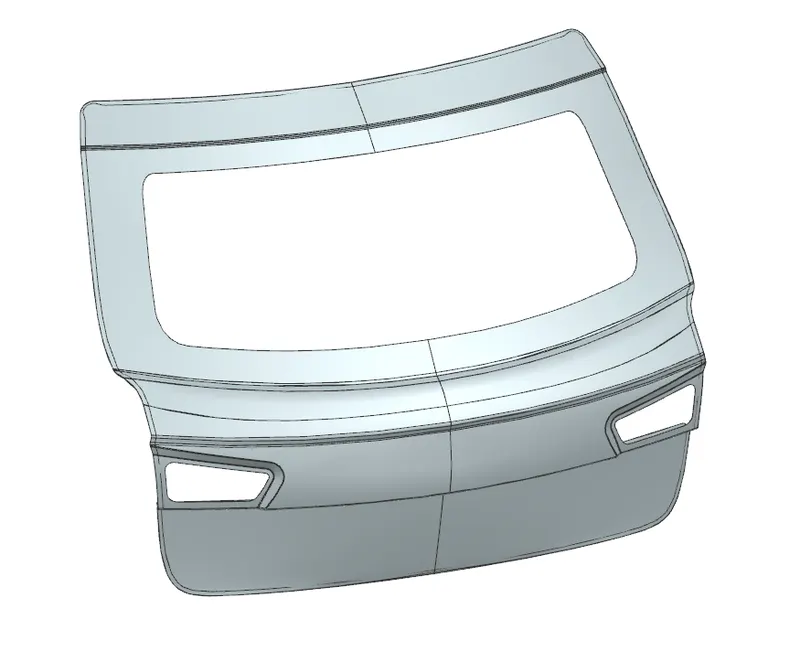
OBJECTIVE: To design the back door using the provided styling surface, appropriate design methodologies, and providing the necessary reinforcements and embosses.
INTRODUCTION: A door is a hinged part that is used for the entry and exit of the vehicles. Back doors provide access to the luggage compartment. The back door is also called as Tailgate. A car's back door is consist of an Inner panel, Outer panel. Basically, the car parts are made of Steel or Aluminium based on the budget of the car. Using Aluminium improves Strength and we can avoid the reinforcements. Aluminium parts are casted and the thickness of the part can be varied. The only drawback is the cost of aluminium, which is high as compared to steel. Steel Parts are stamped, we cannot vary the thickness of the part, hence additional parts are required, which increases the weight of the part. Nowadays most car manufacturers are trying to use Aluminium instead of Steel and they reduce the number of parts and weight of the car drastically.
The back doors are operated with the help of gas stay which in turn reduces the effort required to lift open the door. Some luxury cars have a powered backdoor which in turn is driven by an electric motor. This kind of system is also called a powered trunk lid system. Hatchback or station wagons are sold as 3-door or 5-door models. In this case, the rear hatch is classified as a door this is because it enters the passenger compartment. The naming is mainly used in Europe countries. In case of safety, the back door design should meet the safety requirement for the rear collision.
TYPES OF BACK DOORS:
- Top-Mounted
- Side-Mounted
- Bottom/Split Type
TYPES OF MECHANISM FOR REAR DOOR:
- Gas Stay
- Power Lift System
BACKDOOR COMPONENTS:
- Outer Panel Upper
- Outer Panel Lower
- Inner Panel
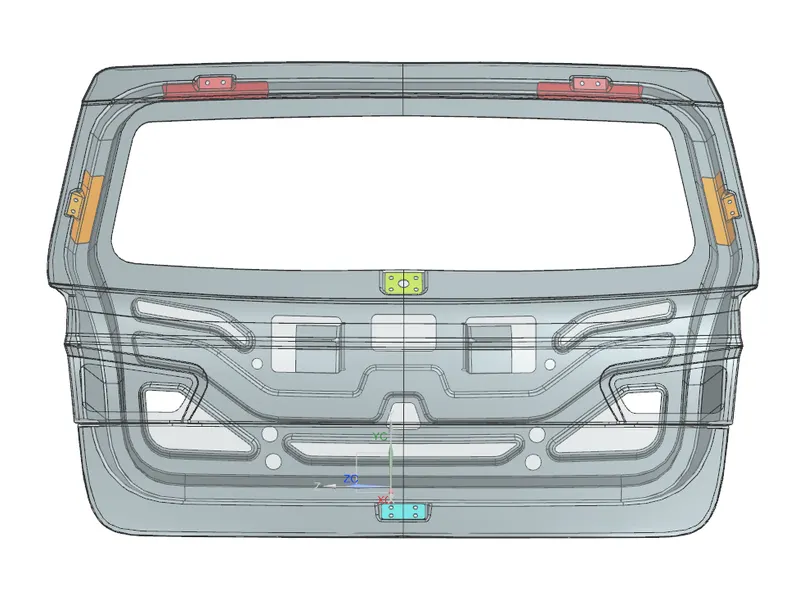
- Hinge Reinforcement
- Latch and Striker Reinforcement
- Gas Stay Reinforcement
- Wiper motor reinforcement
DESIGN CONSIDERATIONS FOR BACKDOOR:
- Visibility Criteria
- Force Dissipation
- Latch and Stricker Positions
- Hinge Position
- Gas Stay Position
- Material Selection
- Space Availability
- Hemming and Relief Areas
REPAIRING INPUT CLASS A SURFACE:
The first step is to check the input skin data for irregular surfaces, unsewed surfaces, broken edges, etc. and repair them and sew them together.
TOOLING DIRECTION:
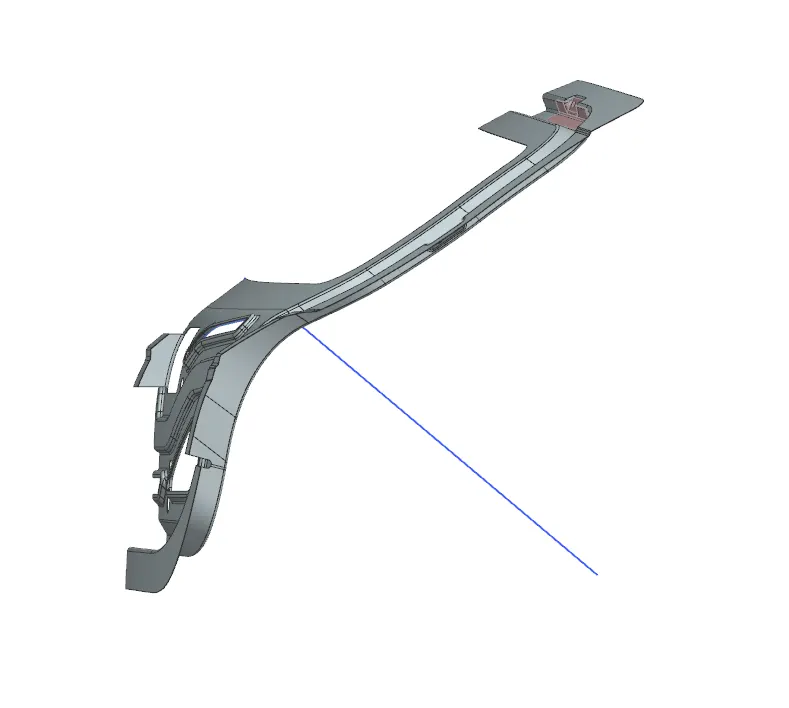
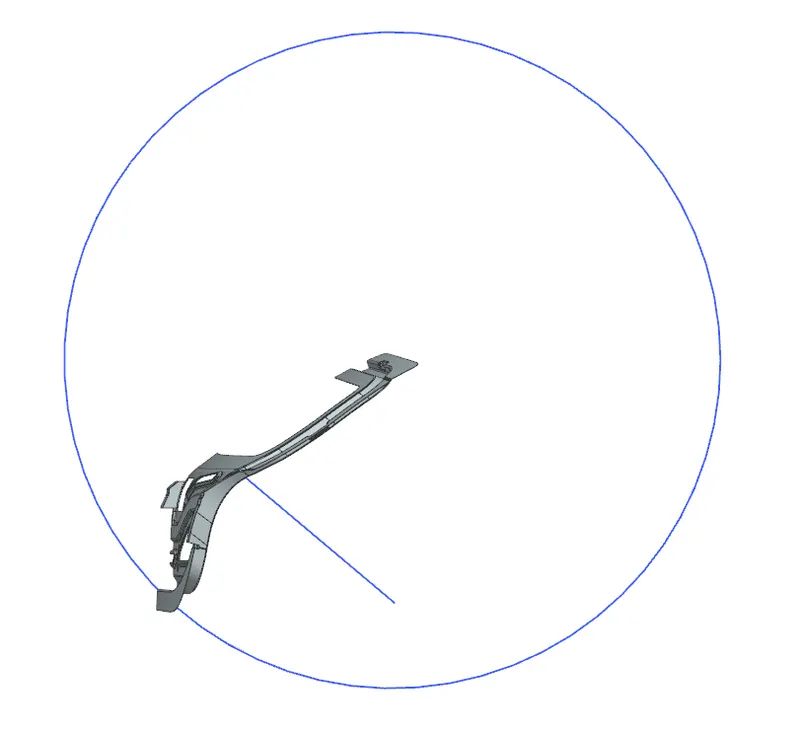
we need to create the Tooling direction for the Deep drawing operation. It shows that all the operations like embossing are done by considering this vector direction and it will help in manufacturing the part.
INNER PANEL:
The thickness of the Inner Panel is 0.75mm.
Sealing Flange:
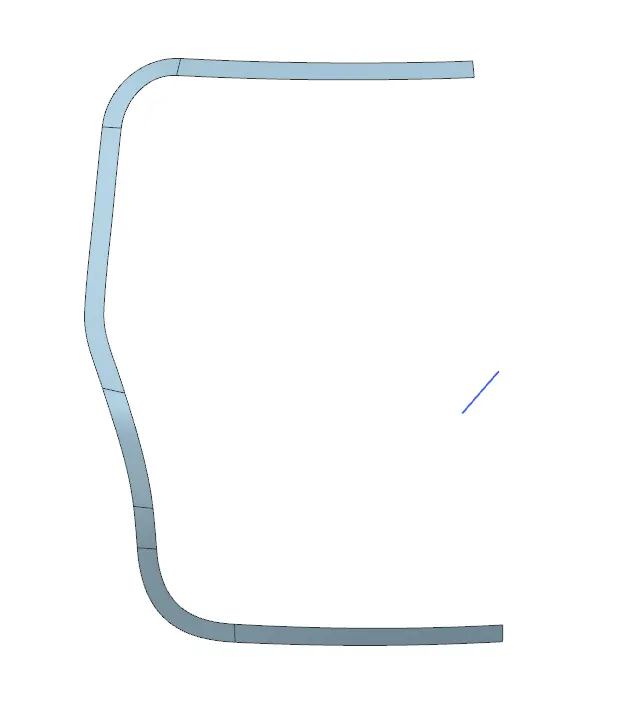
We have taken the offset of 25mm from the Input Class A Surface and kept the width of the flange as 30mm. Once this flange is made, we make a connecting flange on both sides of it and complete this flange to be joined with the inner panel.
Connecting Flange, Outer Flange and Windshield Area:
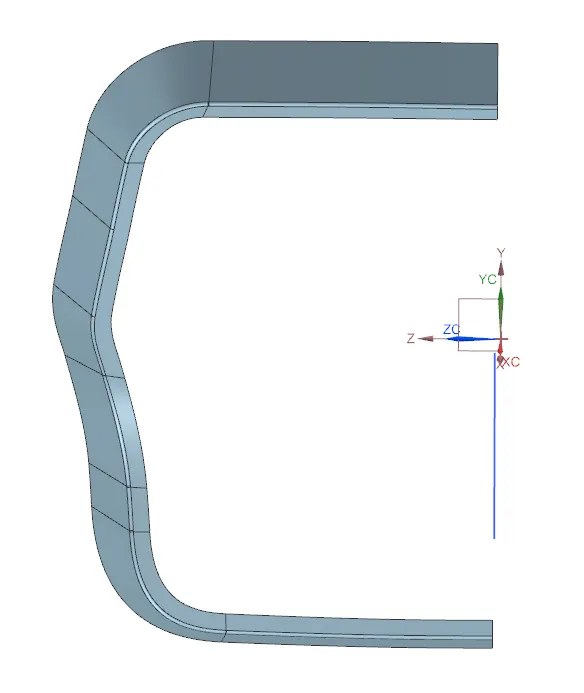
After creating the sealing flange we will create the Connecting Flange to connect the sealing flange with the outer flange and the windshield area, then we will create the Outer Flange to connect the inner panel with the outer panel by hemming, and after that, we will create the windshield area and sew/trim all the surface together.
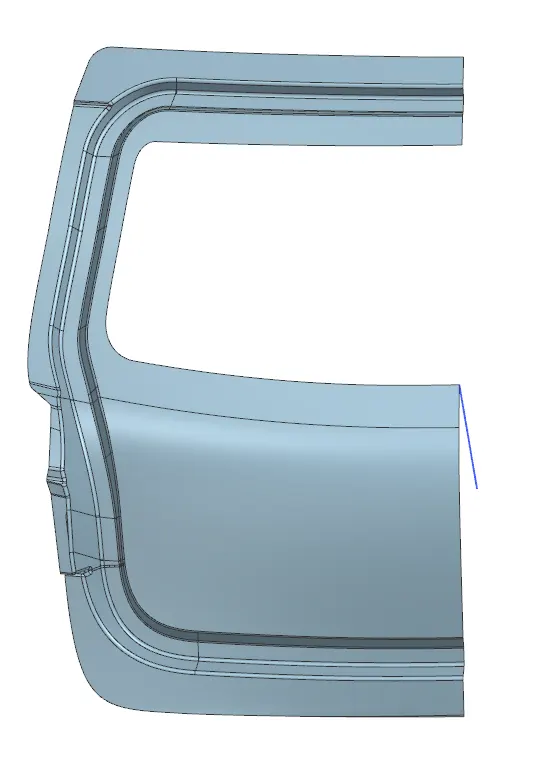
Embosses and Cut-Outs:
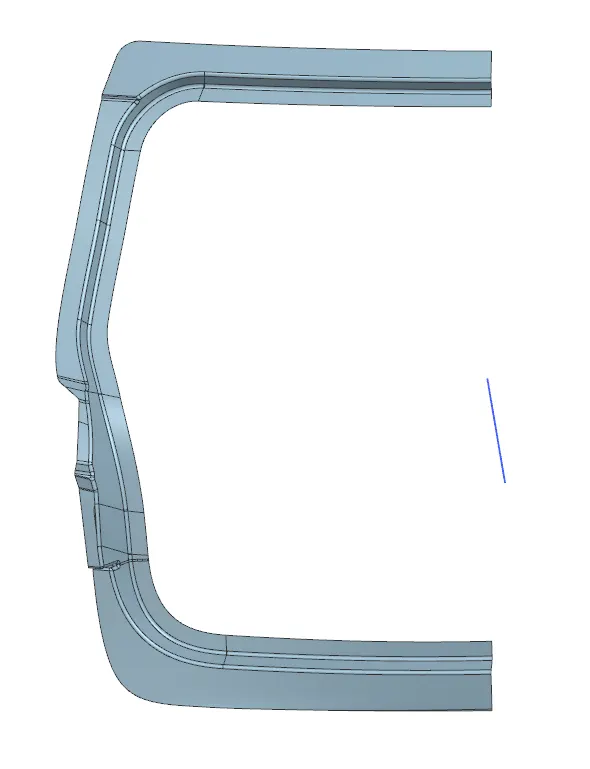
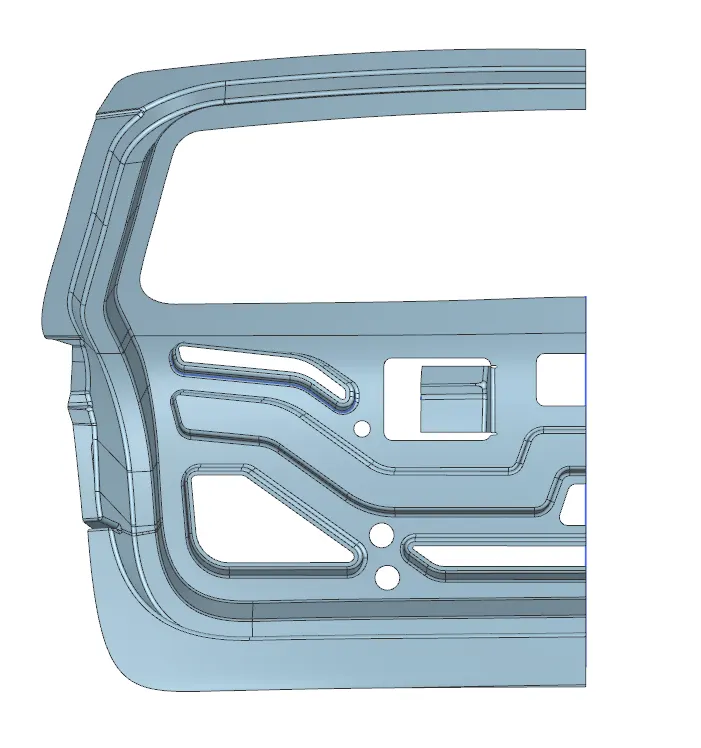
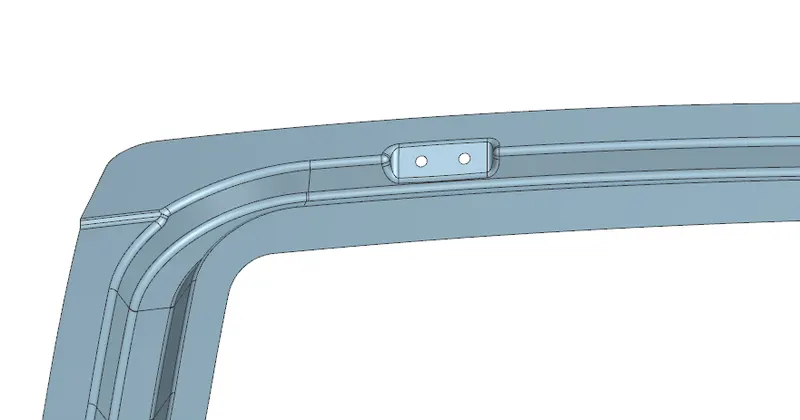
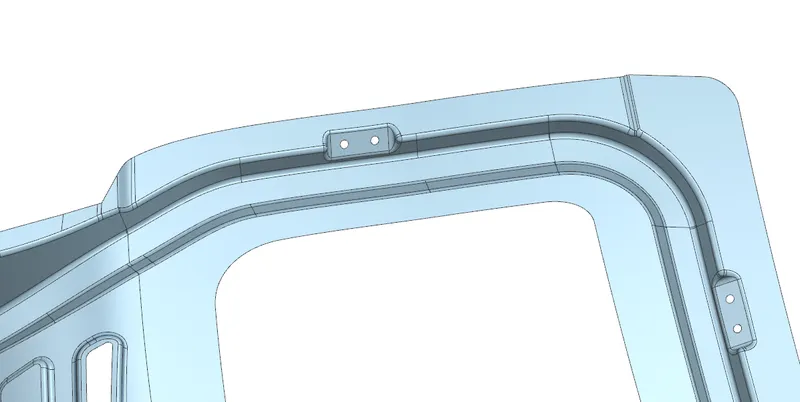
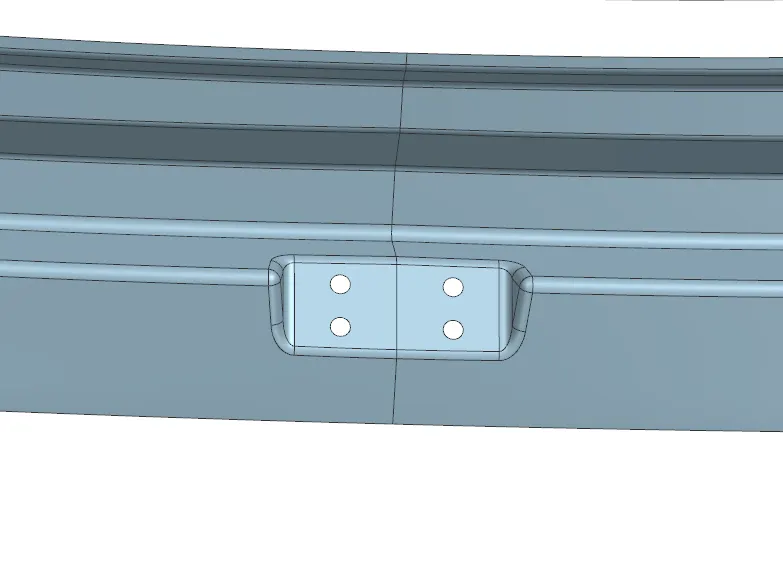
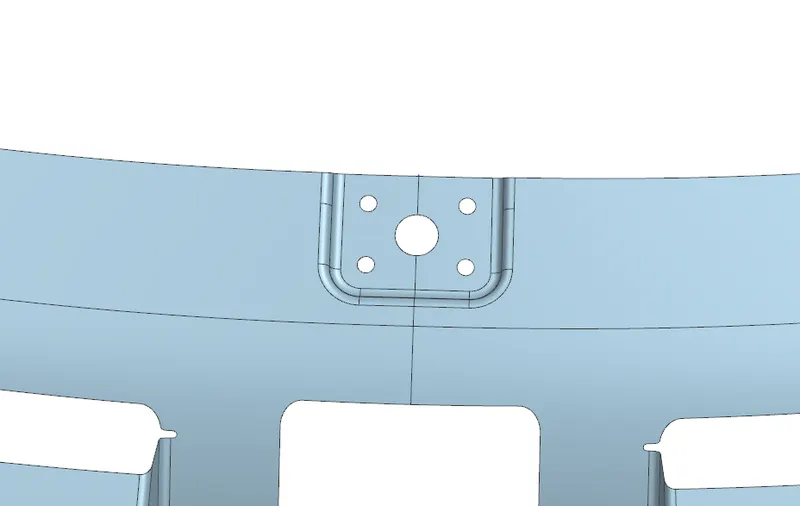
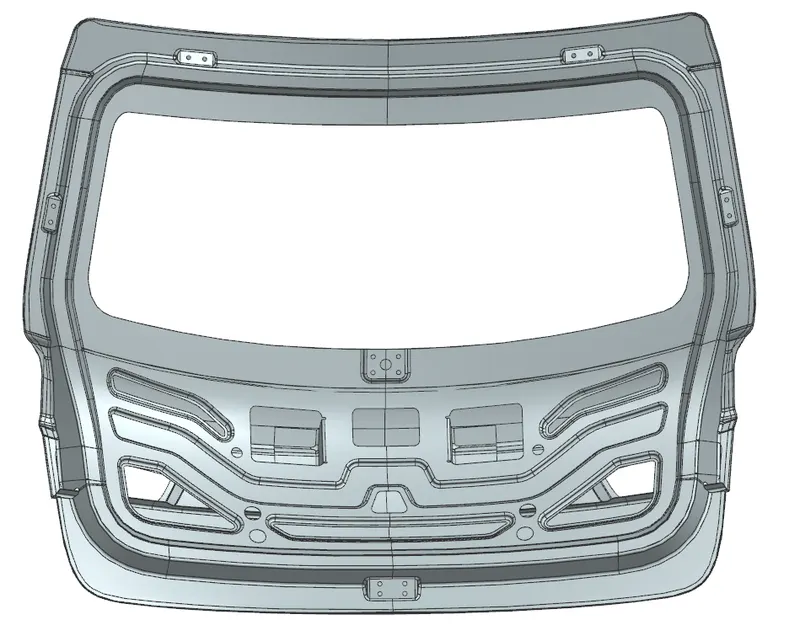
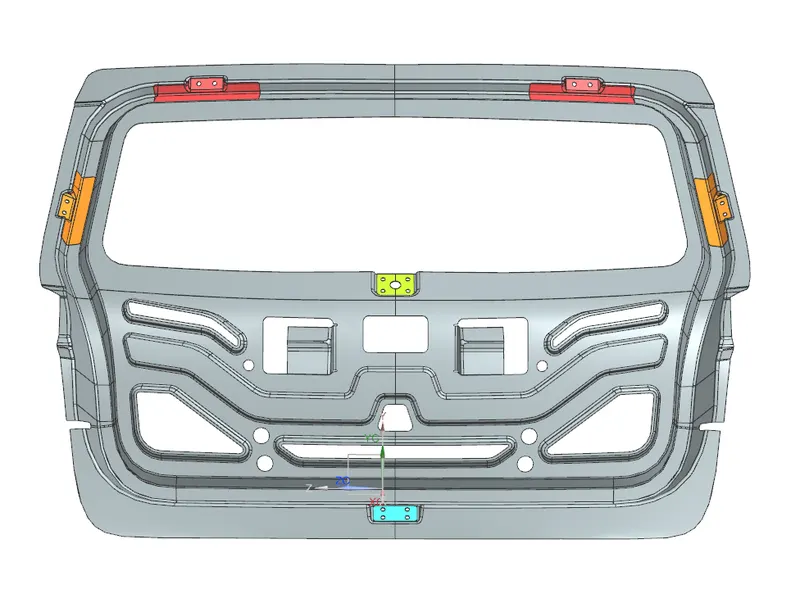
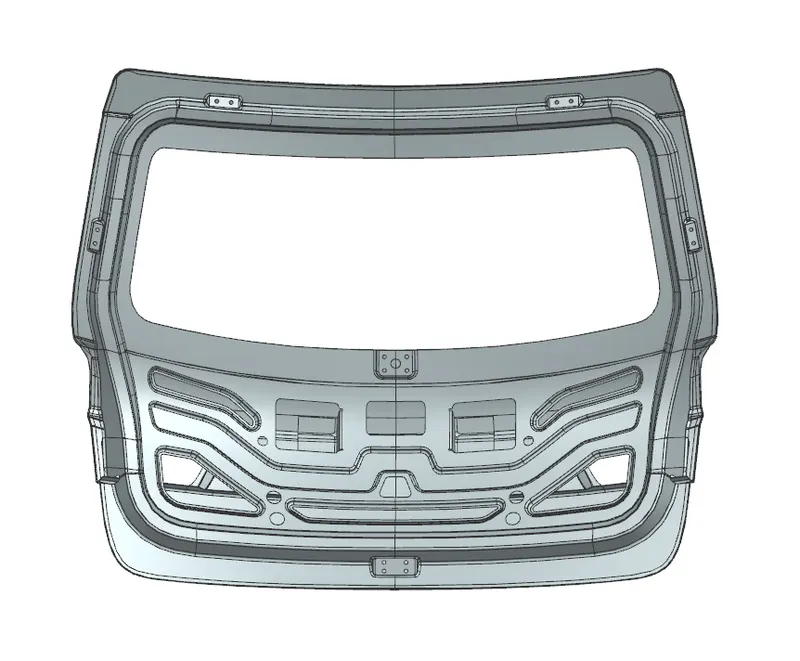
The Y-type embosses are provided in the inner panel for strengthening the part and also to dissipate the forces in case of a rear collision to the outside of the car. Different shape Cut-Outs are also created to reduce the weight and for routing of wires for different electronic components. Embosses are also created to connect the door with the car body and other components like the hinge mounting embosses, gas stay mounting embosses, latch and striker emboss, and wiper motor mounting emboss.
The Latch & Striker emboss must be perpendicular to the hinge mounting axis trajector.
REINFORCEMENTS:
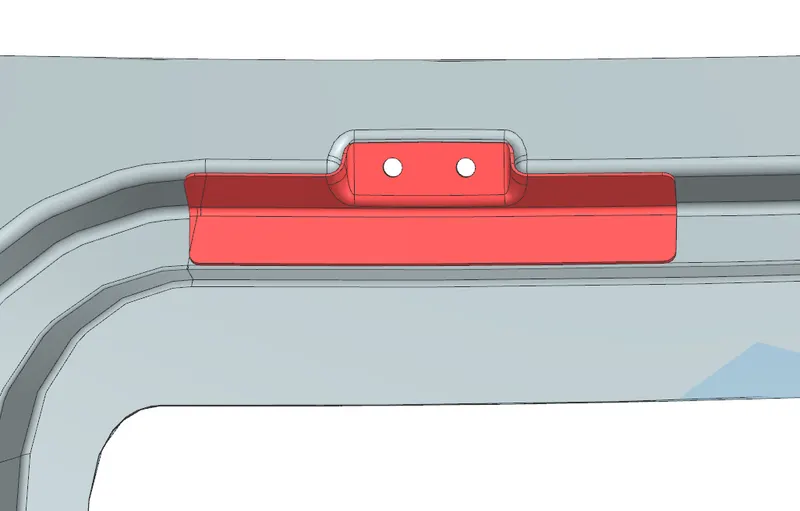
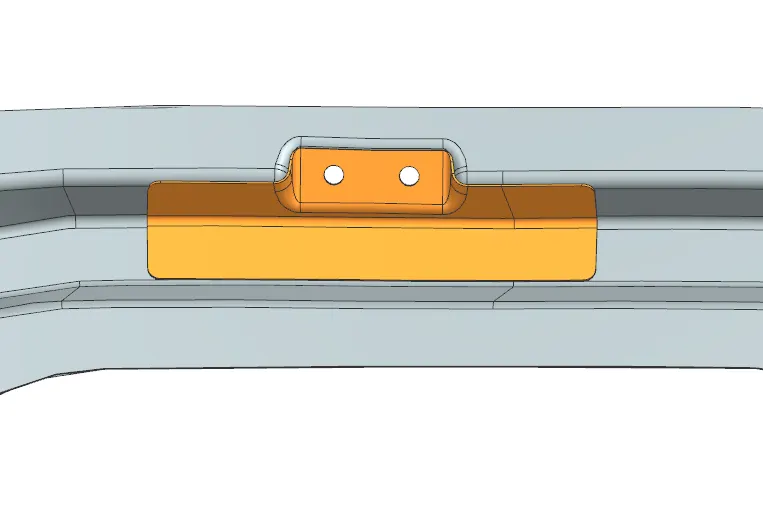
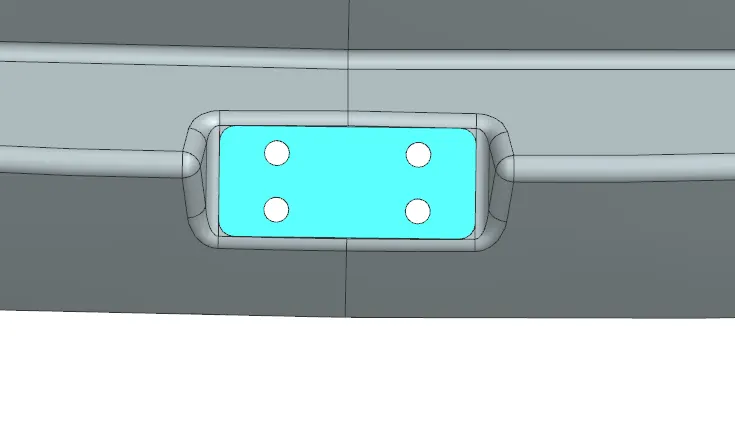
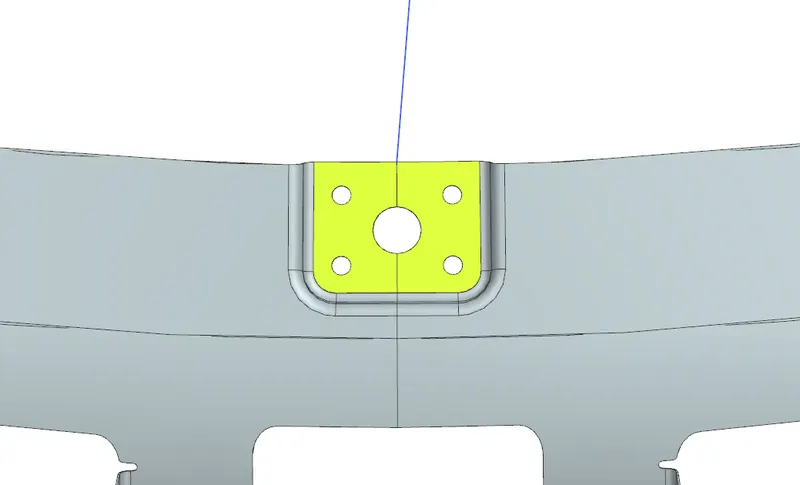
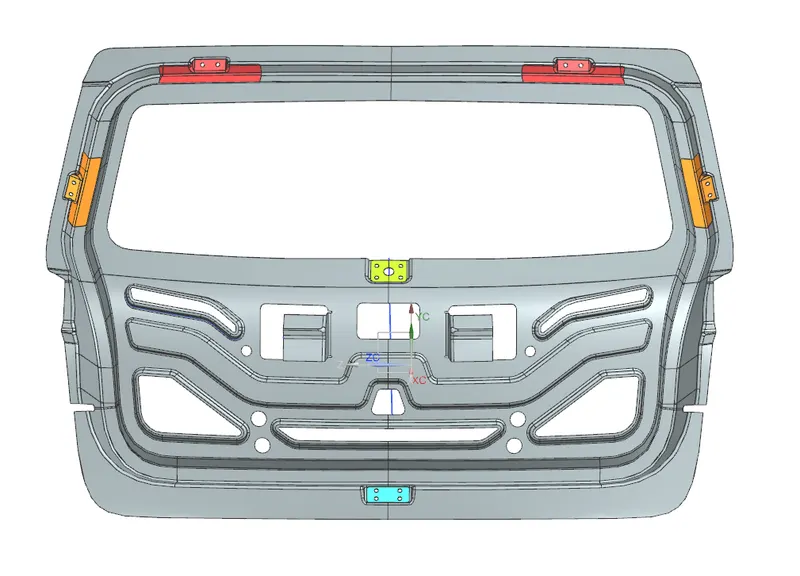
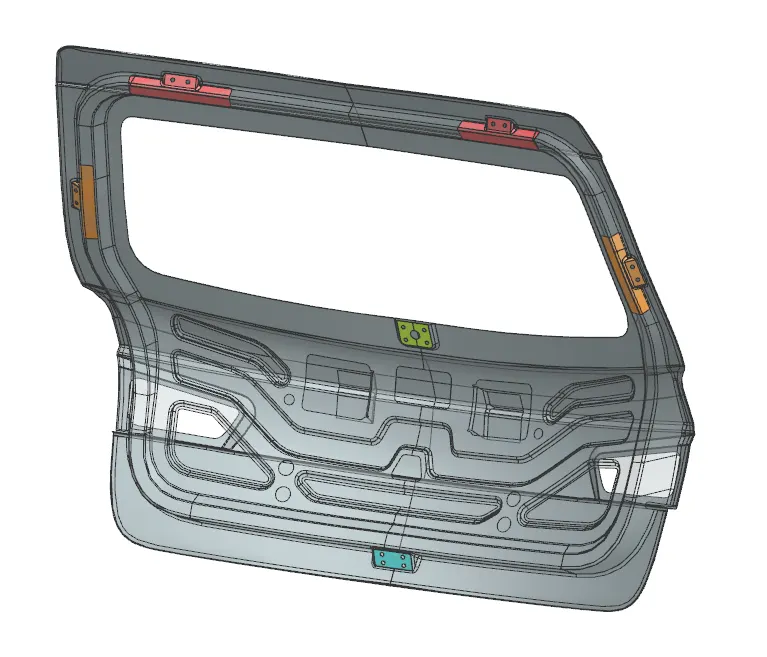
Reinforcements are provided at all mounting embosses to give extra strength to that particular region.
The thickness of the Reinforcements is 1mm.
Hinge Mounting Reinforcement:
Gas Stay Mounting Reinforcement:
Latch & Striker Reinforcement:
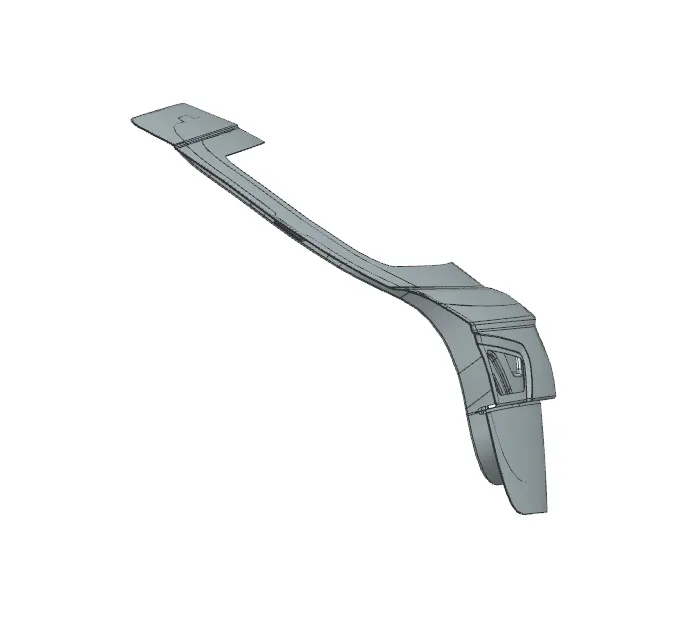
Wiper Motor Mounting Reinforcement:
OUTER PANEL:
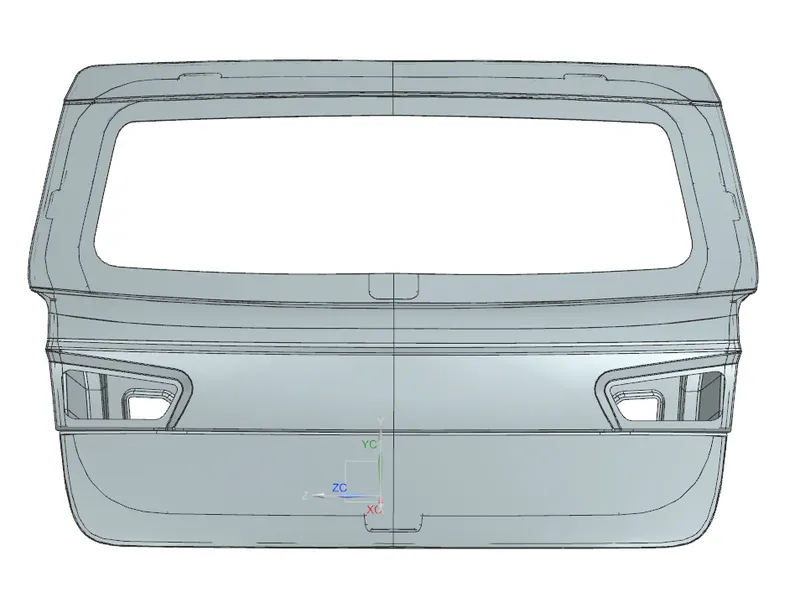
The thickness of the Outer Panel is 0.75mm.
MASTIC REGION:
The inner and outer panels are joined using hemming, to make this bond stronger we introduce a paste between them which becomes like rubber after solidifying. Thus we must have a structure that is projected from the inner panel towards the outer panel and this must be around 5mm away from the outer panel to serve its purpose.
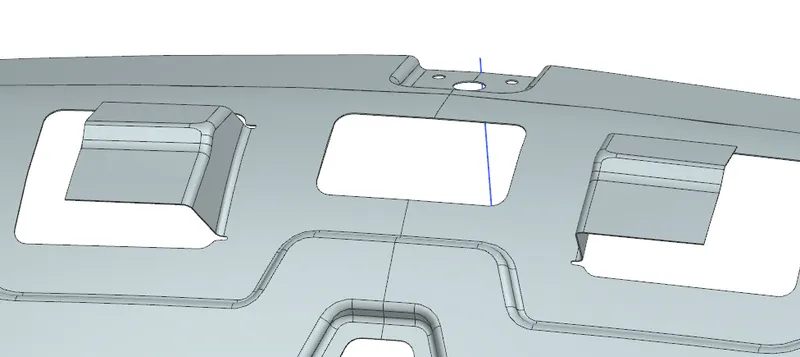
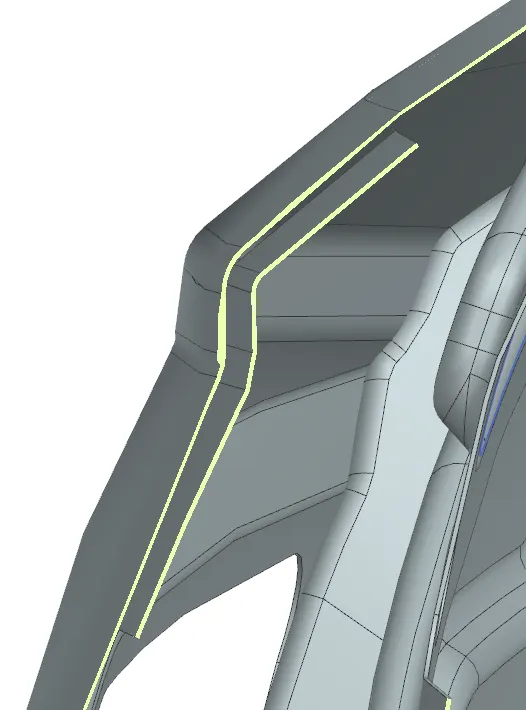
Note: the outer panel thickness is ok it is just a graphic error in the picture.
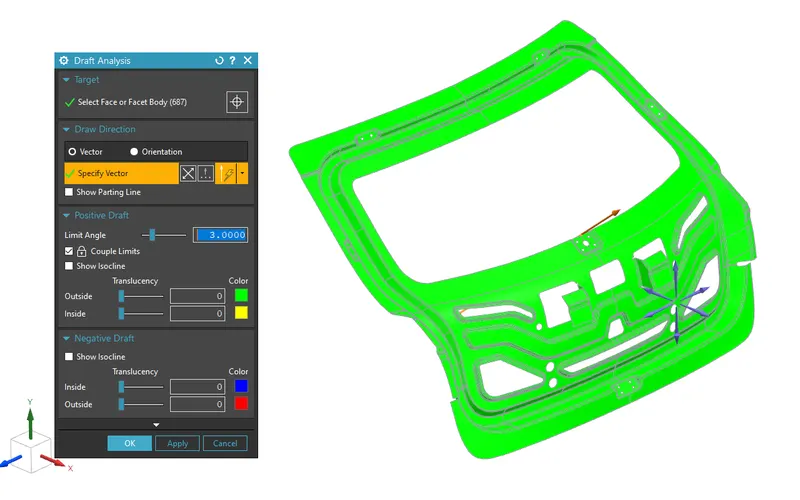
DRAFT ANALYSIS:
HEMMING & CORNER RELIEFS:
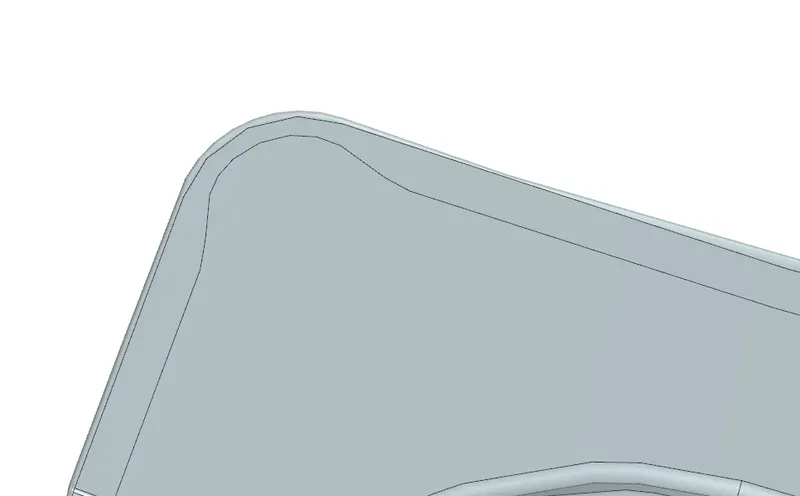
Hemming is a forming operation in which the edges of the sheet are folded or folded over another part in order to achieve a tight fit. Normally hemming operations are used to connect parts together to improve the appearance of a part and reinforce part edges.
The back door outer panel and inner panel are joined together using the hemming process. The outer panel is wrapped around the inner panel from all sides to restrict its movement. This is done using rollers.
Since at the corners the hemming is difficult to perform, clearance/relief is given at the corners of the panel so that hemming operation can be done easily.
BACK DOOR ASSEMBLY:
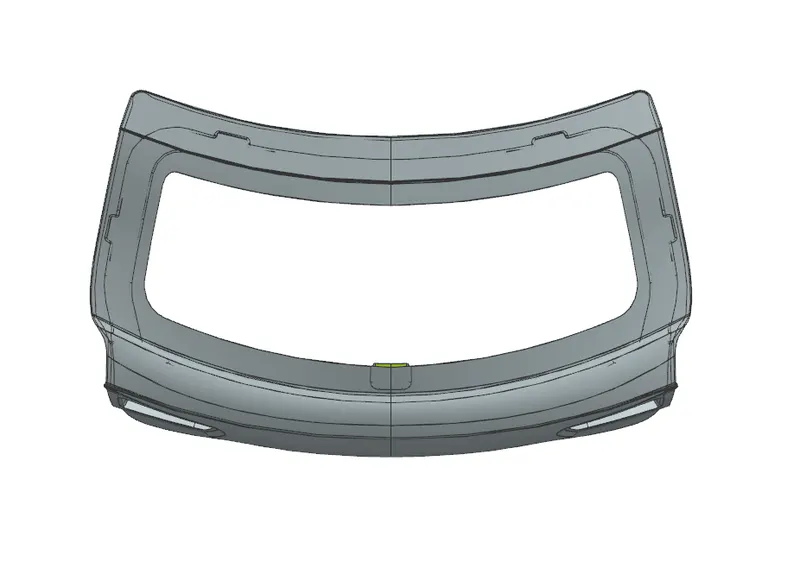
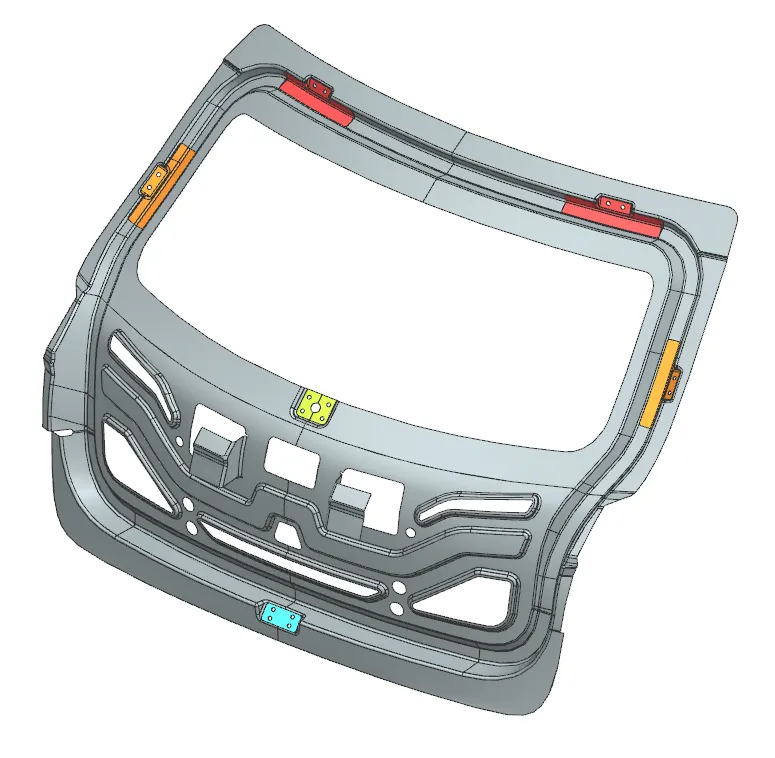
CONCLUSION:
From the provided Class A Input Surface of the outer panel we have successfully created the Inner Panel, Outer Panel, Reinforcements, and Mounting Embosses according to the tooling direction, thickness, and other required parameters.