Design of backdoor
BACK DOOR DESIGN OF A CAR:
AIM:
To design the back door of a car by using the given Class "A"
What is Back Door of a car?
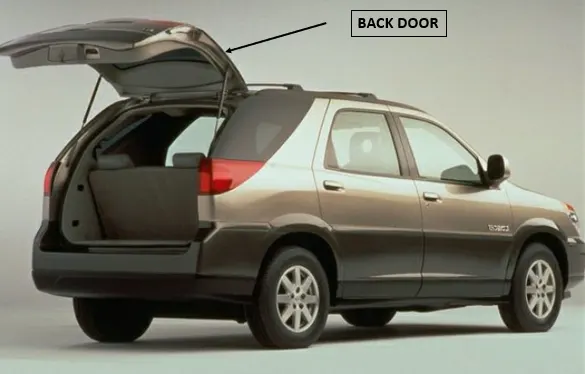
The Back door is an enclosed space usually at the rear of the car where you can put your bags.
Operation of Back door of Car.
In most of the cars are operated with the help of gas stay which in turn reduces the effort required to lift open the door. Some luxury cars have powered backdoor which in turn is driven by an electric motor.
Images of Back Door of a Car:
Back Door of a Car with Gas Stay Support:
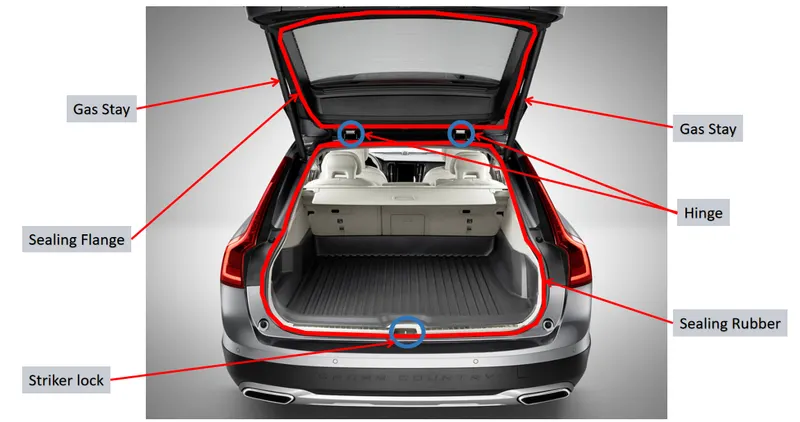
Different Parts of Back Door of Car:
Back Door Assembly:
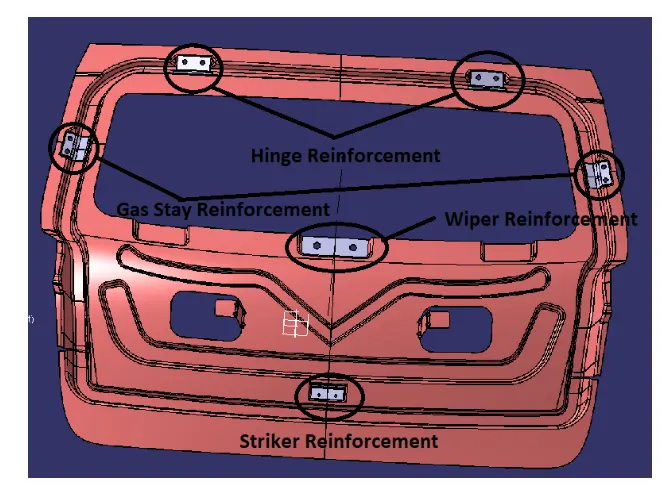
The Back Door assembly requires
- Outer Panel Upper
- Outer Panel Lower
- Inner Panel
- Gas Stay Reniforcement
- Hinge Reinforcement
- Wiper Mounting Reniforcement
- Striker Reinforcement
Types of Sheet Metal Process for Back Door:
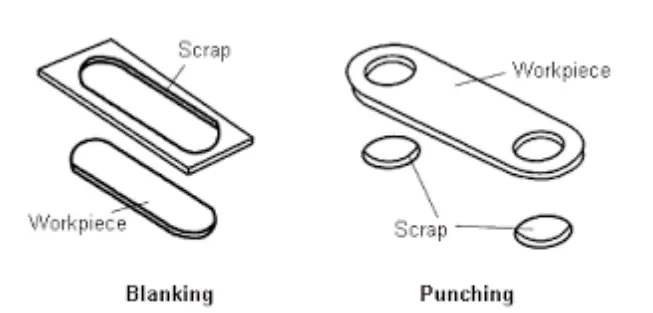
1) Blanking & Piercing
Blanking is a metal production process, during which a metal workpiece is removed from the primary metal strip or sheet when it is punched. The material that is removed is the new metal workpiece or blank.
Piercing is the process of cutting small, cylindrical holes in the sheet metal whilst removing very little quantity of material. This is done by using a bullet shaped punch during the punch and die operation.
Images of Blanking of Piercing:
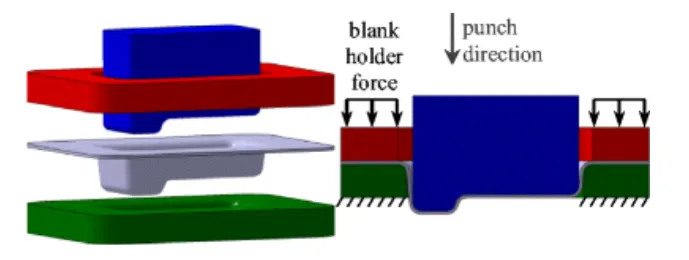
Deep Drawing:
Deep drawing is a sheet metal forming process used industrially to produce cup-shaped, box-shaped, and other complex-curved hollow-shaped sheet parts.
Embossing:
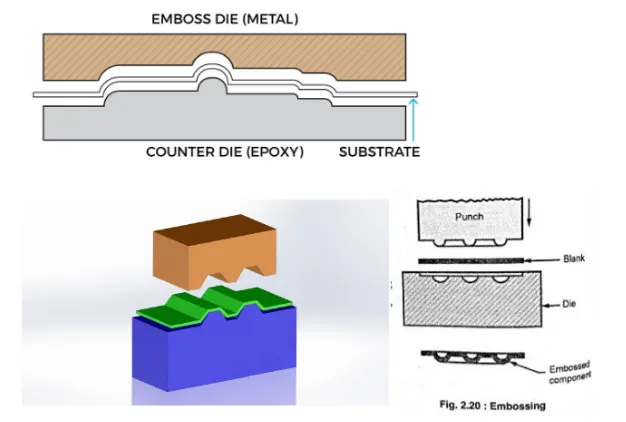
Embossing is a stamping process for producing raised or sunken designs or relief in sheet metal. This process can be made by means of matched male and female roller dies, or by passing sheet or a strip of metal between rolls of the desired pattern.
Hemming:
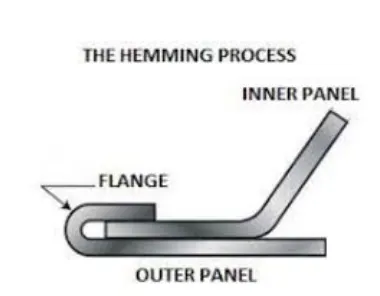
Hemming is a metalworking process that involves rolling the edge of sheet metal over and onto itself, essentially creating an area of two layers. During this process, the edge of sheet metal is folded over. The two newly formed layers then lie flush with each other. Sheet metal is available in a variety of gauges.
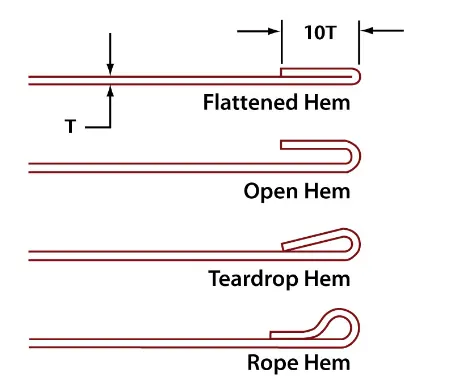
Types of Hemming :
Design of Back Door using Catia V5:
Input Data:
1) Class A of Back Door
2) Outer Panel Thickness- 0.75mm
3) Inner Panel Thickness - 0.75mm
4)Reinforcements Thickness -1.5mm
Image of Class A Surface:
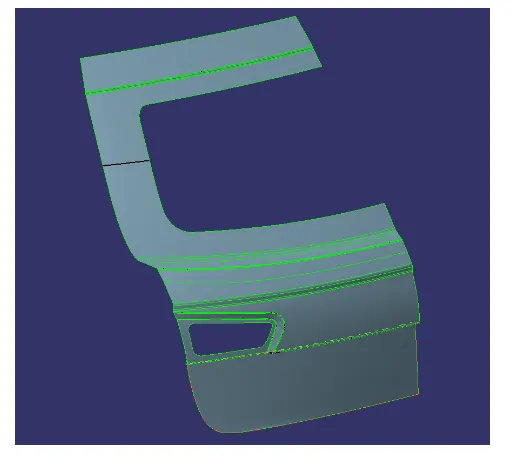
The Given Class A is separated into Two Parts
- Outer Panel Upper
- Outer Panel Lower
The Given class surface corrections are done to create a Solid Part.
Images of Outer Panel Upper:
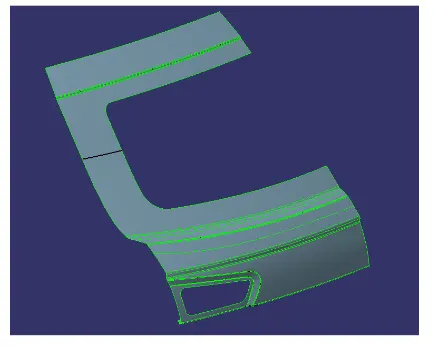
Image of Outer Pane Lower:
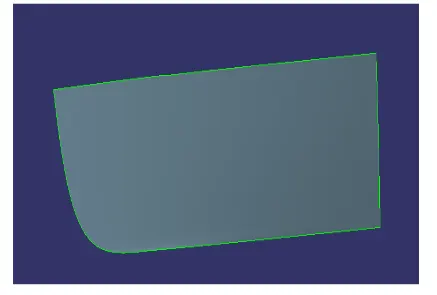
Images after corrections done in Outer Plane Upper:
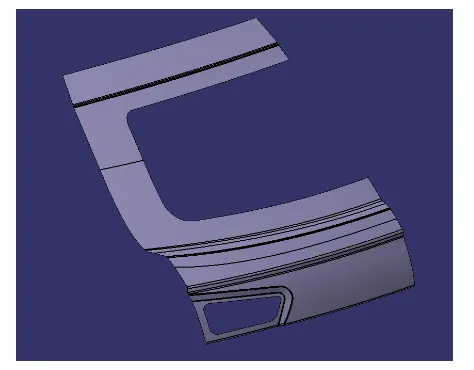
Images after corrections done in Outer Plane Lower:
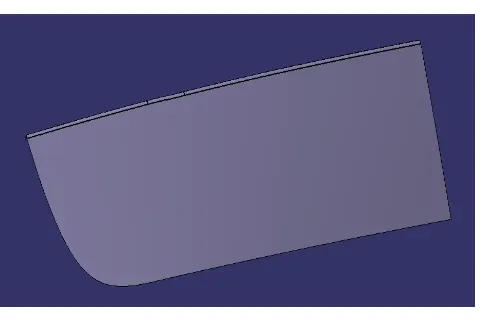
Creation of Inner Panel:
With the help of the Outer Panel Upper and Outer Panel Lower surface. We can create the Tooling Axis.
Step 1: Tooling Axis Creation
Image of Tooling Axis created:
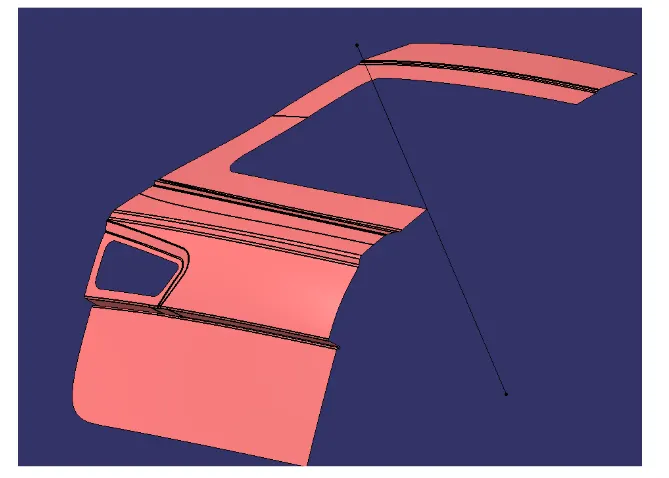
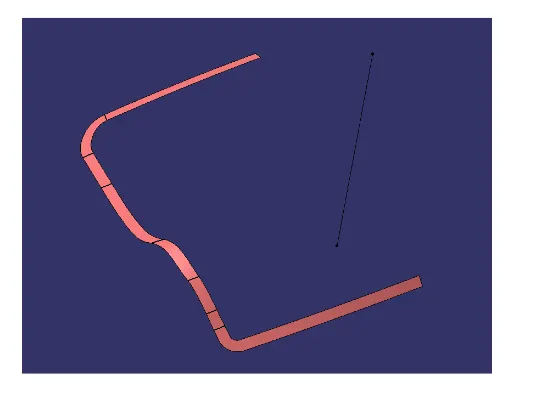
Step-2: Sealing Flange Creation:
Purpose of Sealing Flange:
This Sealing flange is that section of the inner panel which enables the backdoor to sit over the rear body side of the car..
Creation of Sealing Flange:
The sealing flange is created with the help of extracting the surface of the outer Panel upper & lower.
The width of the sealing flange should be between 30 to 35mm. This helps to keep the rubber flange in place
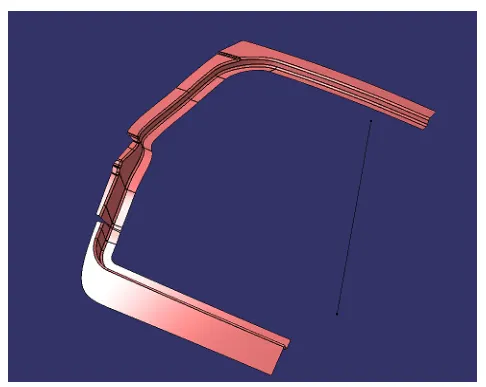
Step-3 Connection of Sealing Flange with Inner Panel:
After the creation of the sealing flange it is connected with the Inner Panel Flange.
The below image shows the sealing flange connected with the inner flange:
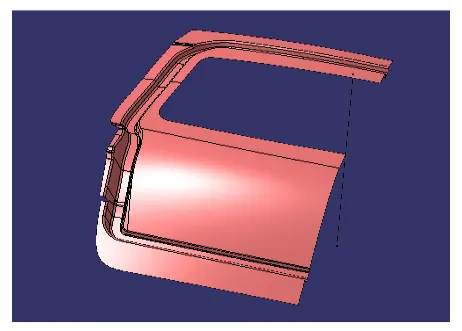
Step-4: The inner Flange is connected with the windshield panel and tail light panel:
The below image shows theThe inner Flange is connected with the windshield panel and tail light panel:
Step-5: Creation of Mastics for Emboss:
The below image shows that mastics are created to connect the outer panel and the inner panel.
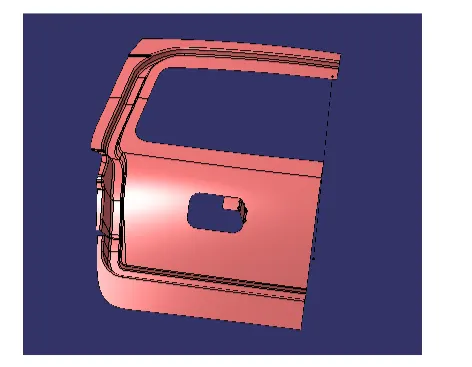
Step-6: Creation of Emboss on the Inner Panel:
The below image show emboss created in the inner panel which helps to given strength to the inner panel
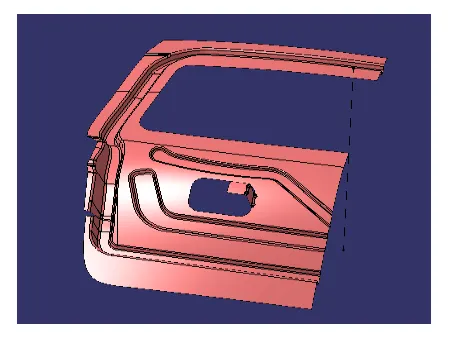
Step-7 Creation of Gas Stay Mounting on Inner Panel:
The below image shows the inner Panel is provided with Gas Stay Mounting.
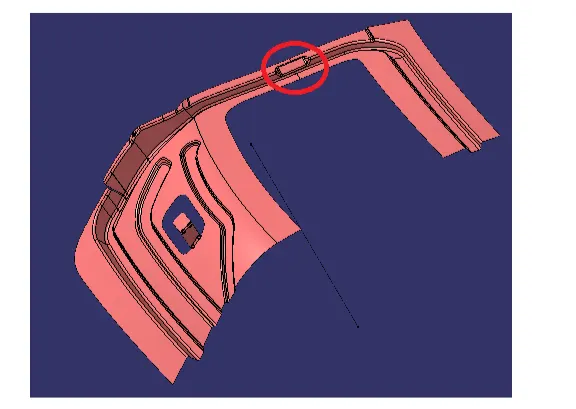
Step-9 Creation of Hinge Mounting on Inner Panel:
The below image shows the inner Panel is provided with Hinge support mounting.
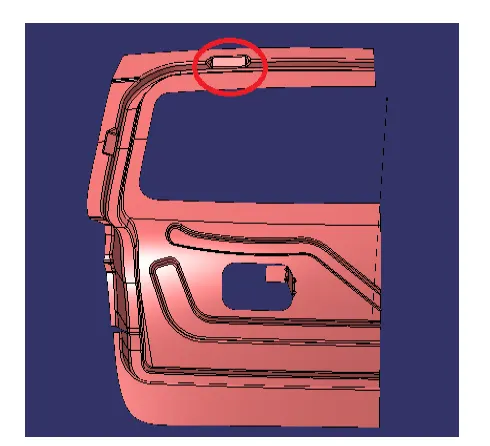
Step-10 Creation of Striker Mounting on Inner Panel:
The below image shows the Inner Panel is provided with Striker mounting.
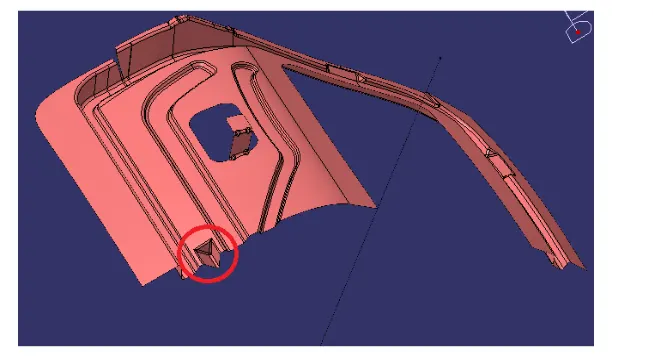
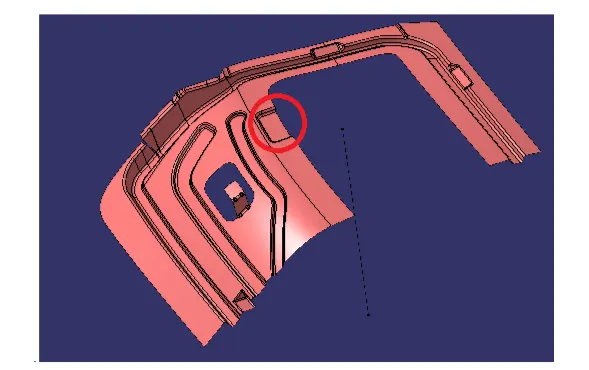
Step-11 Creation of Emboss on Inner Panel:
The below image shows the Inner Panel is provided with Emboss on the windshield
.
Step-12 Creation of Wiper mounting on Inner Panel:
The below image shows the Inner Panel is provided with Wiper mounting on the windshield
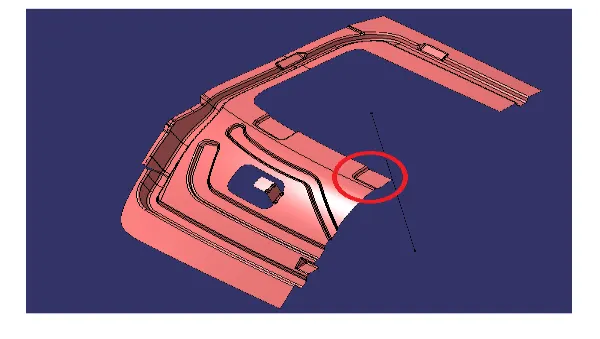
Step-13 Symmetry on the inner Panel:
The below image shows the Inner Panel is made symmetry to complete the full part.
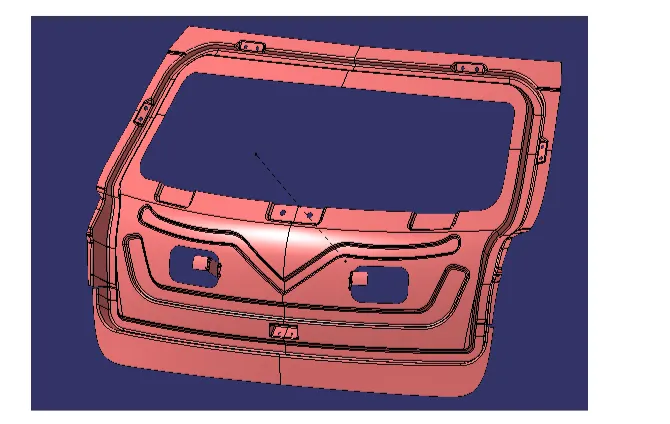
Step-14 Thickness:
The below image shows the Inner Panel is thickened for 0.75mm.
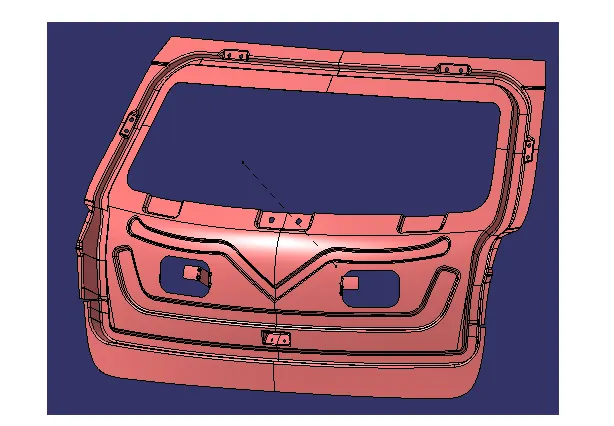
Outer Panel Upper Hemming:
The below image shows Hemming done on the edges of the outer panel Upper.
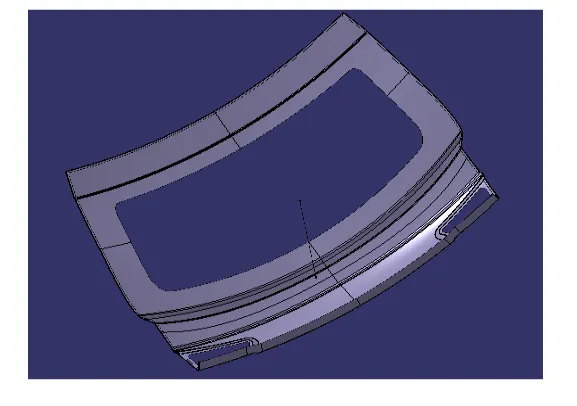
Hemming Relief of Outer Panel Upper:
The Below images shows Hemming Relief on the Outer Panel Upper
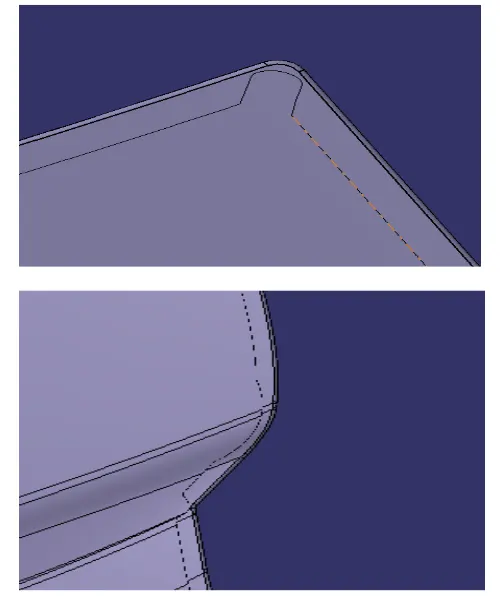
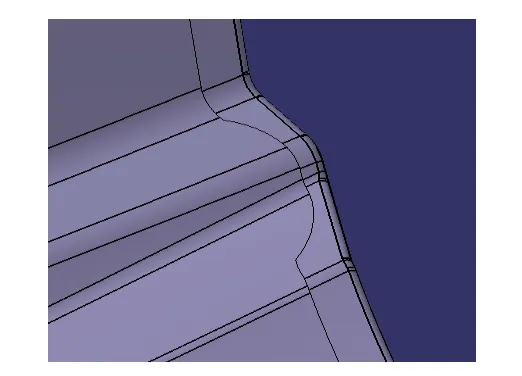
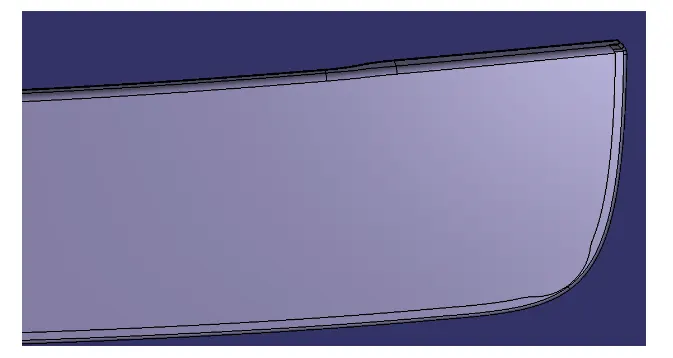
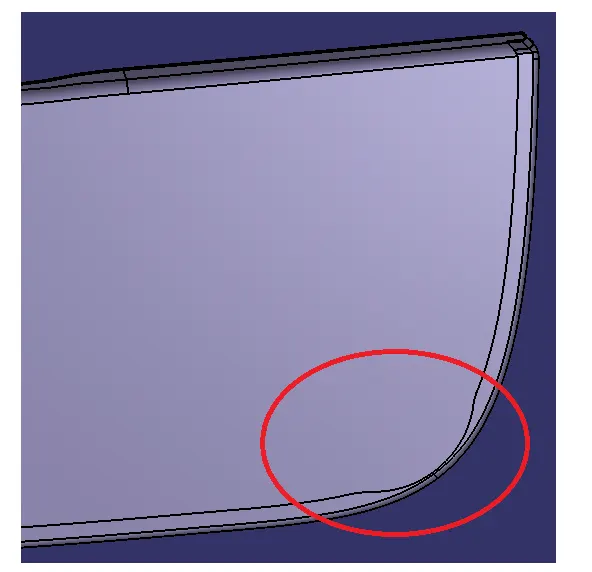
Outer Panel Lower Hemming:
Hemming Relief of Outer Panel Lower:
The Below images shows Hemming Relief on the Outer Panel Lower
Reinforcement applied on Inner Panel:
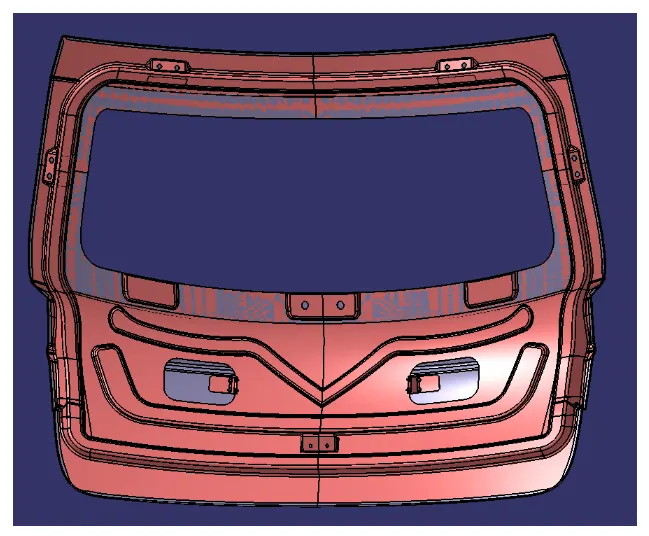
Complete Assembly of the Back Door:
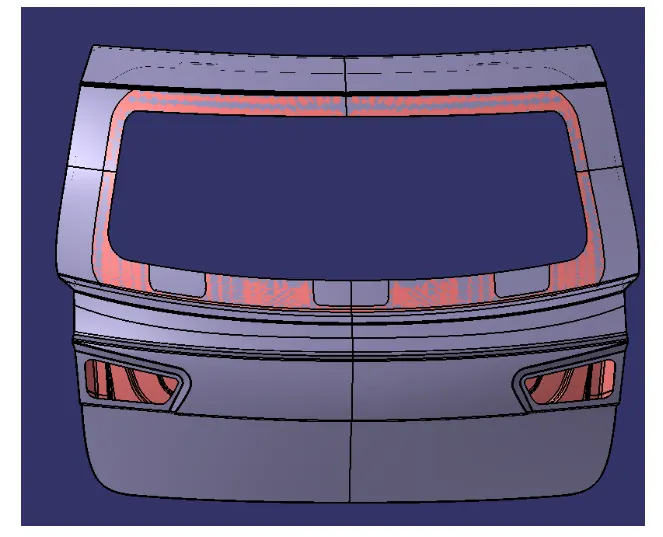
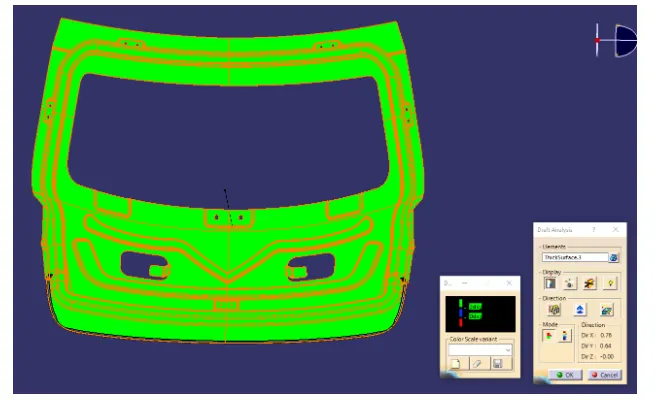
Draft Analysis:
Inner Panel
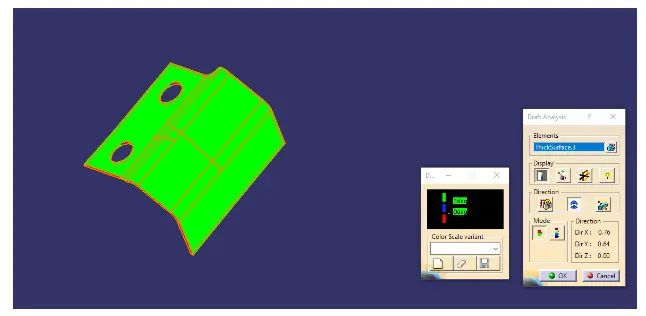
Gas Stay Reinforcement:
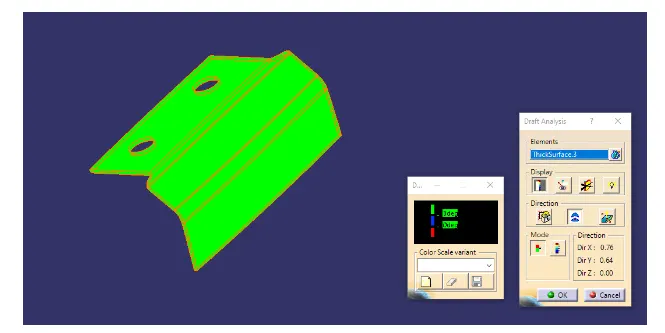
Hinge Reinforcement:
Conclusion:
In this challenge we learnt about the Designing of Back Door using the given input surface. The various parts required to design a back door like Sealing Flange,Gas Stay, Hinge Mounting,Wiper Mounting and Striker Mounting. Hence as per the objective the Back Door is designed using Catia V5