Design of backdoor
BACK DOOR
OBJECTIVE:
The back door of the car should be designed using NX CAD or CATIA V5 by the necessary design methods, including adding the necessary reinforcements and embosses to the inner panel for strength. Evaluate the back door's draught analysis so that it can be modified via the deep drawing technique.
Design Factors to consider for designing a Back Door:
- Safety and functionality both depend on rear visibility.
- Accessibility and boot space.
- Hinges and gas stays are examples of backdoor opening fixing and support structures.
- Wiper motor, backlights/tail lamps, and other wiring loops mounting brackets.
- Effectiveness of Backdoor.
Back Door: The back door of a car is a part that swings open from the back to cover the trunk or luggage area. It has backlights/tail lamps, and braking lights—often referred to as "third brake lights"—mounted on it, and the rear windscreen is fixed between the inner and outer panels. In some back doors, a spare wheel can also be mounted on the back door, and occasionally the car registration number plate is mounted on it.
Image of a Car's Back door (Opened)
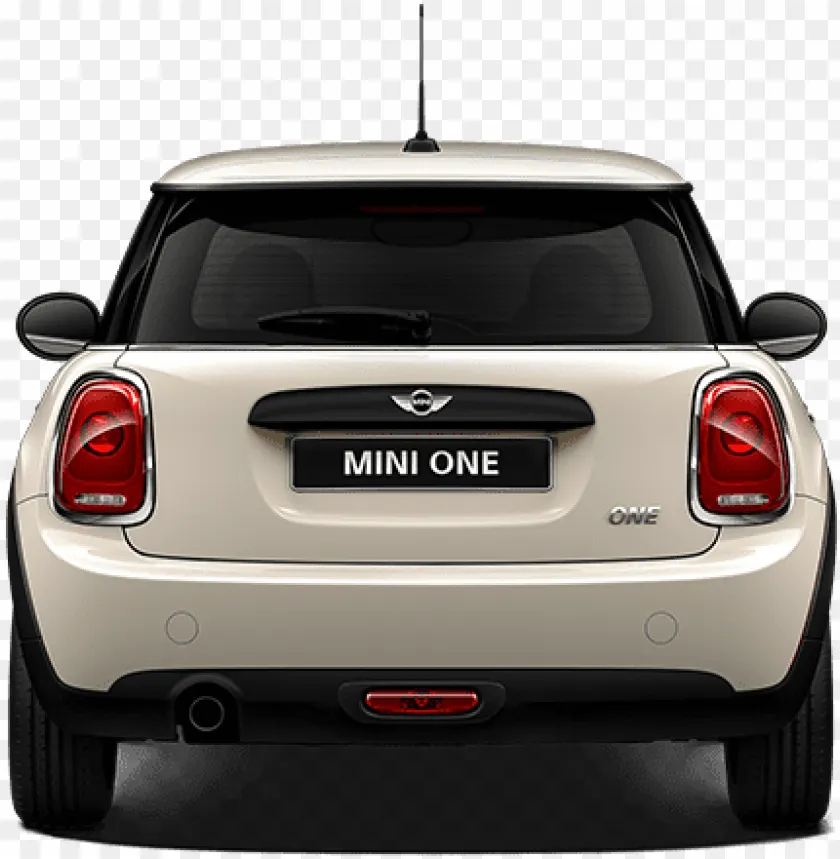
Image of a Car's Back door (Closed)
In other words: The hinged door or gate that allows access to the cargo area or the rear of a car or truck is known as the tailgate. To enable the loading and unloading of cargo, the tailgate, which is usually found at the back of the car, can be opened and closed. Additionally, while traveling, it acts as a barrier of protection for the cargo space. A window that can be opened independently or a step that can be lowered to make accessing the cargo area simpler are two extra features found on some tailgates.
Several types of trunks are commonly used in cars. Here are some examples:
-
Sedan Trunk: This is the most common type of trunk, which is found in sedans and some other types of vehicles. It is a separate compartment located at the rear of the car that is accessed through a lid or hatch.
-
Hatchback: A hatchback is a type of car that has a rear door that opens upwards, which includes the rear window and is also known as a tailgate. This design provides access to a large cargo area that is integrated with the passenger compartment and can be folded down for even more space.
-
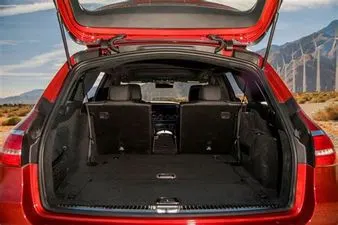
Station Wagon: A station wagon is a type of car that has an extended cargo area that is integrated with the passenger compartment, with the rear seat often able to fold down for added space.
-
SUV Trunk: Sport Utility Vehicles (SUVs) typically have a trunk that is similar to a station wagon or hatchback, with a rear door that opens upwards to provide access to the cargo area.
-
Pickup Truck Bed: Pickup trucks have an open cargo area at the rear of the vehicle known as a bed. This type of trunk is ideal for transporting larger or bulkier items that cannot fit in a sedan trunk or SUV cargo area.
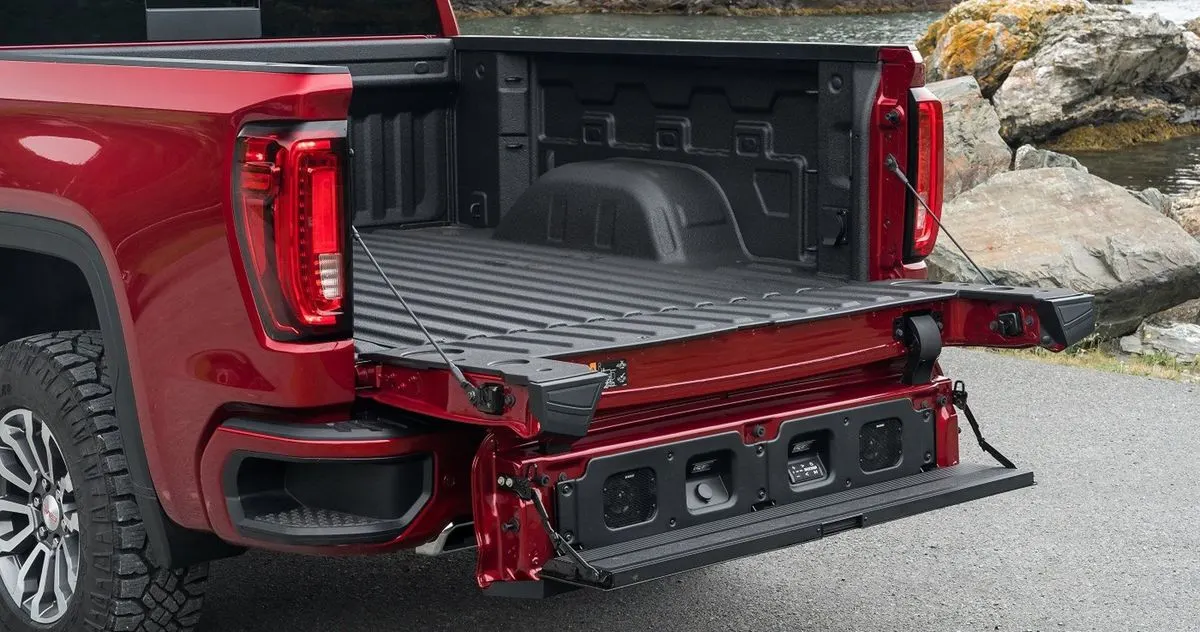
General parts of the Tailgate/backdoor include the following:
- Latch or Car Back Door Lock
- Backdoor Hinge
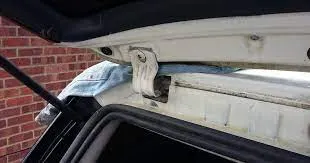
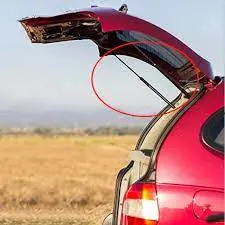
- Gas-Stay of backdoor
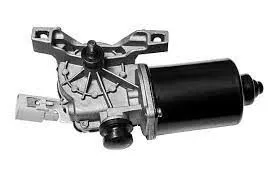
- Wiper Motor
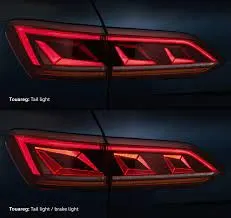
- Tail lights
Designing of the Backdoor is as follows:
- Surfacing of Outer panel upper,
- Surfacing of the Outer panel lower,
- Arranging Tooling direction,
- Creating sealing flange,
- Providing mastic sealant area,
- Creating embosses for strengthening the inner panel,
- Creating Hinge and gas stay embosses,
- Making Rear motor Emboss,
- Arranging Latch & striker emboss,
- Remove unwanted material for smooth thickening of the Inner panel,
- Thicken the inner panel inside,
- Hemming and Cornner reliefs,
- Check the draft analysis for the inner panel, outer panel upper and lower,
- Lastly, Thicken the Outer panel to the inside.
(NOTE: Make sure that there are no gaps between surfaces in the inner panel and outer panel.)
Processes Implemented in the Manufacturing of Backdoor:
Deep Drawing: A sheet metal blank is radially drawn into a forming die during the deep drawing procedure by the mechanical action of a punch. Thus, it is a shape transformation procedure that keeps the material. When the drawn part's depth is greater than its diameter, the procedure is referred to as a "deep" drawing.
Punching: By using a strong enough shearing force, the material is cut away from a sheet of metal during the sheet metal punching procedure. It is possible to create holes and cutouts of different sizes and forms using CNC punching.
Embossing: To create raised or sunken patterns or relief in sheet metal, embossing is a stamping technique. This procedure can be carried out using male and female roller dies that are matched, or by moving a sheet of metal or a piece of metal between rollers of the desired design, ideally without changing the metal's thickness.
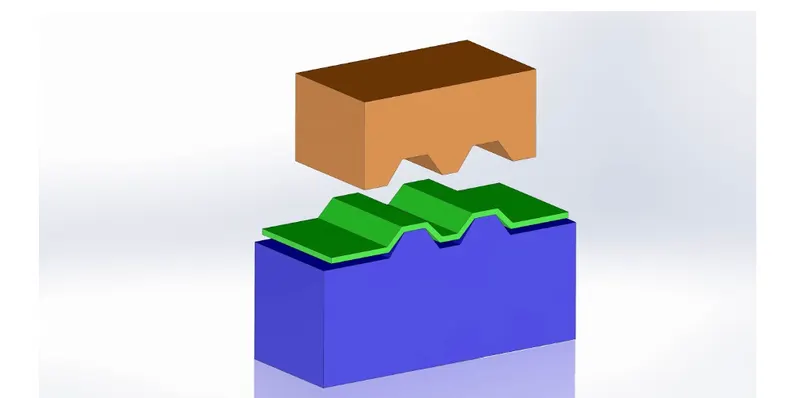
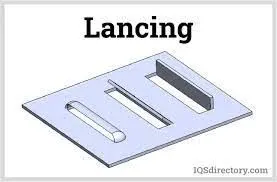
Lancing: In the process of lancing, the work component is sheared and bent in one motion of the die. The fact that no material is reduced during this process; only the shape of the material is altered is a crucial component. Tabs, outlets, and other features are created using this process.
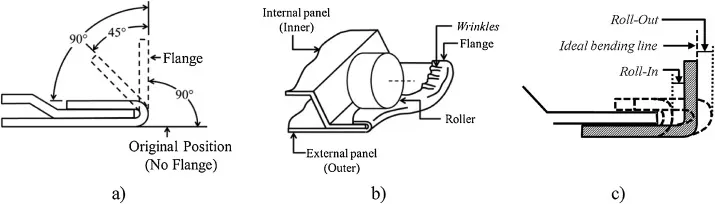
Hemming: Hemming is a forming procedure in which the sheet's edges are folded or folded over another portion to produce a snug fit. The automotive business uses hemming to affix interior and outer closure panels together. (hoods, doors, tailgates, etc.). It involves folding or bending the outer panel's flange over the interior panel. The accuracy of the process significantly impacts how the exterior of the car looks, making it a crucial component of the completed vehicle's quality.
Corner Relief: Relief is applied to the part or component to alleviate any pressures created in a specific area, such as sharp corners, during the hemming process. Corners are rounded or chamfered as a result.
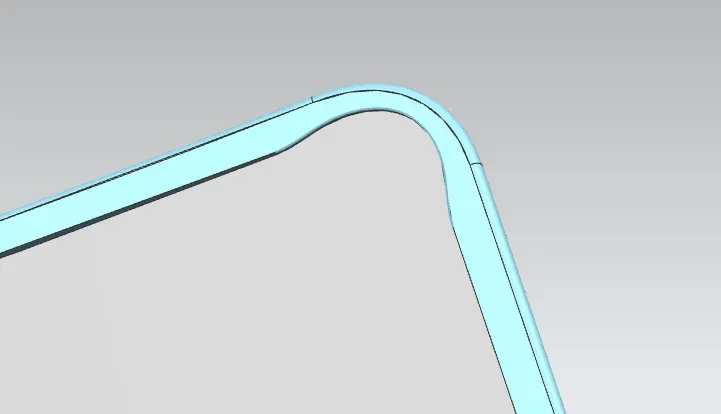
Image of Relief for backdoor at the corner.
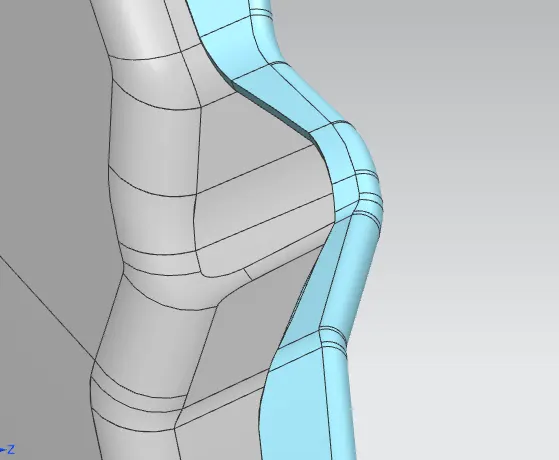
Image of corner Relief for a backdoor edge at a complicated curve
Mastic Sealant: A sort of liquid sealant called mastic cures in an elastic condition, making it flexible while maintaining the link between the surfaces that have been bonded. It sticks to almost any surface, making it an all-purpose sealer.
The outer panel's primary use is for aesthetic reasons. Bolts and welding are thus not an option. Mastic sealants and hemming are required to do this. Mastic sealants are rubber-like rubber-like elastic materials. Between the outer and inner panels, it is situated. Initially is it in paste form, but after the hot furnace bath, it gets hardened thus joining the outer and inner panels.
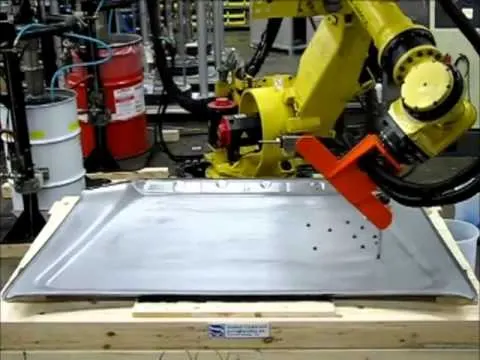
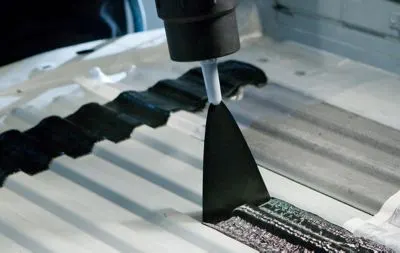
Image of applying the sealant to car body parts
DESIGNING OF THE BACKDOOR
1.) Surfacing of the Outer panel upper: Given outer panel must be rearranged smoothly and the curves must be joined perfectly. By using curves and trim sheet options we need to recreate the surface as required without gaps. After that, it needs to be sewn so that there are no gaps between the surfaces.
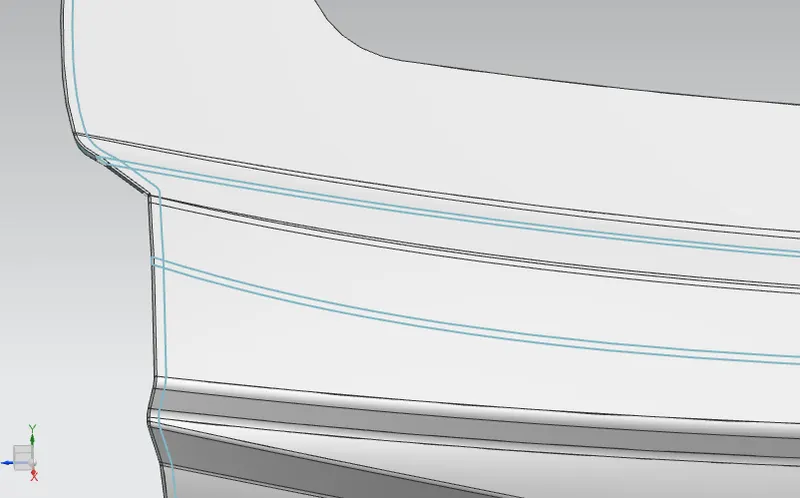
Image of the outer panel upper while rearranging the surface using curves.
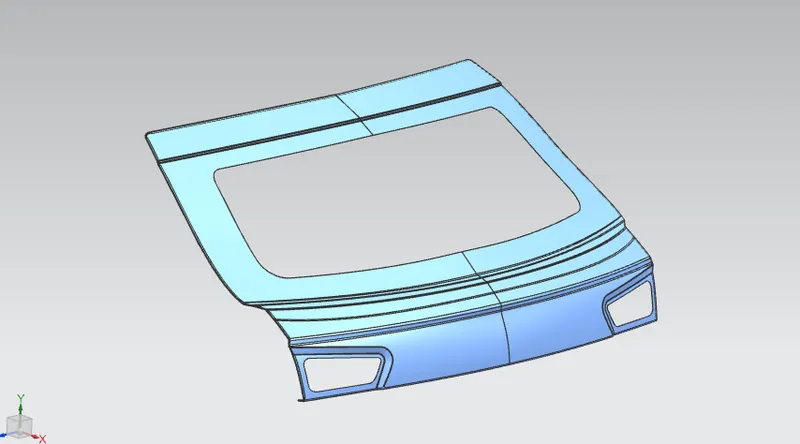
Image of the outer panel upper after rearranging the surface.
2.) Surfacing of the Outer panel lower: The given outer panel must be smoothly reconfigured, and the curves must be precisely linked. We must reconstruct the surface as needed without gaps via curves and trim sheet options. It needs to be stitched after that to ensure that there are no gaps between the surfaces.
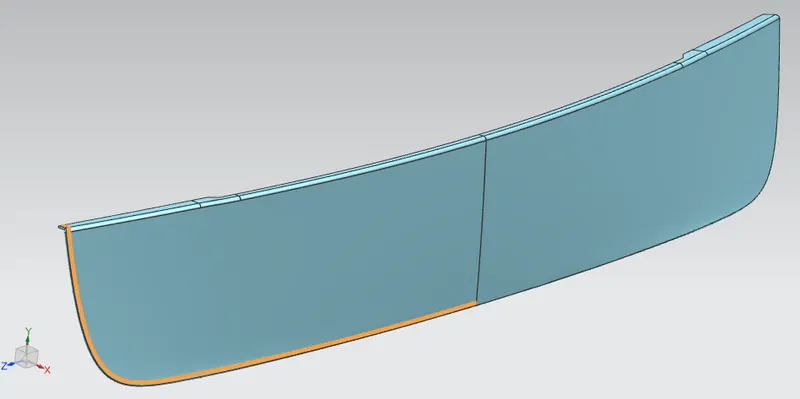
Image of the outer panel lower after rearranging the surface.
3.) Arranging Tooling direction: The tooling direction for the deep drawing process must now be created. It demonstrates how all processes, such as embossing, are carried out while taking this vector orientation into consideration, which will aid in the part's manufacture.
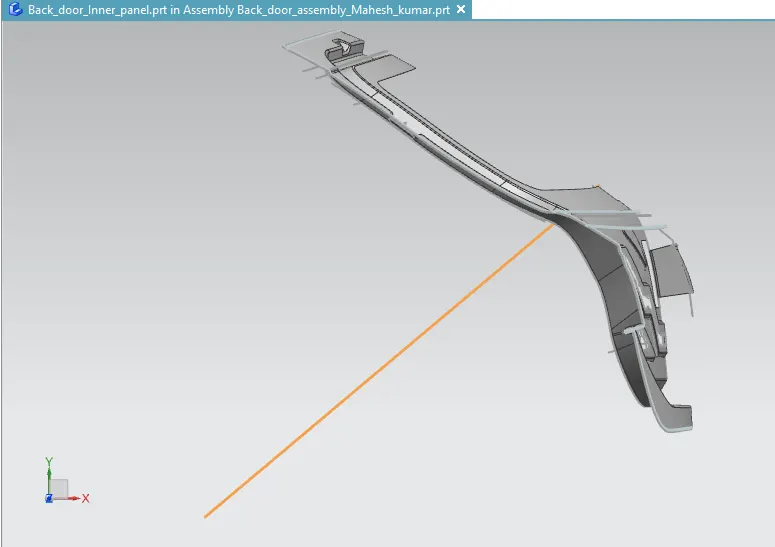
Image of tooling direction
4.) Creating Inner panel: The sealing flange was created using offset curves in the face, bridge curves, edge blend, law extension, studio surface, through curve mesh, and sew and trim sheet. Then we need to create embosses to strengthen the inner panel and give a mastic sealant region. And also there is an urge to create hinge emboss and gas-stay emboss. After creating them mirror geometry should be applied to the inner panel to make the Rear motor Emboss and to arrange Latch & striker emboss. At last, Thicken the inner panel inside. Before thickening remove the unwanted material for better thickening of the Inner panel. Below are some images to help you better understand the procedure.
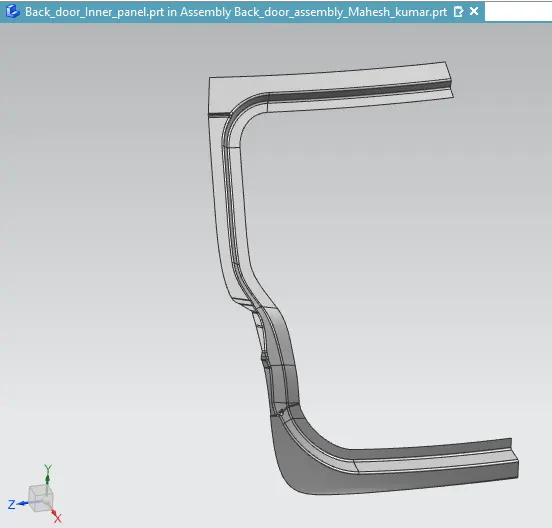
Image of the sealing flange
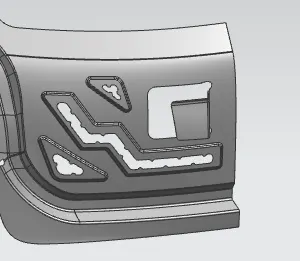
Image of the Mastic area and emboss for strengthening the inner panel.
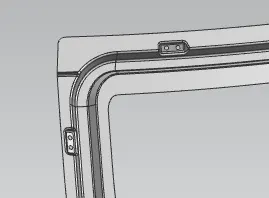
Image of Hinge Emboss and Gas-Stay Emboss
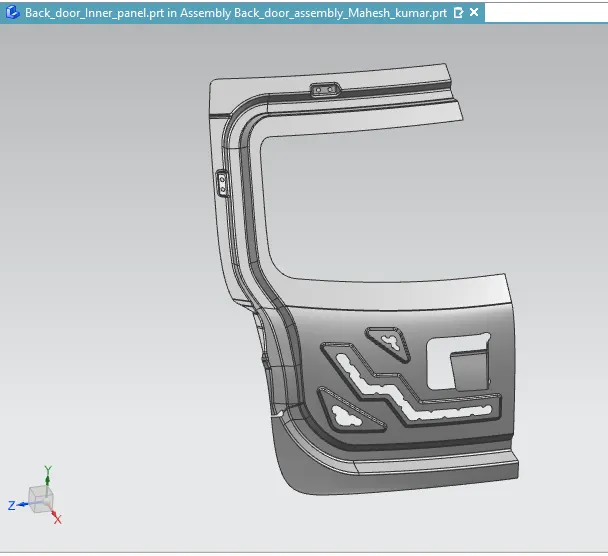
Image of Inner panel of car back door.
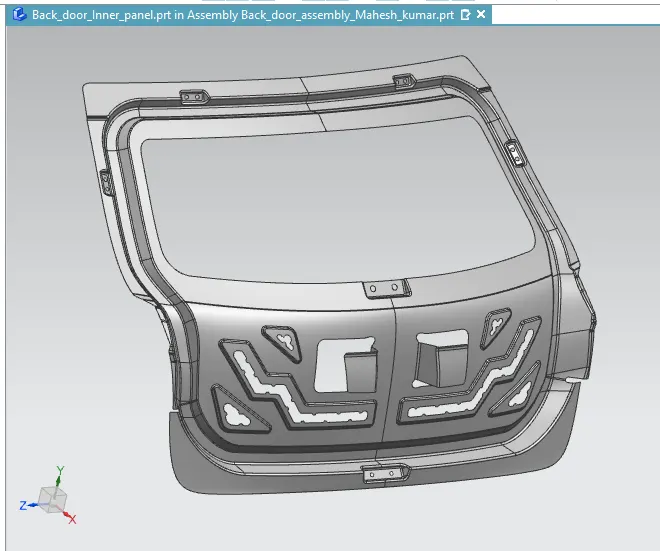
Image of Backdoor inner panel after thickening.
5.) Creating Outer Panel: The outer panel consists of two pieces, one of which is top and the other lower. Use mirror geometry to generate the surface on the other side after smoothly reconstructing the outer panel surface. Now adjust the surface to the inner offset and create nice corner reliefs on the hemming surface. Apply the same techniques to the lower surface of the outer panel. make careful to make the two panels from separate assemblies. Thicken the inner surface of the outer panel after it has been constructed. Apply the same technique to the bottom of the outer panel. To help you comprehend the procedure better, observe the images below.
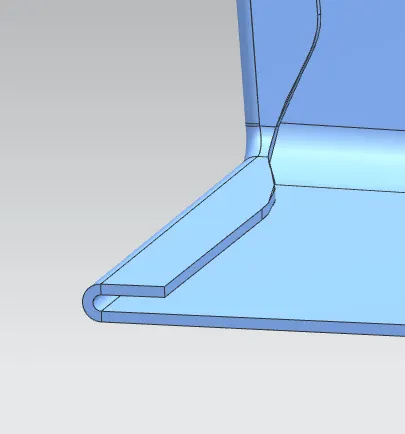
Image of the outer panel upper with corner reliefs and thickened.
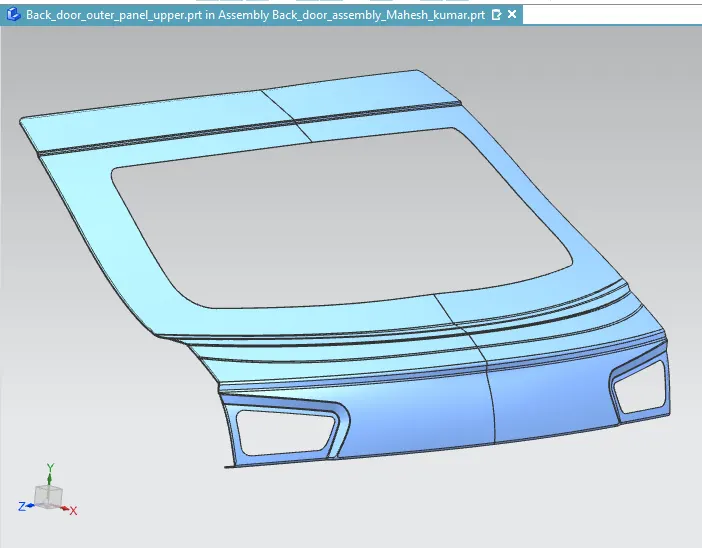
Image of Outer panel upper.
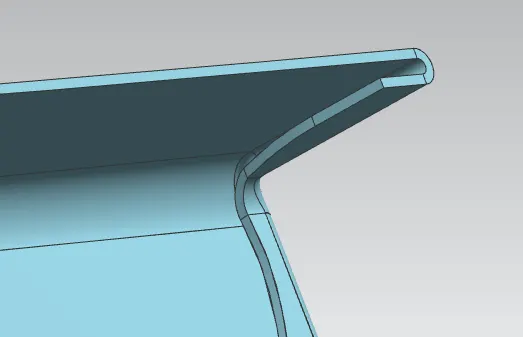
Image of the outer panel lower with corner reliefs and thickened.
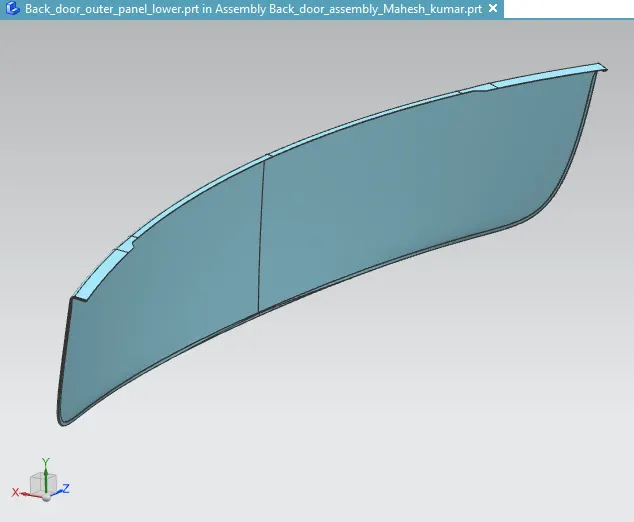
Image of Outer panel lower.
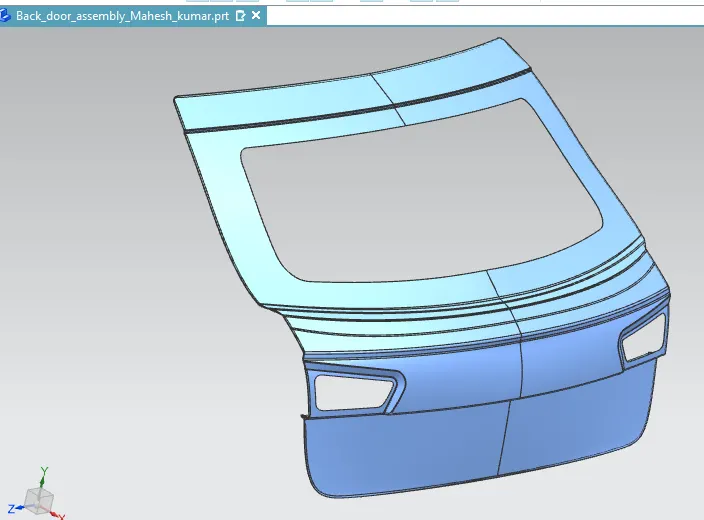
Image of complete Outer Panel.
6.) Applying the reinforcements for the inner panel: Collect the surfaces from the inner panel using the "WAVE Geometry linker" tool, then thicken them to build the reinforcements. To make it simple to alter a reinforcement later on if an update is required, make sure to create each reinforcement as a separate assembly.
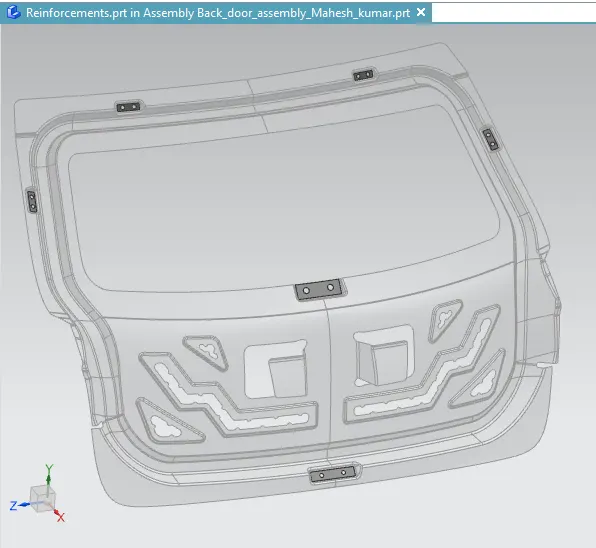
Image of Reinforcements for the inner panel
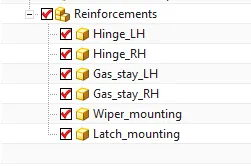
Image of Assembly Navigator for creating reinforcements as different assemblies.
7.) Draft Analysis: The initial tooling direction will undergo a drafting analysis, and it will be verified if the model is acceptable for manufacture. Finally, by optimizing the model, the appropriate alterations to the emboss' drafting angle were made in order to obtain a fully green area. The Draft Analysis command allows us to determine whether or not the drafted component will be simple to remove. In this kind of analysis, zones on the investigated element are identified by color ranges where the deviation from the draught direction at any given place corresponds to predetermined values.
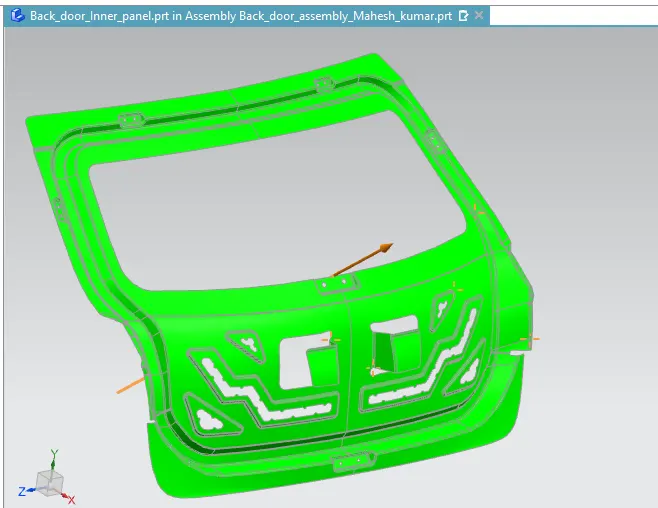
Image 1: Draft analysis for the inner panel of backdoor
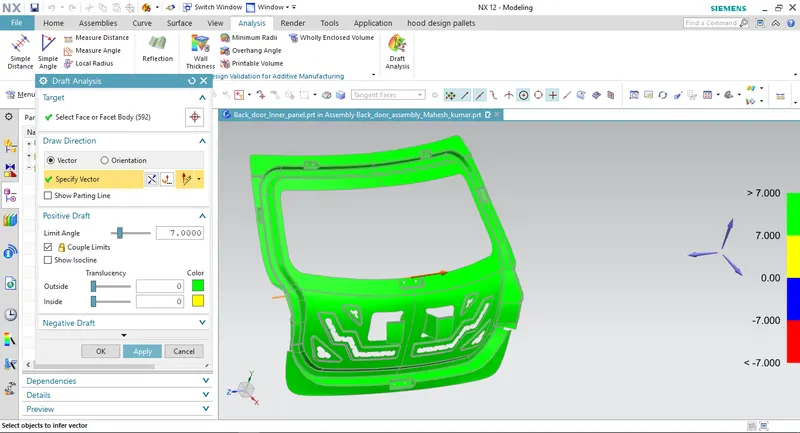
Image 2: Draft analysis for the inner panel of backdoor
Different views of the backdoor:
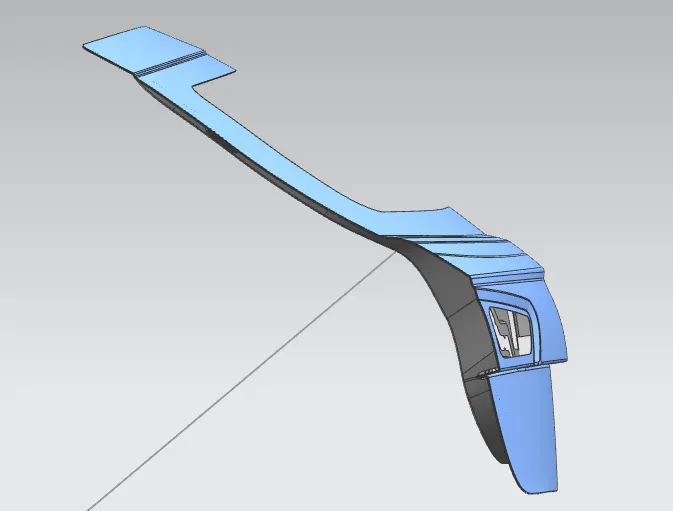
Image of Side View Backdoor.
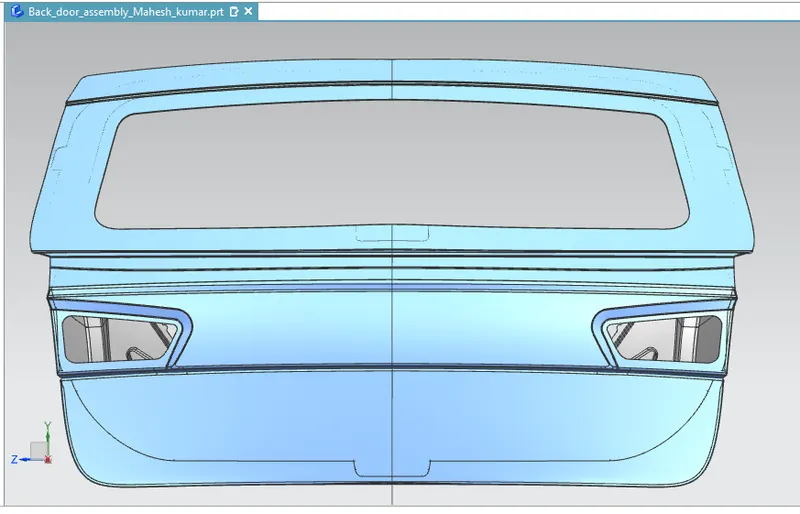
Image of Back View Backdoor.
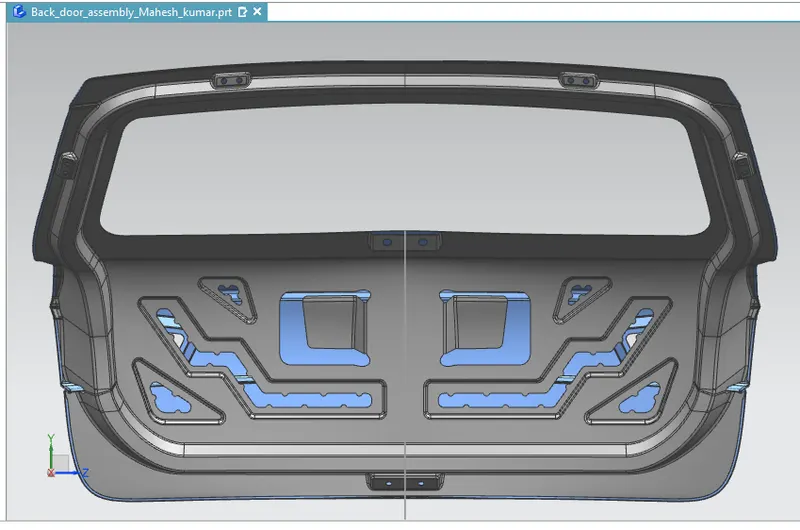
Image of Front View Backdoor.
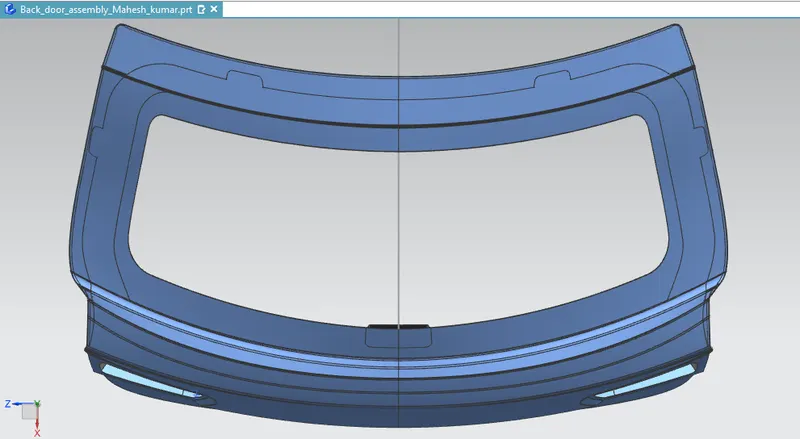
Image of Top View Backdoor.
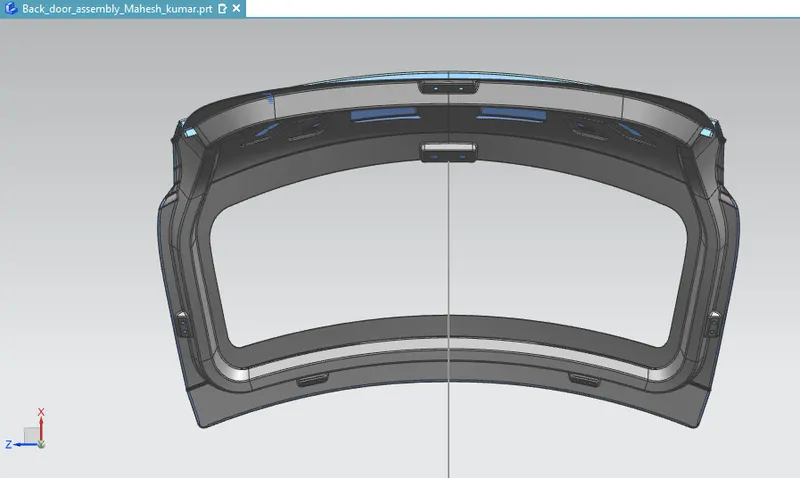
Image of Bottom View Backdoor.
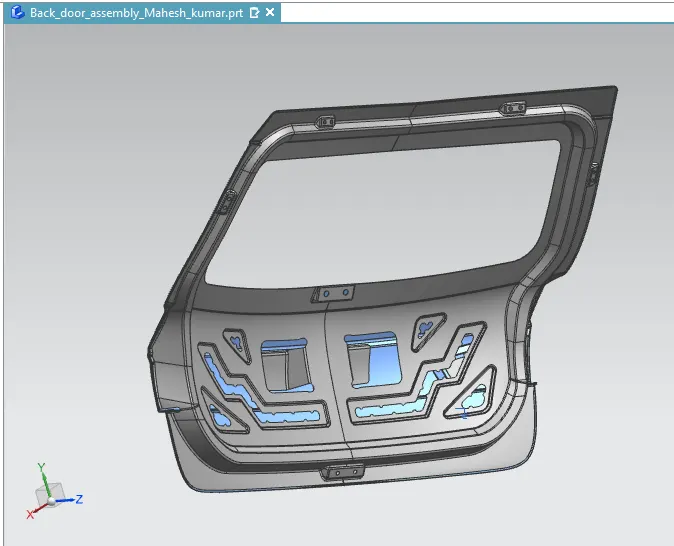
Image of Isometric View from frontside Backdoor.
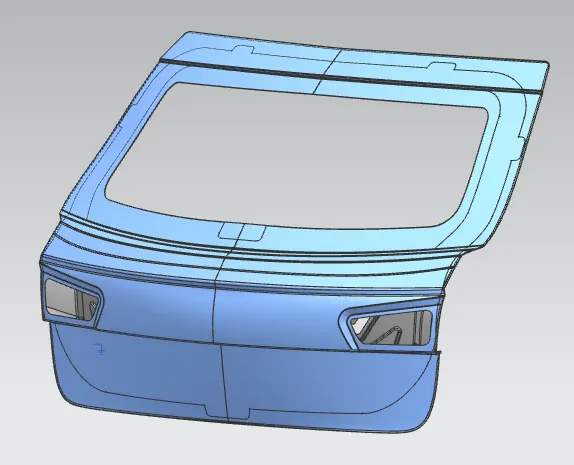
Image of Isometric View from backside Backdoor.
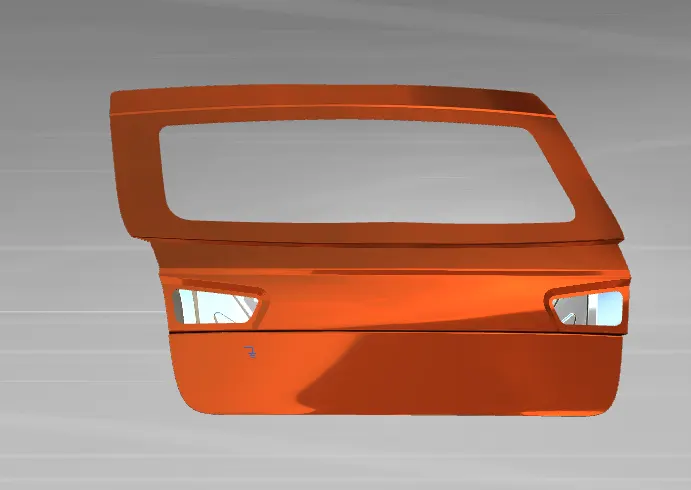
Render Image of Backdoor from Outerside
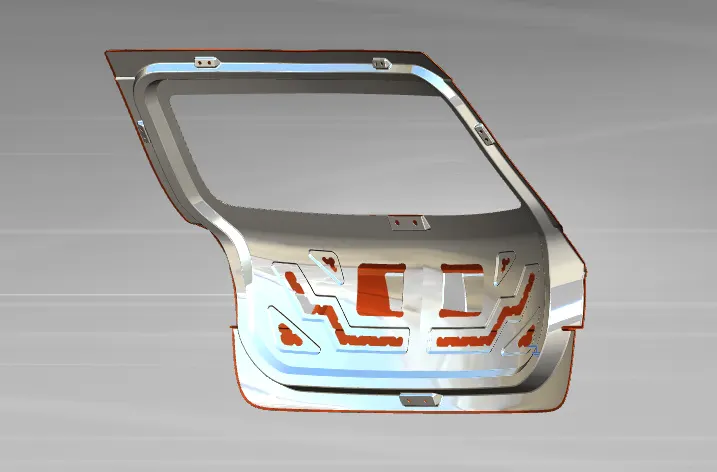
Render Image of Backdoor from Inside
CONCLUSION:
The back door's inner and outer panels were created using the style surface in the tooling direction. The inner panel underwent a drafting analysis, and all reinforcements were created and installed in the proper locations.