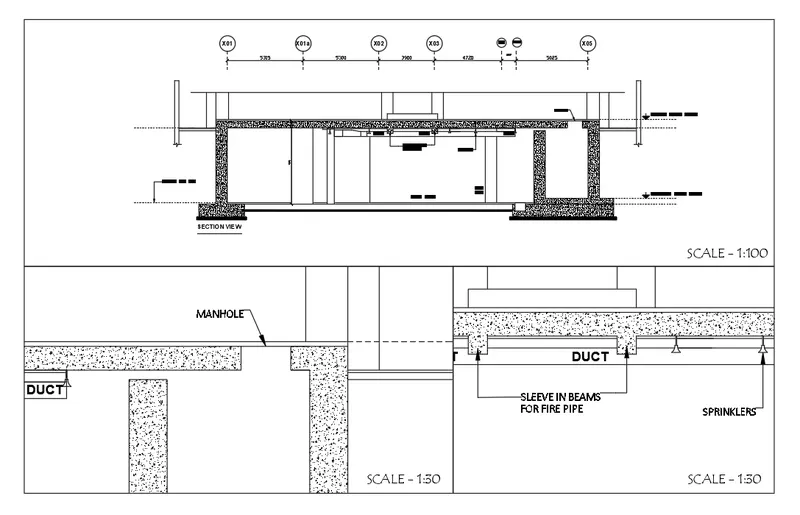
Creation of Multiple viewports, Scaling the drawing and setting in Template in AutoCad
1. Creating two viewports vertically aligned in a predefined Architectural template with the standard paper size to accommodate the plan and a section of the residential building previously designed.
STEPWISE PROCEDURE:
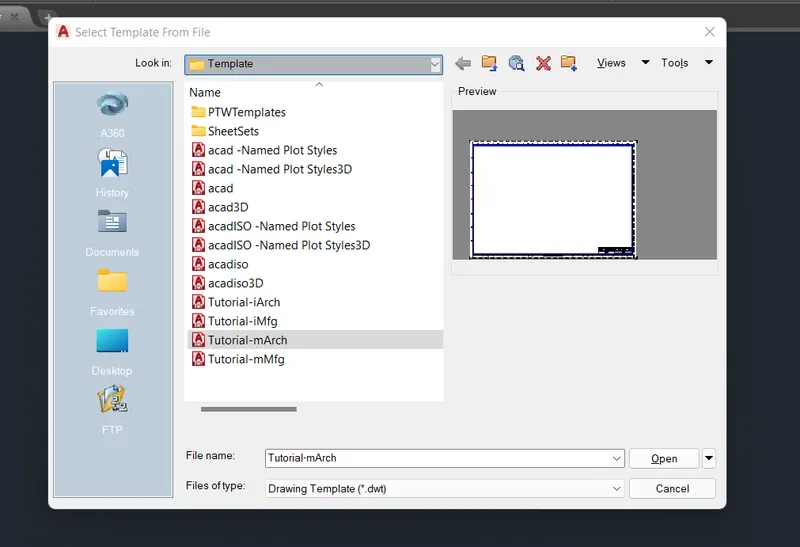
- Select the template from the list given within the AutoCAD predefined layouts.
- Switch from the model format to the layout format by clicking on the layout tab located at the bottom left portion of the AutoCAD screen.
- Right-click on the layout tab and go to the 'from the templates menu'.
- Select the mARCH.dwt template from the list shown on the screen and open it to put it to use.
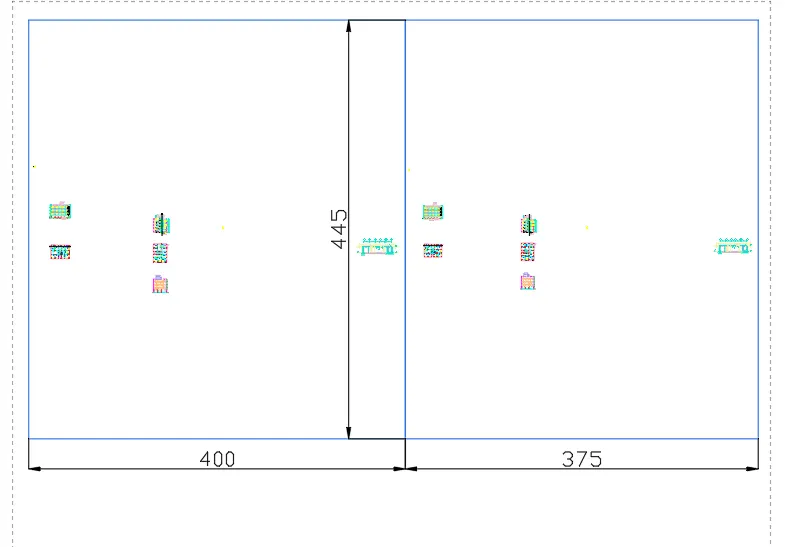
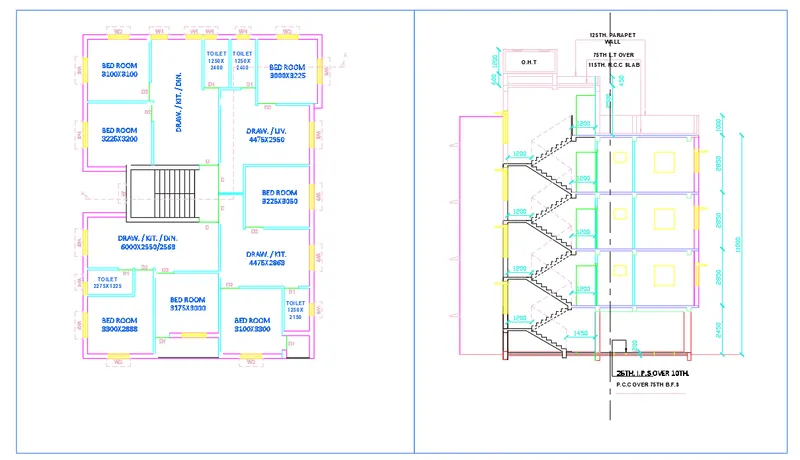
- Create two viewports vertically aligned one for the plan and the other for the section.
- Use the "mv" command in the layout to create a viewport of the desired shape and dimension.
- Specify the first corner point of the rectangular viewport.
- Locate the second corner by giving the accurate dimensions as per the paper size and the building size.
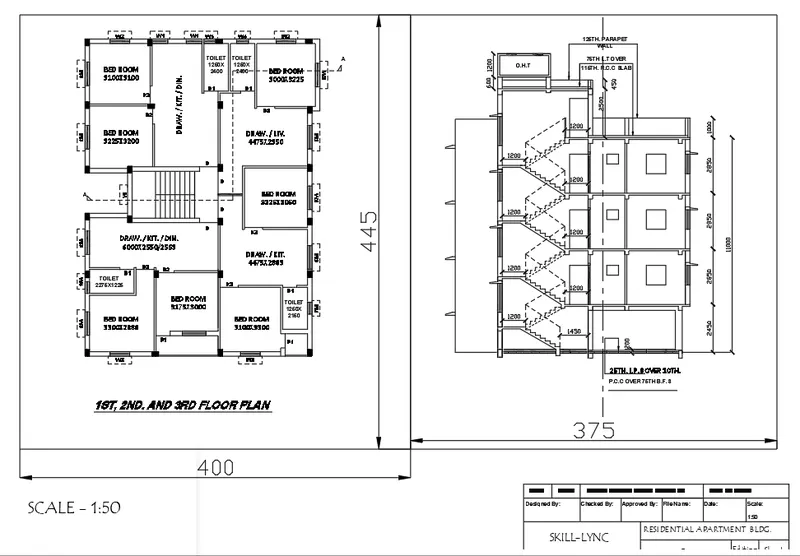
- Give the dimensions as @400,-445 for the first viewport and @375,-445 for the second.
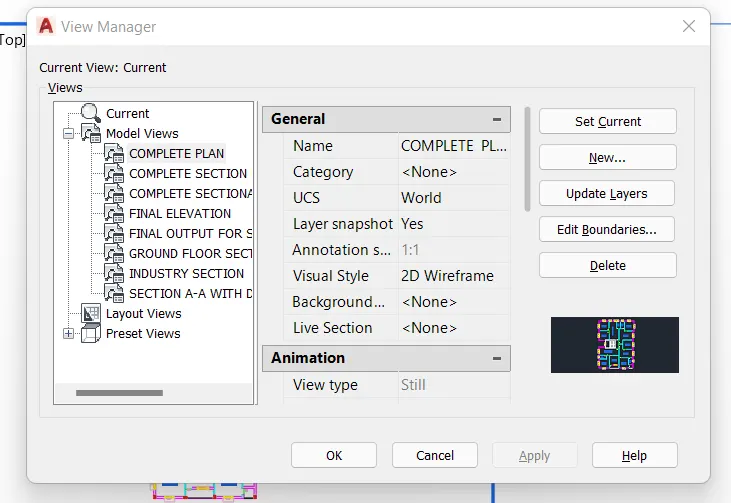
- Call out the plan and section from the saved views and place them accordingly.
- Put the V-ENTER to go to the saved views.
- locate the plan and section of the residential building from the saved views.
- Select the required named views to issue them into the current viewport in the layout.
- Arrange both views at the scale of 1:100 and lock the view.
- To set up the scale, select the viewport from the paper space and then right-click to change its properties.
- Go to the properties and set the standard scale as 1:50.
- Go to the model space by pressing 'ms' and then pan the plan and section to fit the screen.
- After setting up both the drawings, lock the view so that it can not be altered in the future.

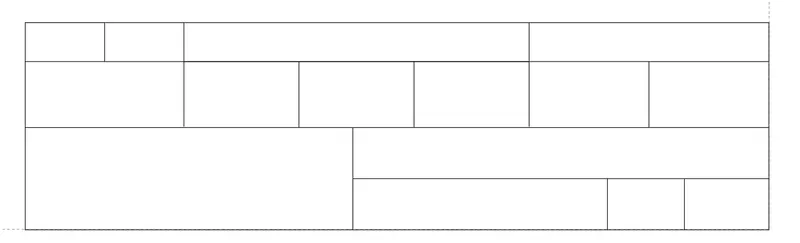
- Create the table to specify various details regarding the drawing.
- Use the line and offset commands to create the standard details table.
- Locate the rows and columns of the table as per the needs of the specifications.
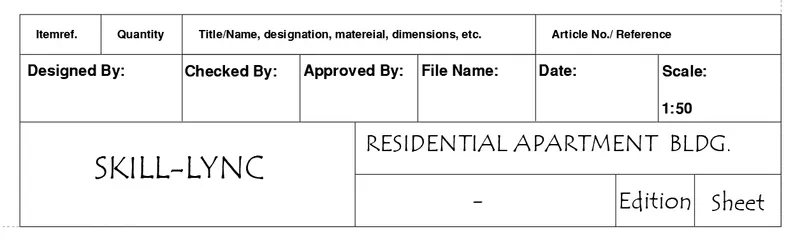
- Add the required text to the table and other places to complete the sheet.
- Create a special text style by invoking the text style manager by entering the 'ST' command.
- Setup the accurate text height and standard fort styles to make it presentable.
- Set the style to current and use multiline text to write up the sheet.
FINAL OUTPUT
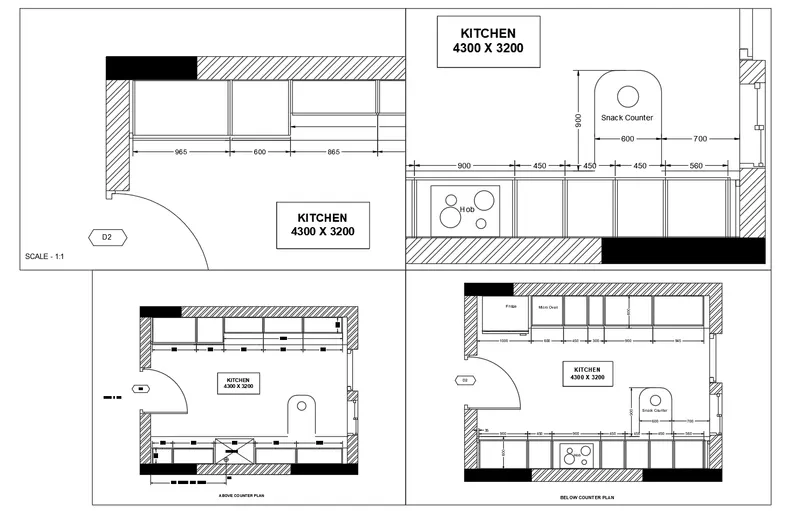
2. Creating Four Viewports to Display the Kitchen Design Previously Planned on the Standard A4 paper size and Specified Scale.
- Set up the A4 paper size and manage other sheet-related details.
- Go to the layout and right-click on the tab to invoke different editing options.
- Select the page setup manager to fix the sheet size and other layout details.
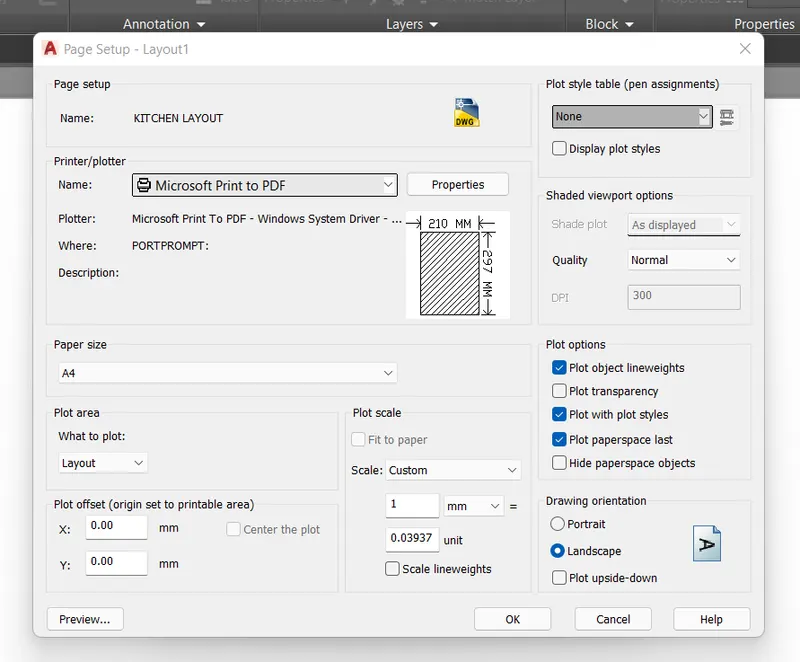
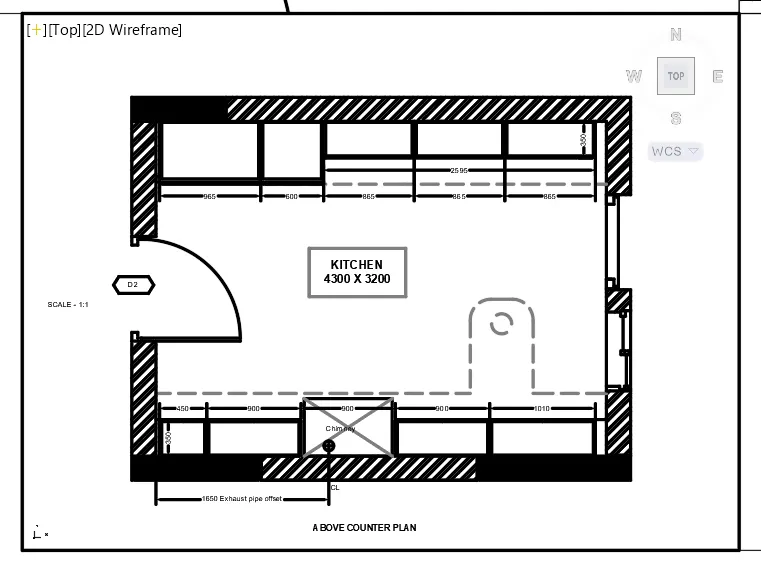
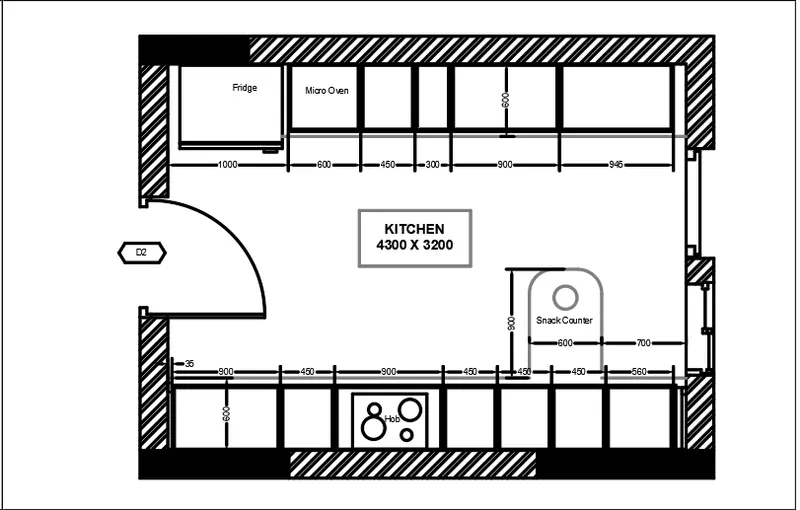
- Create four viewports to display above the counter, below the counter and two more kitchen design details.
- Use the mv command in the layout to invoke new viewport creation.
- Use the rectangular shape and arrange all four viewports according to the drawing details.
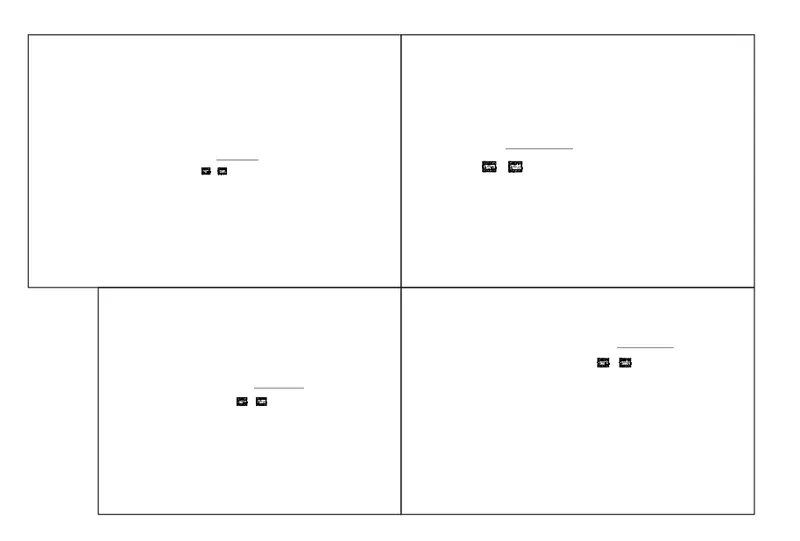
- Arrange the first drawing and finalize the viewport one.
- Use the 'ms' command to go into the model space within the layout.
- Scroll to the desired drawing position and set up the specified paper to drawing scale.
- After putting up the scale, lock the view and finalize the first viewport.
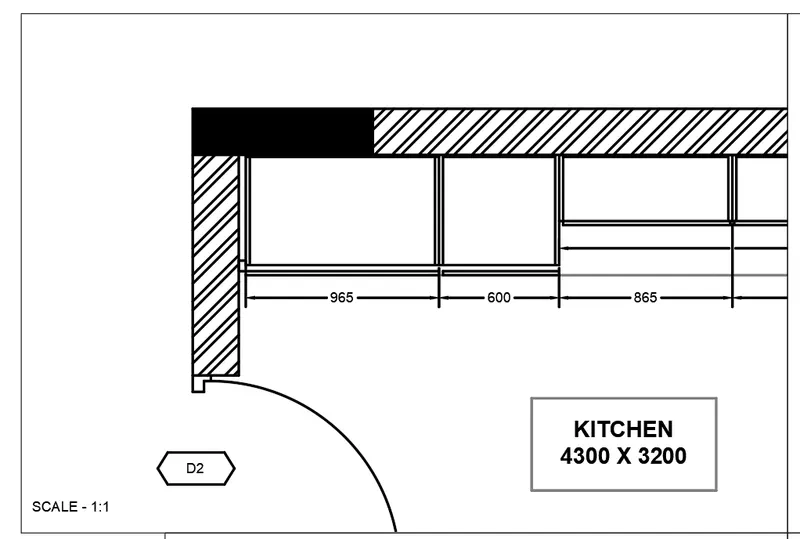
- Follow the exact same approach for the remaining views and lock each view after scaling.
Viewport two
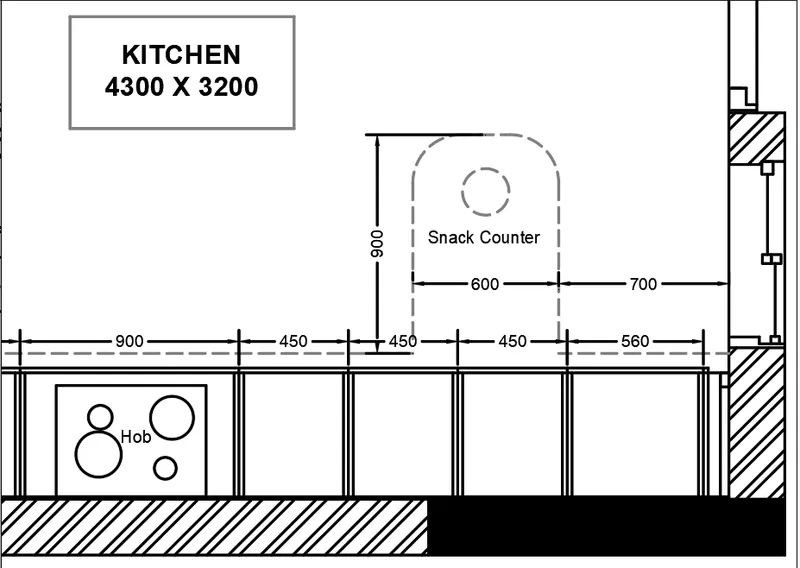
Viewport Three
Viewport Four
FINAL OUTPUT
3. Creating an explanatory layout for the section of an Industrial Building Created in the previous projects.
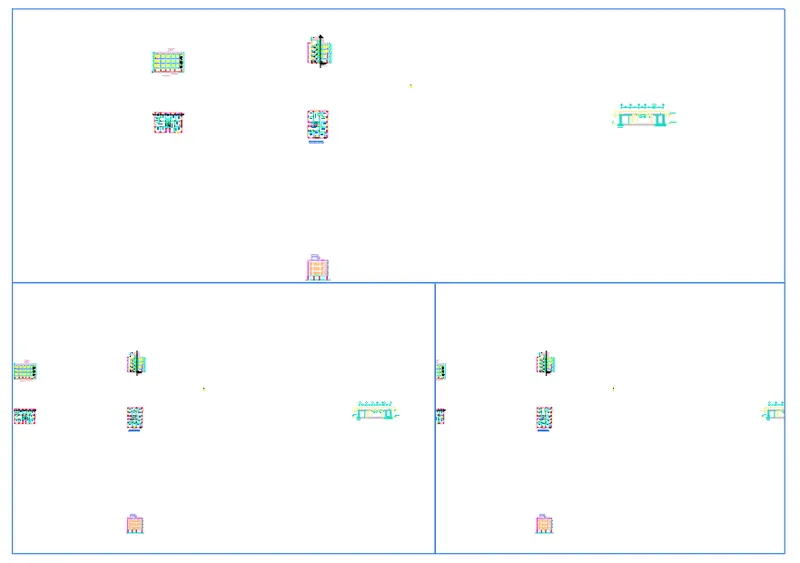
- Set up three viewports tilled above.
- Go to the layout and invoke the mv command.
- Then, type in the Viewport and press enter.
- A list of combinations of different viewports will come up.
- Select the option with 'three views tilled above' from the list.
- Arrange the drawing in the first viewport.
- Use the 'ms' command to go into the model space.
- Scroll in till the desired view of the drawing is located.
- Set up the specified scale from the list of scales.
- If not available in the list, go to custom and add up the required scale that of 1:100.
- After scaling the first view, come back to the paper space and select the viewport.
- And go to the properties to lock the view within the first viewport and finalize the layout.
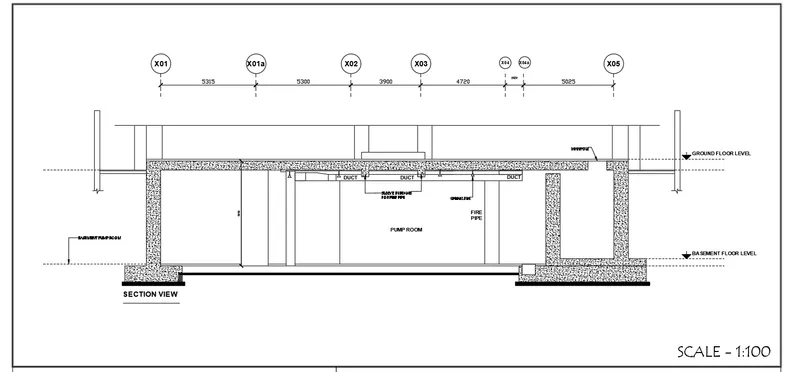
- Follow the exact same procedure for the remaining viewports and complete the sheet.
Second View with the Scale
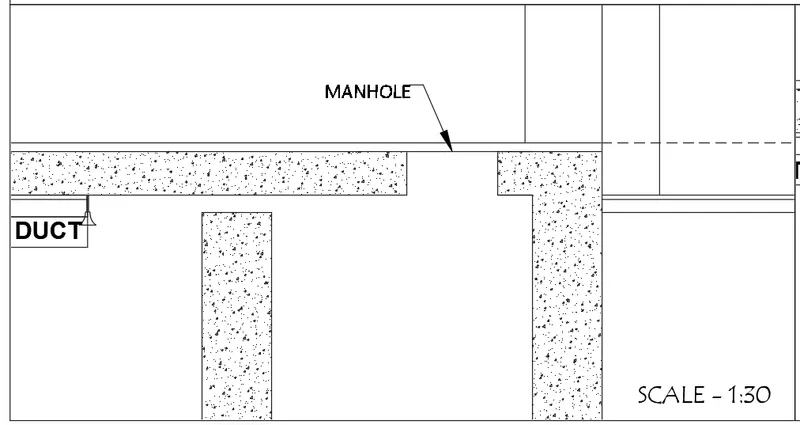
Third View with the Scale
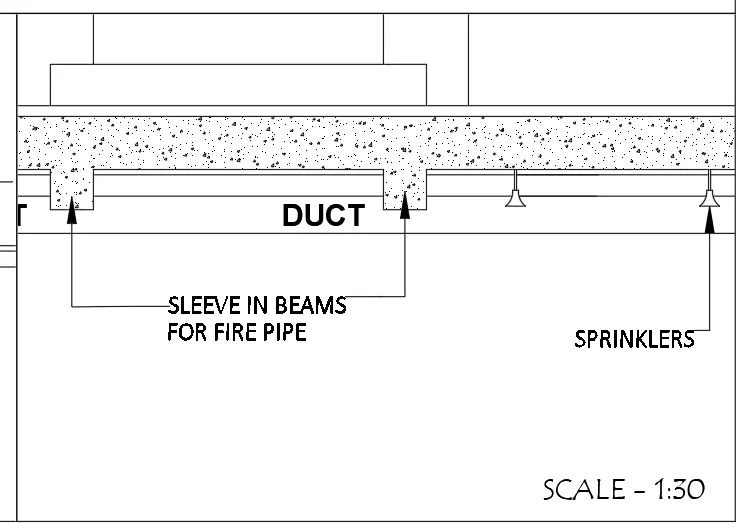
FINAL OUTPUT