Creation of Column Schedule and Drawing Template using AutoCad
Q1.
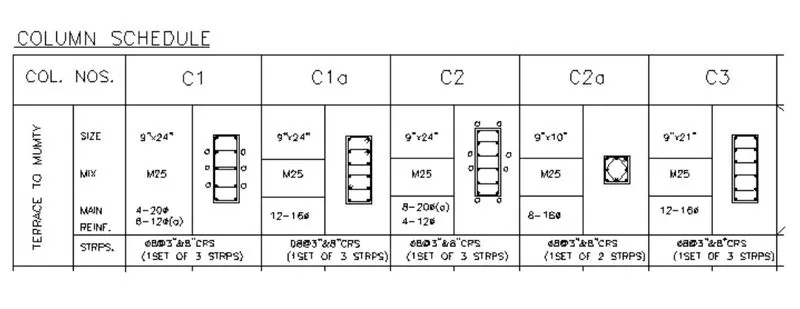
AIM - Create a column schedule as shown in the figure.
Note: Create a column schedule with the help of lines. Also, insert text with the help of Dtext command or Single Line text.
Hint: Use font name: romans.shx; Height: 8”, Justify: Left
Procedure -
To draw the columns
Type Rec or Rectangle in the command line and press Enter.
Specify the first corner of the rectangle.
Enter D for Dimensions.
Enter the length: 9”
Enter the width: 24”
Specify the other corner.
Type O or offset on the command line and press Enter.
Specify the value of offset distance:1”
Select the rectangle to offset and click inside it.

Turn on ortho mode.
Draw a line connecting the centre of rectangles
Type DIV and press enter
Select the centre line drawn
Specify the number of segemnts as 4 and press enter.
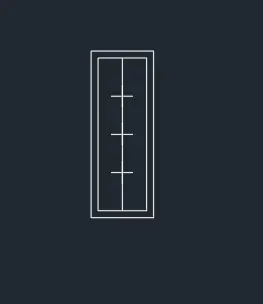
Through the divided points draw lines horizontally
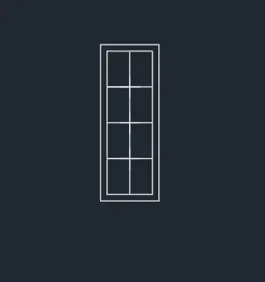
Now create an offset of the inside rectangle to .5”
A circle of .5” radius is drawn and is now placed at the respective places
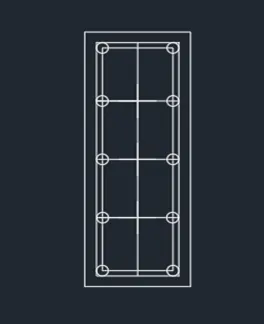
Delete the unwanted lines using the trim command and the last made rectangle
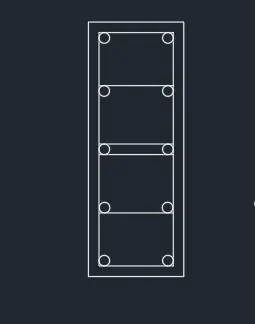
Now apply hatch command and select solid to apply to the circles.
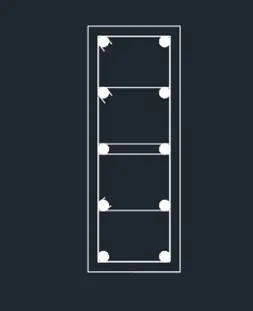
Now the naming is completed finally.
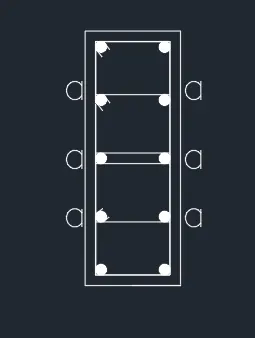
In the similar way other 4 columns are created. The basic steps remains the same as above and there is only change in dimensions
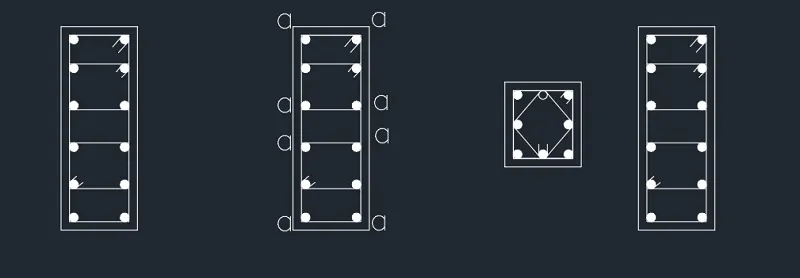
Now using the line command a single column was created based on the question
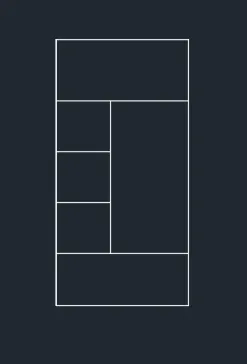
Desired font creation for text
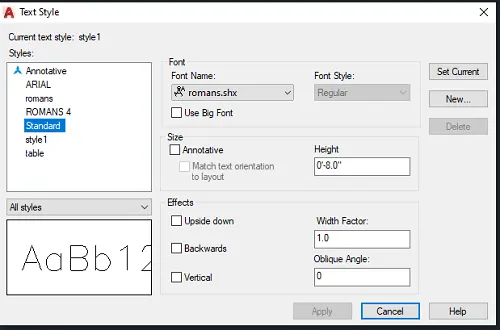
Type ST and press enter to open the text style toolbar.
In the font name drop down list select the font romans.shx and set height to 8” and click set current
Type DTEXT and press enter
Specify the location to type text
Select rotation angle to o degree and start typing
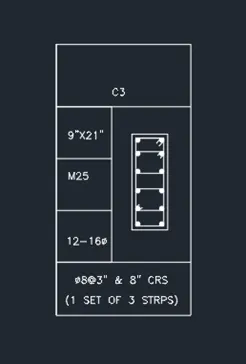
Now the above column is copied and placed 4 times and the above step is repeated.
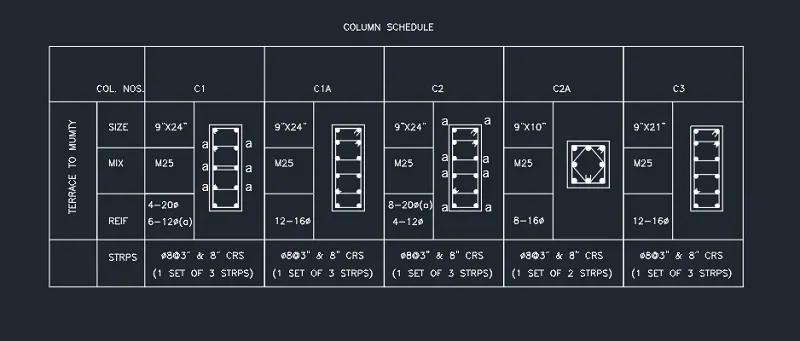
Result - Column scheduling is now completed
Q2.
AIM - Create a window schedule as shown in the figures:
Window Schedule:
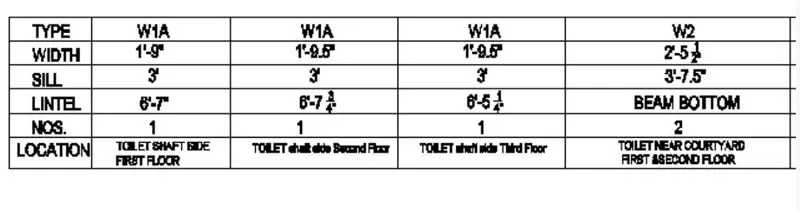
Procedure -
In the annotation tab select multiline text.
Specify the first and opposite corner and then start typing.
Tab key in keyboard can be used for equal spacing of words
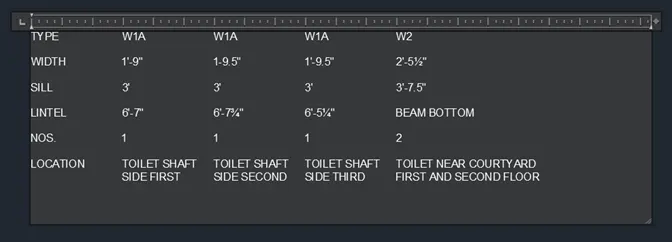
Now using the line command boundaries are given to the above window schedule.
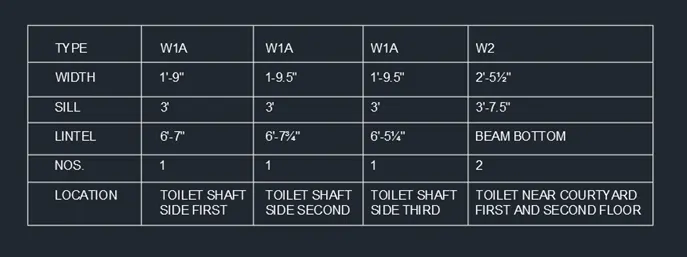
Result - The final resultant of window schedule which was created using multi line text and line is as shown
Q3.
AIM - Create the drawing template as shown in the figure:< Use the Notes as in the figure>
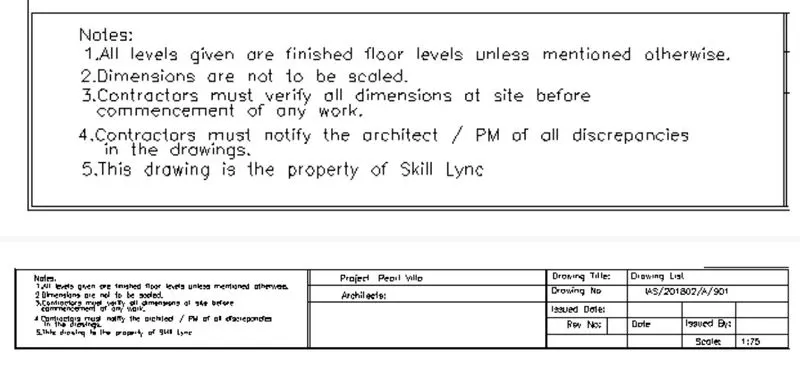
Procedure -
In the annotation tab select multiline text.
Specify the first and opposite corner and then start typing.
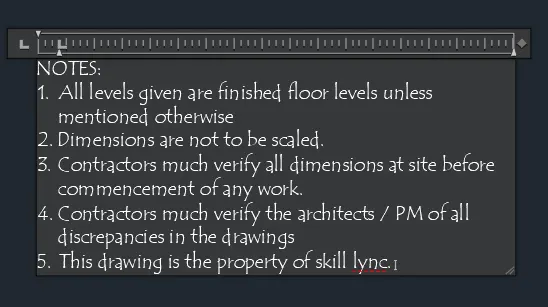
Now using the line command a boundary was given to it
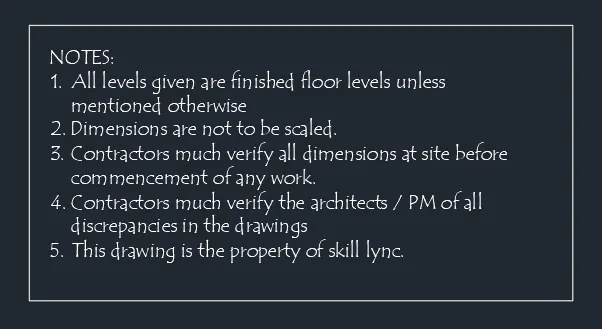
A table as per question was created using the line and rectangle tools
Now using the MTEXT command the table was filled up and the resultant image of drawing template is as given.

Result - The drawing template as shown in the figure are completed.
Q4.
AIM - Create the list of drawing schedule as shown in the figure
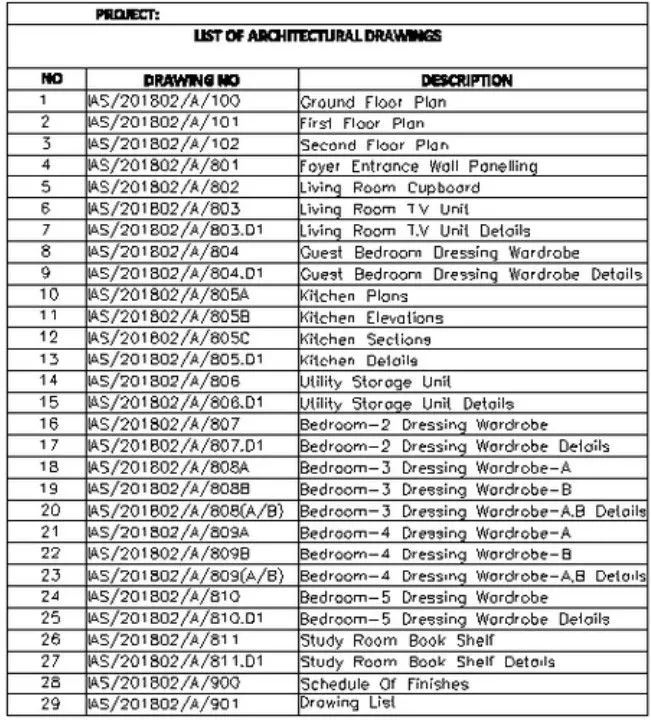
Procedure -
Using the line and rectangle command the table was created according to the dimensions
Type DTEXT and press enter
Specify the location to type text
Select rotation angle to o degree and start typing
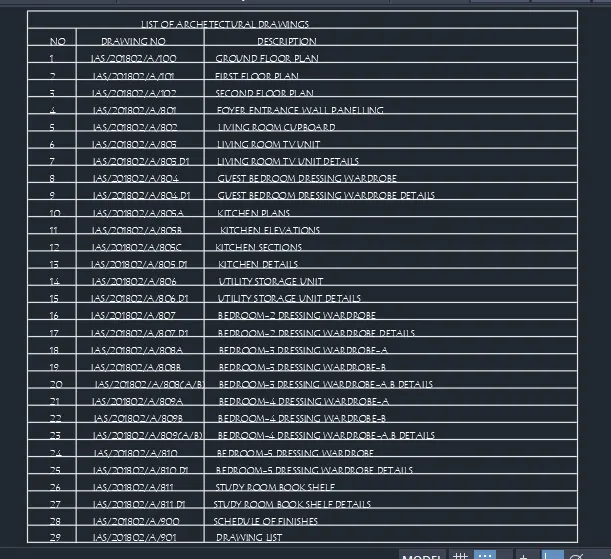
Result - list of drawing schedule as shown in the figure are completed.
Q5.
AIM - Create the Beam detail as shown in the figure and provide text wherever given.
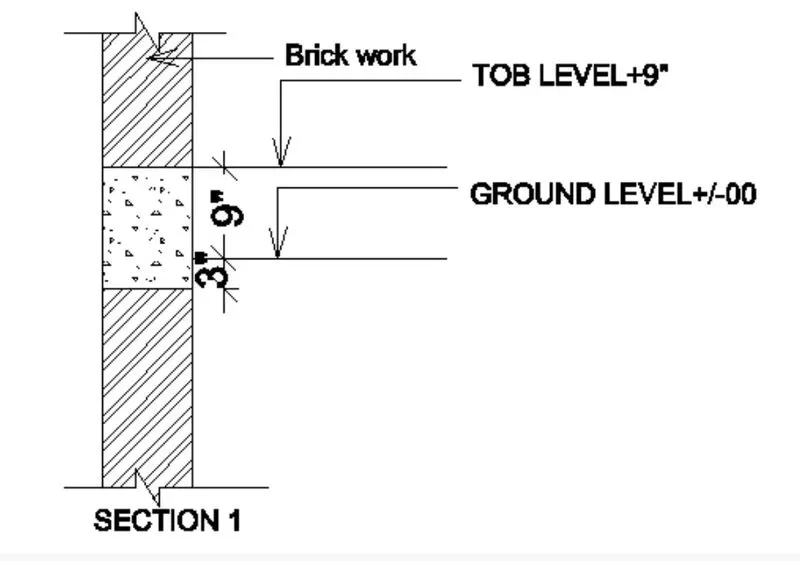
Procedure -
According to the dimensions using the line command the following geometry was created.
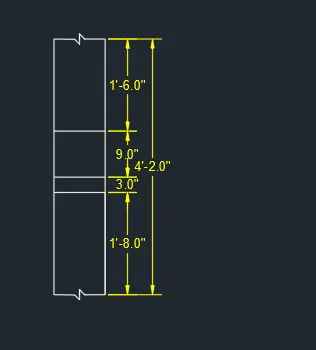
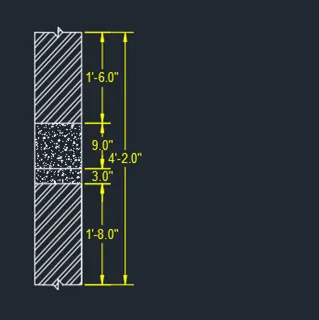
Type H and press enter
Select the closed area which you want to hatch, select the required gradient and click enter
Using line and polar tracking set to 30 degree draw the arrow.
Type DTEXT and press enter
Specify the location to type text
Select rotation angle to o degree and start typing.
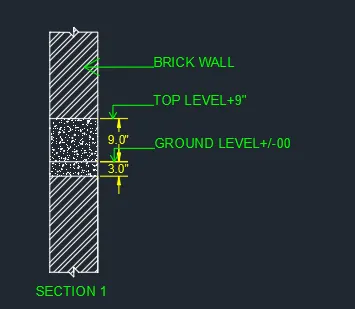
Result - The Beam detail as shown in the figure and provide text are completed