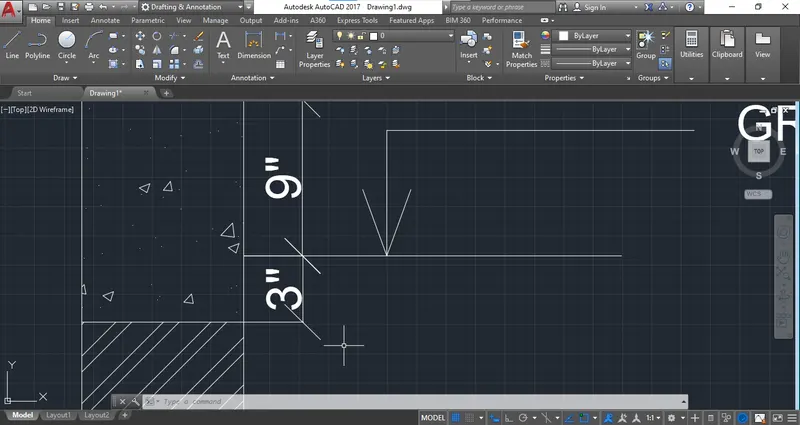
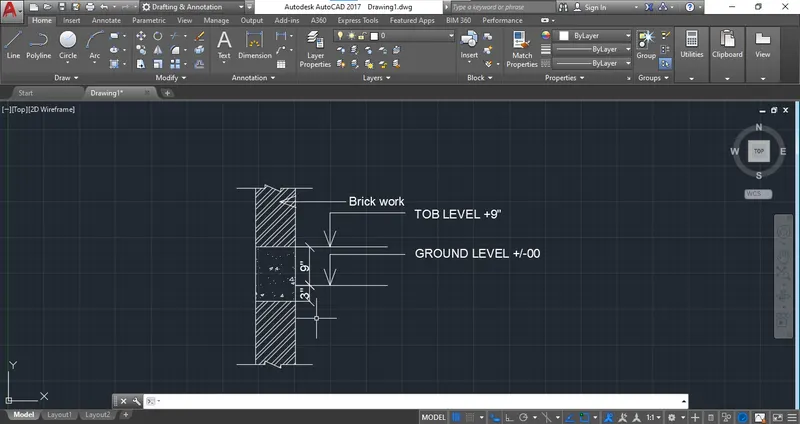
Creation of Column Schedule and Drawing Template using AutoCad
ANS 1.
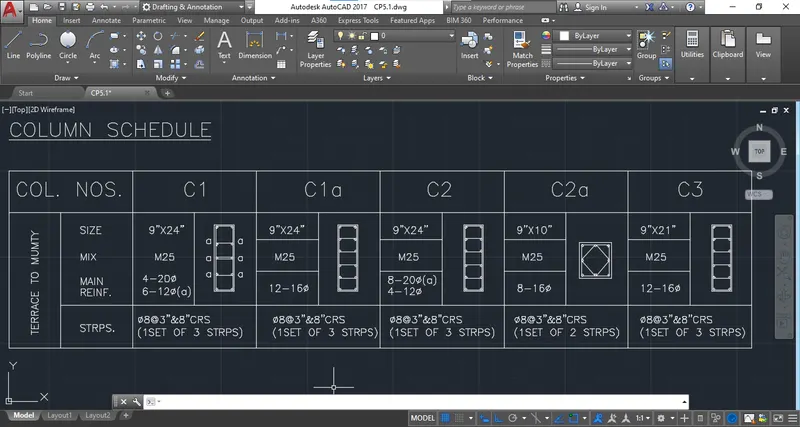
COLUMN SCHEDULE
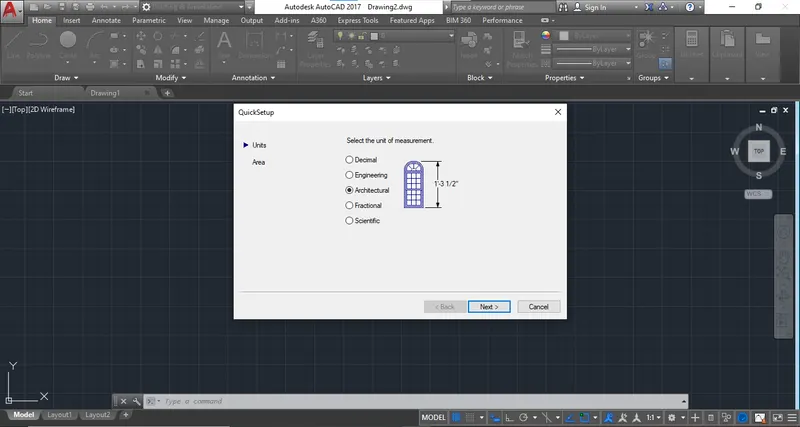
Step 1. Start the AutoCAD with "Quick setup".
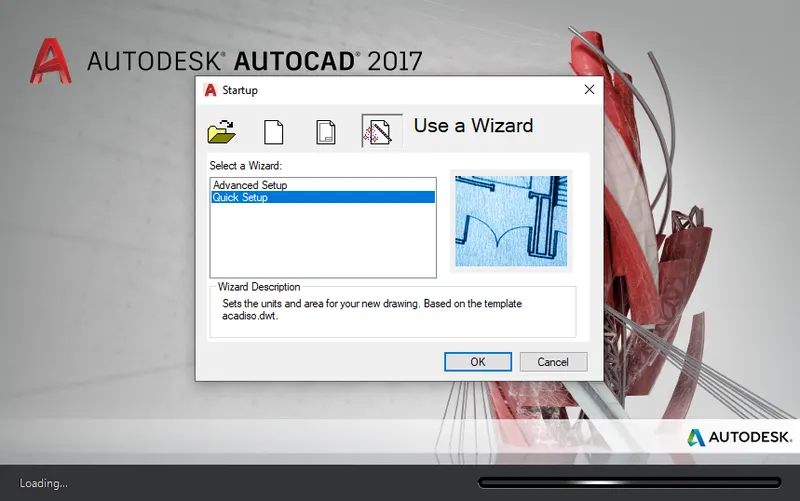
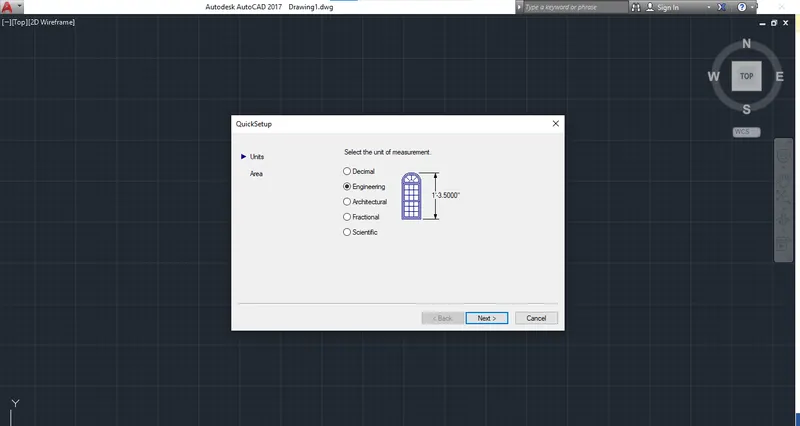
Step 2: Select the "Engineering" unit.
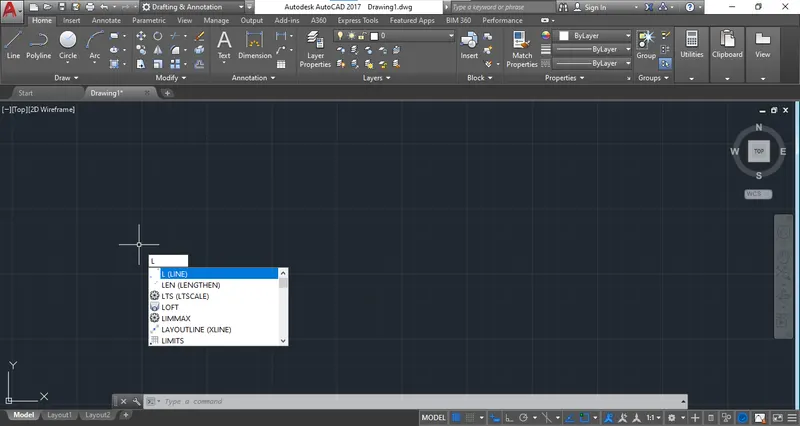
Step 3: Select the "LINE" Command and Start the table.
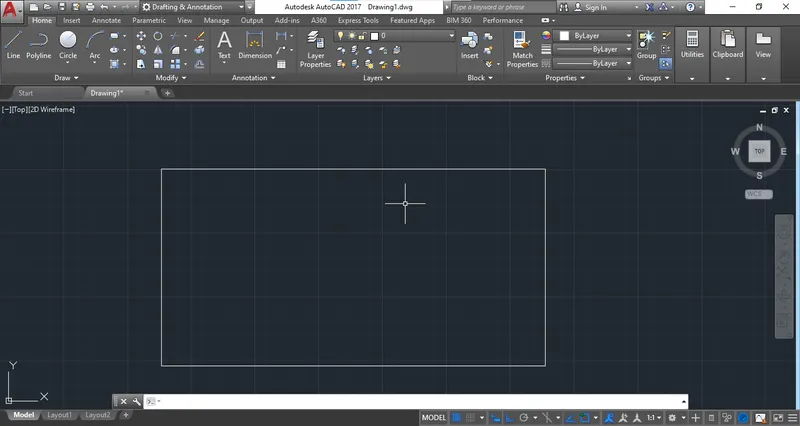
Step 4: Create a rectangle to draw boundary of Table.
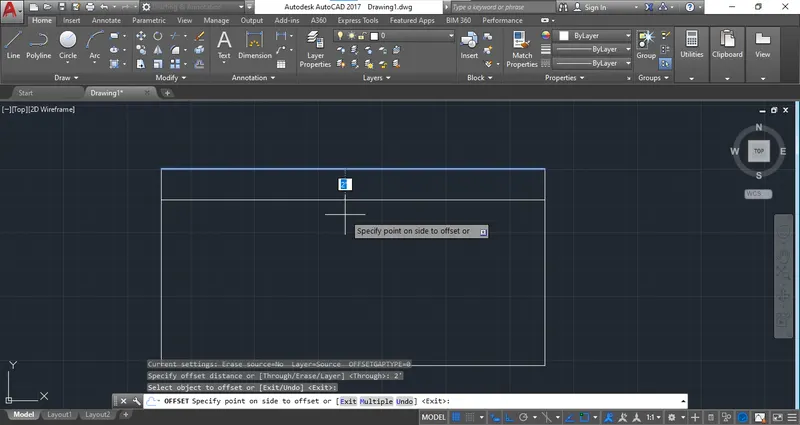
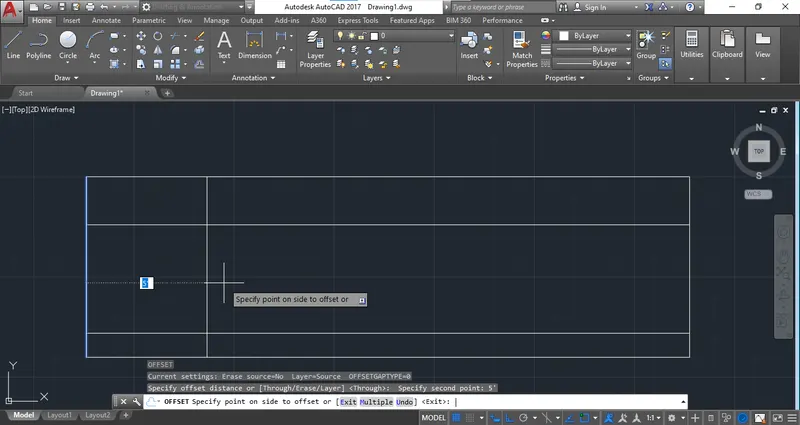
Step 5: Create a offset of 2' and make rows of table.
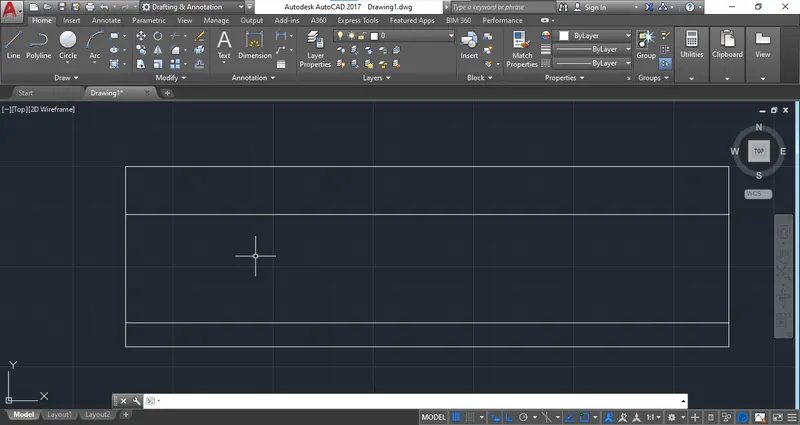
Step 6: Create an offset for column of table.
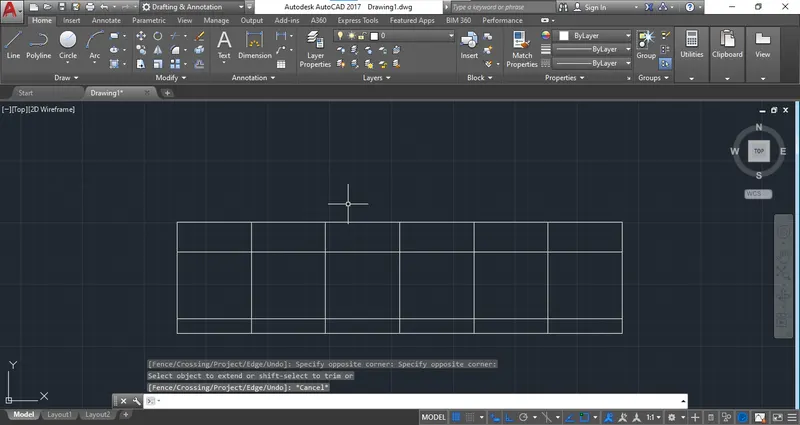
Step 6: Use the command Text style and Change the Font style, Font height.
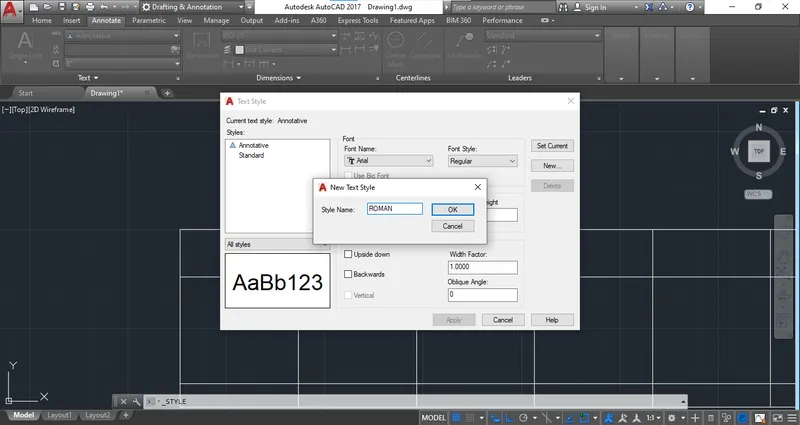
Step 7: Set the Font style to Apply.
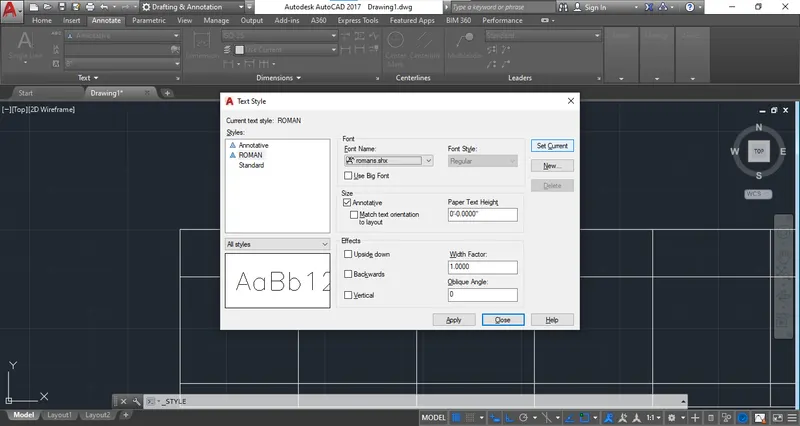
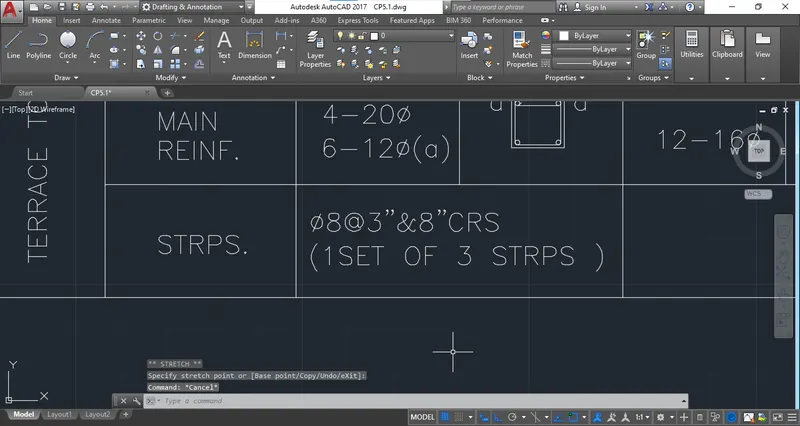
Step 8: Use the "DTEXT" command and Set the starting point of text and Text height and type the text model.
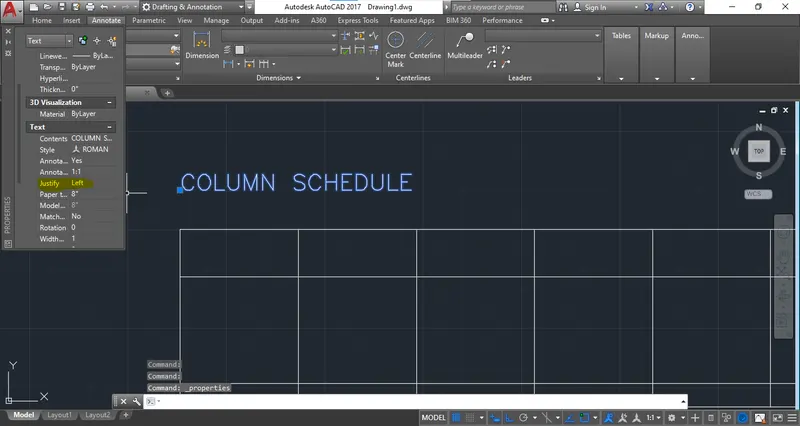
Step 9: Draw the top and bottom of table and complete the table to add text.
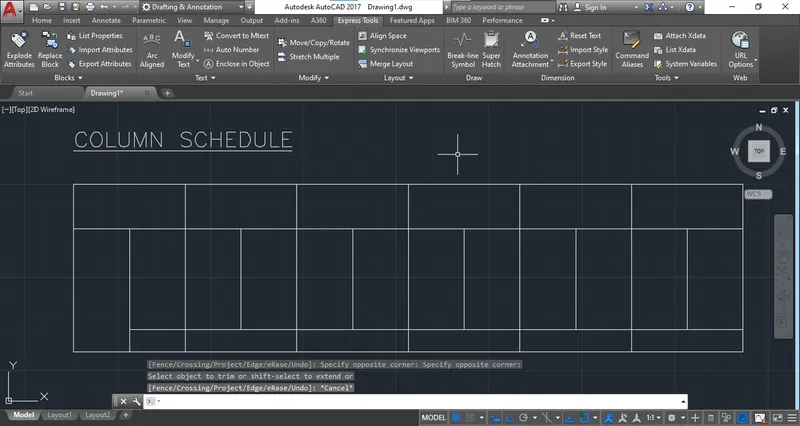
Step 10: Give the title as given.
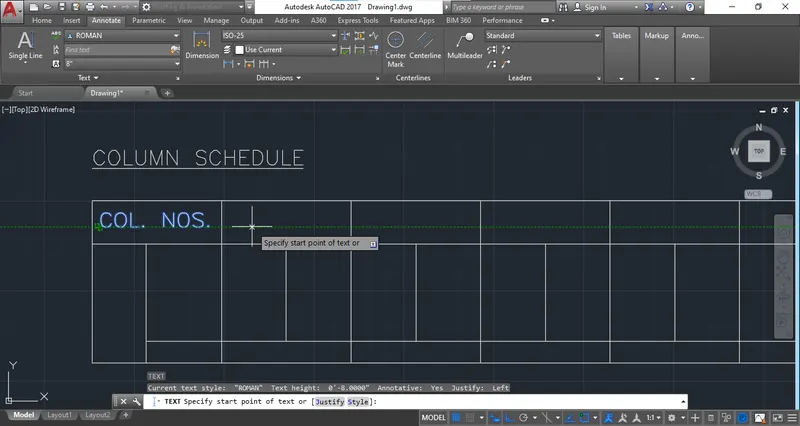
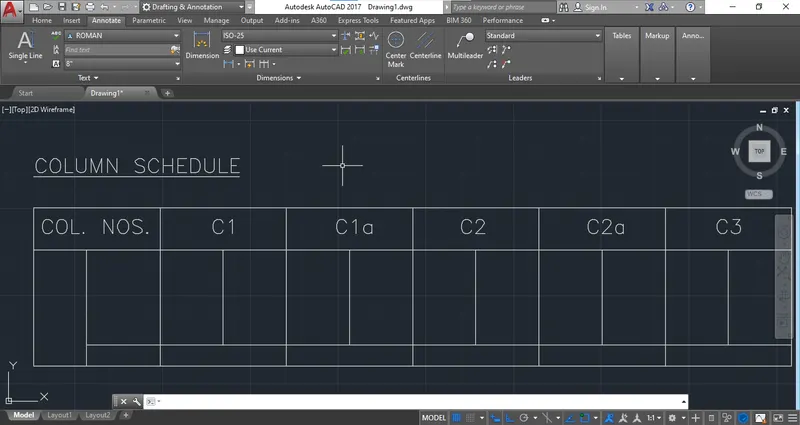
Step 11: Provide the text as per drawing and provide angle 90.
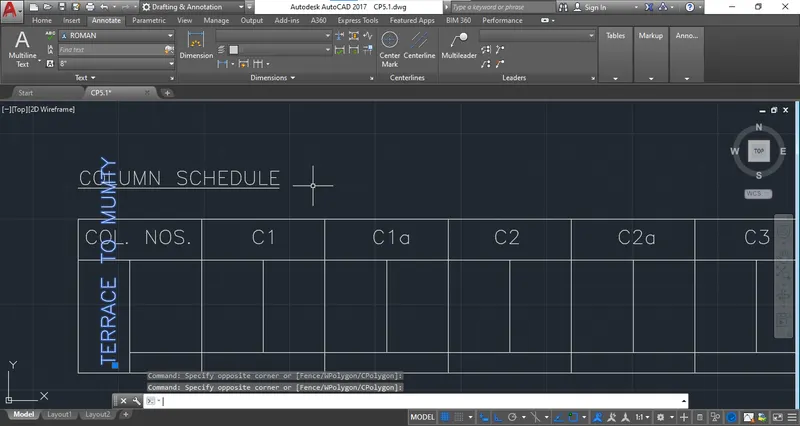
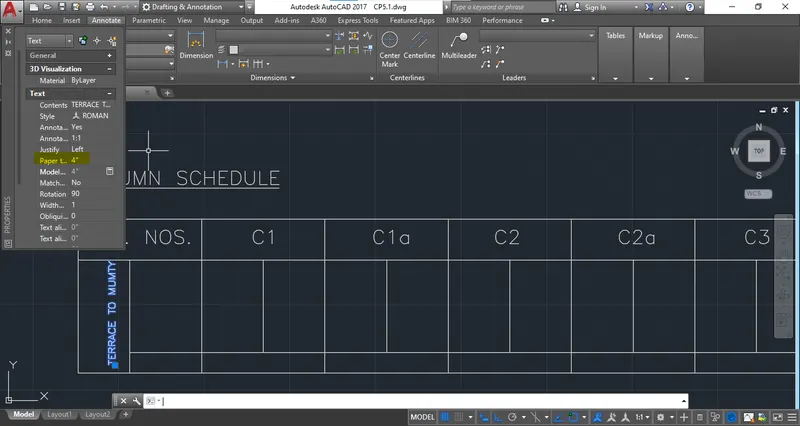
Step 12: Start Texting on next column.
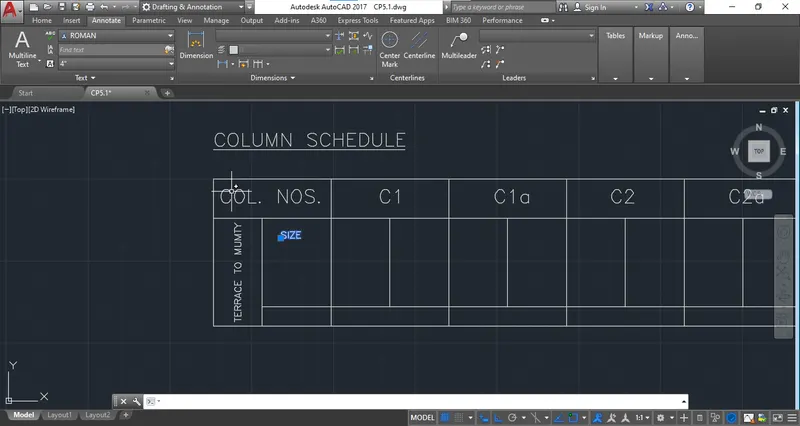
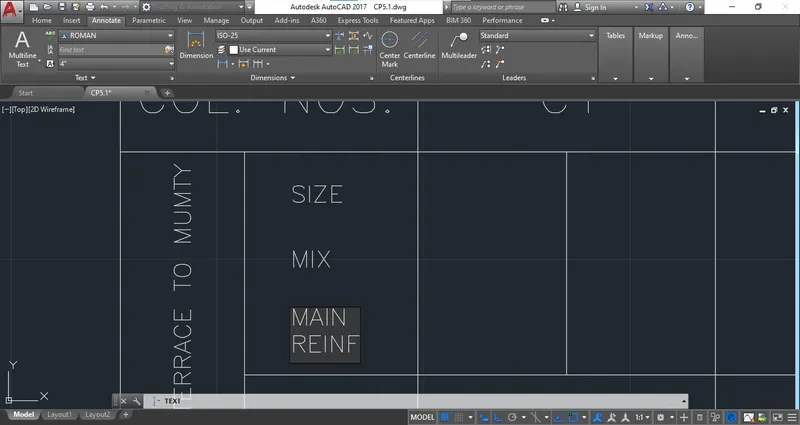
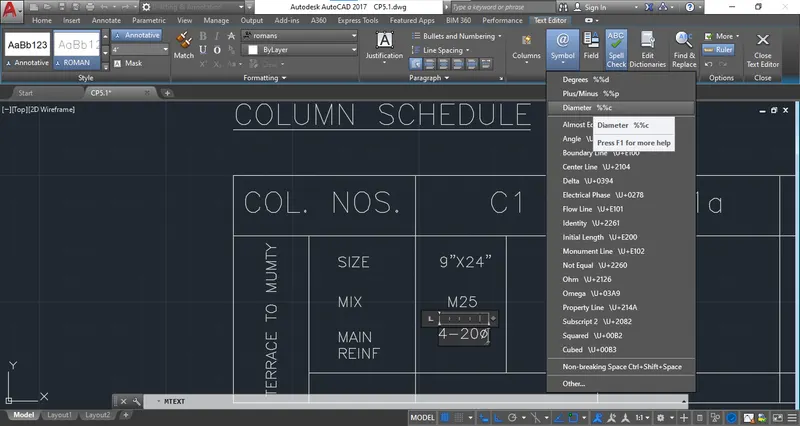
Step 13: Provide the "C1" column details use the symbol as shown in pic.
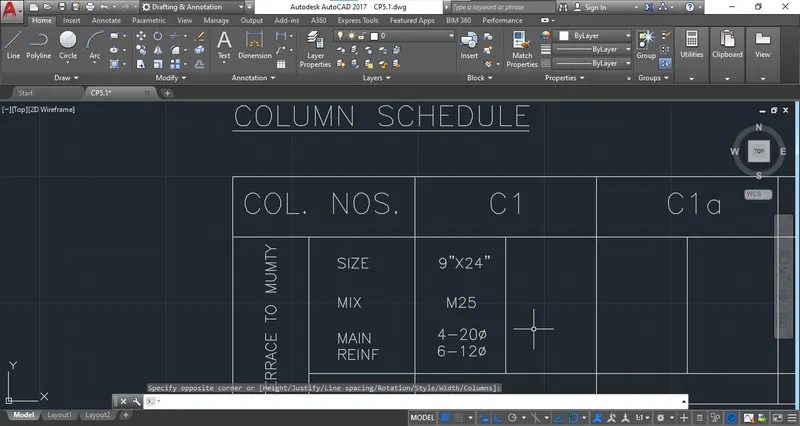
Step 14: Draw the rectangle with "0" fillet and some radius of fillet to create the section of column.
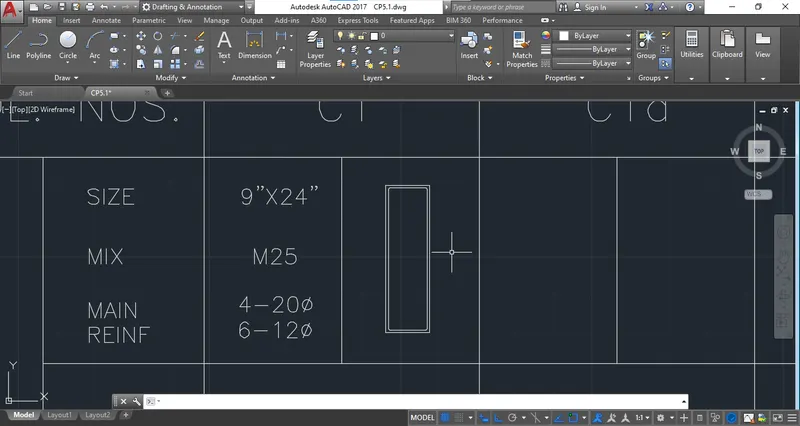
Step 15: Use "POINT" command to add the section of bar and use "PDSIZE" command to change the size of point.
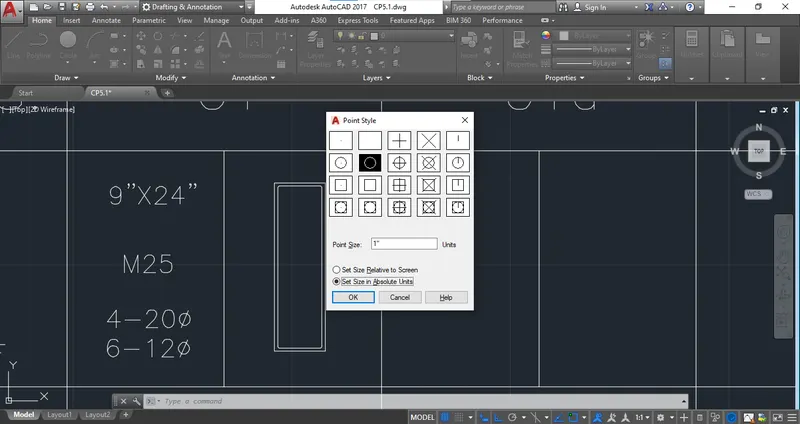
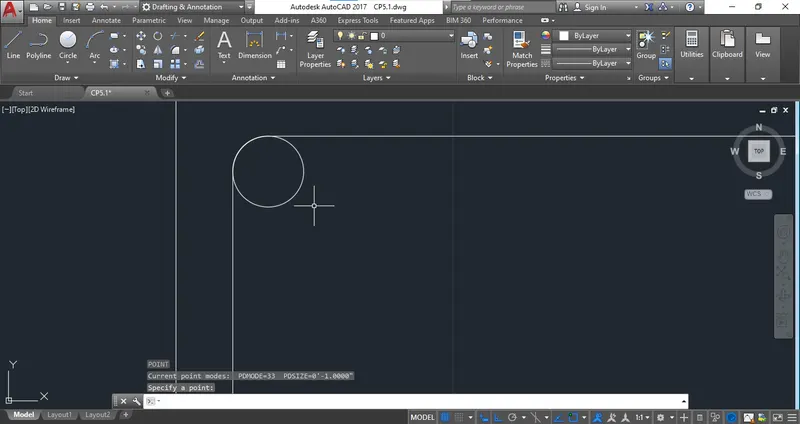
Step 16: Provide point where the section of bar is occur adn by using the "LINE" command draw the stirrups.
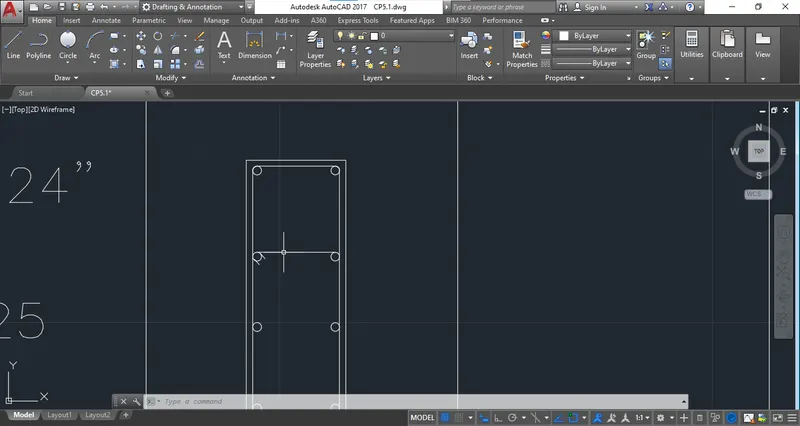
Step 17: complete the section as per drawing.
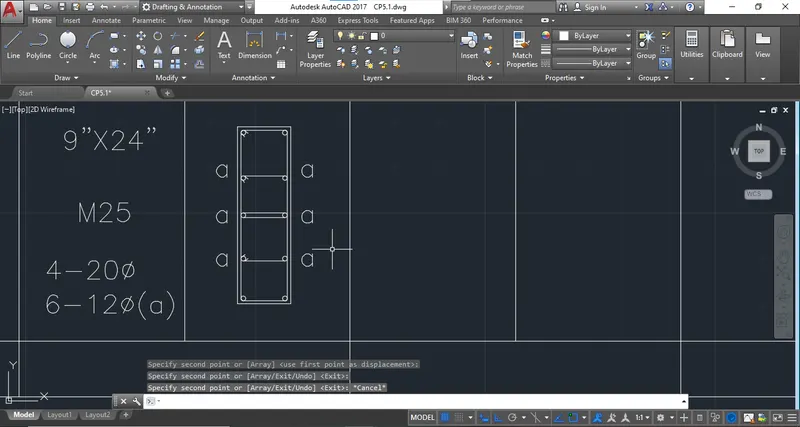
Step 18: Repeat the procedure for every column section details.
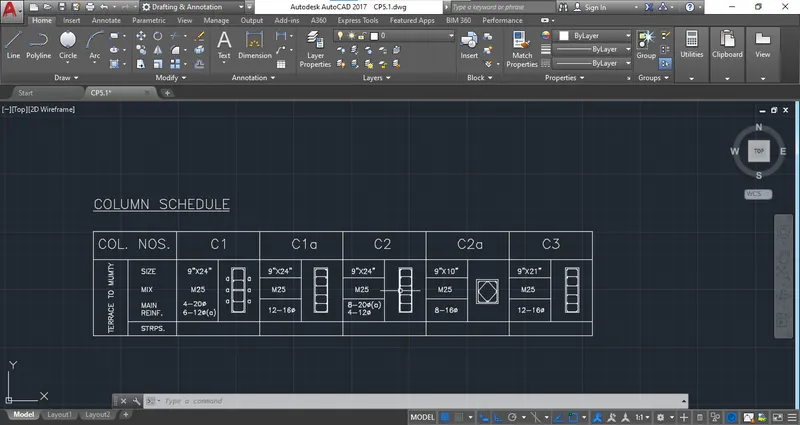
Step 19: Provide the stirrups details as per drawing.
ANS 2.
Window Schedule:
Step 1: Start the template with Engineering unit
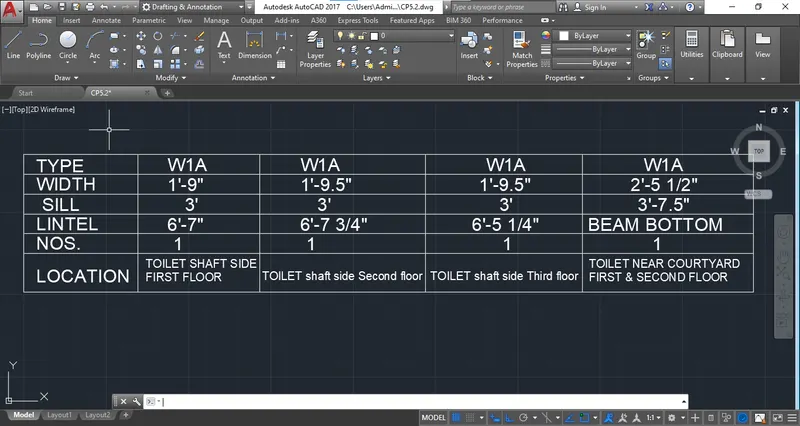
Step 2: Create the table to make schedule of window.
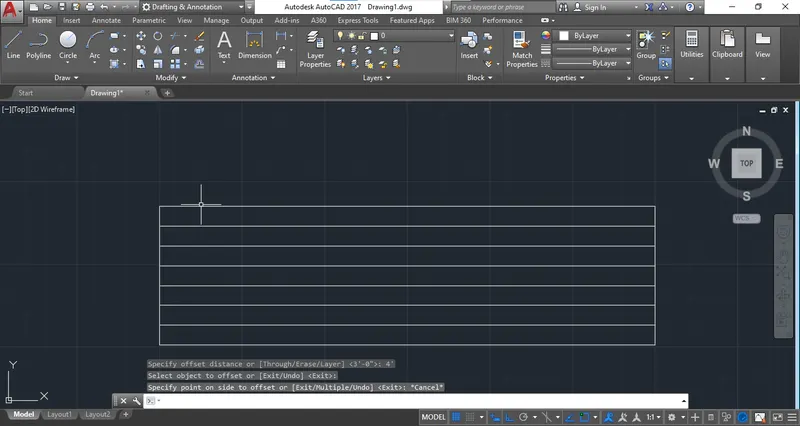
Step 3: As created the table use "DTEXT" command to add text in table. Use any font style and any font height.
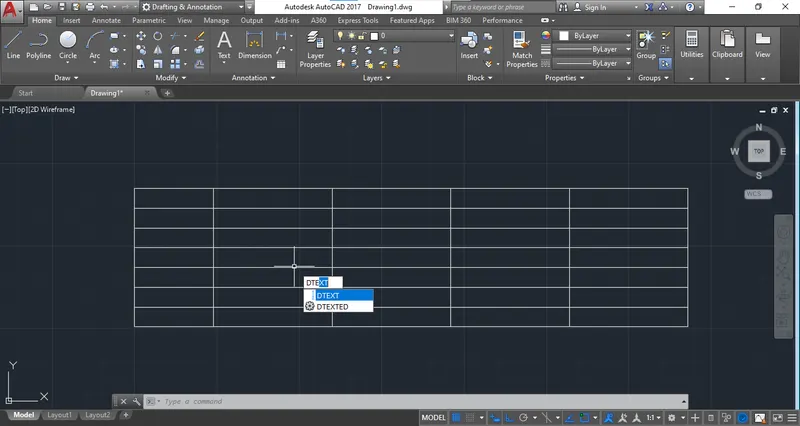
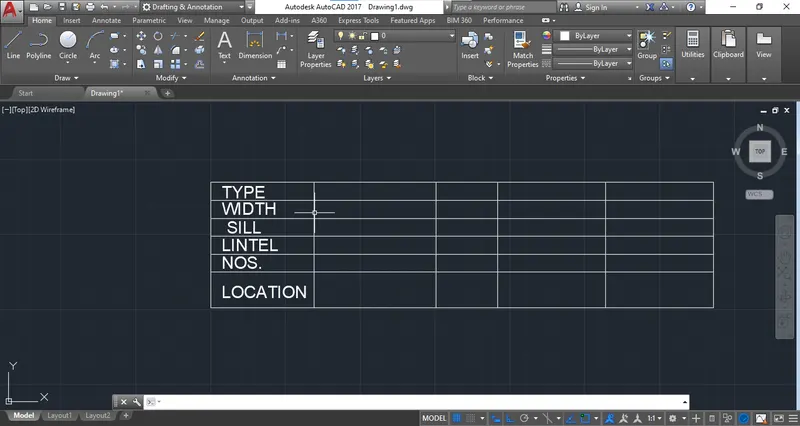
Step 4: Complete the table as per drawing.
ANS 3:
NOTE
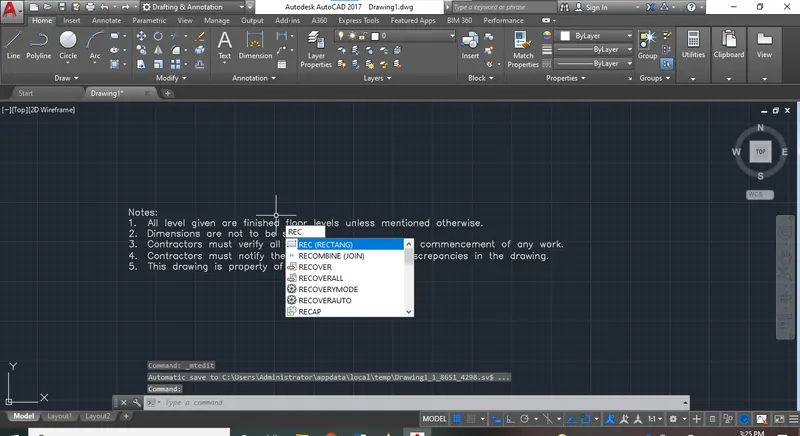
Step 1: Use any template to create a drawing and use the "MTEXT" command to add text.
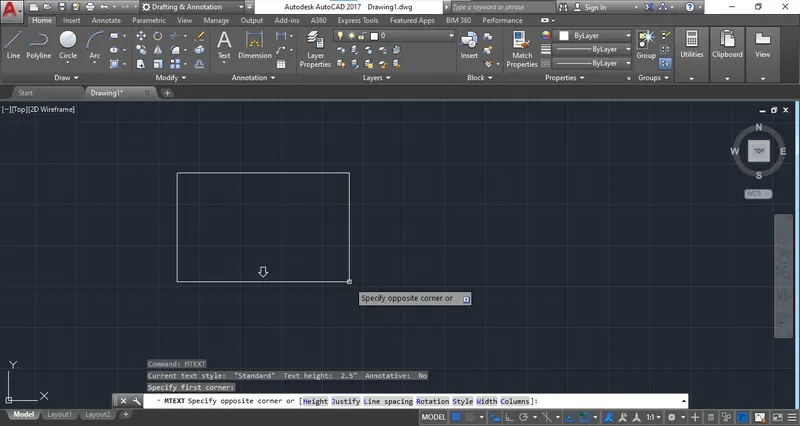
Step 2: Set the Type of Font as "romans" and start to texting.
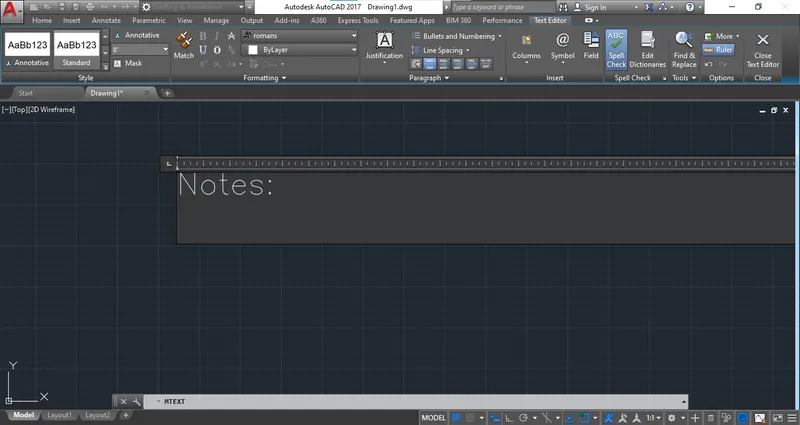
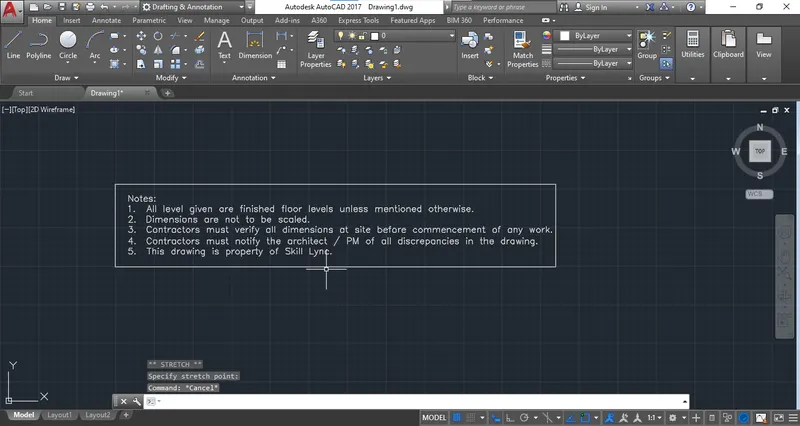
Step 3: Add numbering for the point given below.
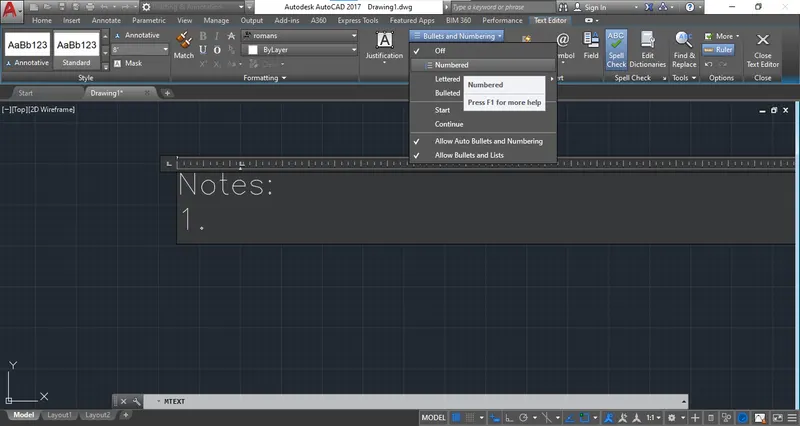
Step 4: Press "ENTER" to get next number automatically and continue the texting.
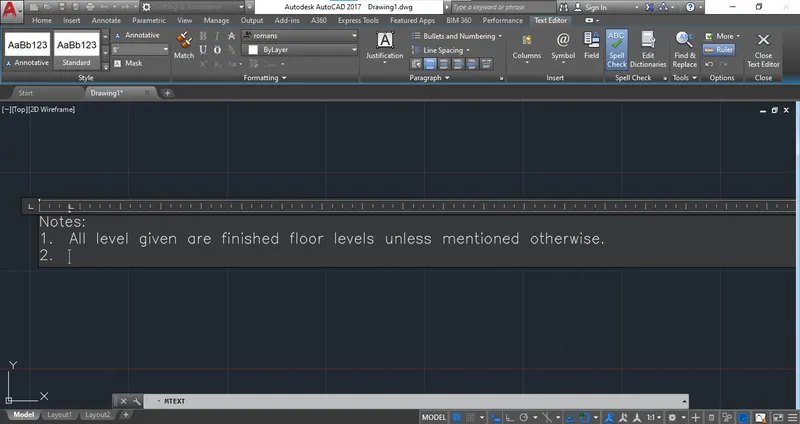
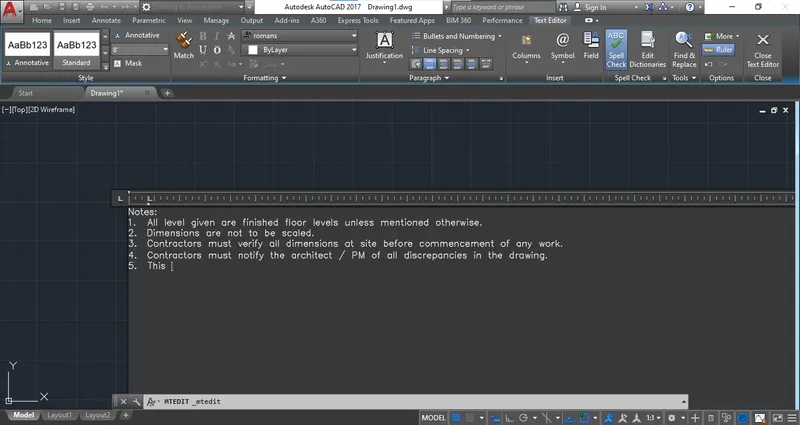
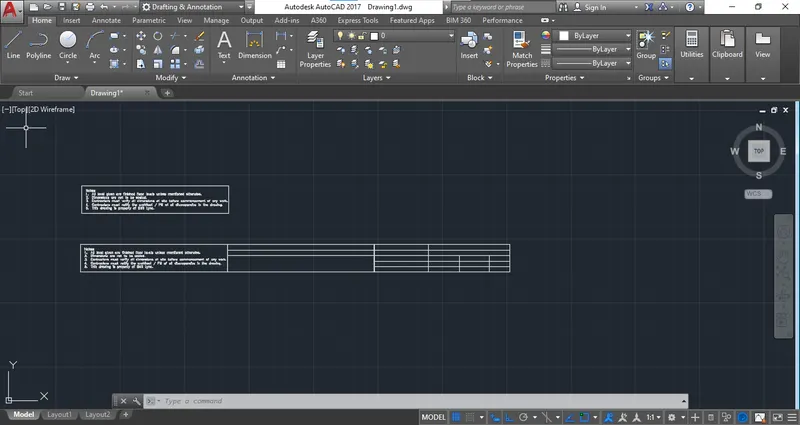
Step 5: After adding all the text draw the rectangle to create block.
ANS 4
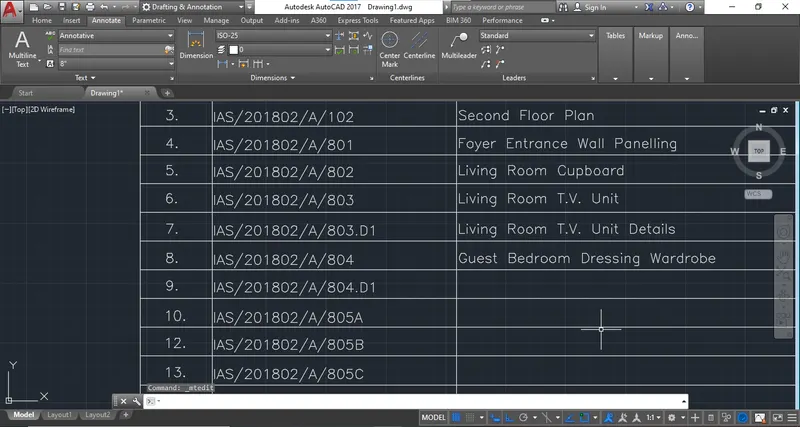
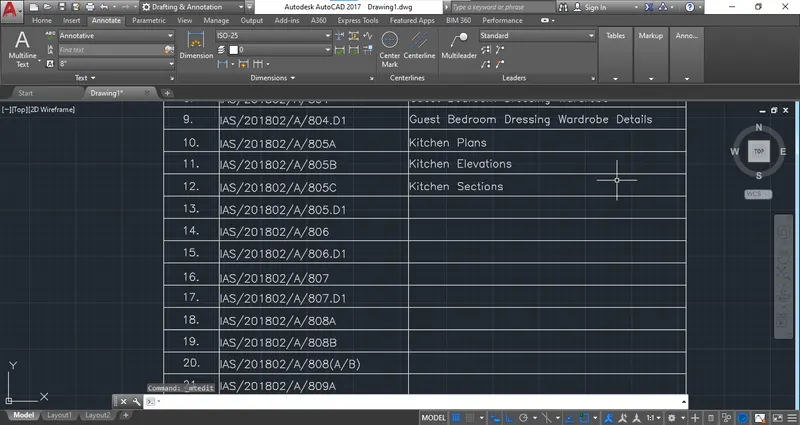
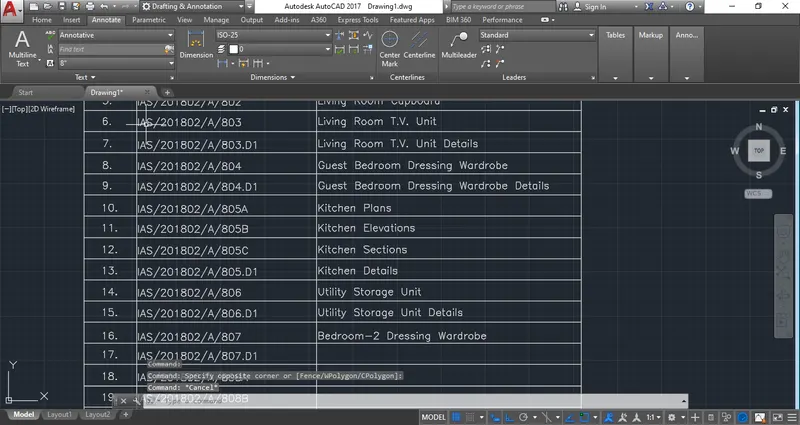
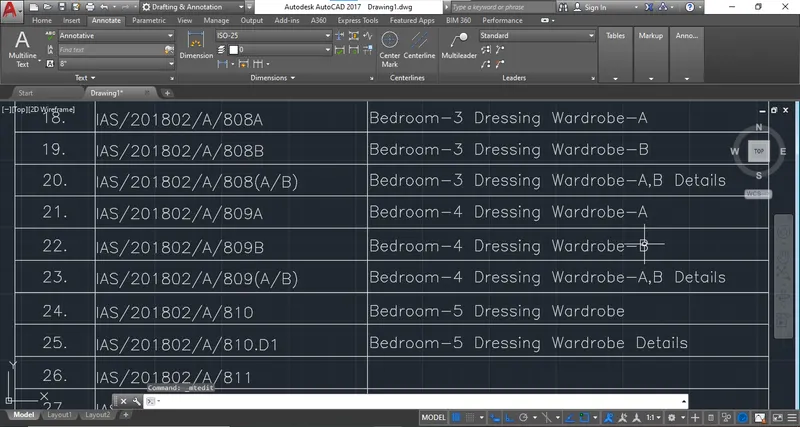
Drawing schedule:
Step 1: Select the template start the drawing schedule by creating a table.
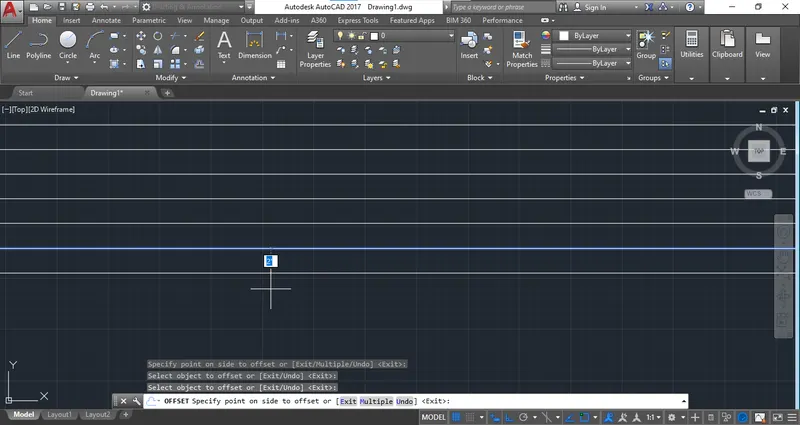
Step 2: Draw the rows and column of the table:
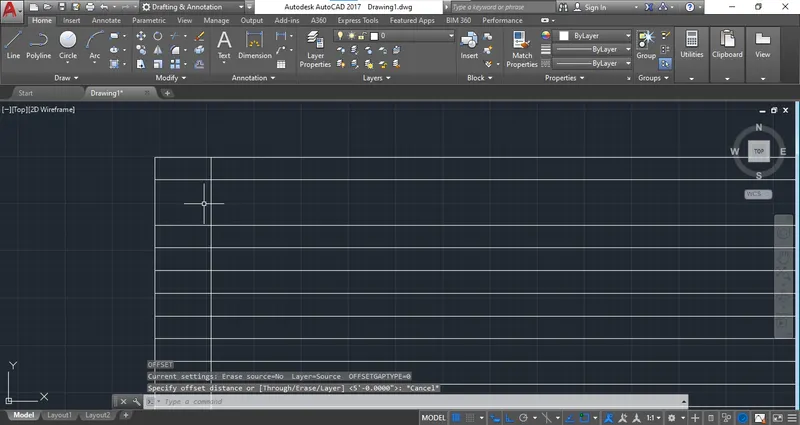
Step 3: After drawing of table use the "DTEXT" command to add the text in table.
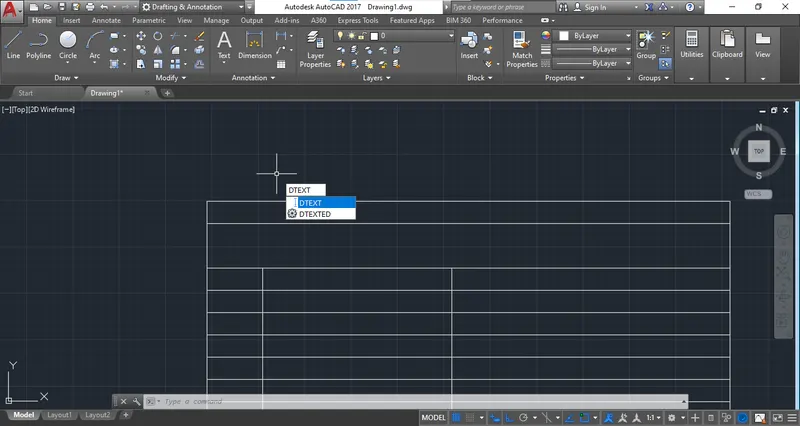
Step 4: Add the title block as per drawing.
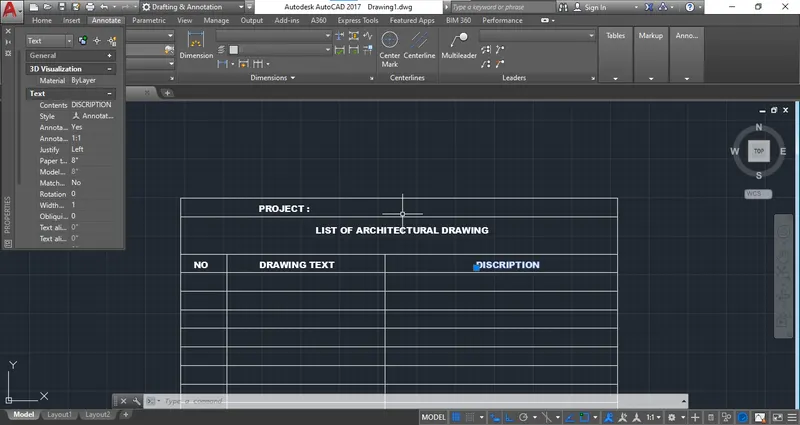
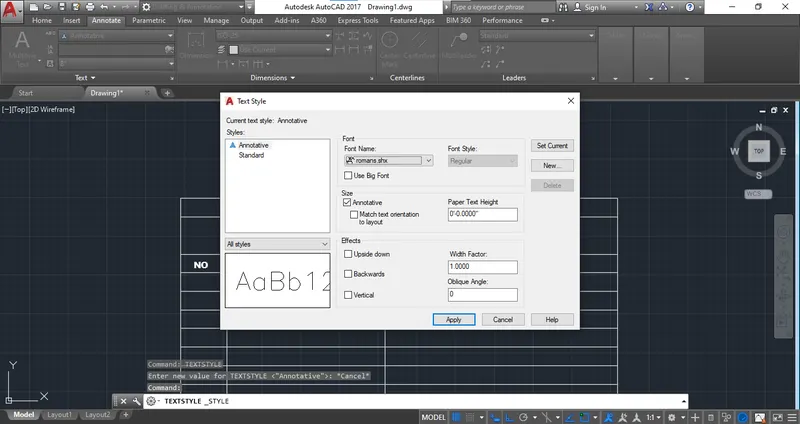
Step 5: Use the "romans" font style and suggest height of text from text style.
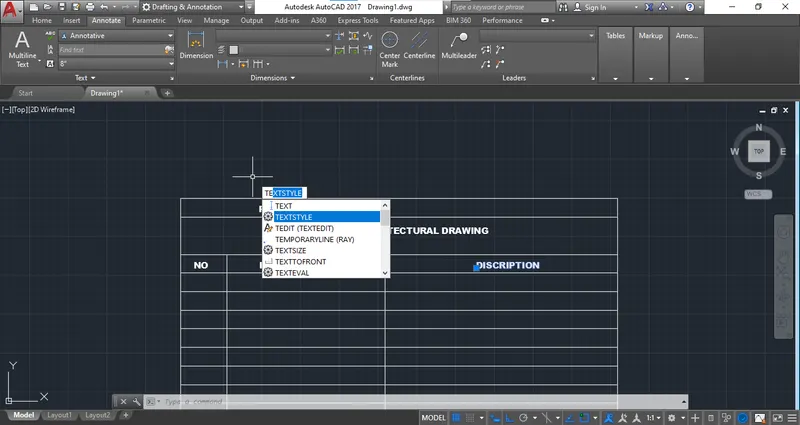
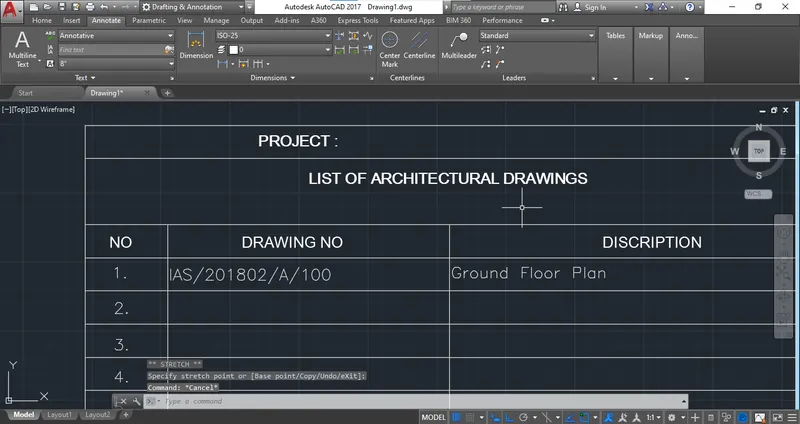
Step 6: Add the list of drawing one by one and completet the table.
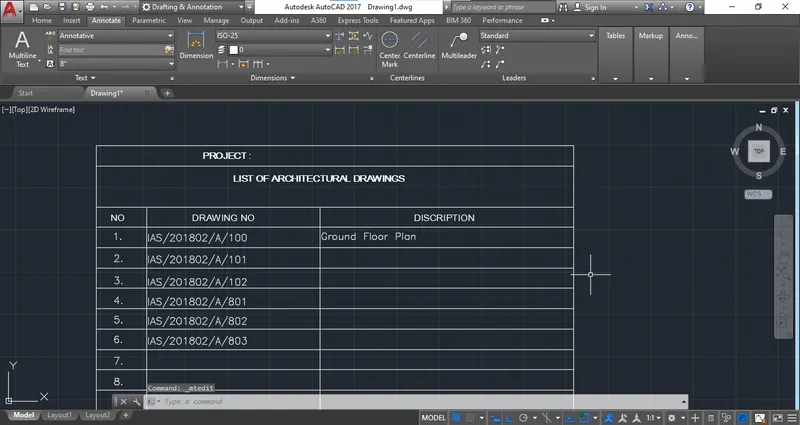
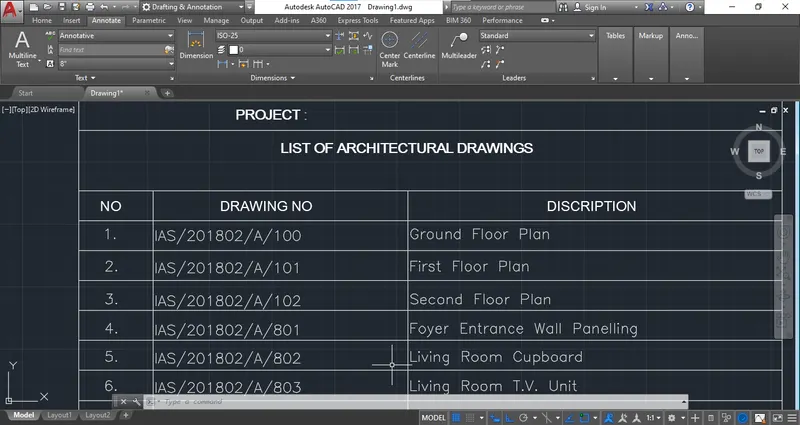
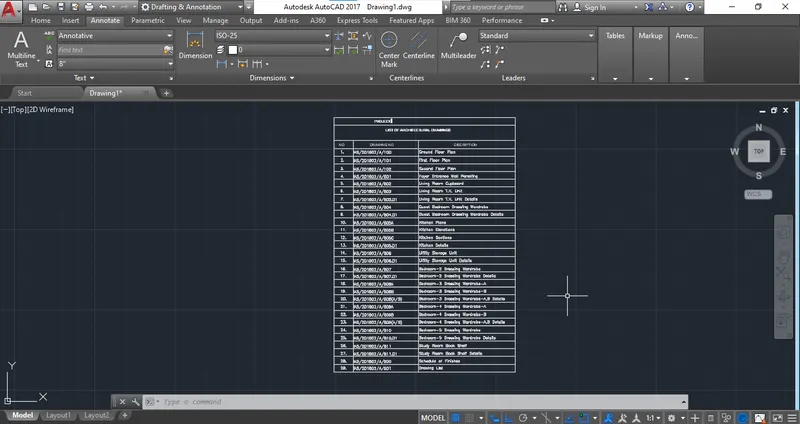
ANS 5:
BEAM DETAILS:
Step 1: Draw the section of beam with the engineering template and use the line command to draw.
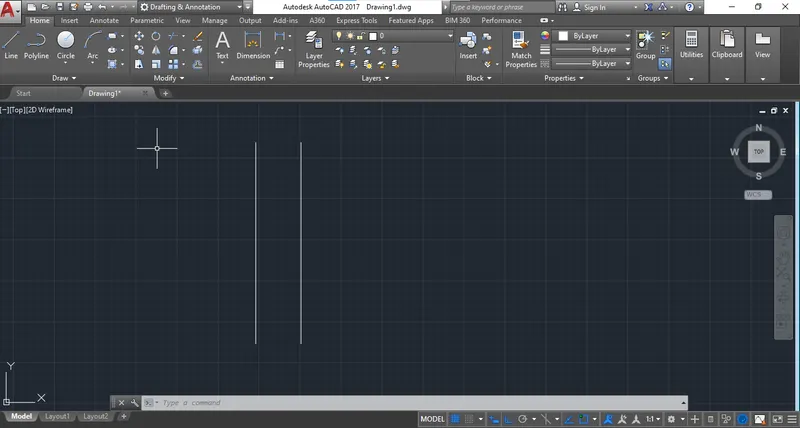
Step 2: Draw the section of beam and wall as per drawing.
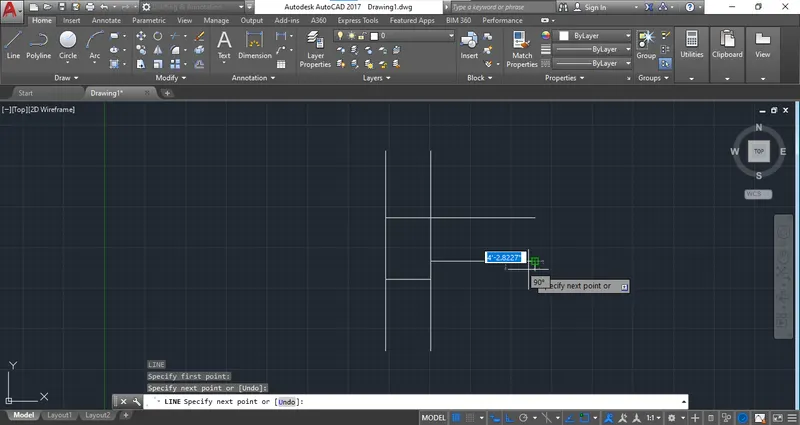
Step 3: Draw the continouos line for the section add symbols for brick and concrete.
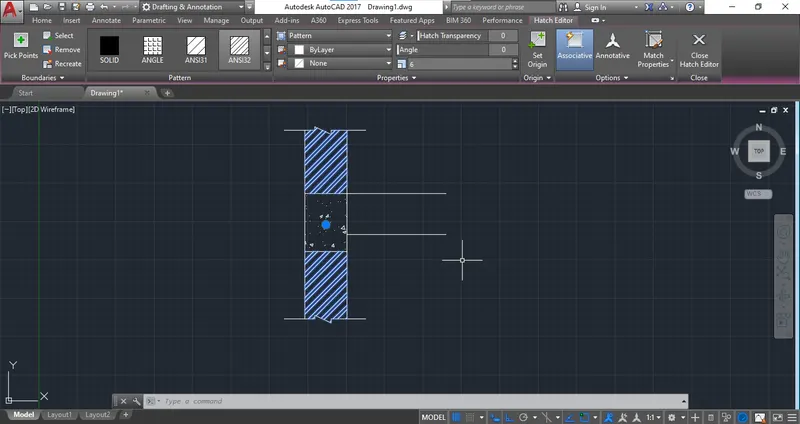
Step 4: Add the arrows with the help of "line" command and add text with "dtext" command.
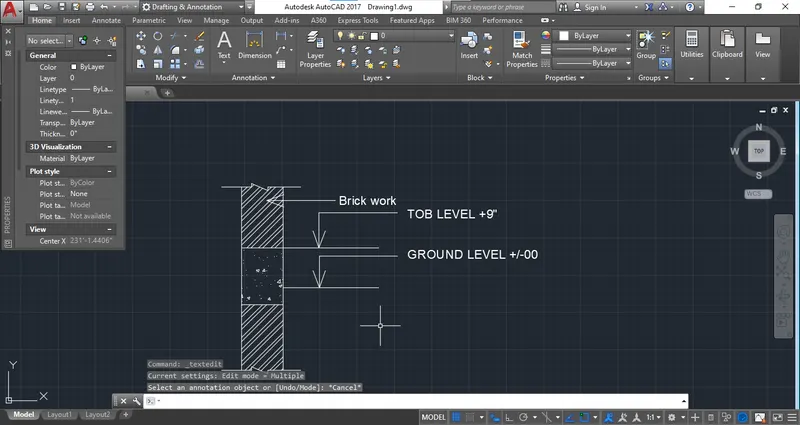
Step 5: complete the drawing as per given data.