Creation of Column Schedule and Drawing Template using AutoCad
AIM: Creation of Column Schedule and Drawing Template using AutoCad
INTRODUCTION: All the drawings asked in this question is made using commands like line, dtext, mtext, annotate, ds, fillet, trim, etc. The below drawings consists of a schedule for drawings, windows, columns, the information given in the sheets, and a section of a column.
QUESTIONS:
1. Create a column schedule as shown in the figure.
Note: Create a column schedule with the help of lines. Also, insert text with the help of Dtext command or Single Line Text.
Hint: Use font name: romans.shx; Height: 8”, Justify: Left
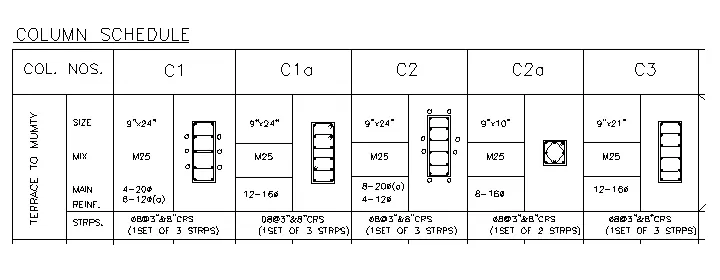
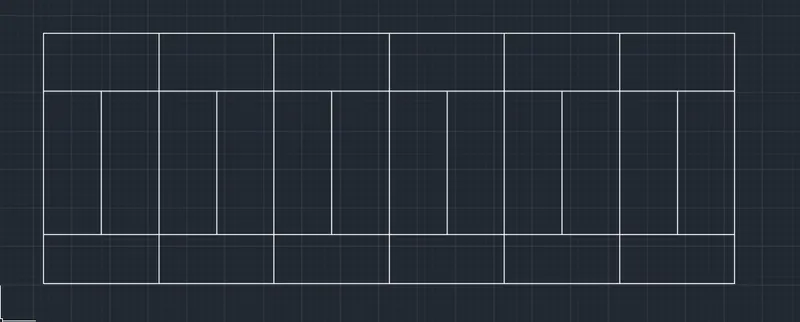
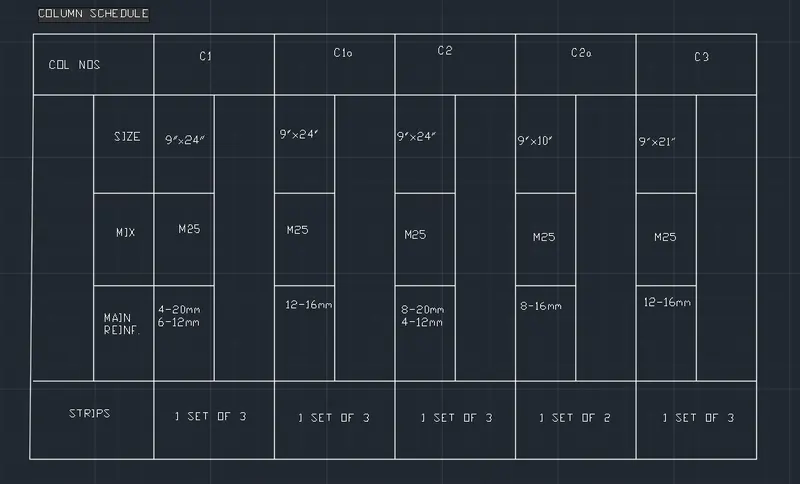
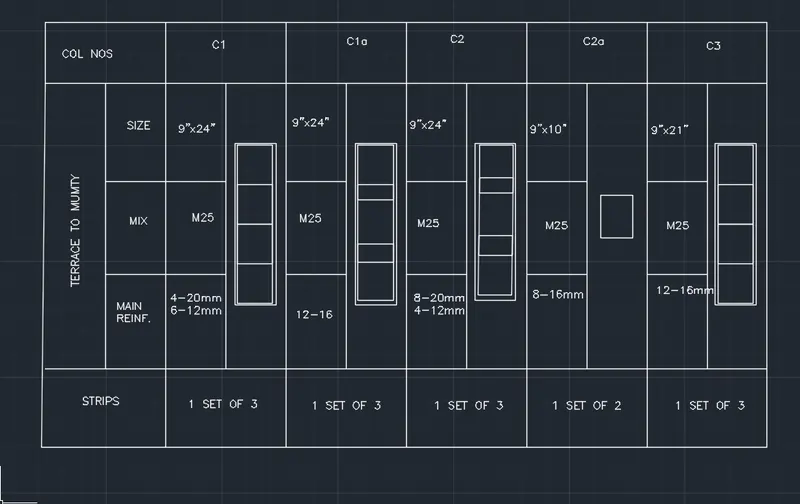
Procedure:
- Take the rectangle command
- Draw a rectangle and explode it using the explode command.
- Now using offset, trim and extend tools draw the table as shown in the above snip.
- Once the table is drawn, select the annotate menu and take the annotate command for a single line or simply write DTEXT in the command bar.
- Give the height, angle, alignment, justification for the text to be written and write the whole text content of the table.
- Draw the column sections using rectangle and line commands.
2. Create a window schedule as shown in the figures:
Window Schedule:
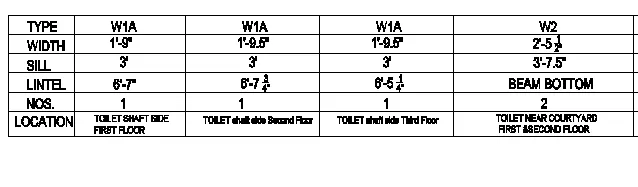
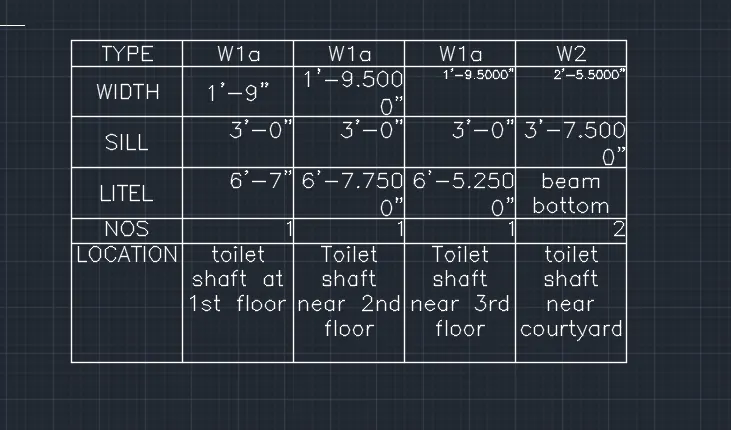
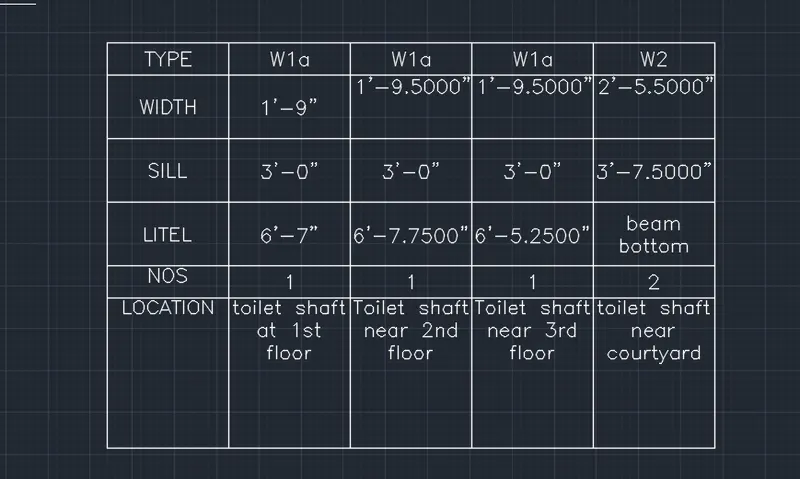
Procedure:
- Take the rectangle command
- Draw a rectangle and explode it using the explode command.
- Now using offset, trim and extend tools draw the table as shown in the above snip.
- Once the table is drawn, select the annotate menu and take the annotate command for a single line or simply write DTEXT in the command bar.
- Give the height, angle, alignment, justification for the text to be written and write the whole text content of the table.
3. Create the drawing template as shown in the figure:< Use the Notes as in the figure>
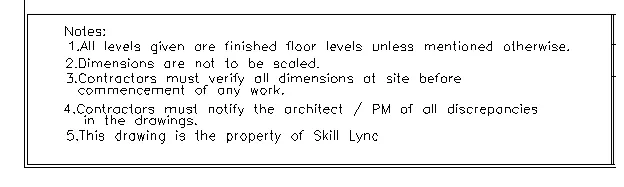

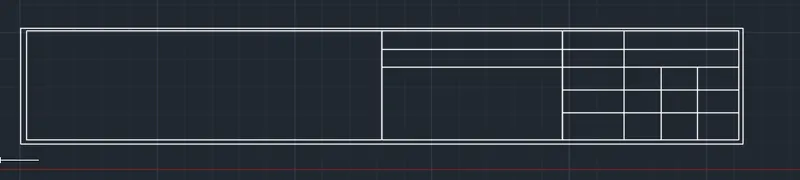

Procedure:
- Take the table command
- Draw a table by inputting the data of rows and columns and all.
- Once the table is drawn, select the annotate menu and take the annotate command for a single line or simply write DTEXT in the command bar.
- Give the height, angle, alignment, justification for the text to be written and write the whole text content of the table.
4. Create the list of drawing schedule as shown in the figure:
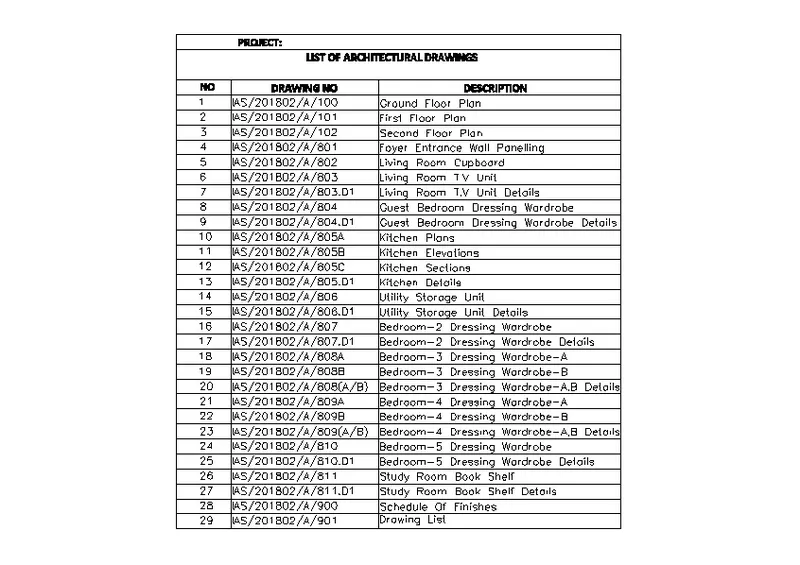
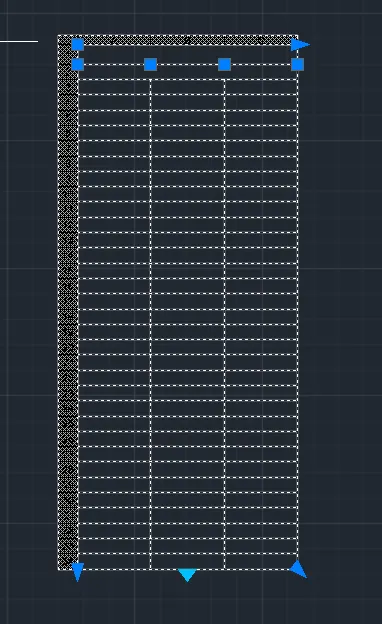
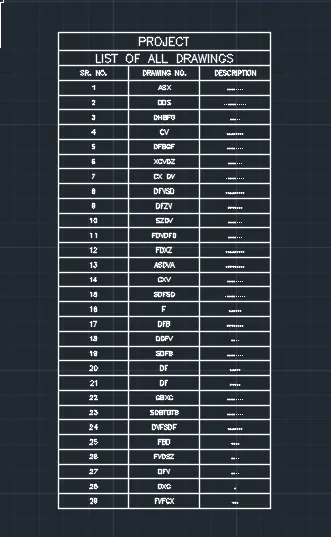
Procedure:
- Take the table command
- Draw a table by inputting the data of rows and columns and all.
- Once the table is drawn, select the annotate menu and take the annotate command for a single line or simply write DTEXT in the command bar.
- Give the height, angle, alignment, justification for the text to be written and write the whole text content of the table.
5. Create the Beam detail as shown in the figure and provide text wherever given.
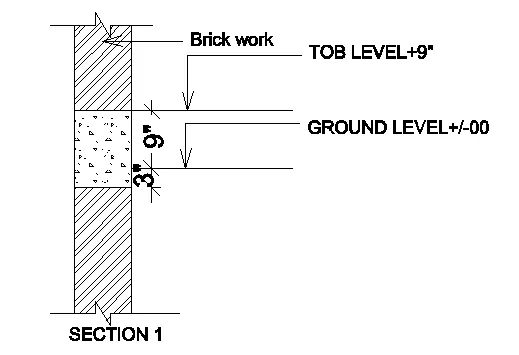
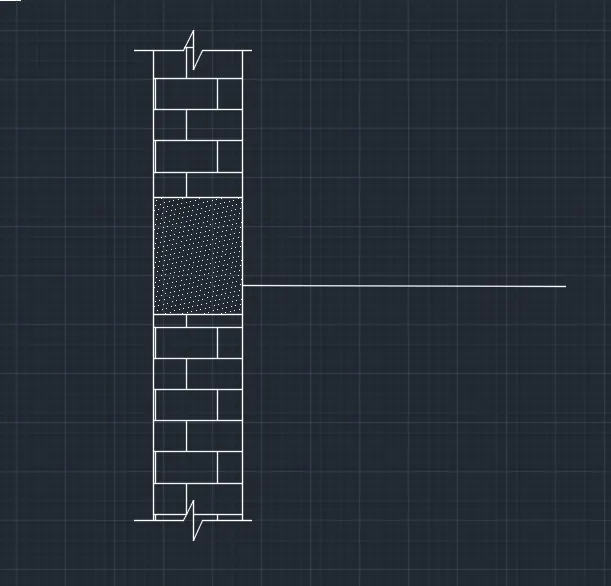
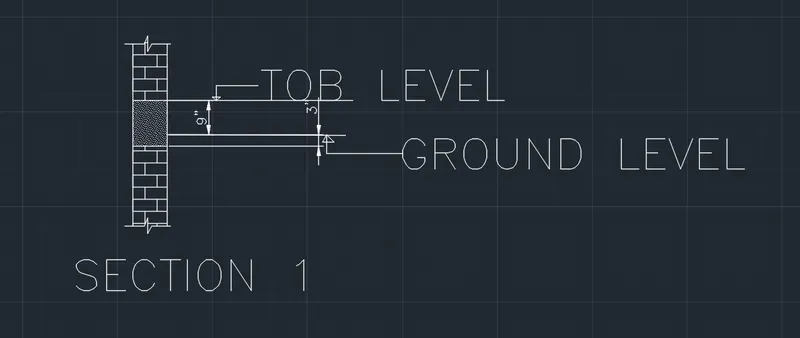
Procedure:
- Draw a wall of 9" width using line and offset tool.
- make a section of 9" x 1' 0" in between.
- Add the hatch to the figures as asked.
- Now select the annotate menu and take the annotate command for a single line or simply write DTEXT in the command bar.
- Give the height, angle, alignment, justification for the text to be written and write the whole text
RESULTS: All the drawings formed had an extreme practice of data input using the annotate command. This teaches me how to use the annotate command as and when required.