Creating Walls, Partition walls and Floors for a residential layout using REVIT
1)
Aim - To create a floor plan and need to apply the materials and thickness using the property browser
Procedure -
Step 1 -
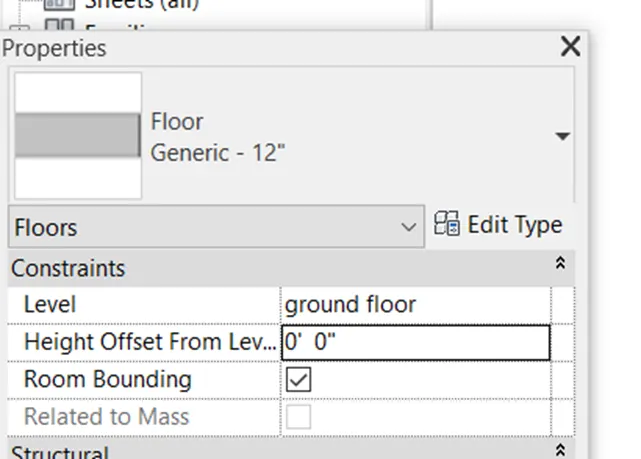
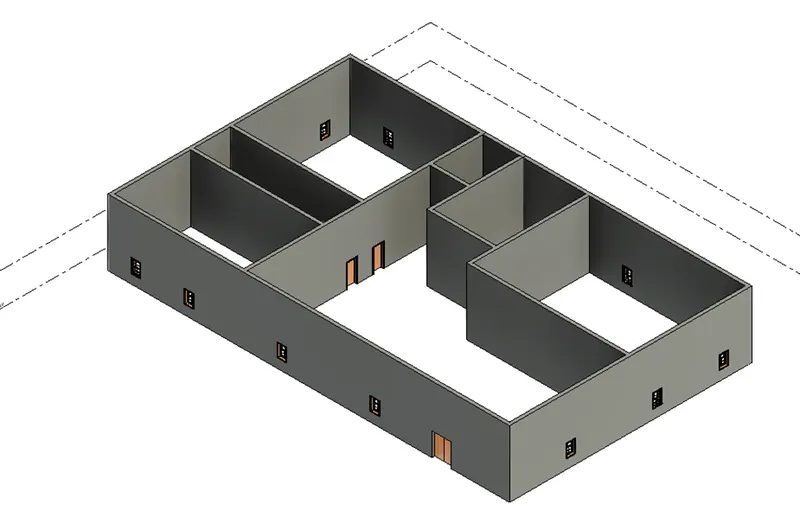
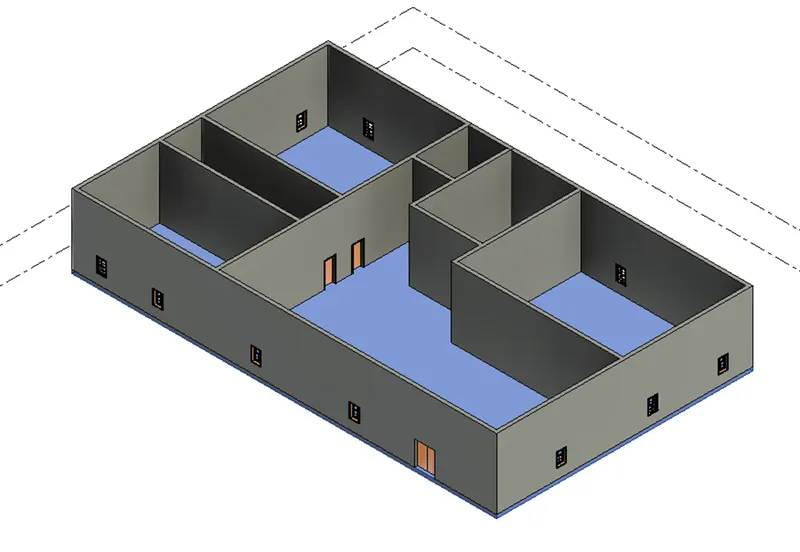
- First we select the floor as shown below
- After selecting the floor,click the edit type from the porperties browser
Step 2 -
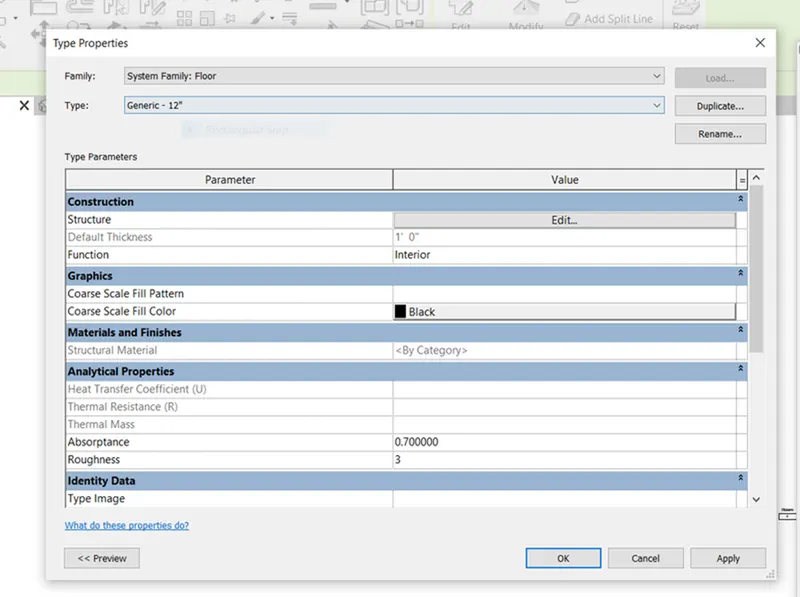
- After clicking edit type,type property tab will be appear on screen
- Next we change the material type by clicking the edit option
Step 3 -
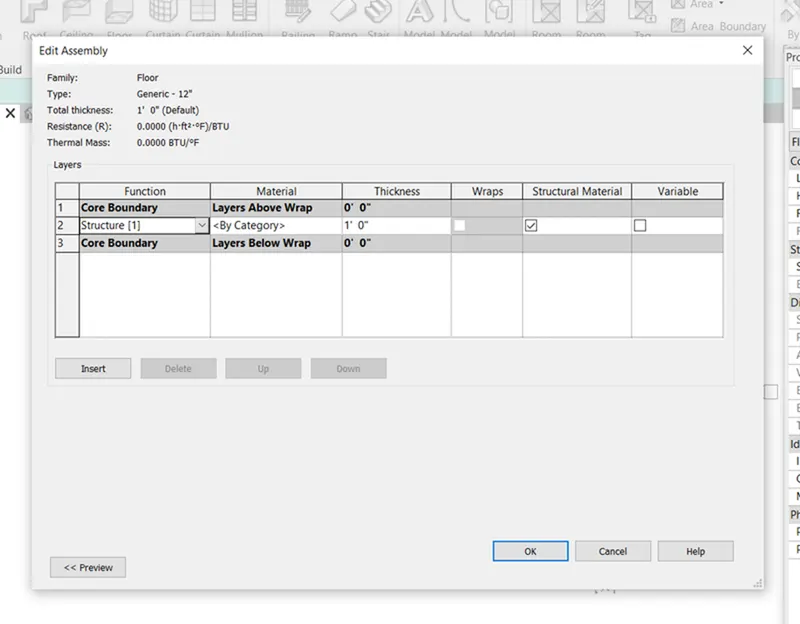
- After clicking edit option,edit assembly tab appear
- We select the material type in 2nd room
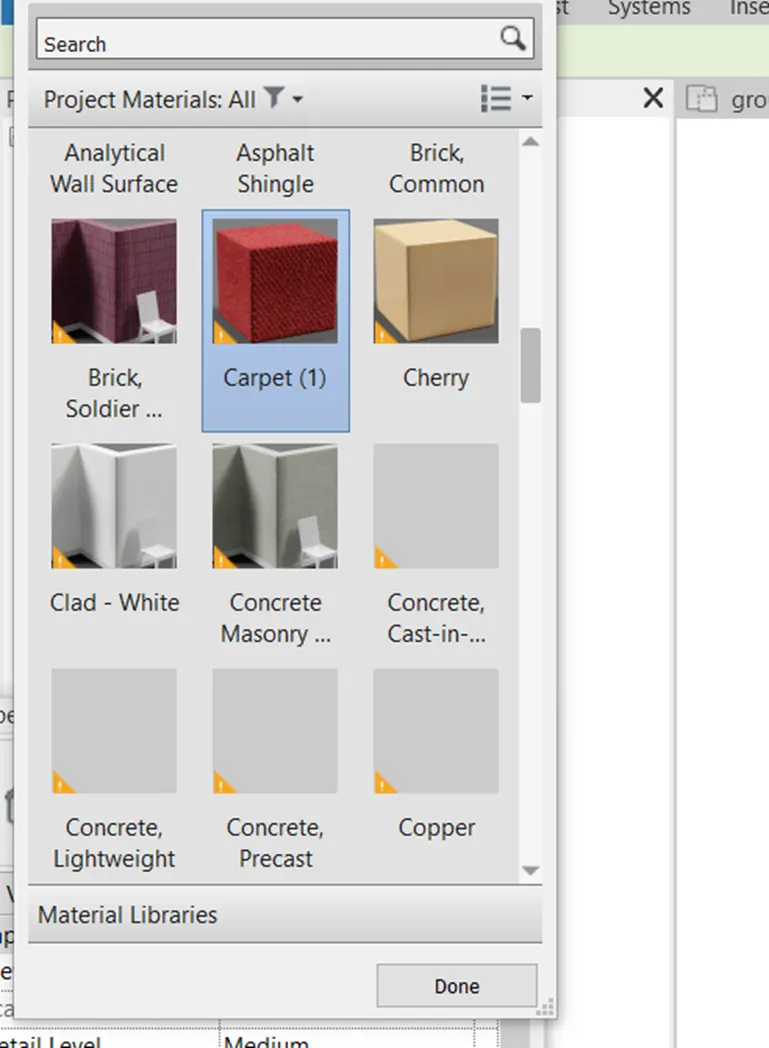
- After clicking that,material browser appear,then select material type as carpet
Step 4 -
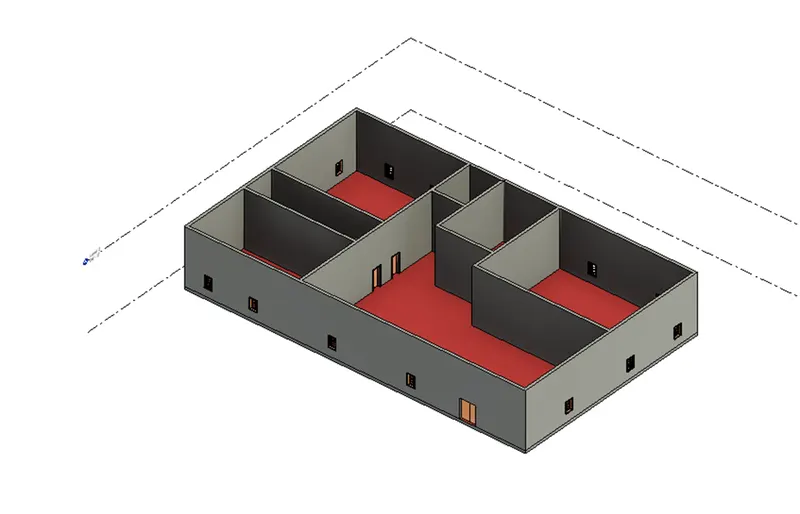
- Finally the material is applied to floor as shown below
Step 5 -
- Floor plan is aligned to grid,as shown below
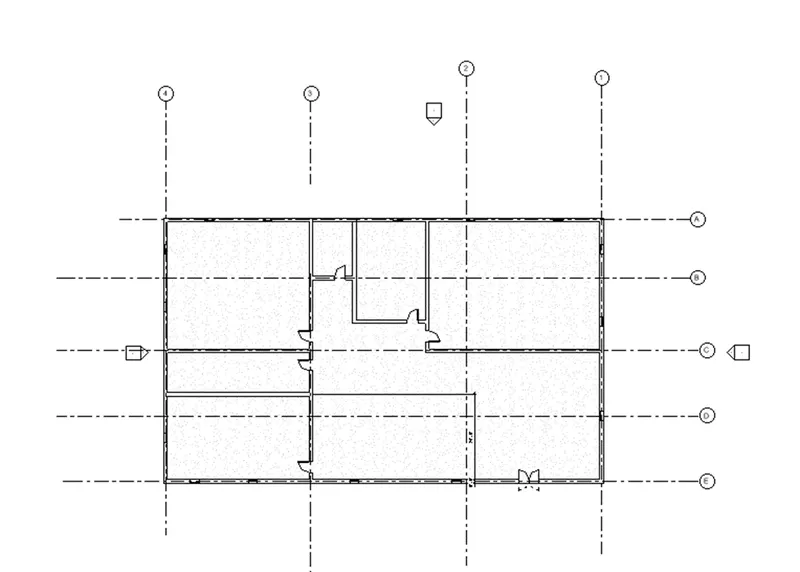
Result - The materials are applied to floor and floor plan is aligned with grid
2)
Aim - To create a floor plan and need to apply the materials and thickness using property browser for walls
Procedure -
Step 1 -
- First we select the wall
- After selecting wall,click edit type from the property browser
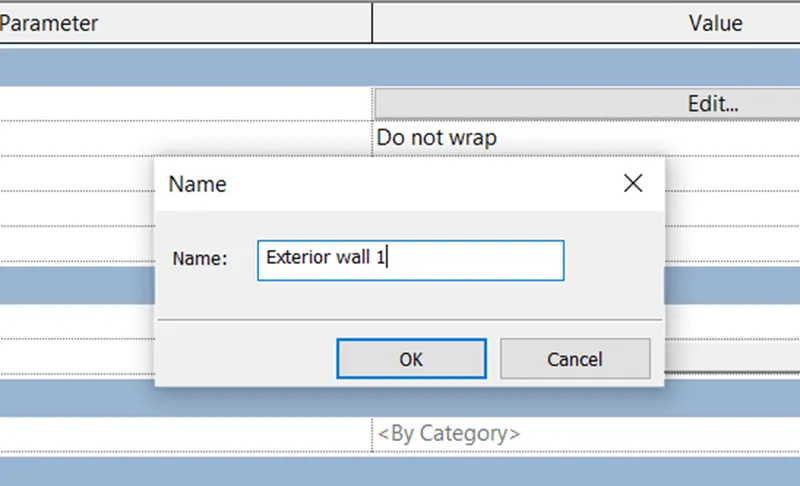
Step 2 -
- After clicking edit option,the edit assembly tab appears
- We select material type in 2nd row
- After clicking that,the material browser appears,then select material type as Brick,solider course
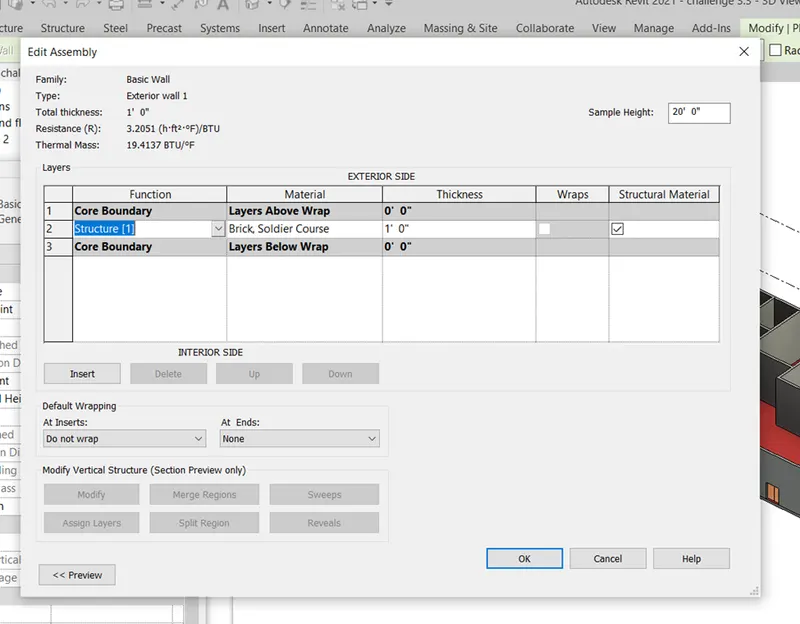
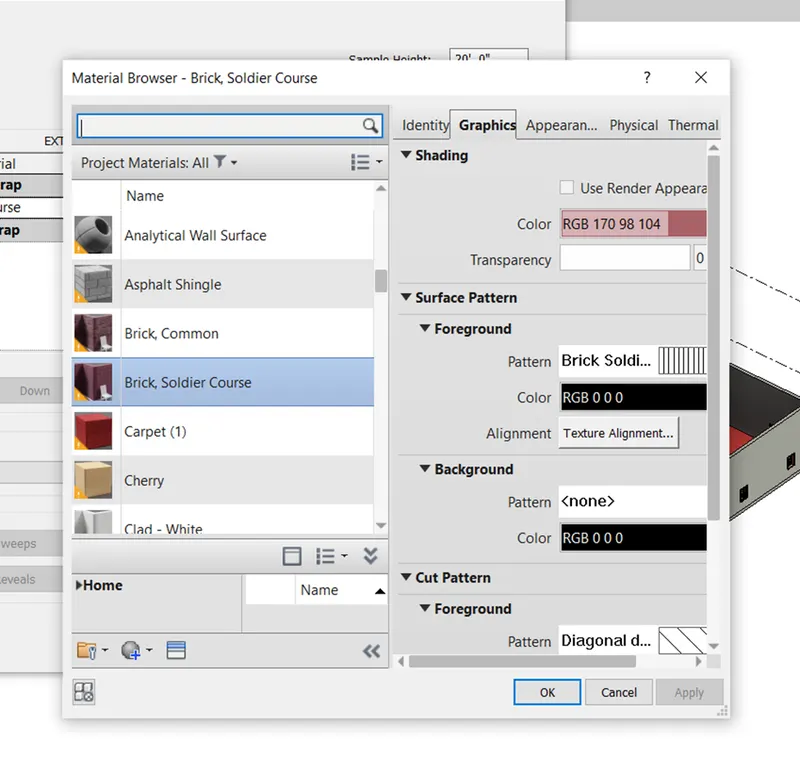
Step 3 -
- After applying the material to the walls,we need to zoom the wall to see the material type
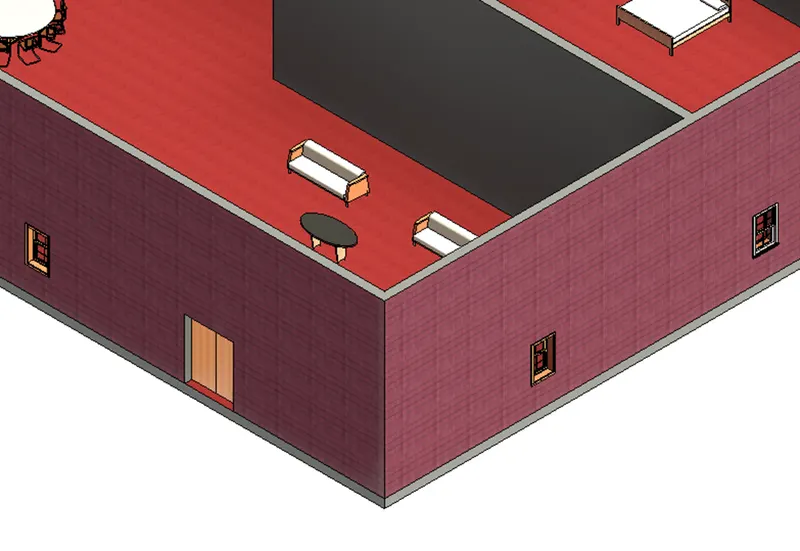
Step 4 -
- Finally the materail has been applied to the walls
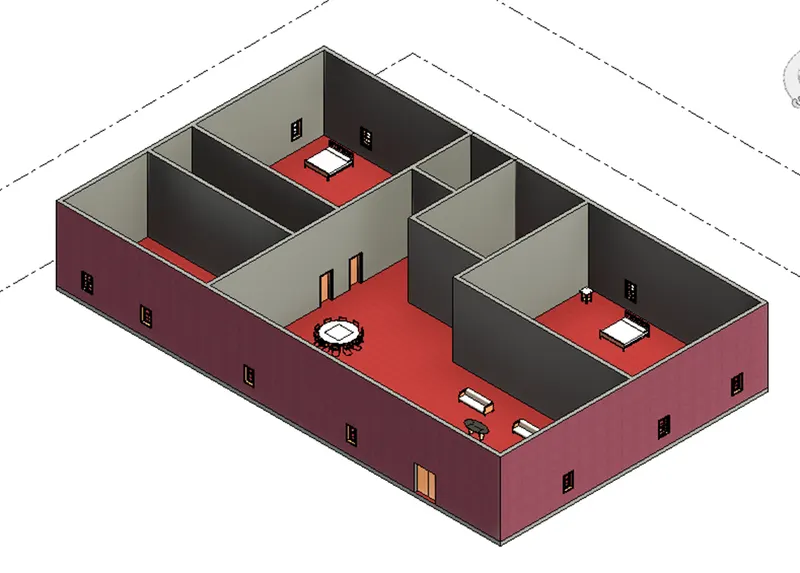
Step 5 -
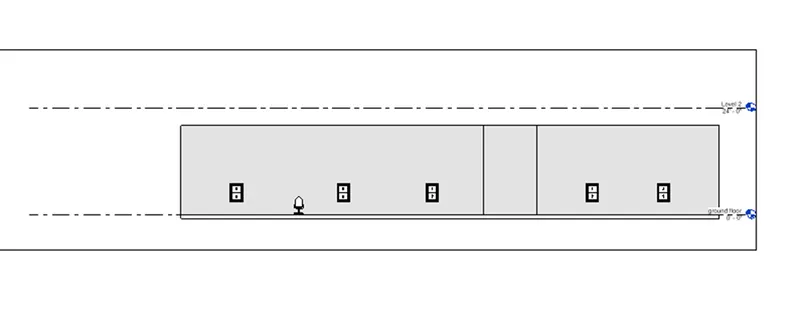
1. Based on your observation ,what is beneficial for connecting wall with associated levels rather than being unconnected
- If we select topcconstraint as Up to level:Level -2 ,the height of wall changes with the levels
- When we put the level height to 20',then height of wall is also changes to 20'
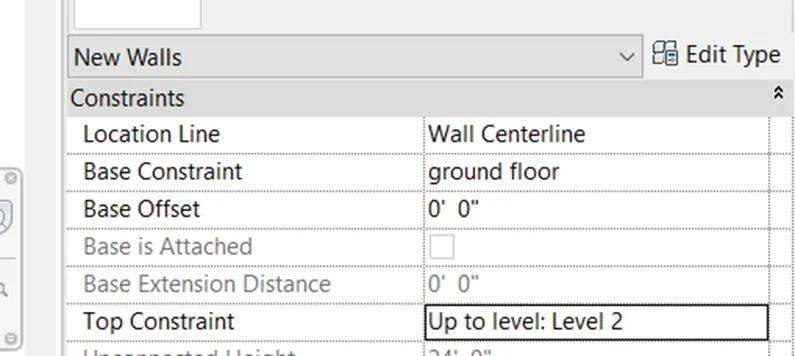
- The height of level is changed and height of wall is also changes,as shown below
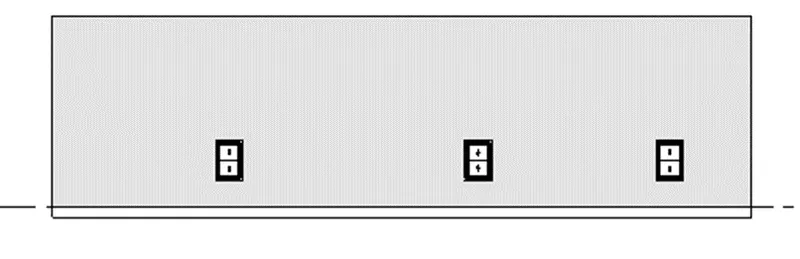
- If we select top constraintas Unconnected,the height of wall doesn't changes with level
- When we put the level height to 20',the level height is changes,the wall height will not be changed
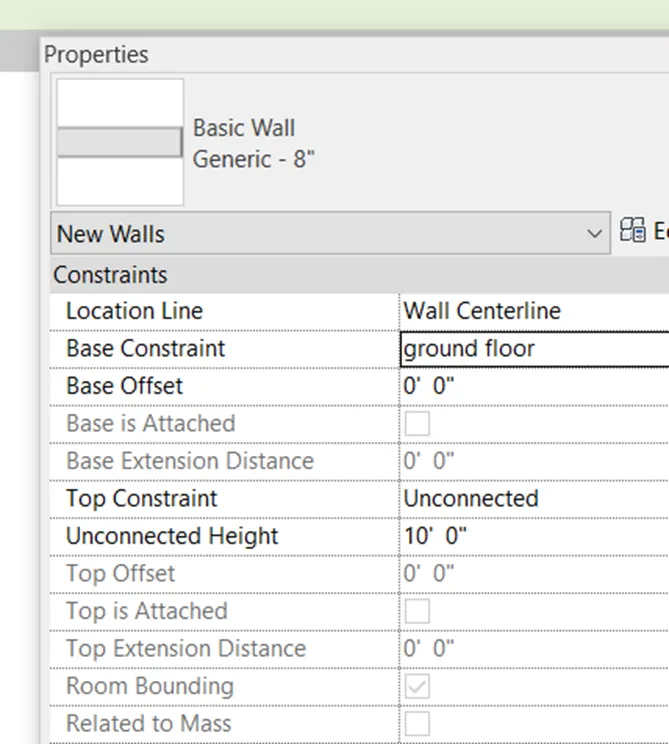
- The height of level is changed and height of wall will not changes,as shown below
Step 6 -
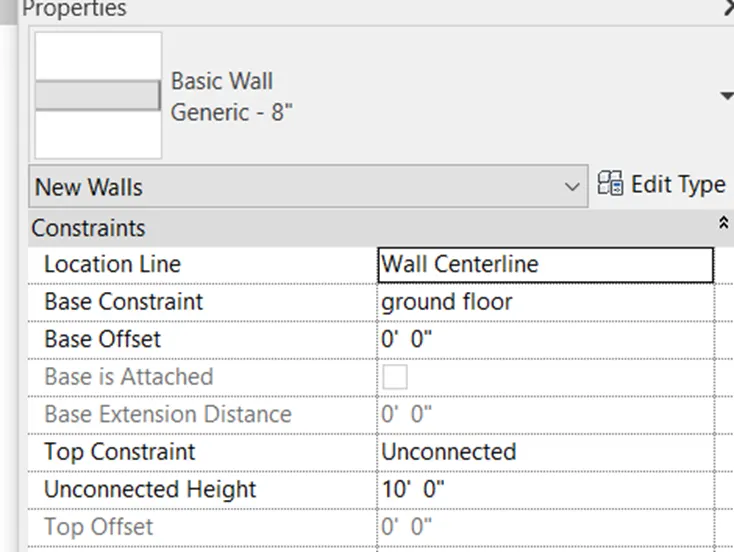
Which option isconvenient for modeling walls,by height of depth?
- When we select the height option for wall,the wall will be created above the level

Result -
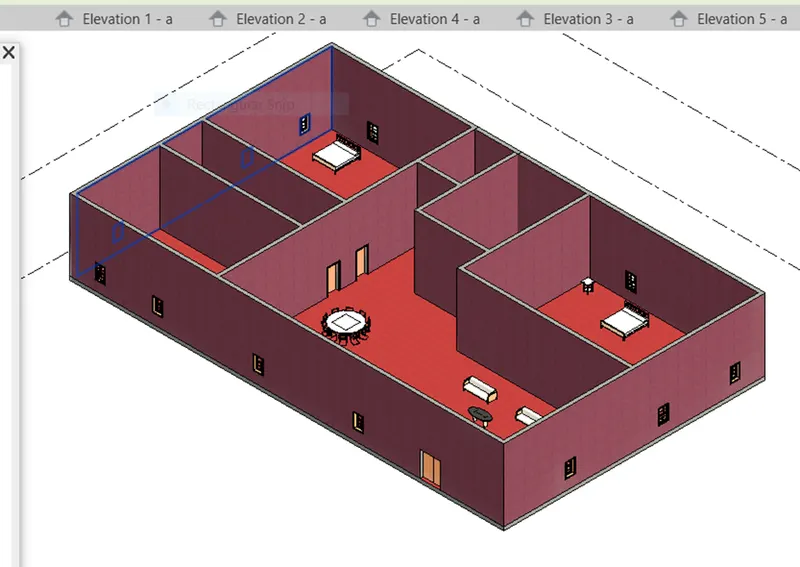
- Successfully applied materials to walls
- Top and bottom walls are constrained
- Height option is convenient for modeling walls
3)
Aim - Use modify tab to utilize copy and paste option to align elements to a different level
Procedure -
Step 1 -
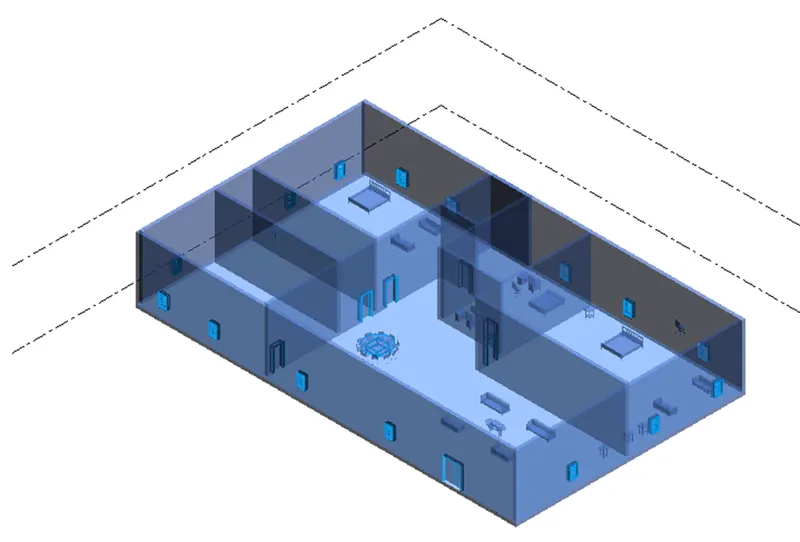
- First we select total ground floor,then we copy the ground floor copied to clipboard
- Thenuse paste option to align elements to a different levels,as shown below
Step 2 -
- Use paste option to align element to a different level
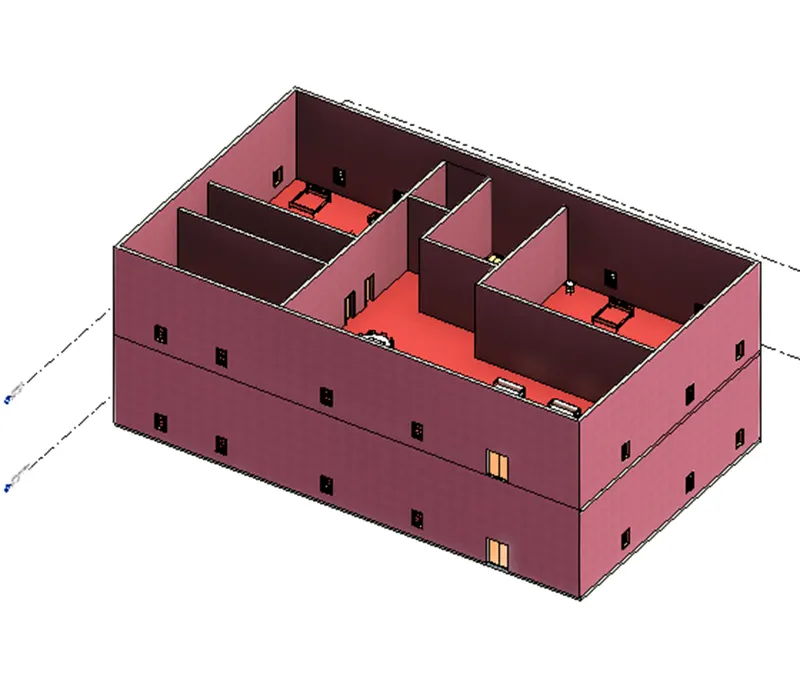
Step 3 -
- Finally the element are alignedto different levels
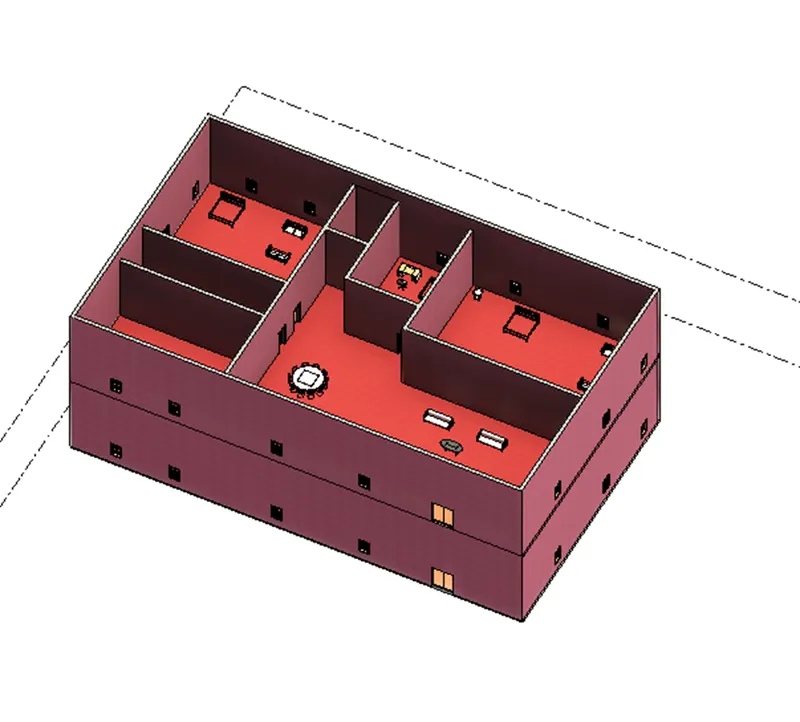
Result - The element are successfully aligned to the different level using the copy and paste option
4)
Aim - To create separate rooms within your residential units using interior partition walls
Procedure -
Step 1 -
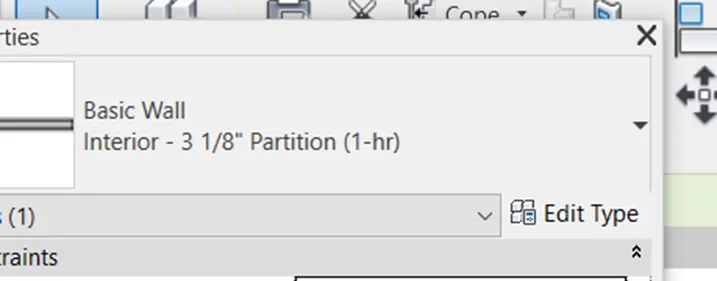
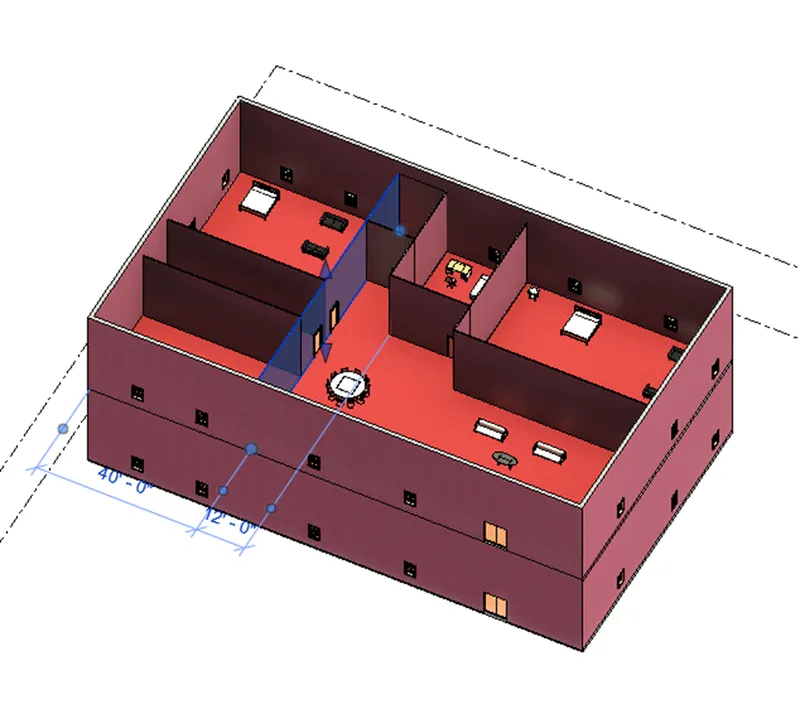
- First select the interior wall ,and change the wall type as partition wall as shown below
Step 2 -
- The interior partition wall are created,as shown below
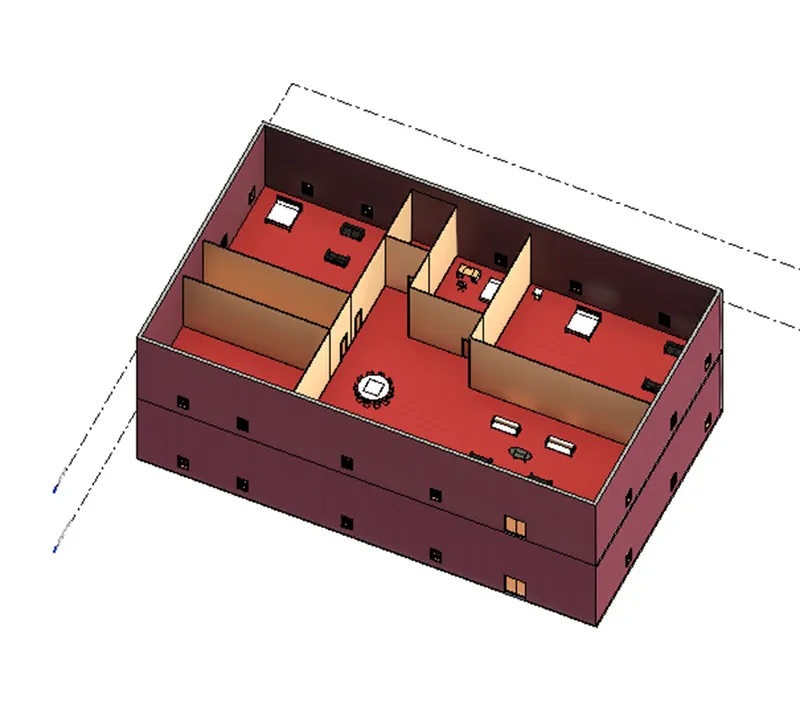
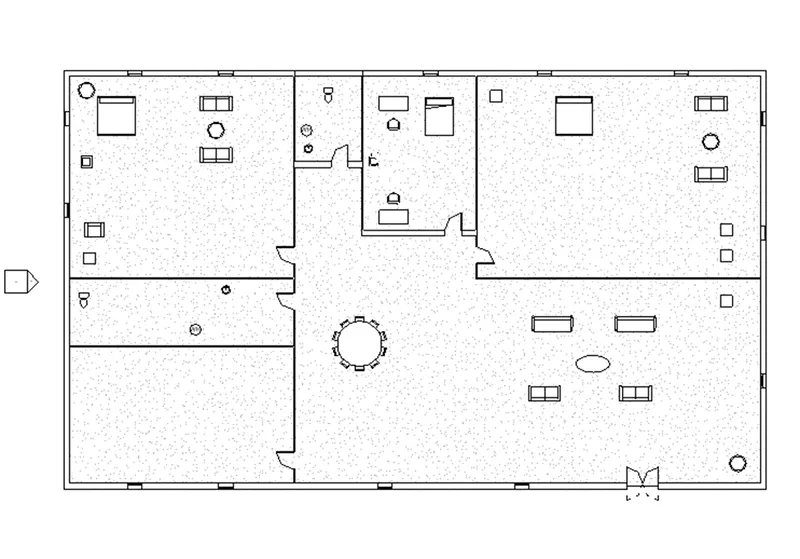
Result - the interior partition walls are successfully created
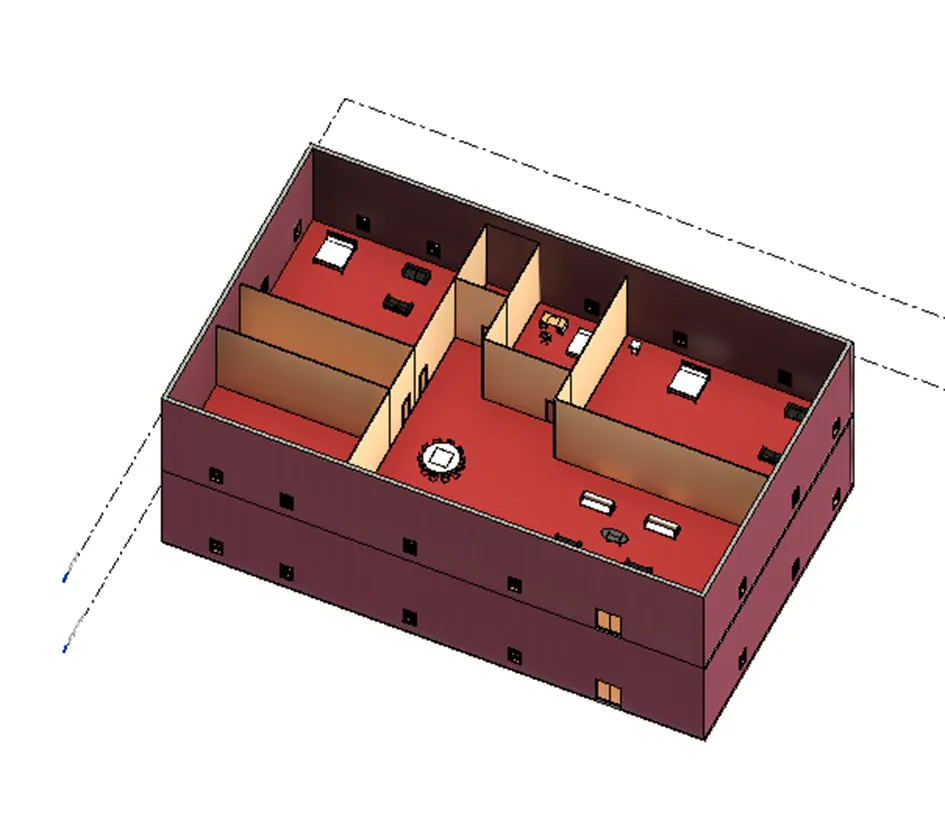
5)
Aim - To insert the components in appropriate locations to add details to residential model,based on week 2 assignment
Procedure -
Step 1 -
- First we select furniture components in hall as shown below
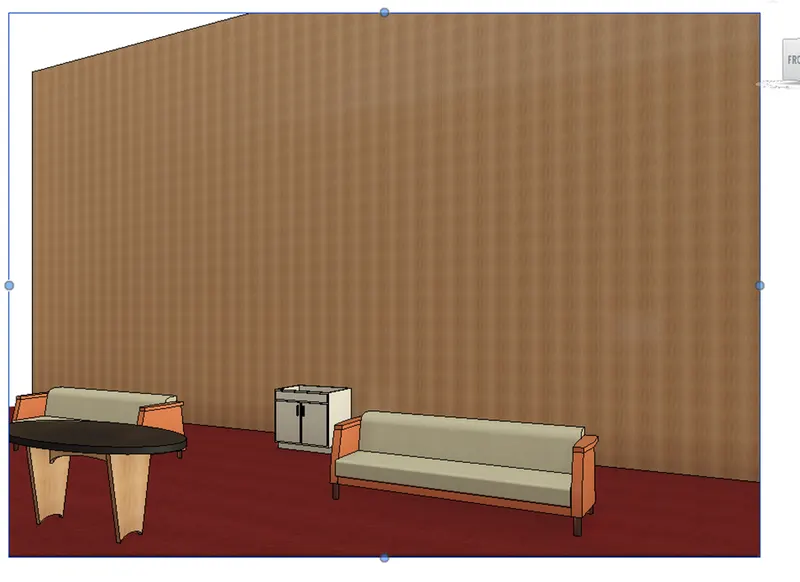
Step 2 -
- Next we insert kitchen component from load family
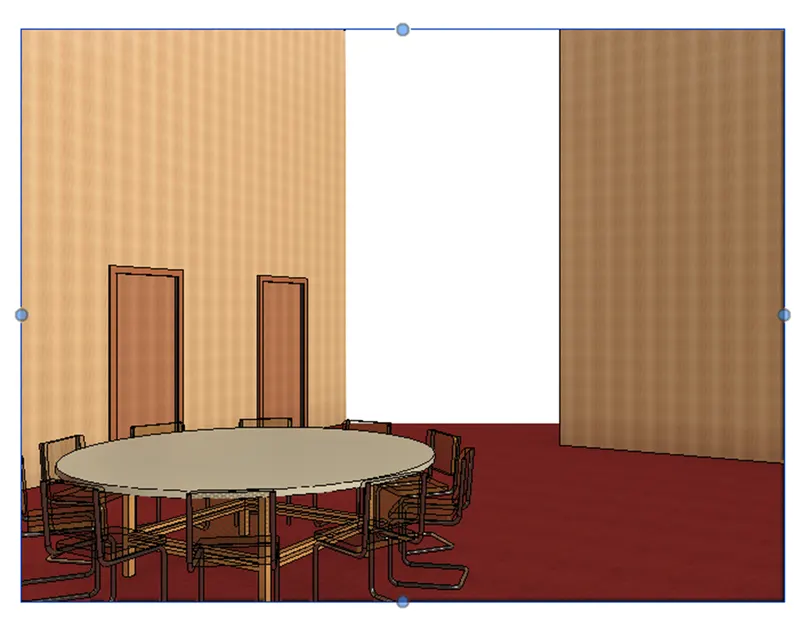
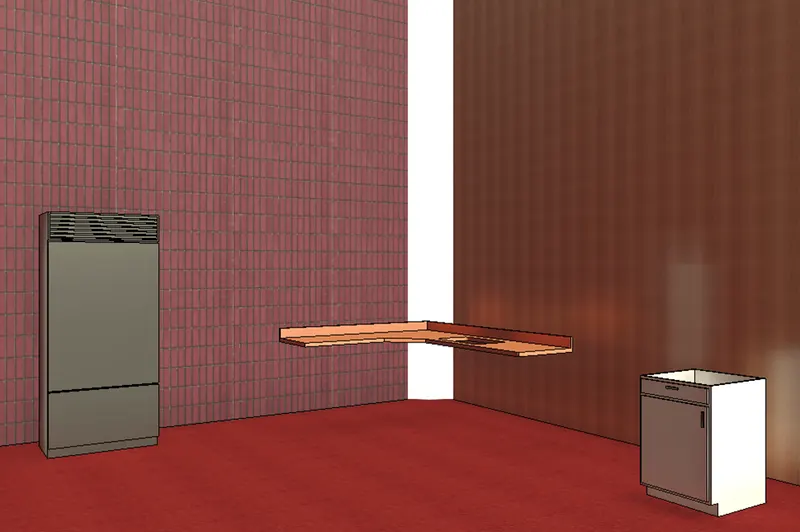
Step 3 -
- Next we insert bed room 1 and bed room 2 components from load family
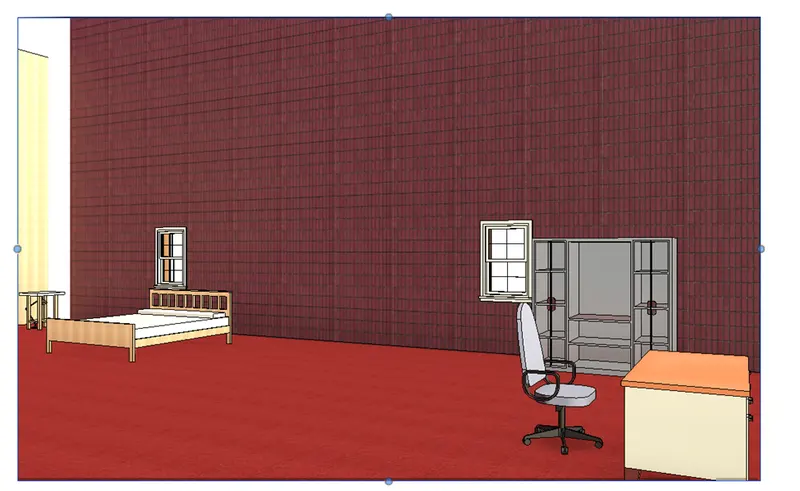
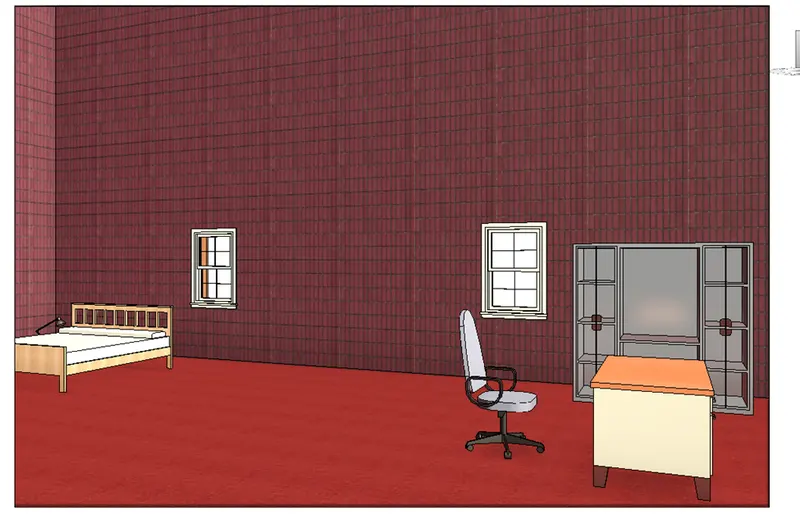
Step 4 -
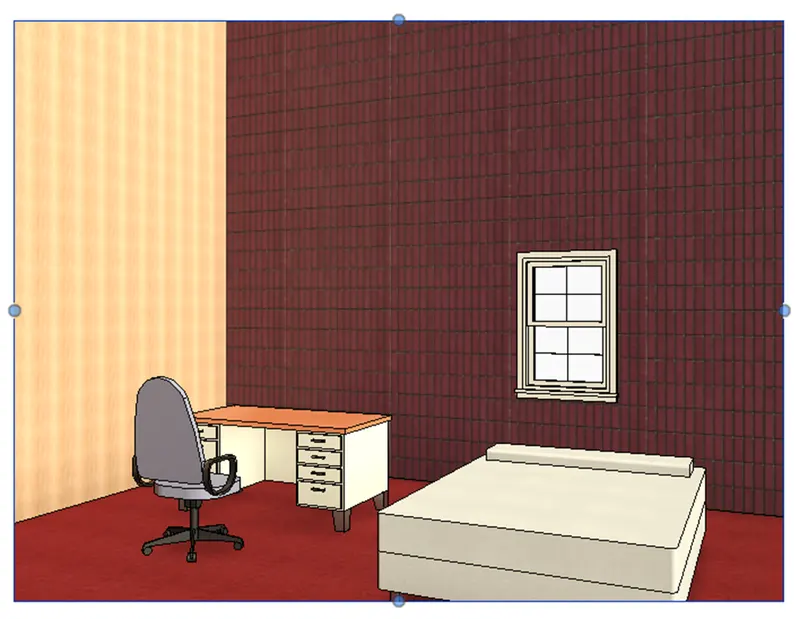
- Next we insert study room components
Step 5 -
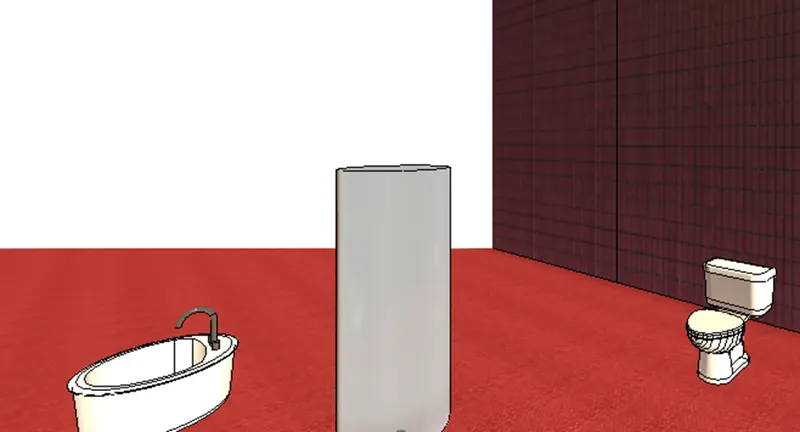
- Next insert Wc/Bath components
Step 6 -
- All components are inserted from library as shown below
Result - All the components are inserted successfully from library