Creating Walls, Partition walls and Floors for a residential layout using REVIT
A1 Aim - to create floor from architexture tab and fill it with appropriate material and thickness.
procedure - open revit and then open the project.
from the architecture tab, select floor then select architetural floor
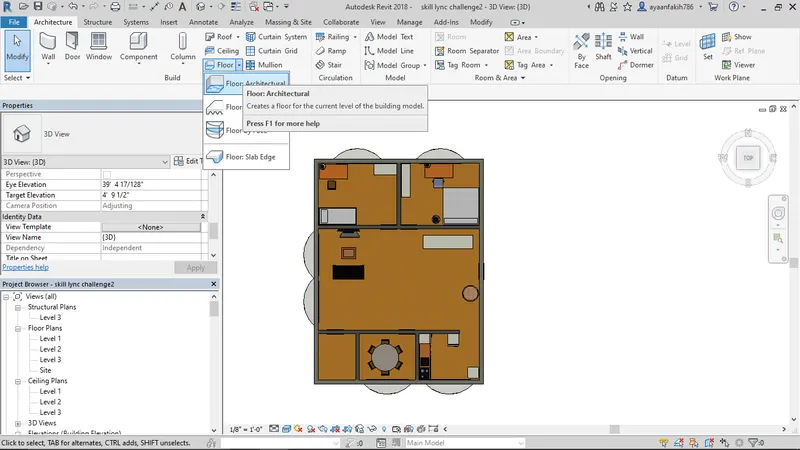
then select the line tool to create a connected boundary for the floor
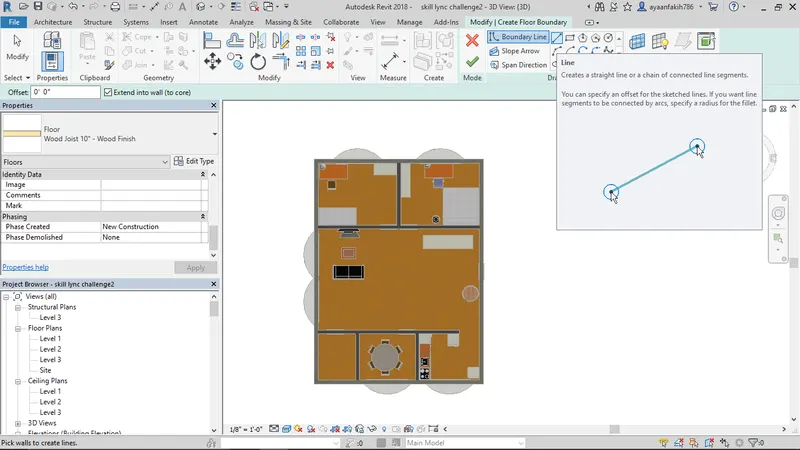
create the boundaries from endpoint to endpoint
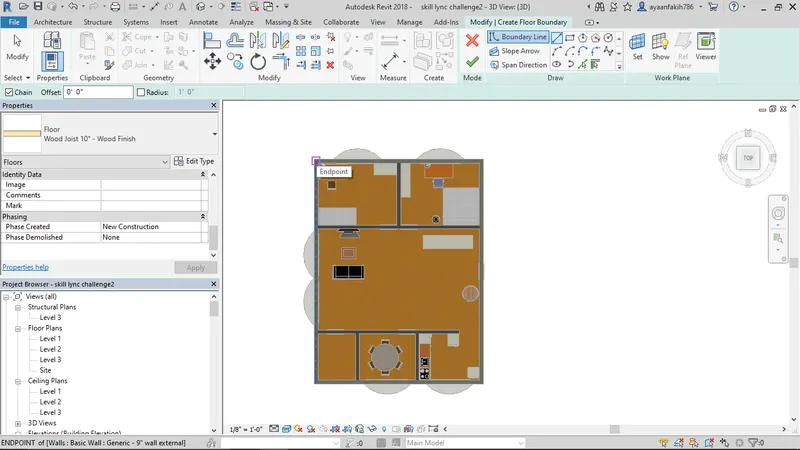
once the boundary has been created, go to the properties tab and then specify the thickness, type, appearence of the floor you want to add
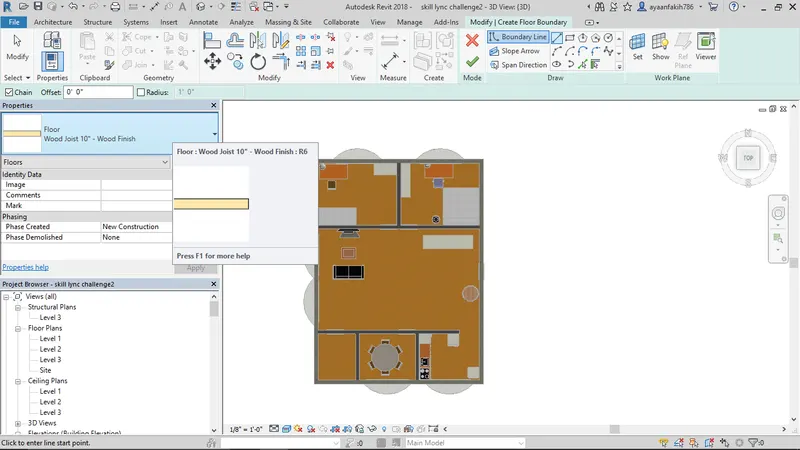
click on the Edit type option to manually change the properties of the floor you want to add
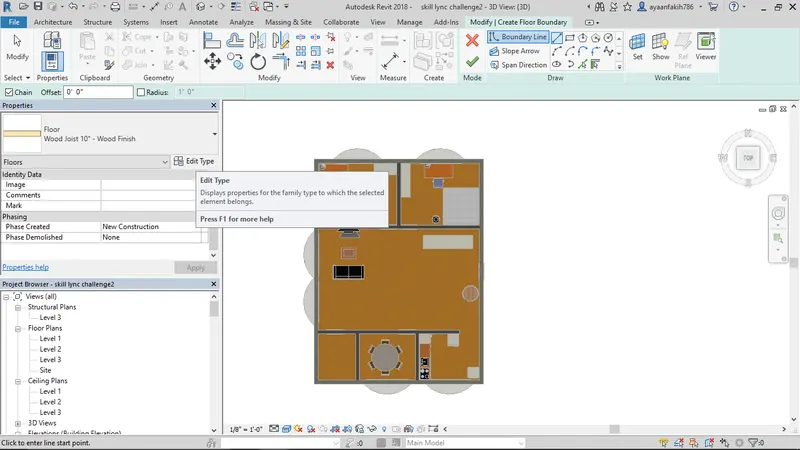
After pressing OK, the required floor will be added to the created structure
i have addded wooden floor to my drawing
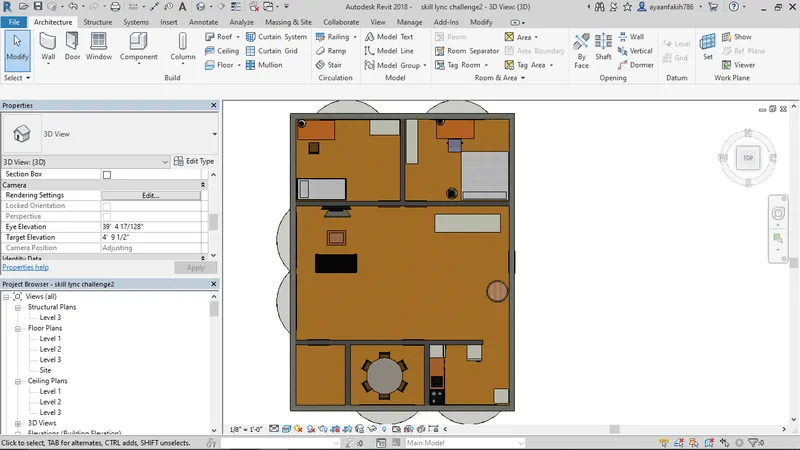
3d view
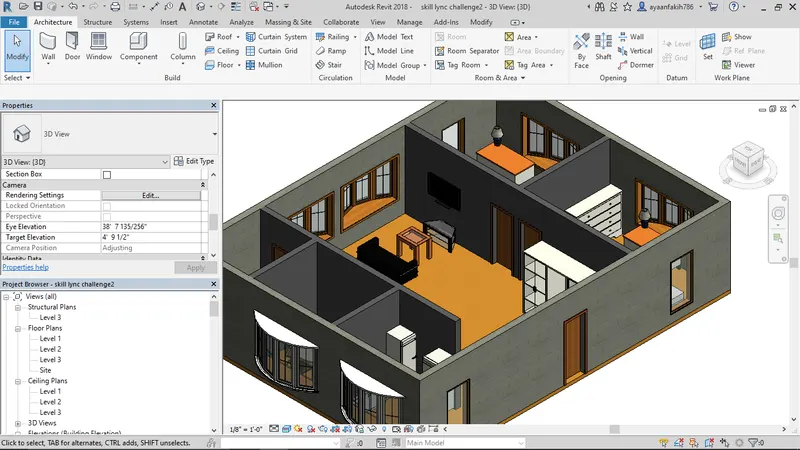
Result - Successfully created a custom flooring from the properties tab by specifiying all the parameters and provided 3d view.
A2 Aim - to add walls based on the floor layout
procedure - in the revit project, select the wall you want to change
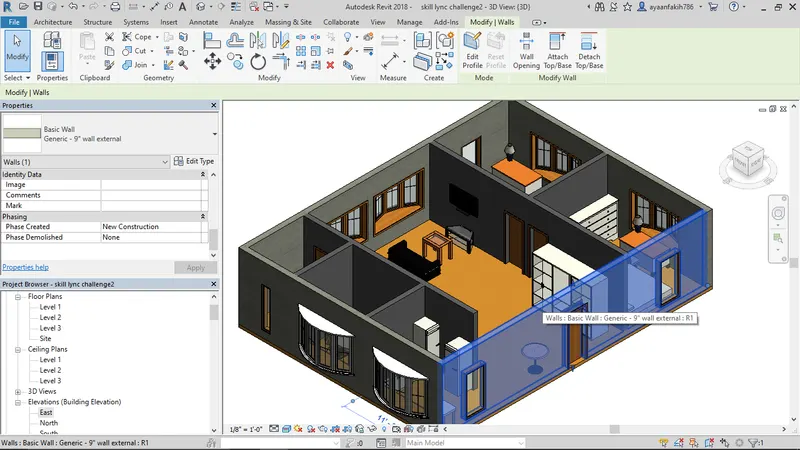
select the Edit type option
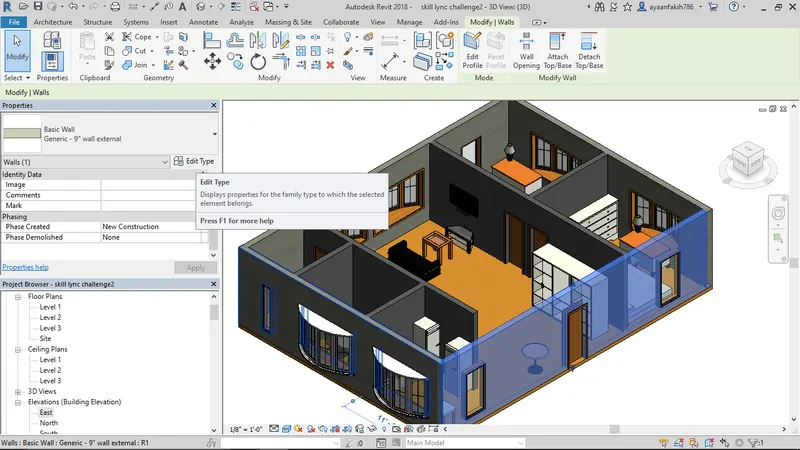
after clicking on edit type, click on duplicate to give the correct name to your wall. i am naming it Generic 9" external wall and giving a thickness of 9"
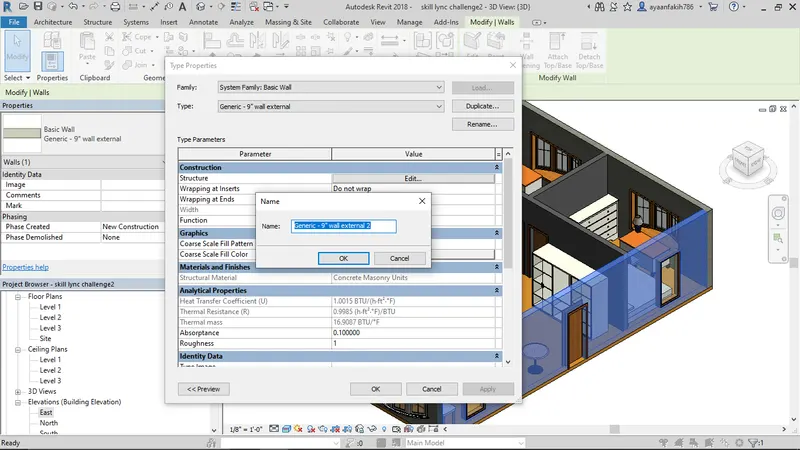
click on the options button to modify the parameters of wall
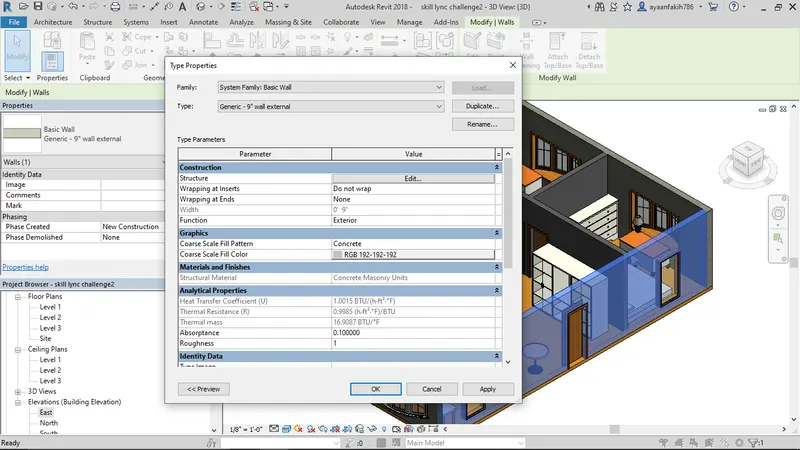
change thickness to 9"
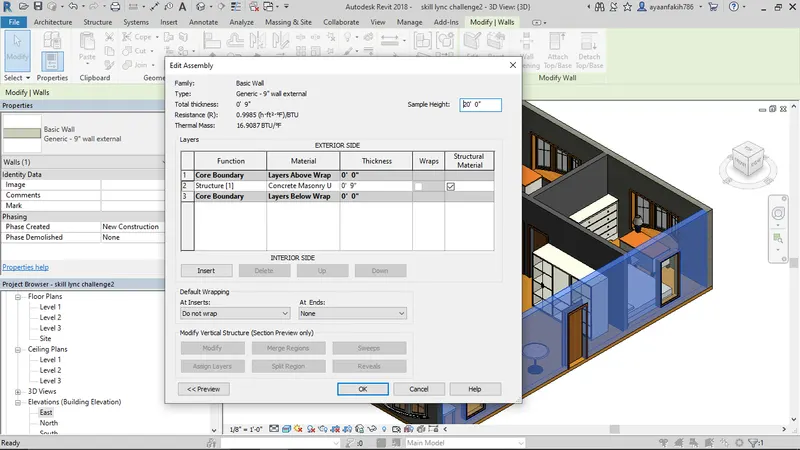
from the material tab, select the type of wall and specify the appearence. i am using masonary wall.
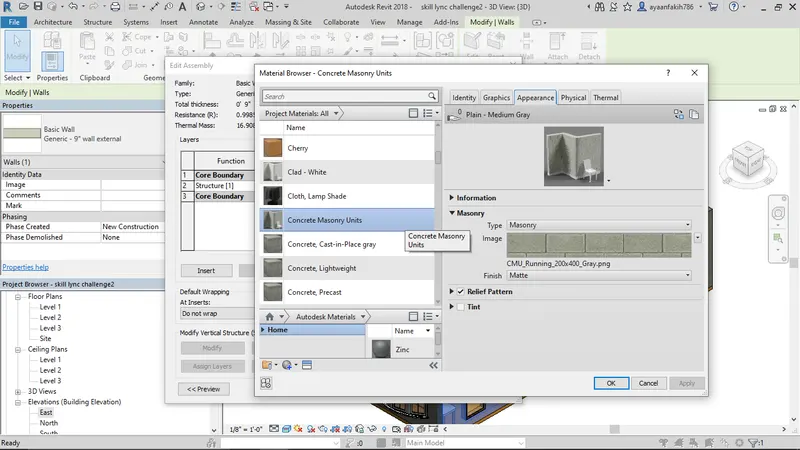
click ok, click apply and the appearnce will be changed
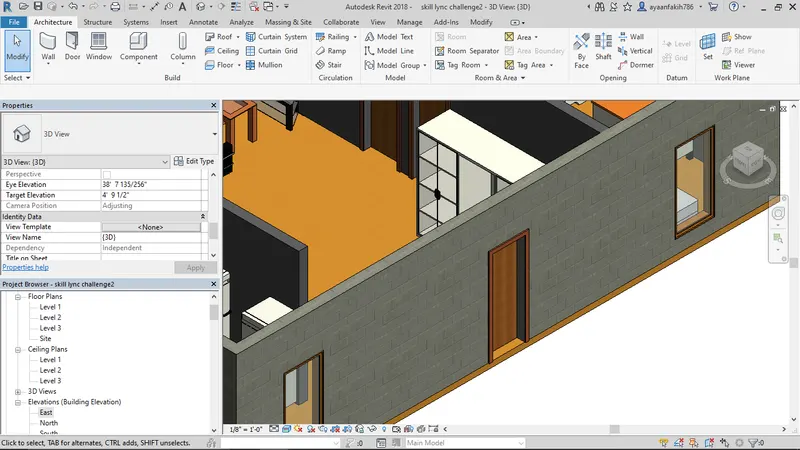
result - changed the appearence of wall and its properties from the edit tytpe option.
A. it is better to draw walls in connected mode so in future it becomes easy to change height of all walls together
B. better to model with height
A3. aim - to copy the model elements and paste them to the first floor
procedure - select the drawing and copy it to clipboard
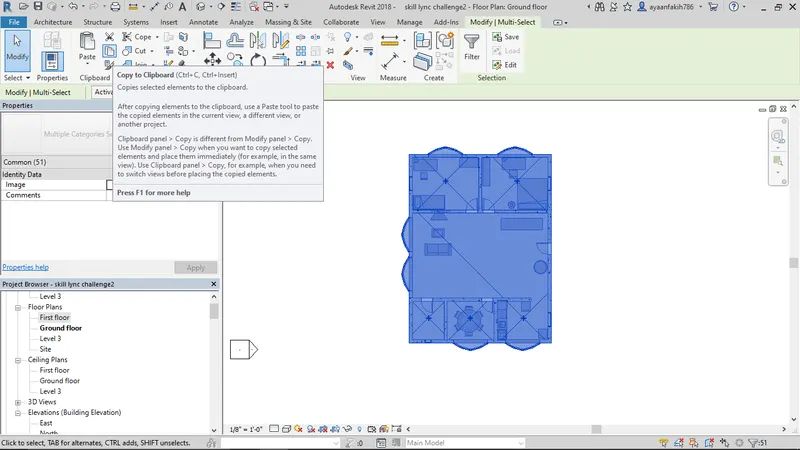
in the paste option, select aligned to selected levels
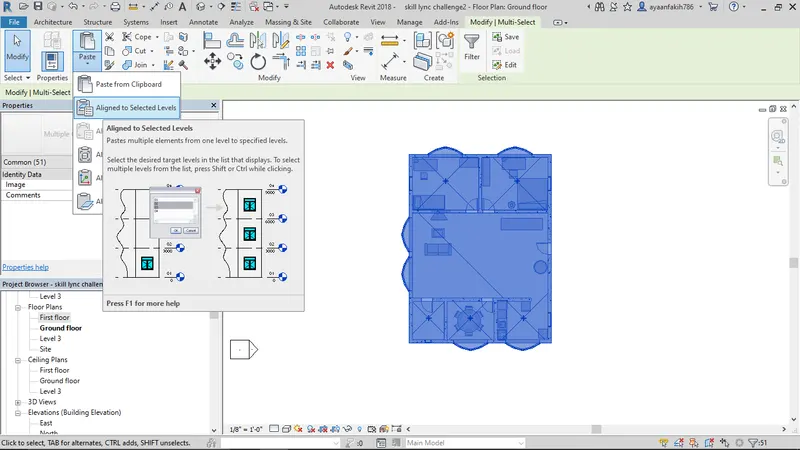
select first floor level
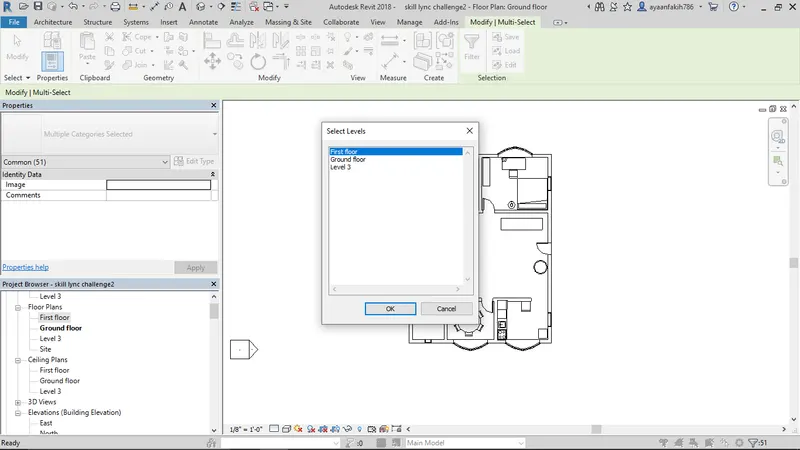
click ok to finish process.
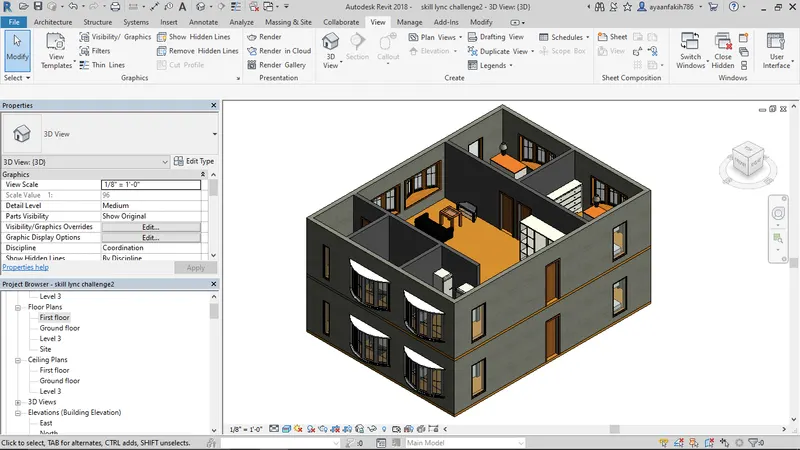
result - copied model elements and aligned to first floor