Creating Walls, Partition walls and Floors for a residential layout using REVIT
INTRODUCTION:-
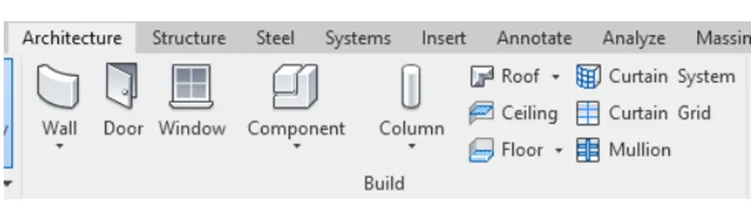
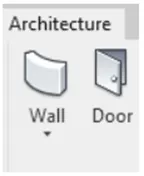
The Revit platform for building information modeling is a design & documentation system that supports the design, drawing,& schedules required for the building projects.BIM delivers information about project design, scope, quantities& phases when you need it. ARCHITECTURE TAB of the Revit software contains various basic options to help the creation of structure & these are:-
.Wall-Creates non-structural wall in the building model.
.Door-Adds door to the building model.
.Windows-Adds windows to the building model.
.Components-Place an element in the building model, based on a selected element type.
.Column-Adds a vertical load-bearing element to the building model.
.Roof-Creates a roof using a building footprint to define its boundaries.
.Floor-Creates a floor for the current level of the building model.
.Ceiling-Creates a ceiling at a specified distance above the level in which it resides.
Curtain system-Creates a curtain system on the face of a mass or generic model.
.Curtain grids-Creates a grid line in the curtain wall or curtain system.
.Mullion-Creates a vertical or horizontal Mullan on the curtain grid.
.Railings-Creates a railing by sketching a healing path.
.Ramps-Adds a ramp to the building model.
.Stairs-Adds a stair to the building model by creating a common run landing & support components.
.Then various other options include rooms, room tag, area tag area, etc.
.STRUCTURE TAB helps in creating structural elements of the building.
.STEEL TAB containing steel-related elements.
.SYSTEM TAB contains various systems like ducts fabrication systems.
.INSERT TAB helps in linking other files to the Revit file.
.ANNOTATE TAB contains an option to add texts dimensions etc to the building model.
.ANALYZE TAB helps in the structural analysis.
.COLLABORATE TAB helps in collaborating works of various disciplines.
.VIEW TAB contains various options to view the building material.
.MANAGE TAB, ADD-INS TAB & MODIFY TABS are the other tabs in the ribbon of the Revit software.
1)AIM:-
To create the floor for the layout created in a week & provide appropriate material & thickness to the floor
Procedure:-
Initially open the week assignment
.Now, in order to create the floor, go to ARCHITECTURE tab of ribbon & choose the floor plan
.Now choose the pick boundary line option & select the exterior wall and click the tick mark in the mode.
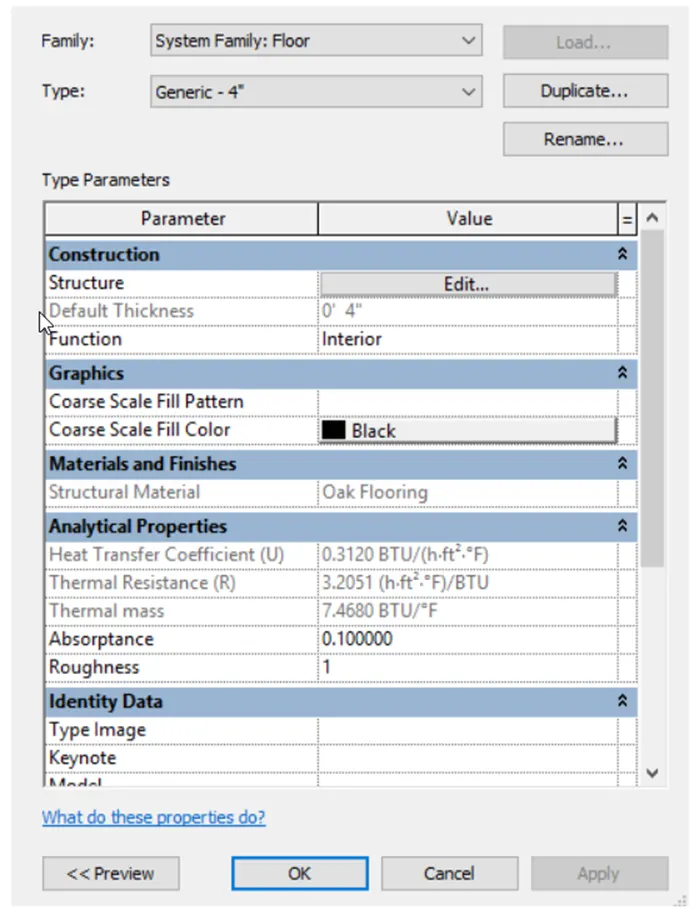
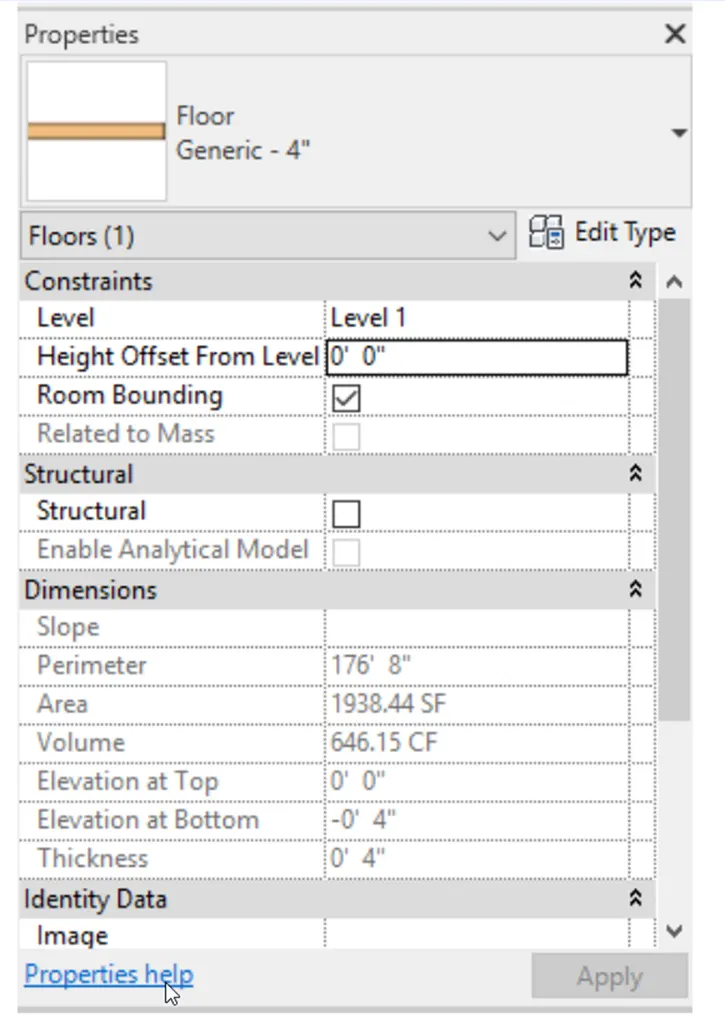
.Now, go to property browser & click-click edit type, Duplicate the floor.
.Then edit the structure option the material (Oak flooring) & thickness to 4".
.Then click OK & apply.
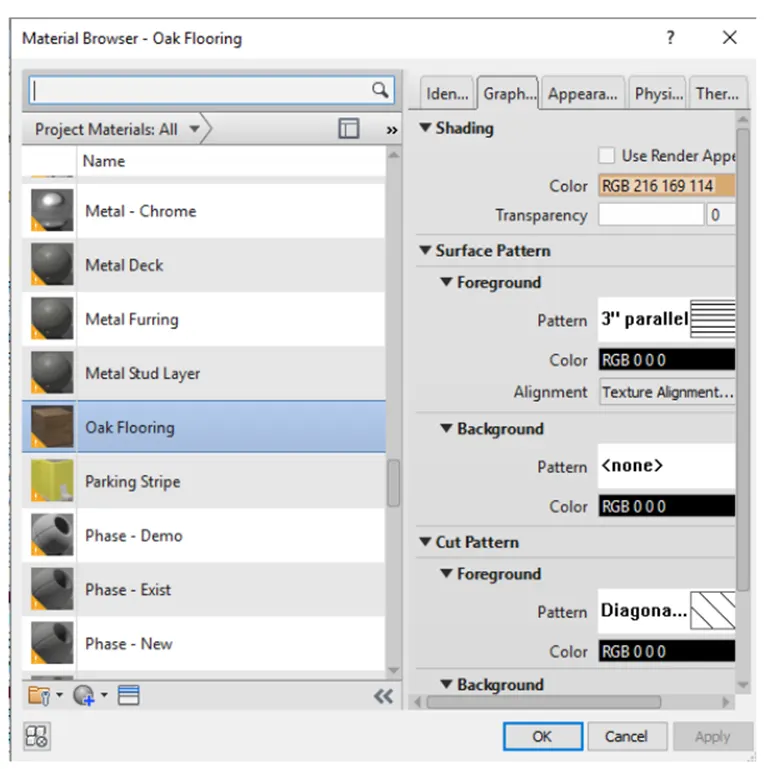
.Type properties
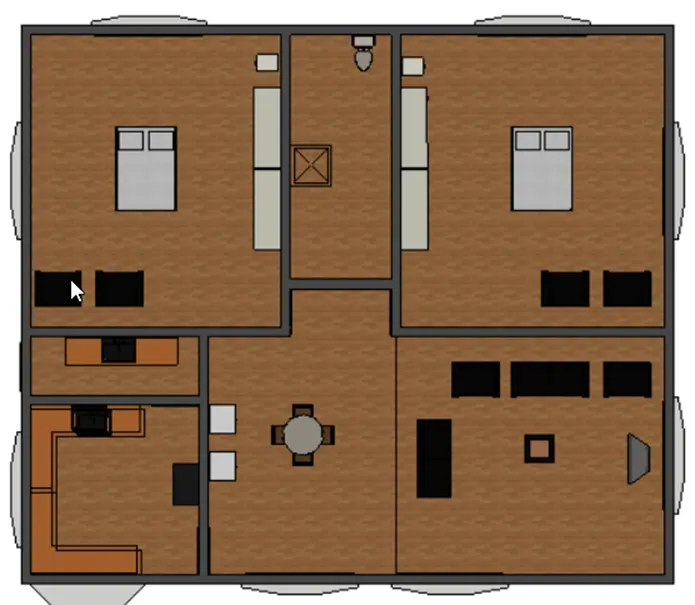
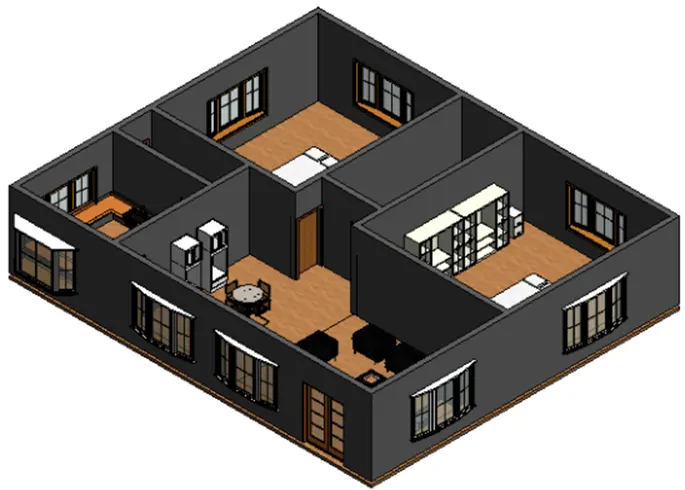
.Hence the flooring is applied.
2)AIM:-
To add the wall to the floor layout & provide material & appropriate thickness to the wall created.
Procedure:-
.Open the week 2 Revit file.
.Then, click on walls in the architecture tab of the ribbon.
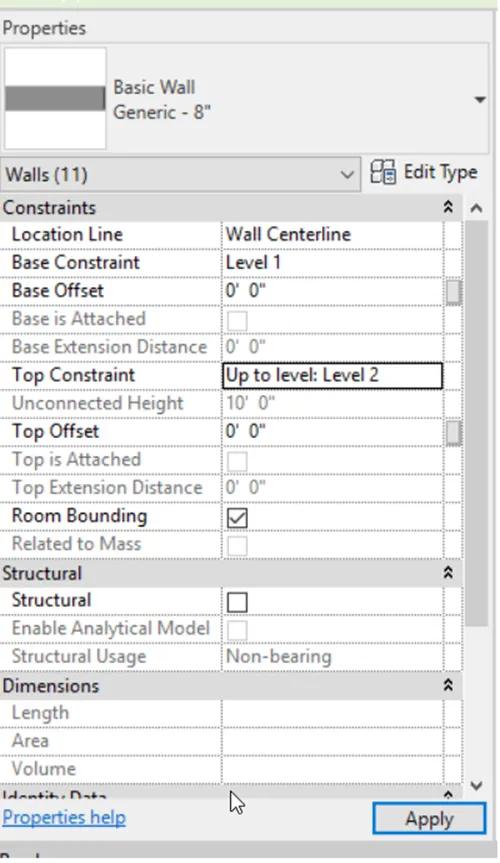
.Then move to the property browser to edit the wall thickness.
.Change the top constraint to level 2.
.Provide the wall thickness as required.
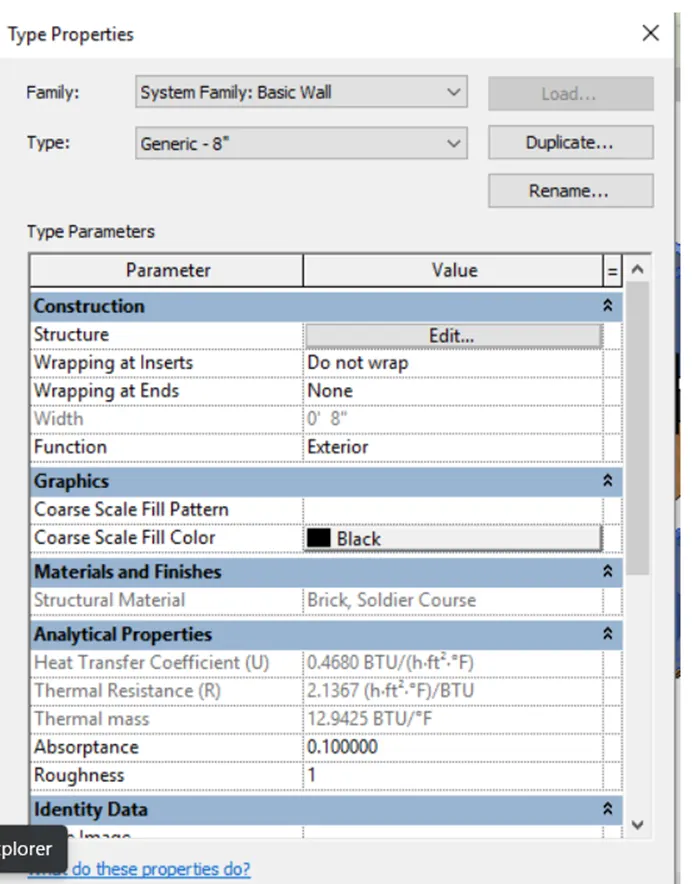
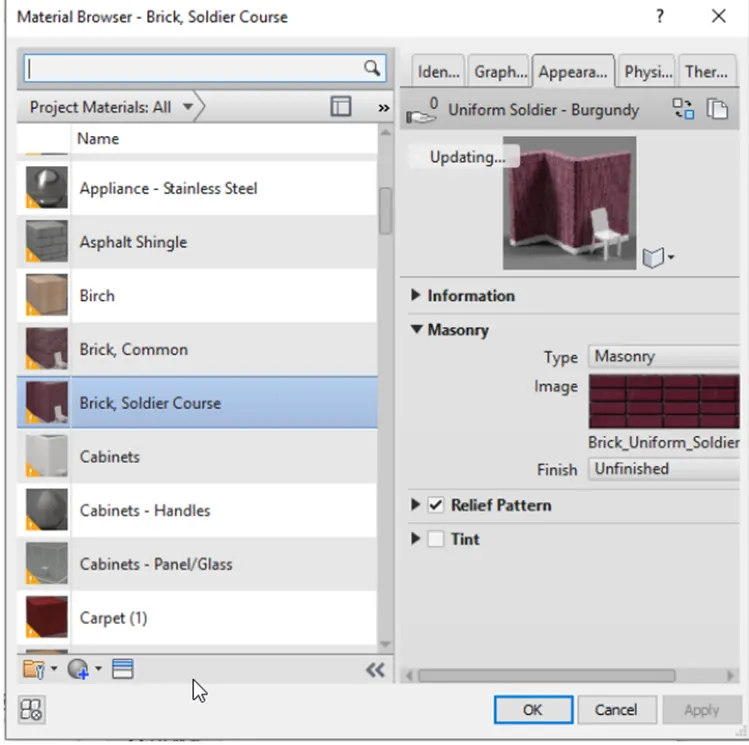
.Now in the property browser go to edit type for walls & edit the structure option to change the material & thickness if needed.
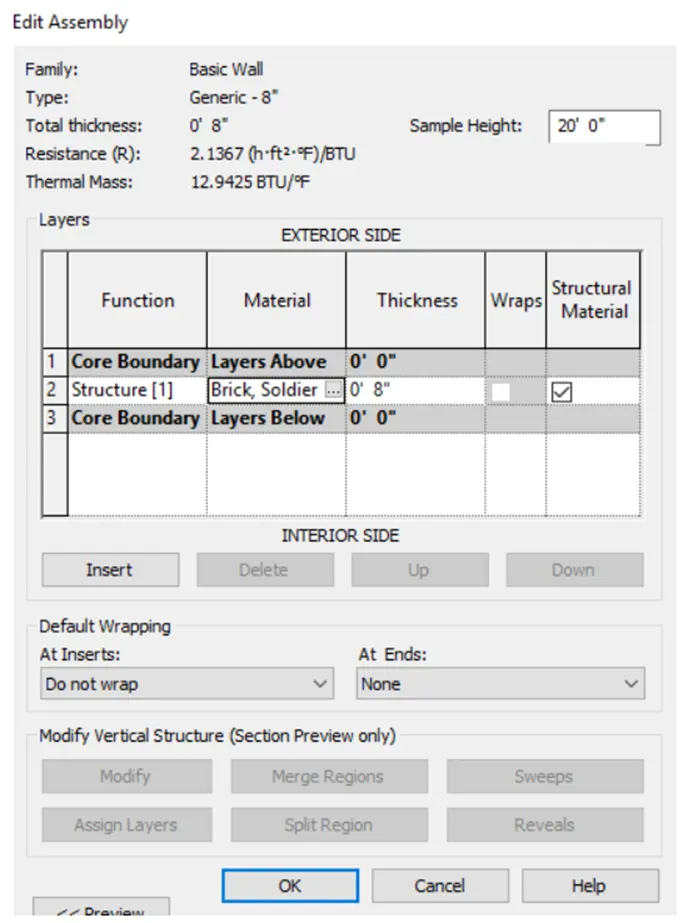
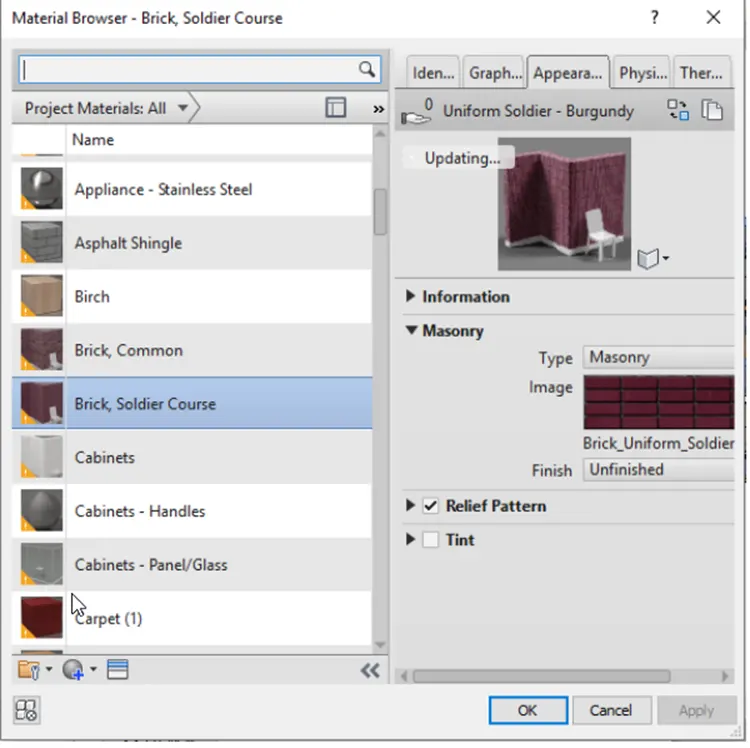
.Click OK & apply.
.Hence, the wall was thus created as shown below.
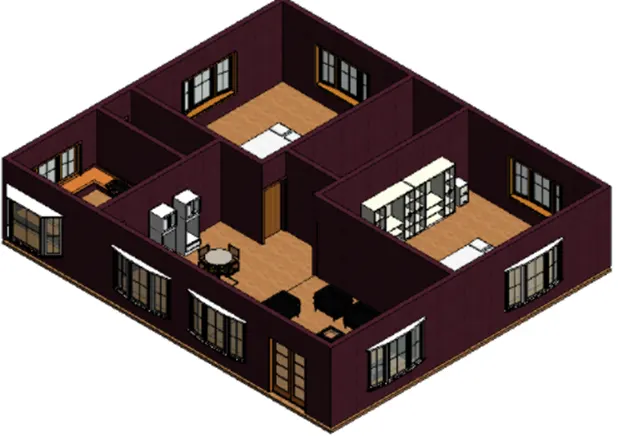
2)a)Accordingly to me, connecting walls with associated levels is beneficial. This is because any change in the height of the levels will be automatically reflected in the walls too. This reduces our effort to orient it accordingly.
b)Modelling walls by height or by depth, both method is convenient, but I mostly use by height method, as we can adjust the height of the wall as needed more easily.
3)AIM:-
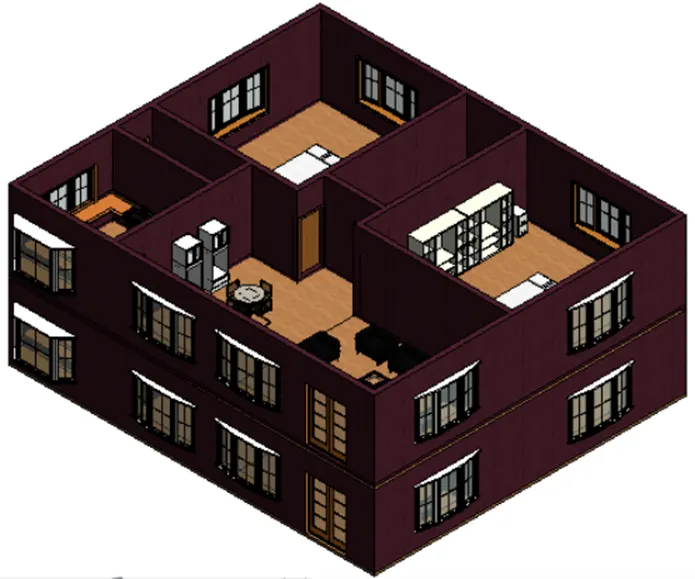
To copy the model elements modeled to ground floor level & paste it aligned to first-floor level.
Procedure:-
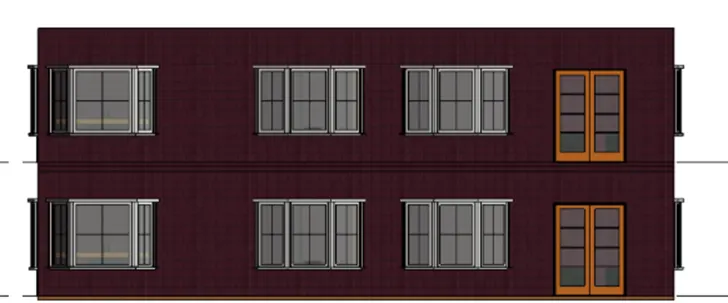
.In order to create the next floor, initially move to front view; elevation.
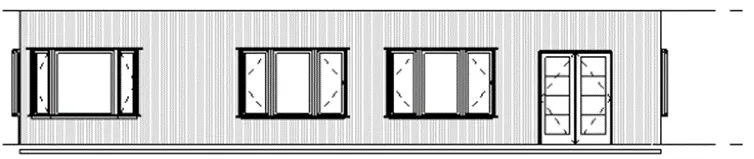
.Now select the entire floor.
.Then in the modify tab choose copy to clipboard.
.Then in the paste option;aligned to selected level-->Level2.
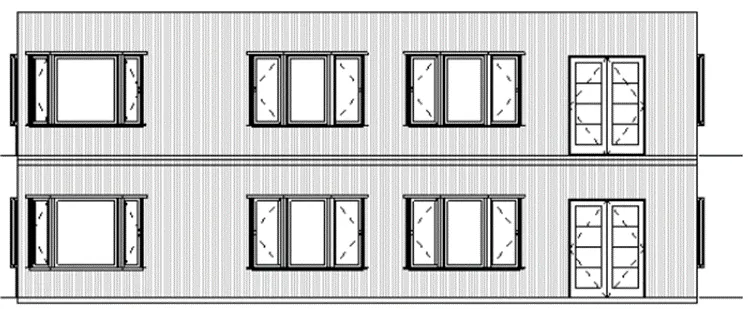
.The 3D view is given as:
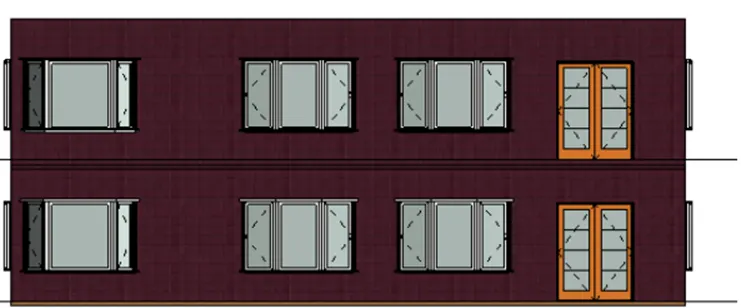
.Front elevation in realistic view:
4)AIM:-
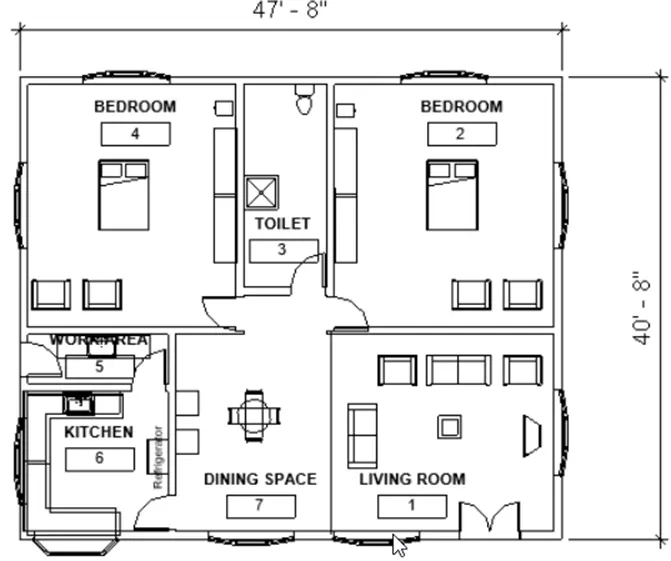
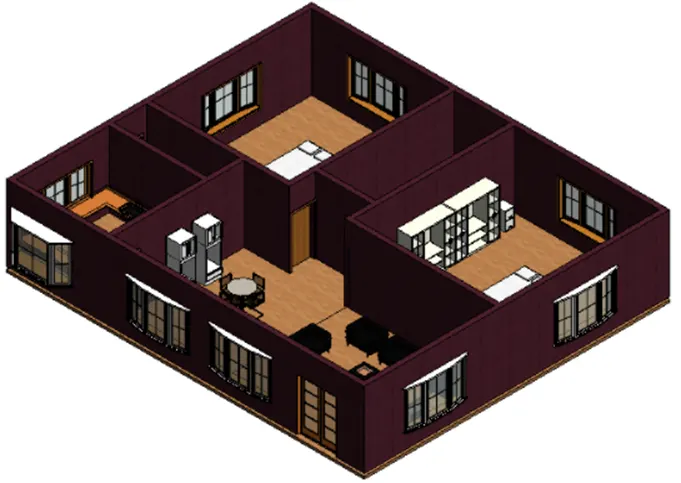
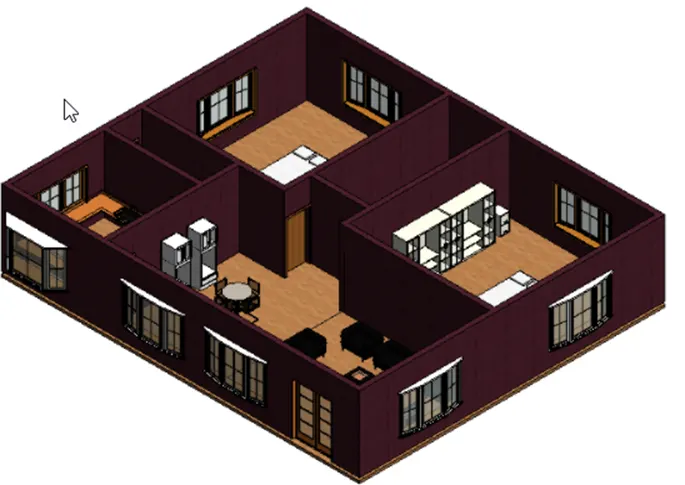
T o create interior partition walls to create separate rooms within the residential unit.The model must include the following rooms:
a)Living room/Drawing room(15'x18')
b)Dining room(9'x11')
c)Bed room(9'x12' & 15'x11')
d)Rest room(10'x12')
e)Kitchen (8'x10')
Procedure:-
.Initially go to ARCHITECTURE TAB-->walls.
.Then in the properties select interior walls & create the model from the layout created.
.Then again go to ARCHITECTURE TAB-->choose components->load family-->Then include furniture,lighting,beds,chairs etc.in the model.
5)AIM:-
To add the component that should be included in a residential unit like furniture,doors, windows etc.
Procedure:-
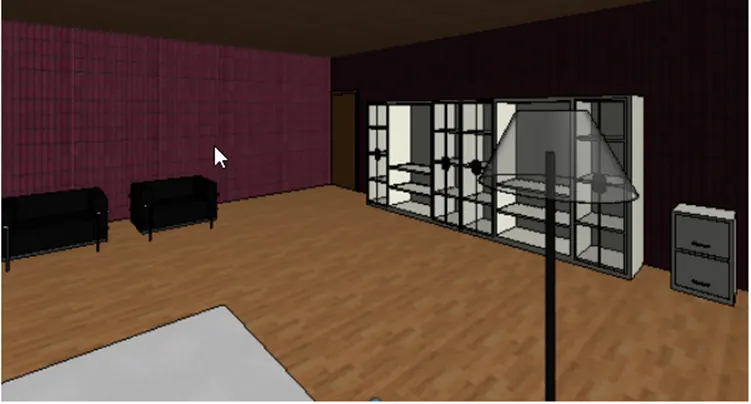
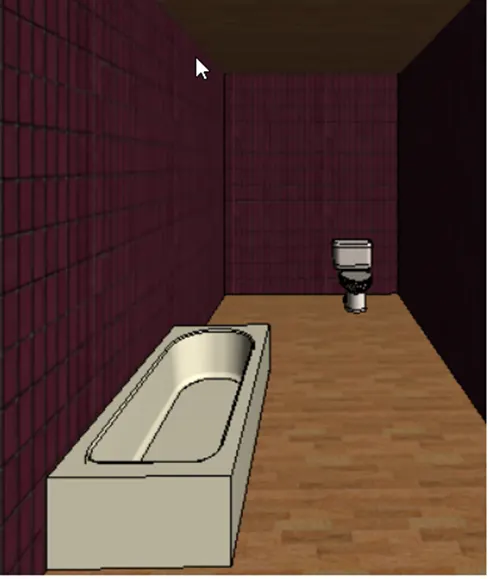
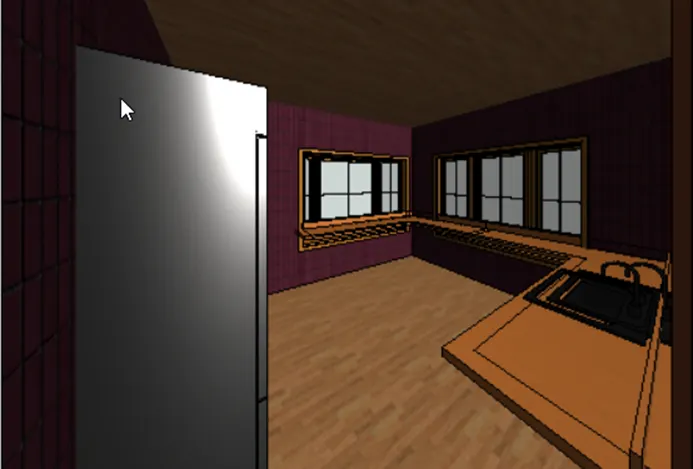
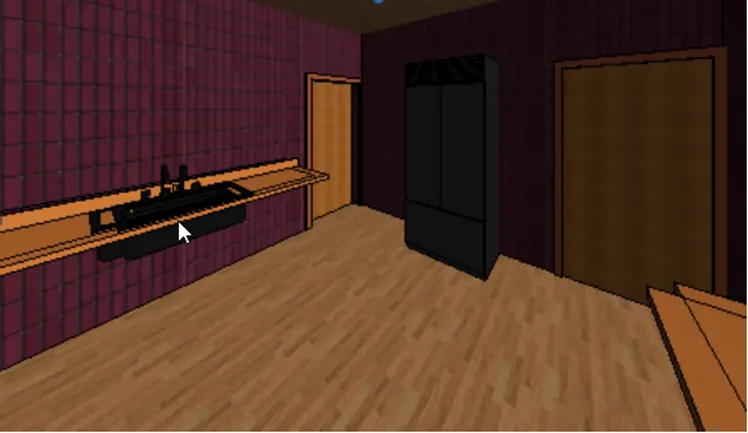
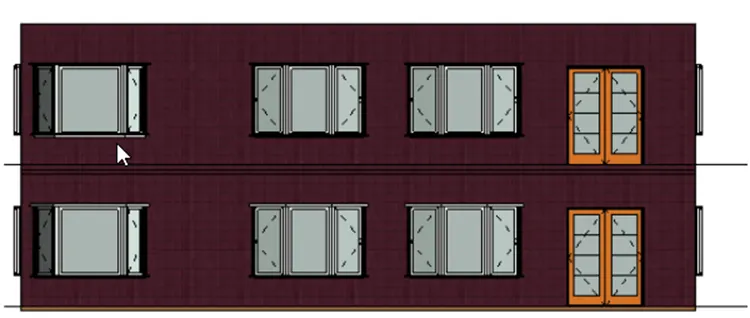
.Go to architecture tab-->components -->place a component-->load families-->Then add different component s like doors & windows.Furniture, lightings, sleeves, etc in the residential model created. Then go to view tab-->camera.Then create views of different rooms.
a)Doors & windows in the walls:
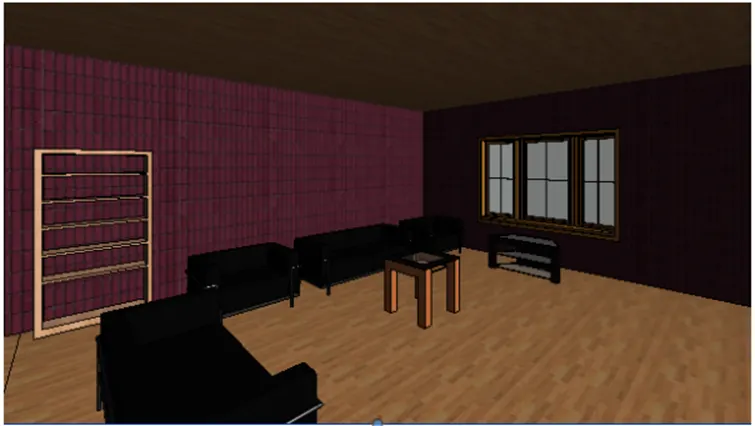
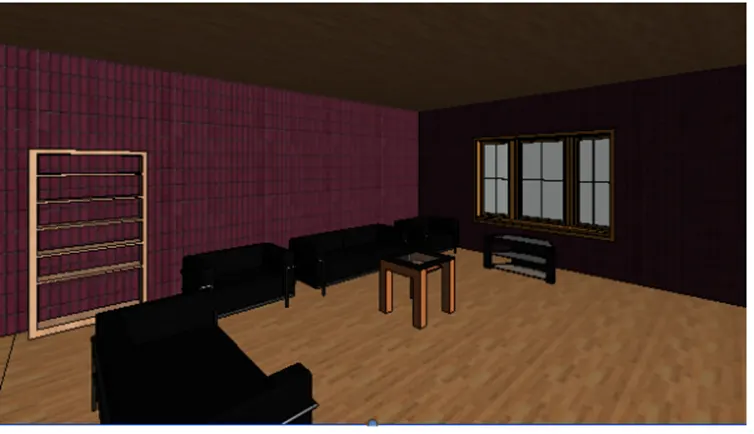
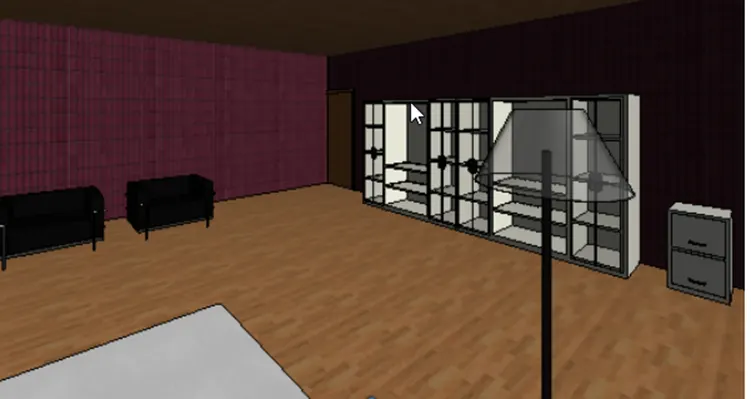
b)Living room components are:
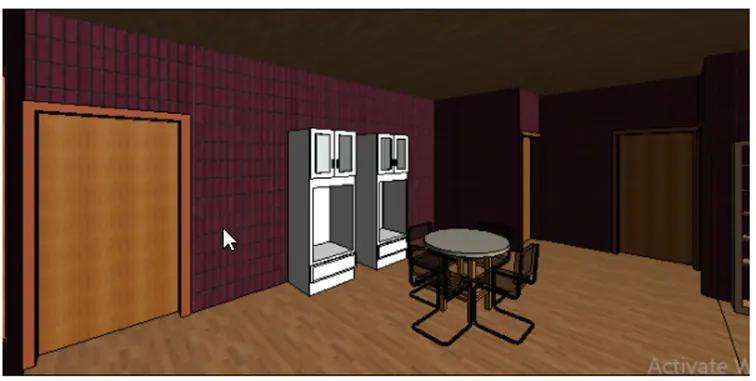
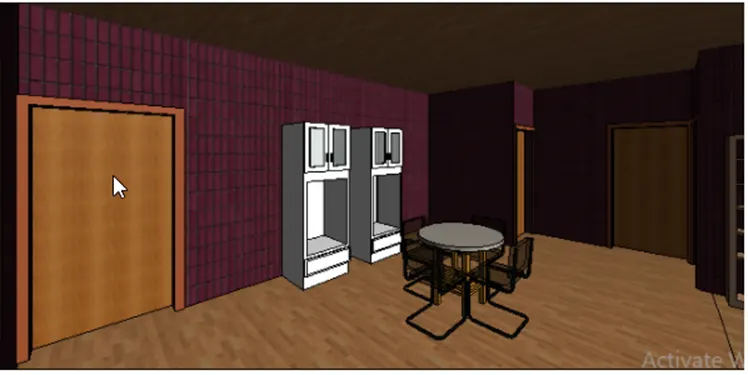
c)Dining space components:
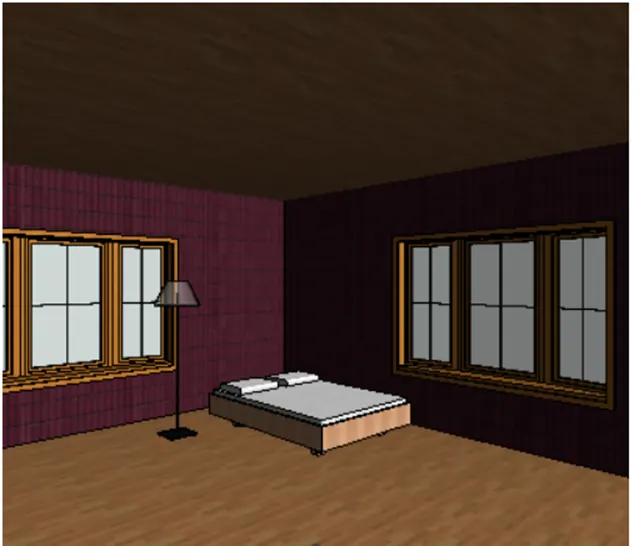
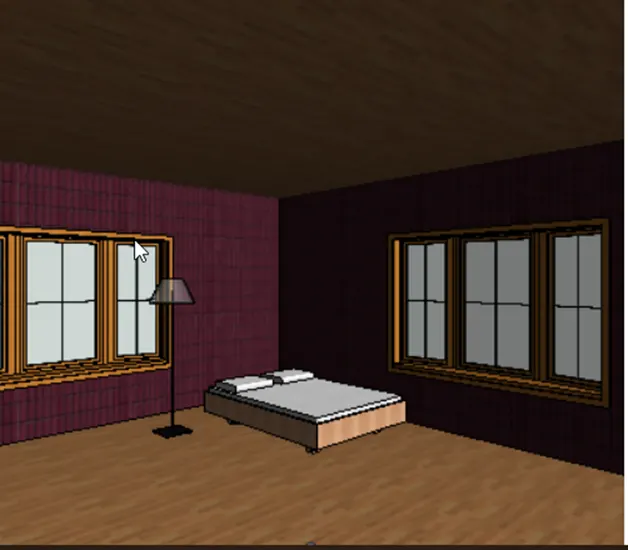
d)Bedrooms (2 bedrooms identical) components are:
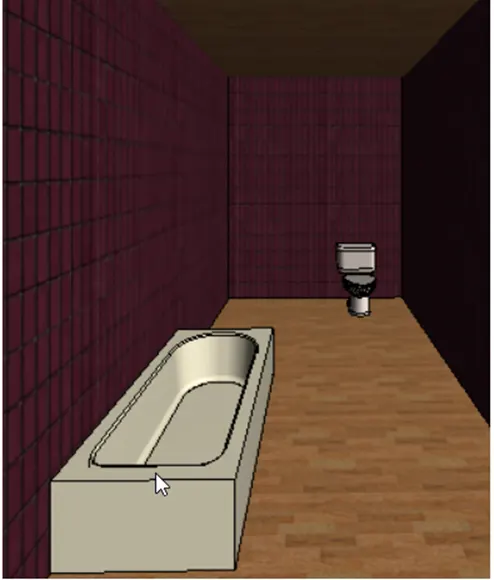
e)Restrooms are:
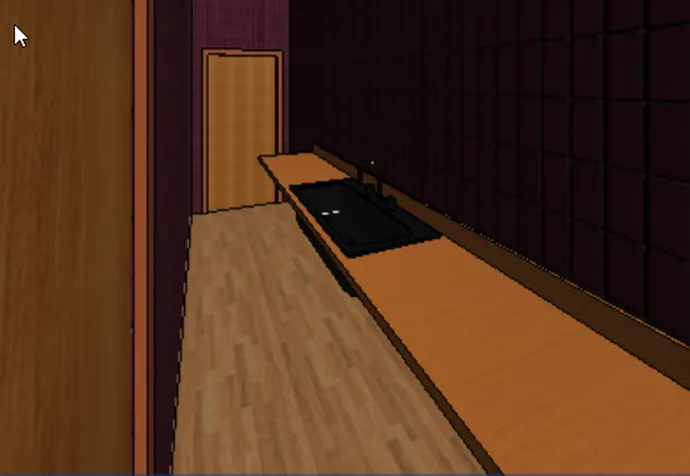
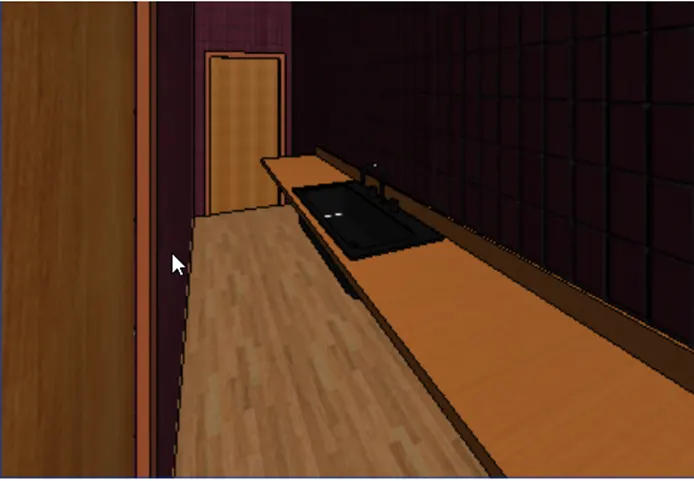
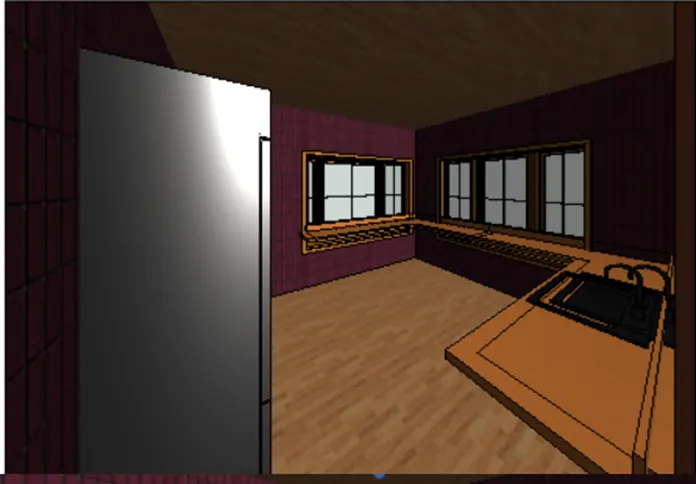
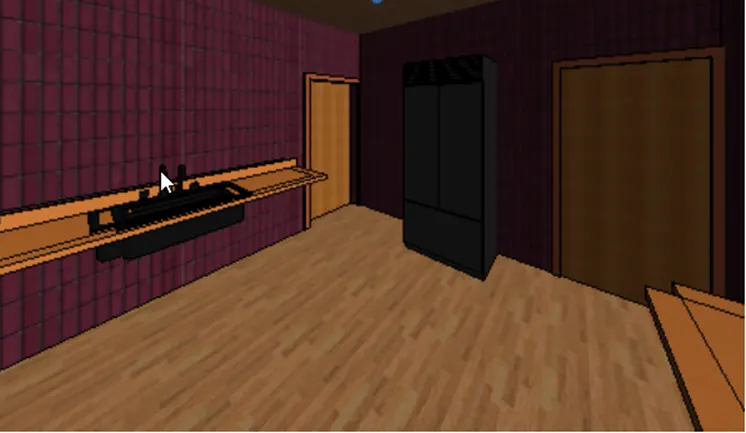
f) Kitchen platforms are:
g)Work area components are:
RESULT:
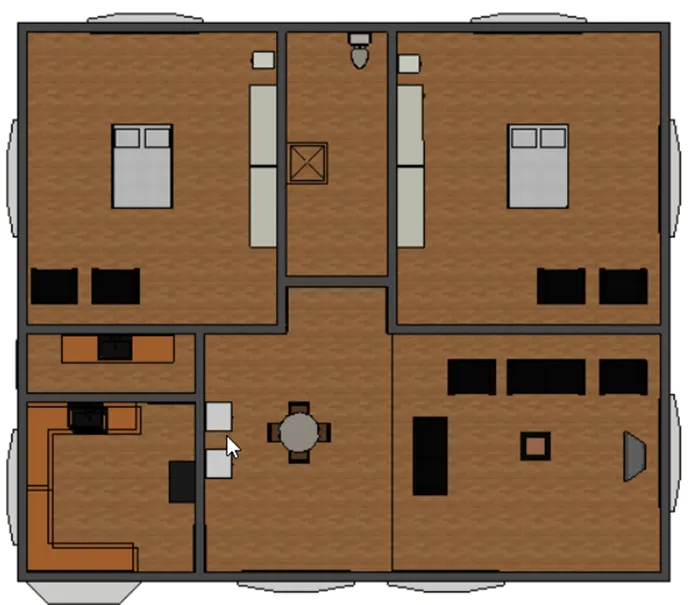
The floor created is given below:
Material: Oak flooring, Thickness 4"
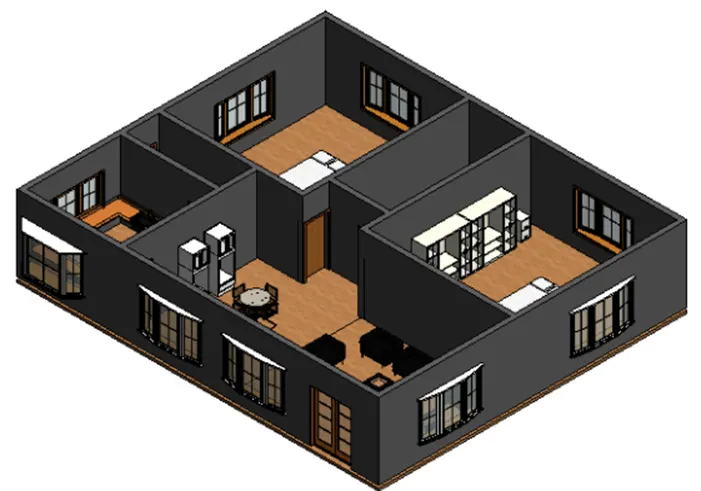
2. The wall added is given below:
Material : Brick soldier course, Thickness 8"
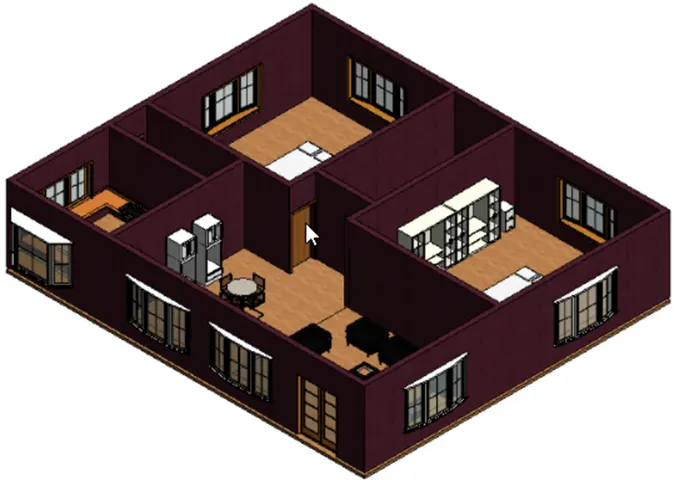
2nd question (a)& (b) explained above.3.The model elements in the ground floor level are copied to & aligned to first-floor level.
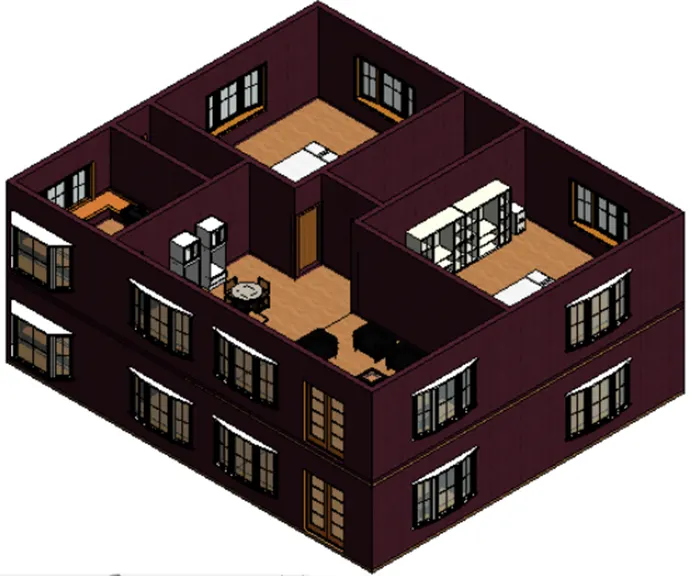
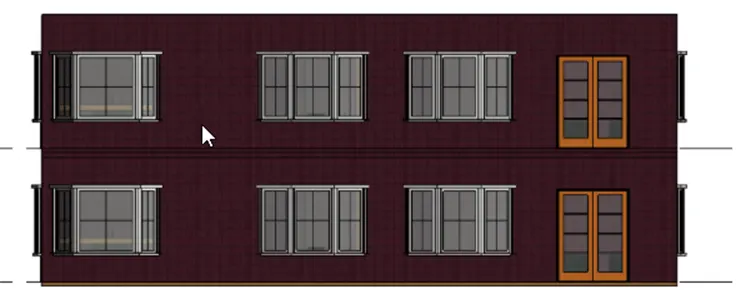
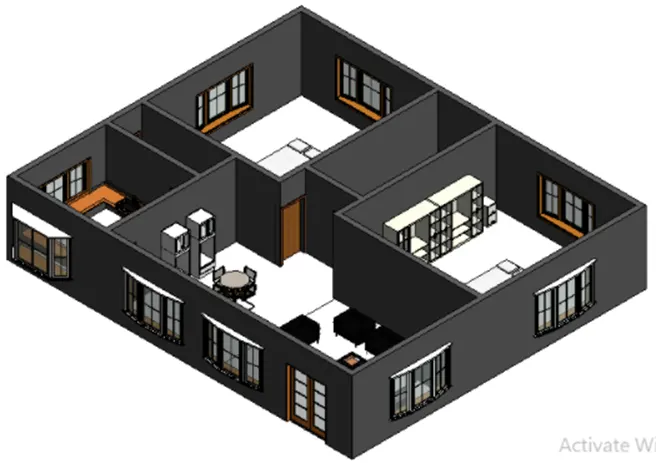
4. The interior partition walls created to separate the rooms in the residential unit is:
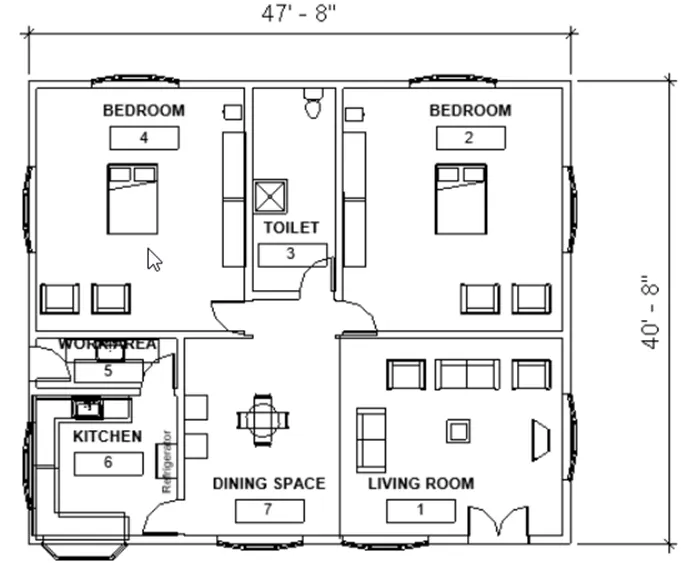
5. Components added in a restaurant unit:
a)Doors & Windows in the residential unit:
b)Living room:
c)Dining room:
d)Bedrooms:
e)Restroom:
f)Kitchen:
g)Workarea: