Creating a Floor plan, Footing detail and Isometric view using AutoCad
1.AIM:-
To create the plan,footing detail &isometric view by using autocad.
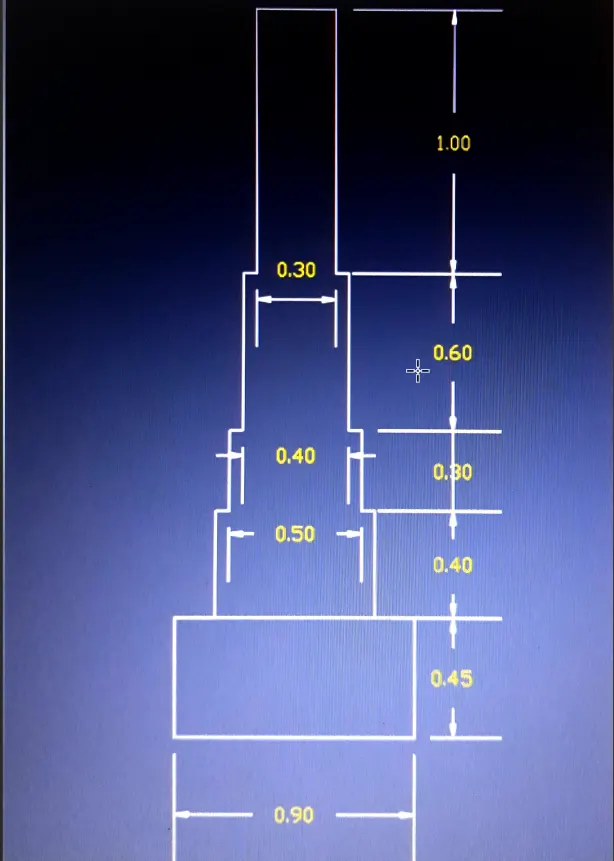
CS foundation details for load bearing wall.
In this drawing we create a cs foundation detail for load bearing wall.
Now we can see the command used for this drawing step by step.
Step:-
1.First check the dimension as we start before a line.
2.Next start with a 'L' line command.
3.Draw a line as per dimension.
4.After completing a drawing we need to show dimension of footing.
5.Click 'DIM' command to create a dimension.
6.We use snipping tool to take screenshot.
7.Finally click save as to save a picture.
2.CS Foundation details for load bearing wall over spread footing:-
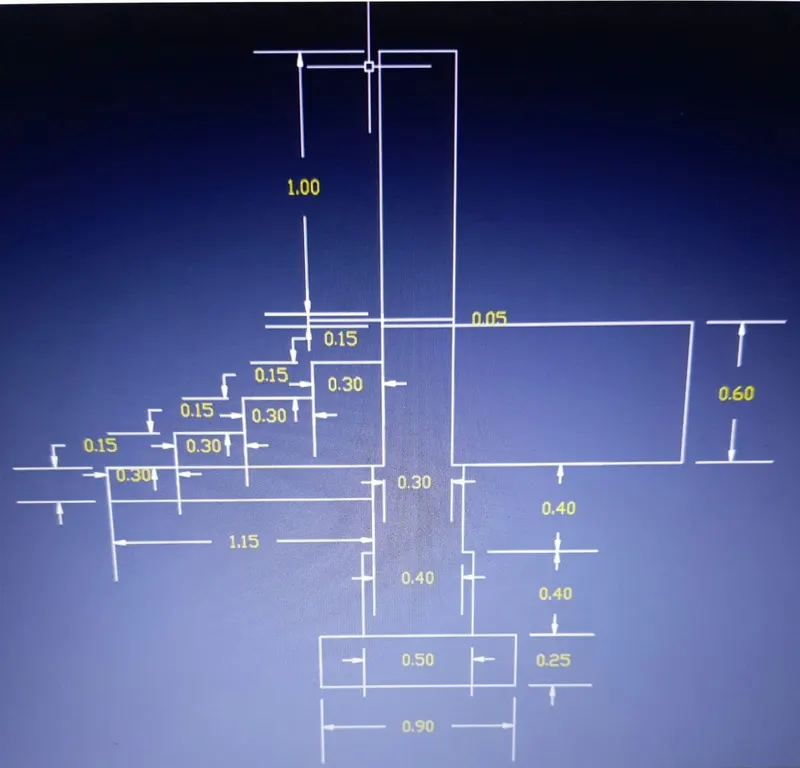
.In this drawing we create a CS foundation details for load bearing wall over spread footing.
.Now we can see the command used for this drawing step by step.
Step:-
1.First check the dimension as we start before a line.
2.Next start with a 'L' line command.
3.Draw a line as per dimension.
4.After completing a drawing we need to show dimension of footing.
5.Click 'DIM' command to create a dimension.
6.We use snipping tool to take screenshot.
7.Finally click save as to save a picture.
3.CS Isolated footing:-
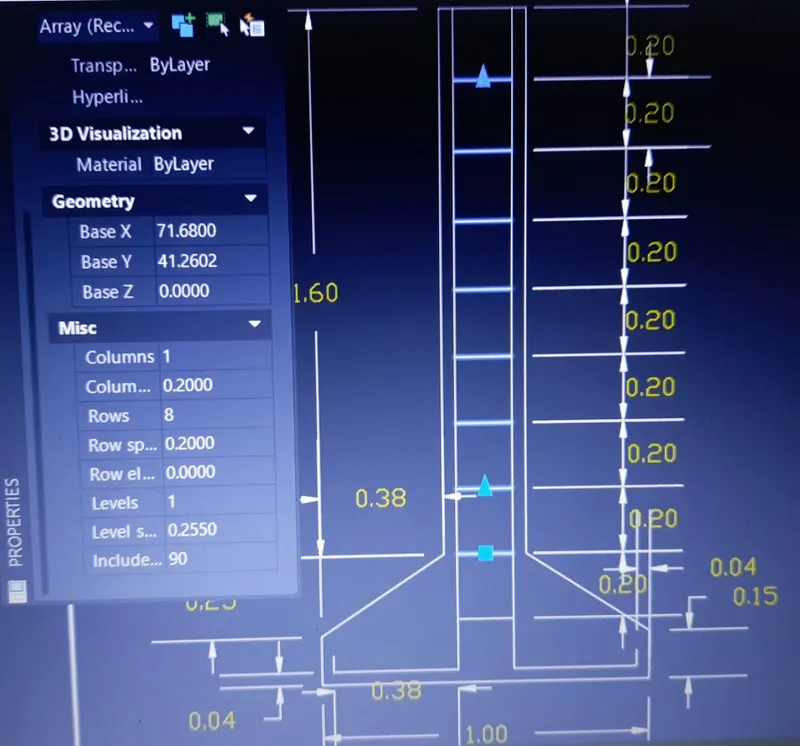
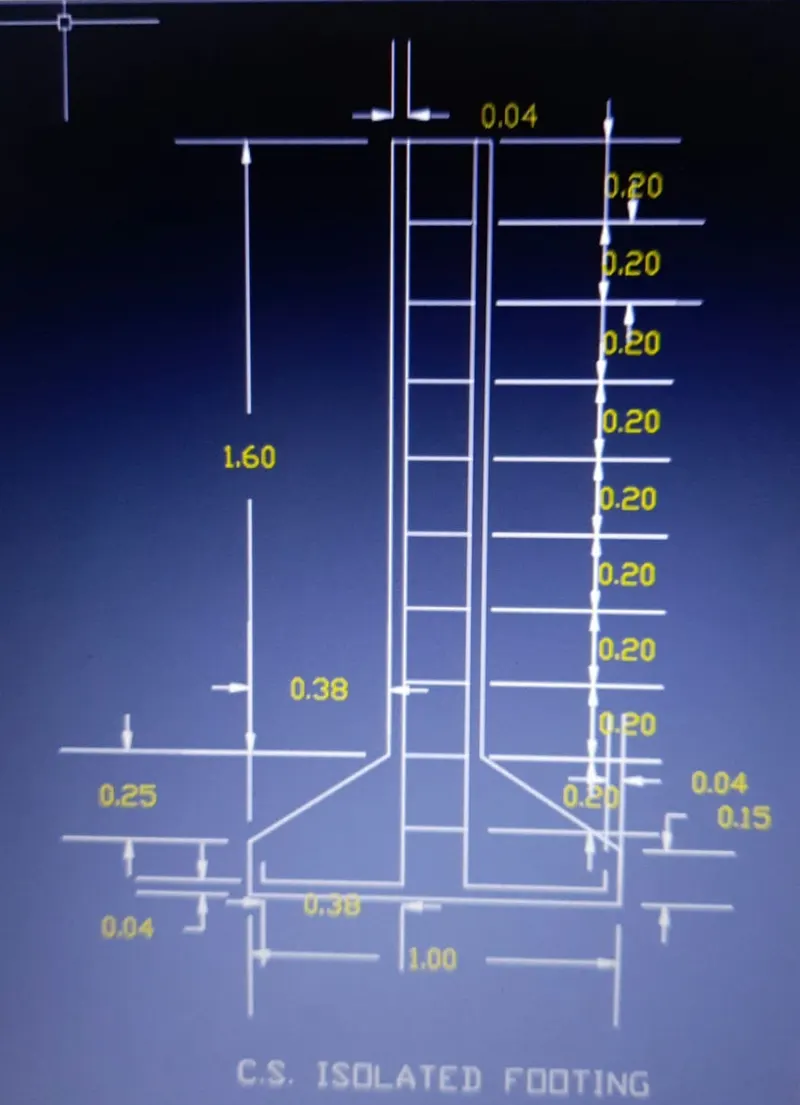
.In this drawing we creat a cs isolated footing.
.Now we can see the command used for this drawing as step by step.
STEP:-
1.
1.First check the dimension as we start before a line.
2.Next start with a 'L' line command.
3.Draw a line as per dimension.
4.Here we can use "F8" orthomode command for draw inclined line.
5.And for rings we used a 'ARRAY' option to multipleline from row.
6.After complete a drawing we need show dimension of footing.
7.Click 'DIM' command to create a dimension.
8.And we use a snipping tool to take screenshot.
9.Finally click save as to save a picture.
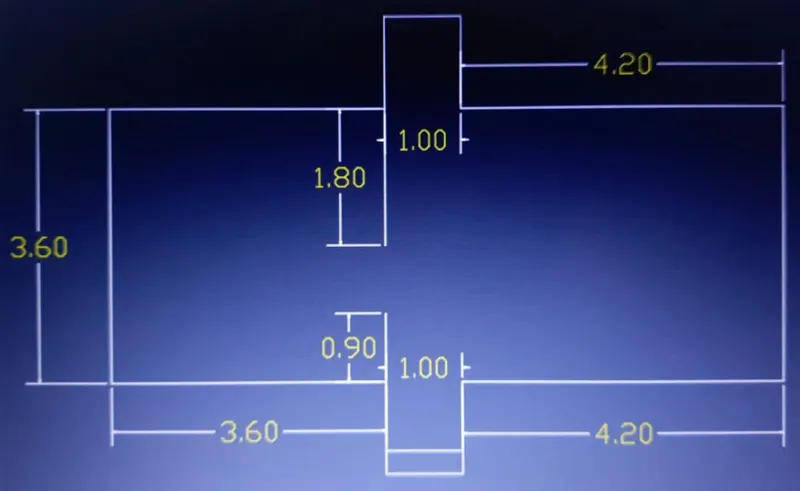
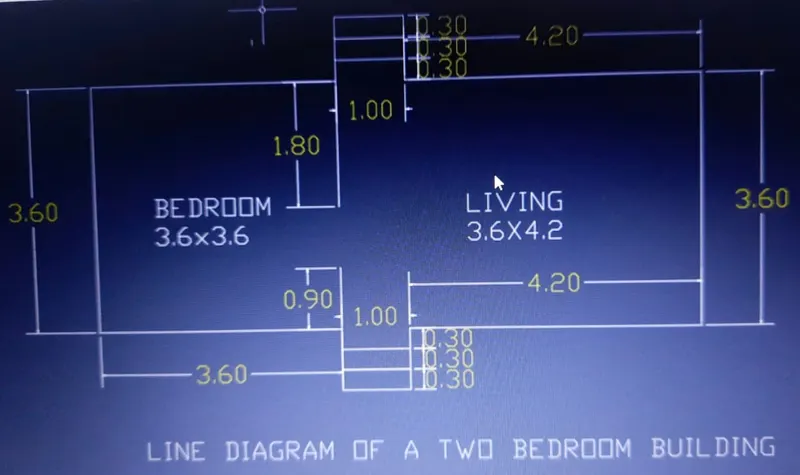
4.Line diagram of two bedroom building:-
.In this drawing we create a line diagram of two bedroom buildings.
.Now we can see the command wsed for this drawing as step by step.
STEP:-
1.First check the dimension as we start before a line 2.Next start with a 'L' line command.
3.Draw a line as per dimension.
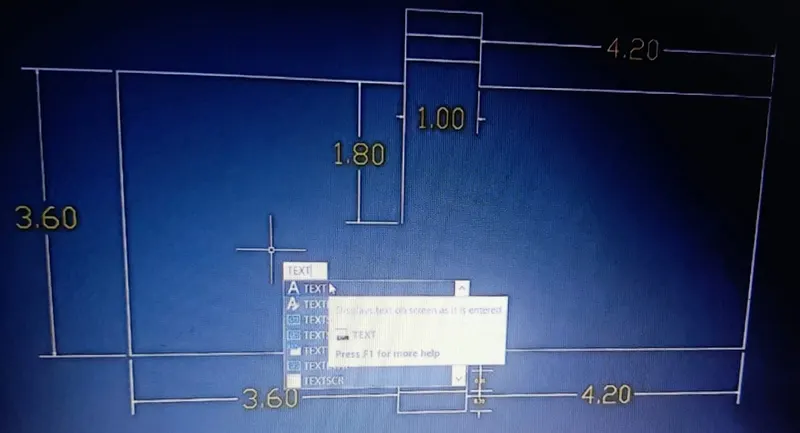
4.Click 'TEXT' command to mention the rooms.
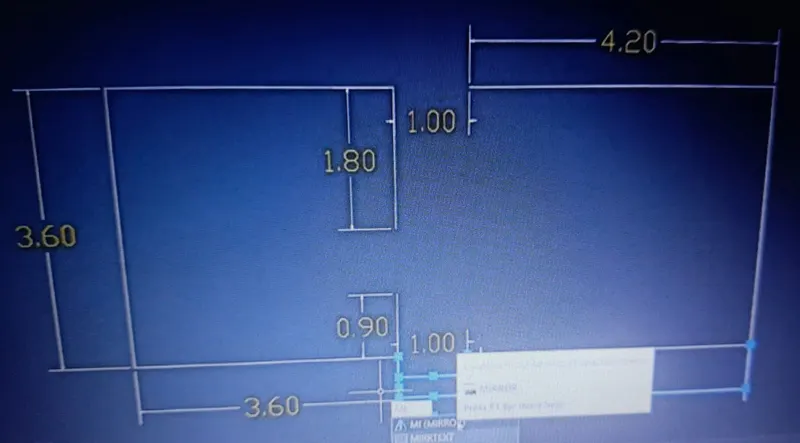
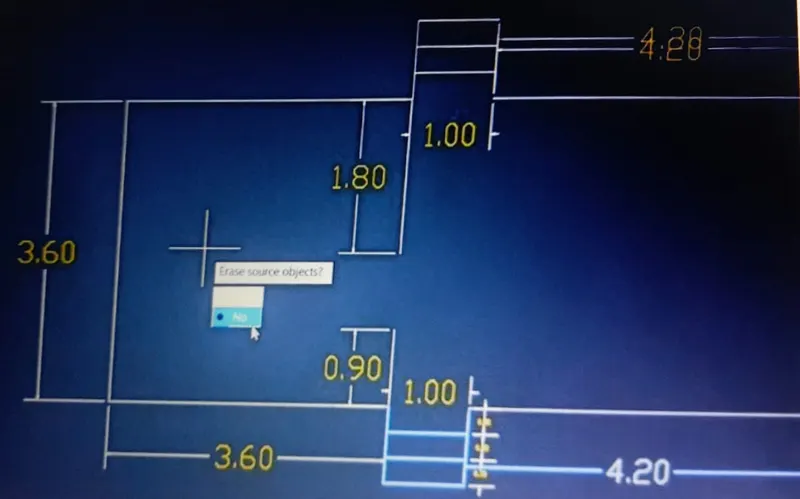
5.Click 'MIRROR' command to mirror the the object to the opposite site.
6.After YES or NO option ask for object of mirror is show are to delete.
7.After complete a drawing we need to show dimension.
8.Click 'DIM'command to create dimension.
9.And click one dimension and kept the course at the corner side.
10.We use a continuous dimension foe same alignment of dimension.
11.And we use a 'MATCH PROPERTIES' to same dimension text height and width all same.
12.And use a 'COPY' command to copy the line.
13.And we use a snipping tool to take screenshot.
14.Finally click save as to save a picture.
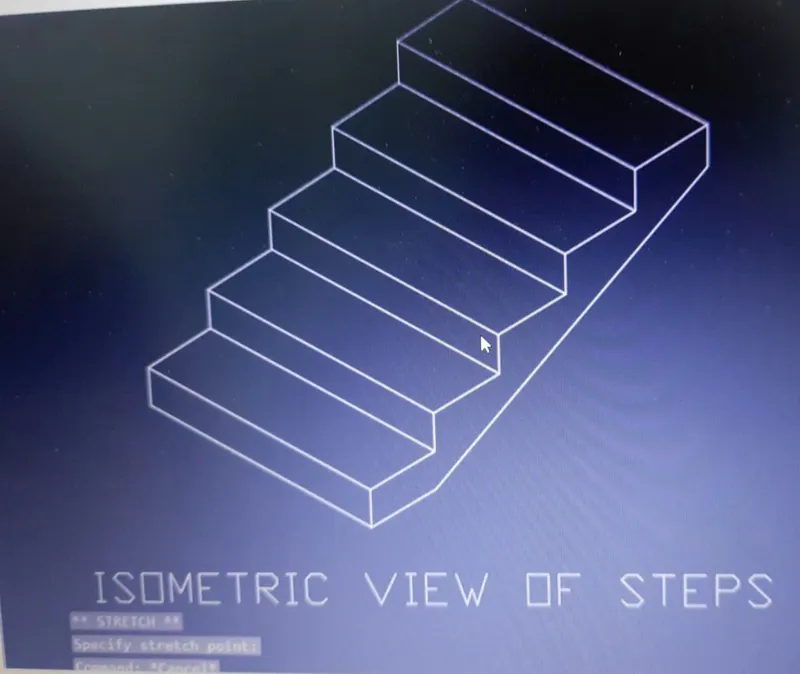
5.Isometric view of steps:-
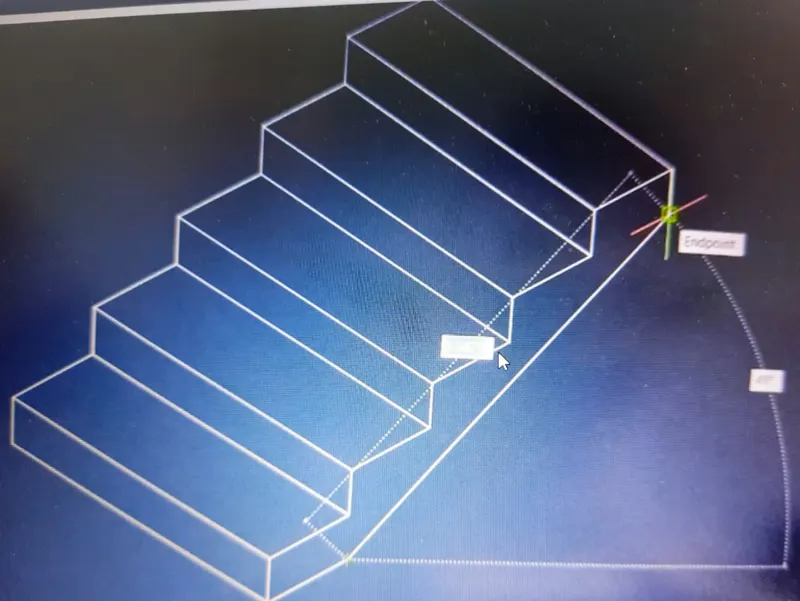
.In this drawing we create a isometric view of steps.
.Now we can see the command used for this drawing as step by step.
STEP:-
1. First check the dimension as we start before aline.
2.Click the isometric drafting to create a isometric view.
3.Next start with a 'L' line command.
4.Draw a line as per dimension.
5.In isometric have 3 option to draw.
6.The isometric right,isometric left,isometric top to draw the line.
7.Isometric right goes in right,top & straight.
8.Isometric left goes in right,top & straight.
9.Isometric top goes in right,top & straight.
10.Click 'TEXT' command to mention the rooms.
11.After complete the drawing we need to show the dimension.
12.And we use a 'COPY' command to copy the line.
13.And we use a snipping tool to take screenshot.
14.Finally click save as to save a picture.
6.Isometric view of Gable wall:-
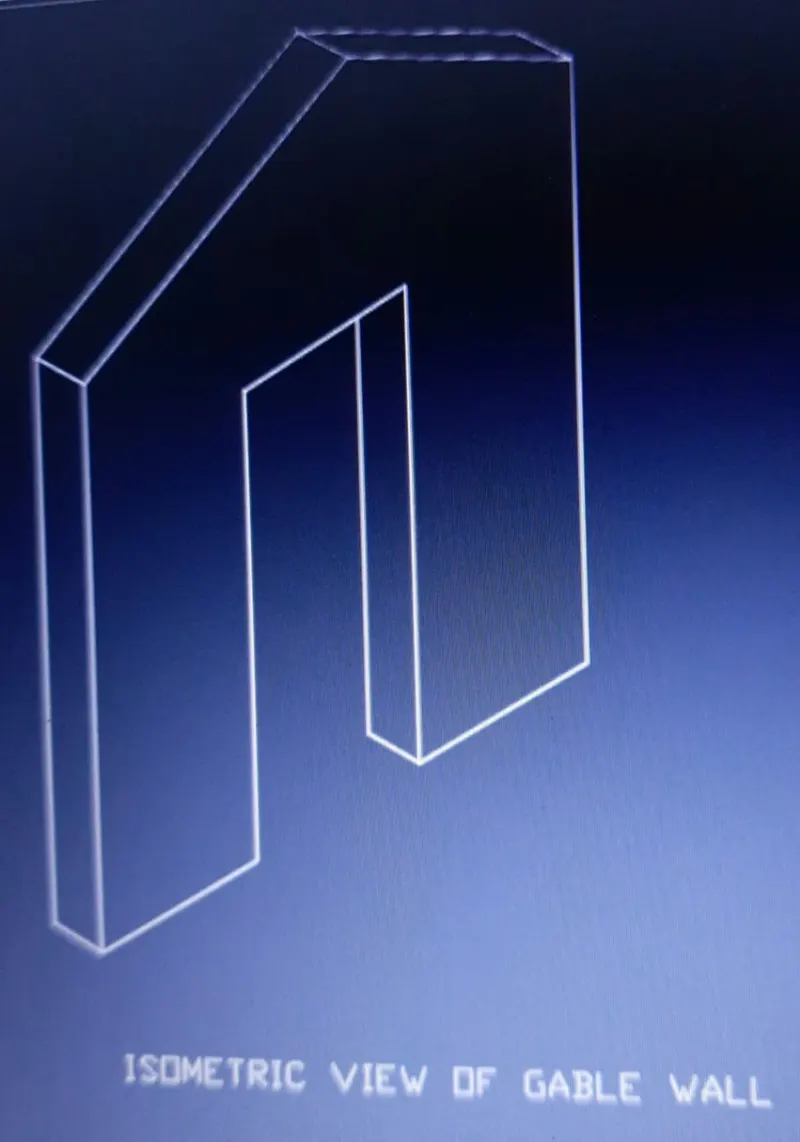
.In this drawing we create a isometric view of Gable wall.
.Now we can see the command used for this drawing as step by step.
STEP:-
1.First check the dimension as we start before a line.
2.Click a isometric drafting to create a isometric view.
3.Next start with a 'L' line command.
4.Draw a line as per dimension.
5.In isometric have 3 option to draw.
6.The isometric right,isometric left,isometric top to draw the line.
7.Isometric right goes in right,top & straight.
8.Isometric left goes in right,top & straight.
9.Isometric top goes in right,top & straight.
10.Click 'TEXT' command to mention the rooms.
11.After complete the drawing we need to show the dimension.
12.And we use a 'COPY' command to copy the line.
13.And we use a snipping tool to take screenshot.
14.Finally click save as to save a picture.
Result :-
In this challenge we learn about footing details and isometric views with help of above mentioned commands.