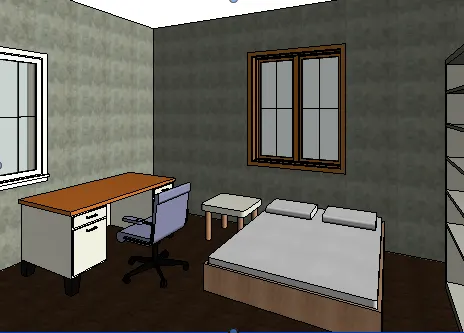
Creating Walls, Partition walls and Floors for a residential layout using REVIT
1):
Aim: To create floor tool under architecture tab using the property browser
Introduction: To create floor tool under architecture tab using the property browser. By using Revit.
Procedure:
Step1:
- Adding floor to plan
- From the architectural toolbar select the architectural floor
- From the edit tab set the floor thickness as 6”
- Then click on first point and second point for the floor placement
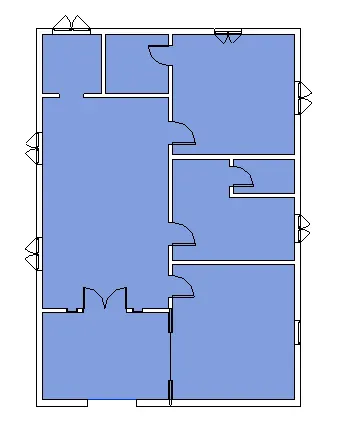
Step2:
- Adding material and thickness from the edit type layout to the floor
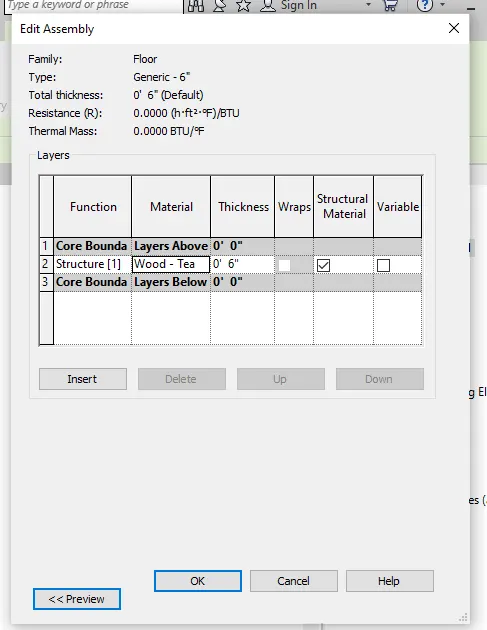
Step3:
- From the architectural toolbar select the grid
- The horizontal grid are provided right to right and number as 1,2,3,4
- The vertical grid are provided bottom to top and number as A,B,CD
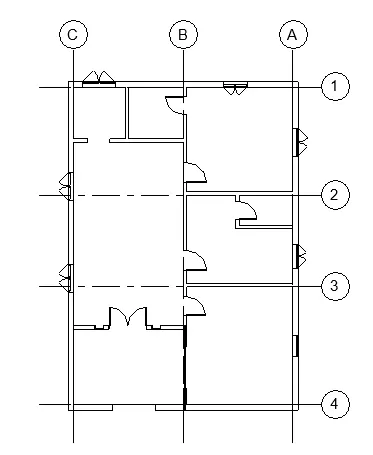
Result:
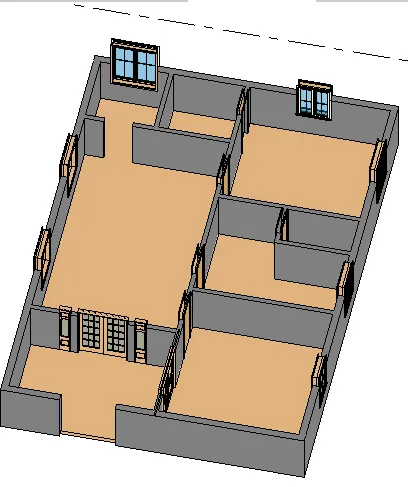
2):
Aim: Adding walls based on the floor layout. Using the property browser to select appropriate material and thickness for walls.
Introduction: Adding walls based on the floor layout. Using the property browser to select appropriate material and thickness for walls. By using Revit
Procedure:
Step1:
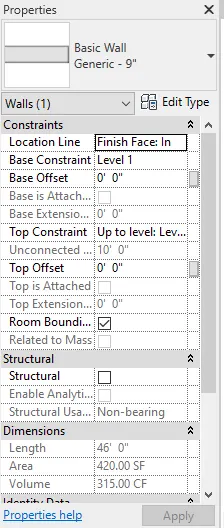
- From the property browser change the height of the wall as up to level 2. From the property browser we can control the height of the wall as 10’, 12’ as per requirement
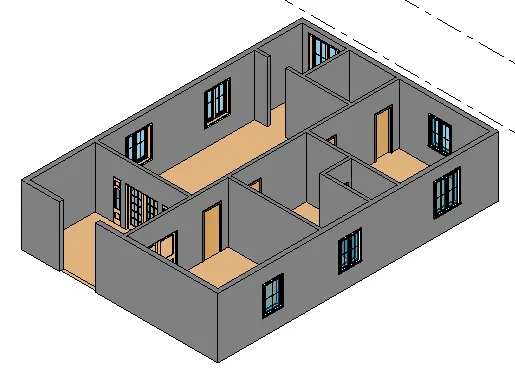
Step2:
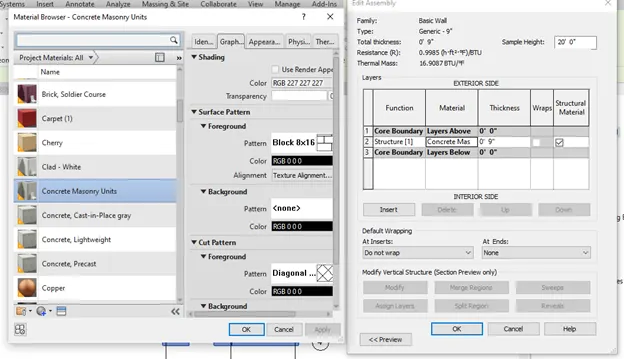
- Adding thickness and materials to the walls by using property layer
- Select the wall and go edit type select the material and apply as shown
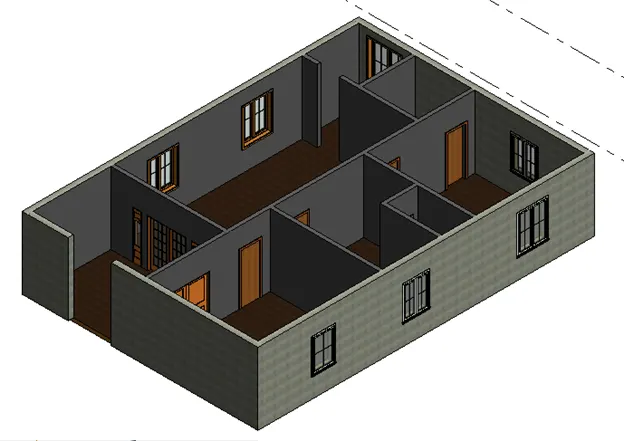
A): Connecting with the wall is more beneficial it will move as per the level
B): Height option is convenient for modeling walls
3):
Aim: To copy the plan next level to create the first floor
Introduction: To copy the plan next level to create the first floor. By using Revit
Procedure:
Step1:
- From the project browser select the level 1 floor plan
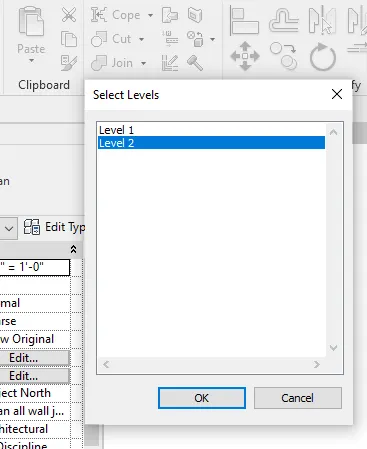
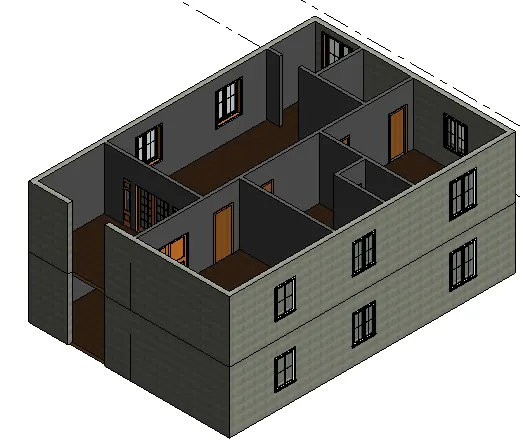
- Copy the floor plan select the level 2 then go to paste option select aligned selected level
- Select the level 2 as the first floor
Result:
4):
Aim: To create separate rooms with interior partition walls.
Introduction: To create separate rooms with interior partition walls. By using Revit
Procedure:
Step1:
- Adding interior walls to the floor plan
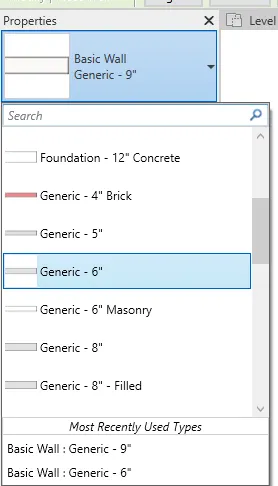
- Take the 6” wall as interior partition wall from the property browser
Step2:
- Now divide or sperate the floor to room as your plan measurement
- Create the room tags kitchen, bedroom, toilet, living room as per your required measurements
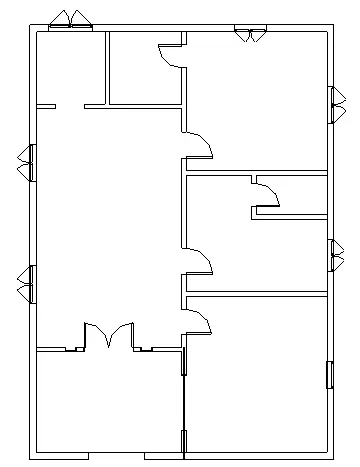
Result:
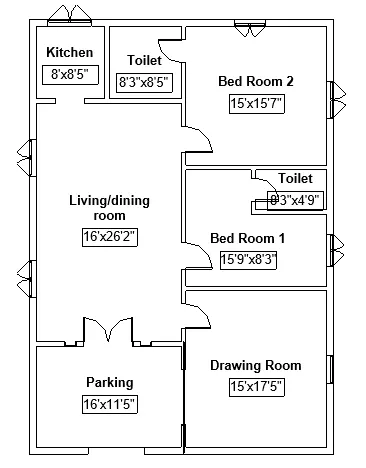
5):
Aim: To the components in a residential unit All the components are available in Revit Library Placing these components in appropriate locations
Introduction: To the components in a residential unit All the components are available in Revit Library Placing these components in appropriate locations. By using Revit.
Procedure:
Step1:
- Adding components to the floor plan
- From the architectural toolbar select component then click on load family
- All the components are available in Revit Library. We can use all the elements as per need.
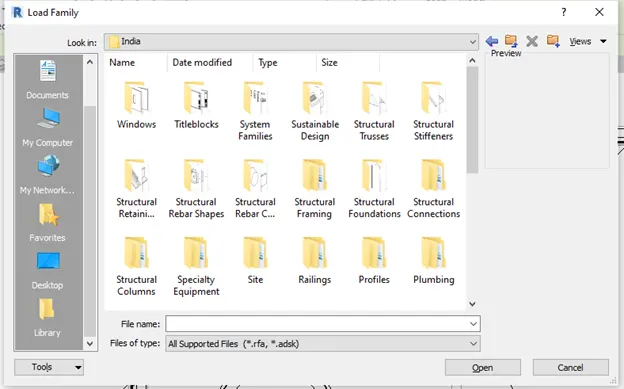
Step2:
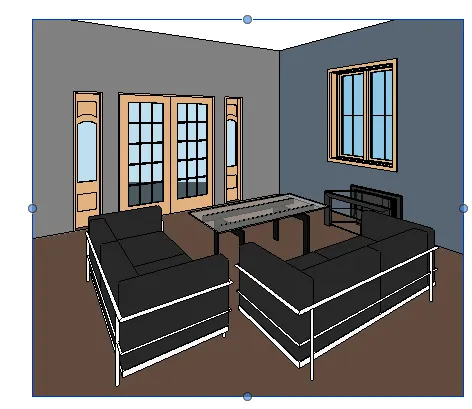
- Select the furniture and place the sofa set, tea table, TV and other elements.
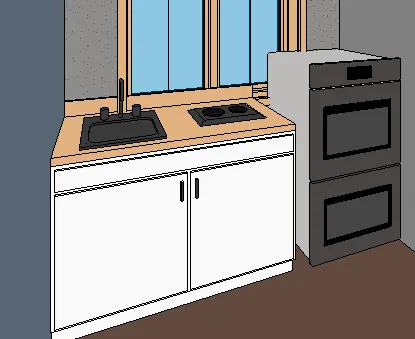
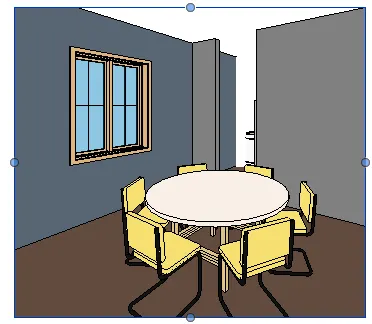
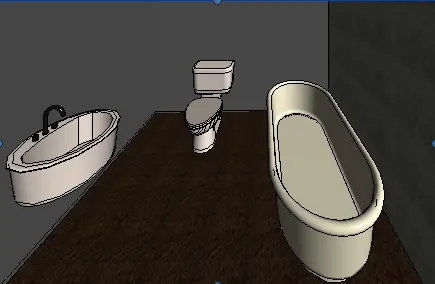
- Similarly place all the elements in Kitchen, dining, toilet, and Bedroom.
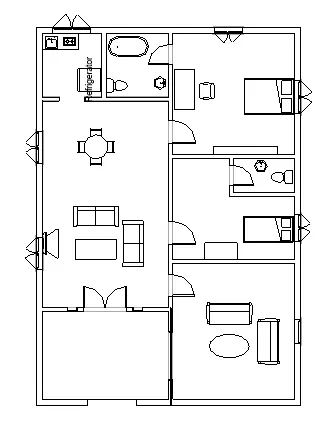
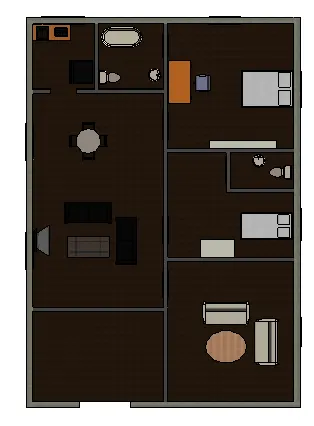
Result: