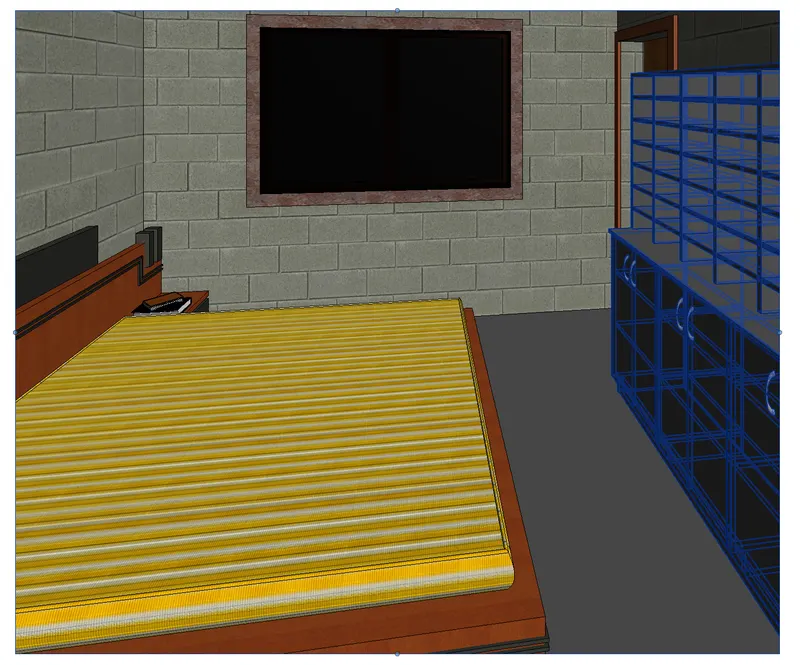
Creating Walls, Partition walls and Floors for a residential layout using REVIT
1)
AIM:- Using floor tool under architecture tab and select the floor with appropriate material and thickness using the property browser create a layout in the Ground floor Level.
PROCEDURE:-
- Open the week 2 project.
- Now for the creation of the floor first go to the ground floor.
- Now select the Floor tool from the architectural tool bar.
- Now draw the floor of the desired shape using modify tools.
- Now press enter and the floor will be created below the ground floor level.


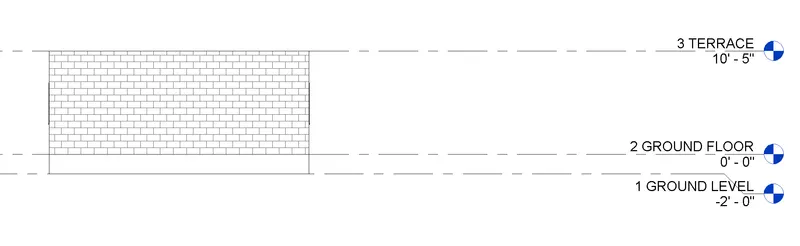
- Now after the floor is created go to any elevation such as (North, South, East, West)
- Now select the floor to change its properties like size, material etc.
- Now after selecting the floor the dialogue box for floor editing will appear in the place of properties tool bar.
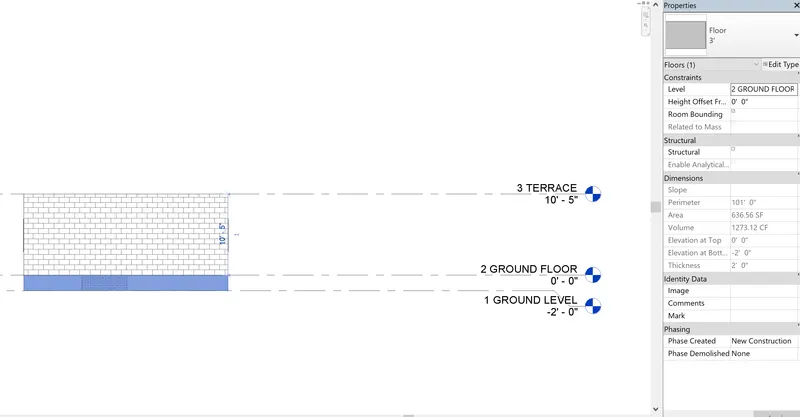
- Now click on the edit type to edit the properties of the floor.
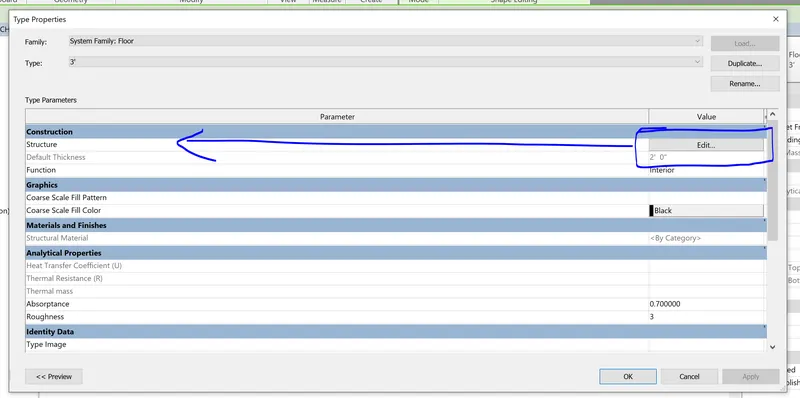
- By clicking on edit type a dialogue box will appear.
- In that dialogue box select the structure edit.
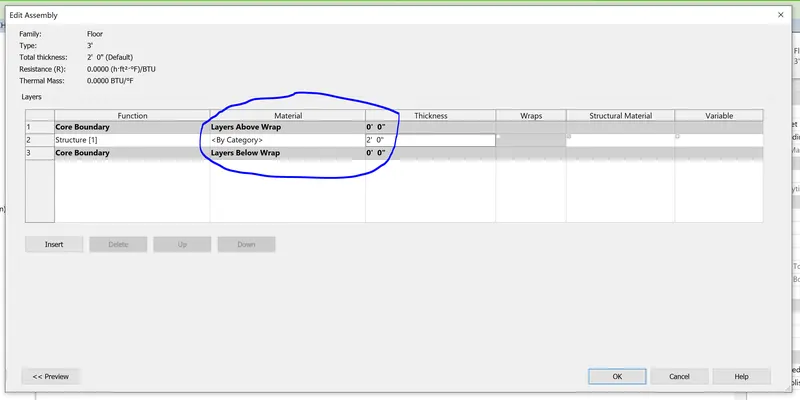
- After selecting the structure edit another dialogue box will appear.
- In that dialogue box we can edit size, material and also can add or substract the different layers of the floor.
----------------------------------------------------------------------------------------------------------------------------------
2)
AIM:- Add walls based on the floor layout. Pick lines or use the draw tool to modify the boundary of walls. Use the property browser to select appropriate material and thickness for walls. After creating the walls verify using the property browser to see if the top and bottom of the walls are constrained.
PROCEDURE:-
- Open the week 2 project.
- Now for the creation of the wall go to the ground floor.
- Now select the Wall tool from the architectural tool bar.
- Now draw the Wall of the desired shape using modify tools.
- Now press enter and the Wall will be created Above the ground floor level.

- Now after the Wall is created select the Wall to change its properties like size, material etc.
- Now after selecting the Wall the dialogue box for floor editing will appear in the place of properties tool bar.
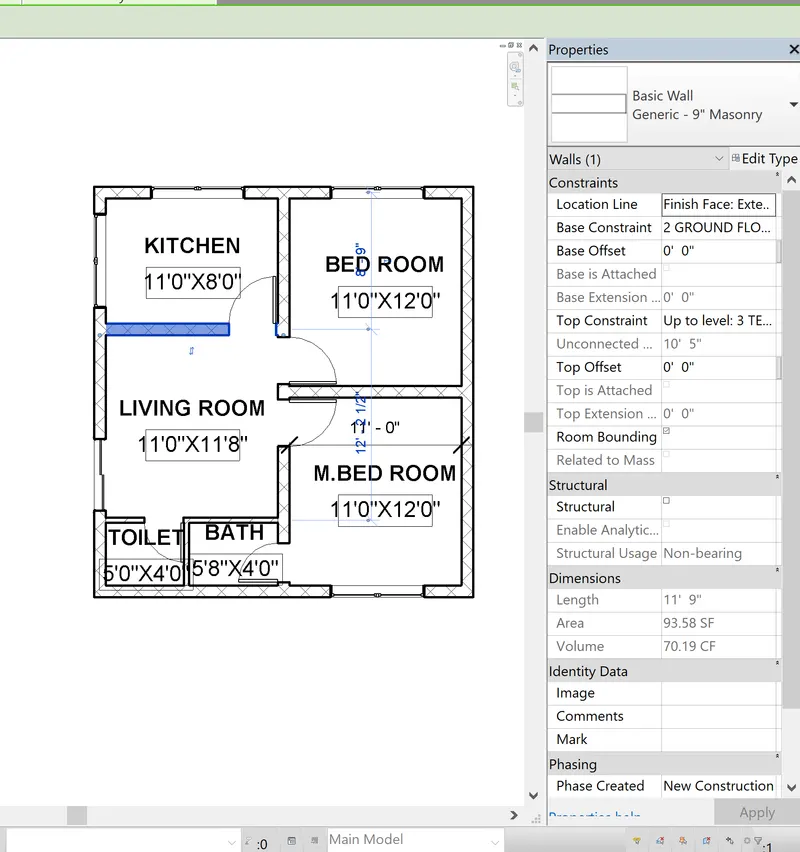
- Now click on the edit type to edit the properties of the Wall.
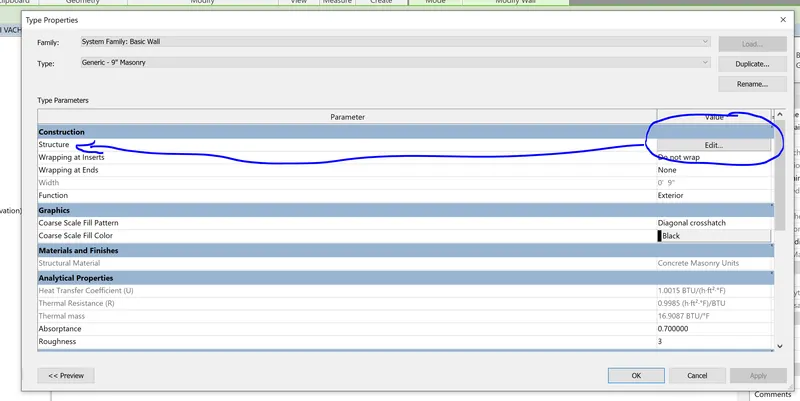
- By clicking on edit type a dialogue box will appear.
- In that dialogue box select the structure edit.
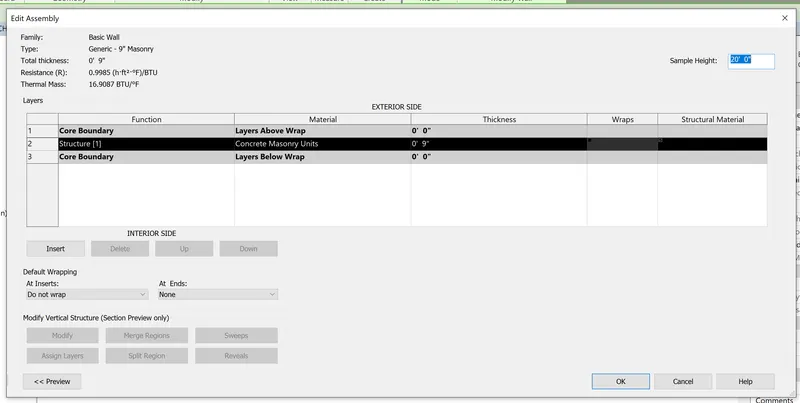
- After selecting the structure edit another dialogue box will appear.
- In that dialogue box we can edit size, material and also can add or substract the different layers of the Wall.
A)
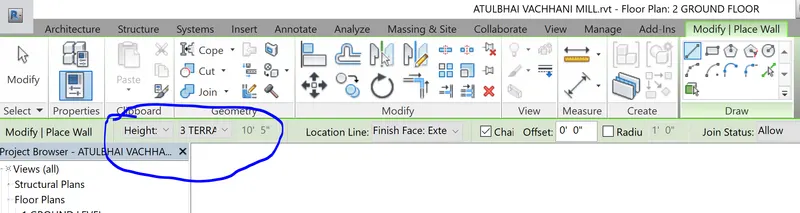
- Based on my observation, beneficial for connecting walls with associated levels rather than being Unconnected is to select the upper layer than the current working layer.
B)
- By height option is convenient for modeling walls.
----------------------------------------------------------------------------------------------------------------------------------
3)
AIM:- Copy the model elements ( wall, floor ) modelled to Ground Floor Level and paste it aligned to First Floor Level . Use modify tab to utilize copy and paste options to alignelements to a different level
PROCEDURE:-
- For the Copy of the model go to the any elevation such as (North, South, East, West).
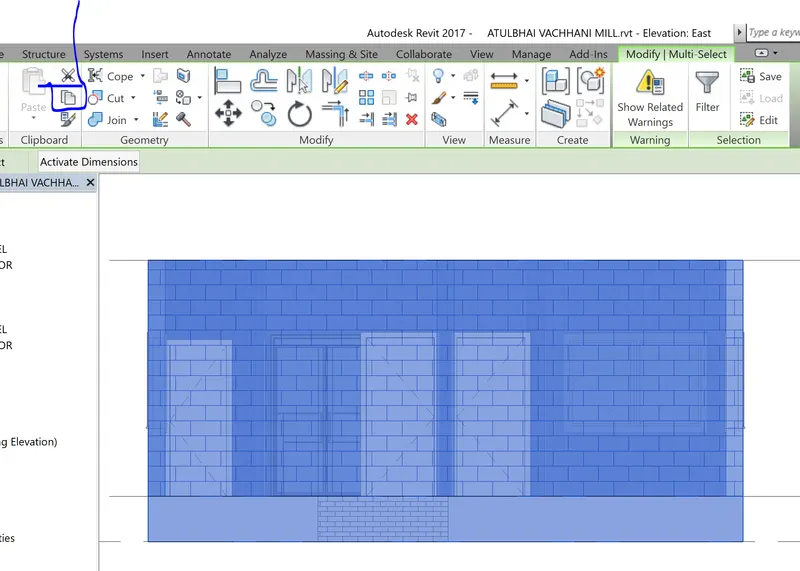
- After going to any of the following elevations select the portion wanted to be copied.
- After selecting the portion to be copied select the 'copy to clipboard' option from the modify tool bar.
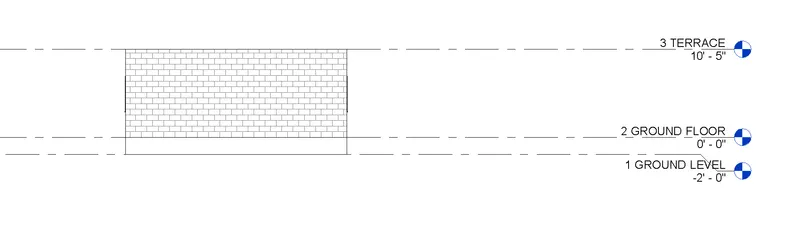
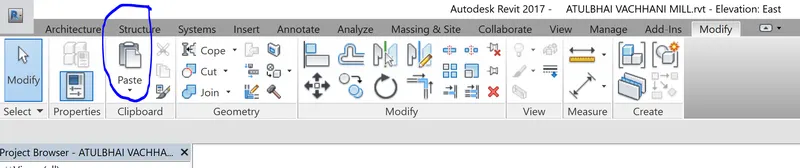
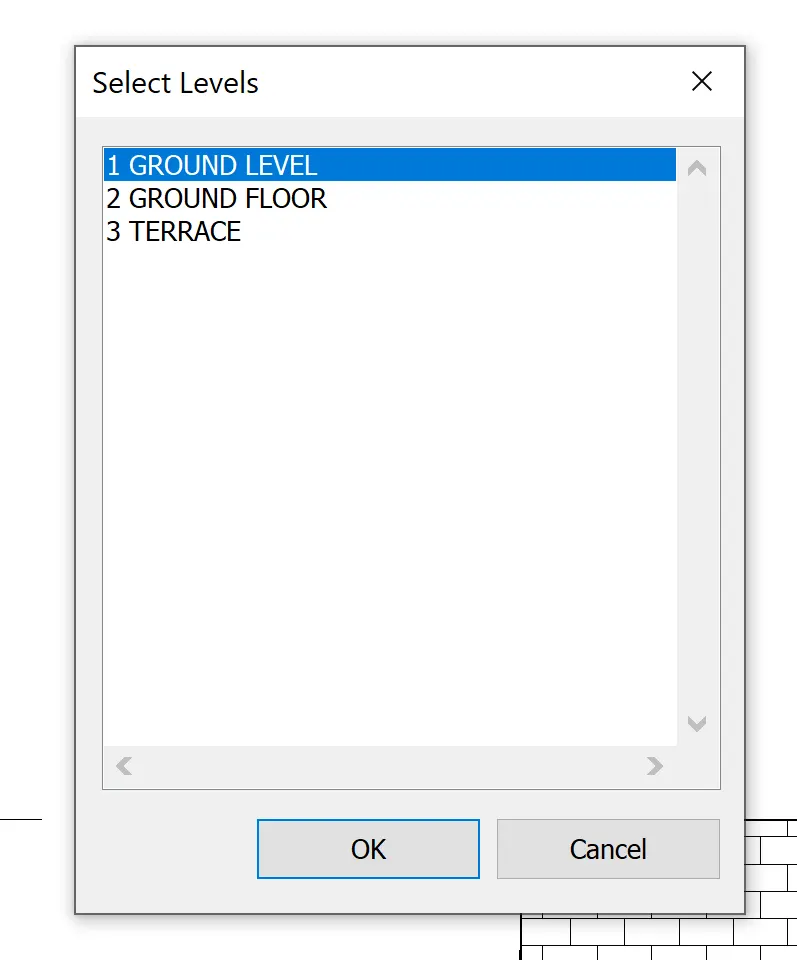
- After the objects are copied go to the modify tool bar and select the (paste > align to levels)
- After that a dialogue box will appear to ask the name of the level where the object is to be pasted.
- After selecting the following options the objects will be pasted on the selected levels
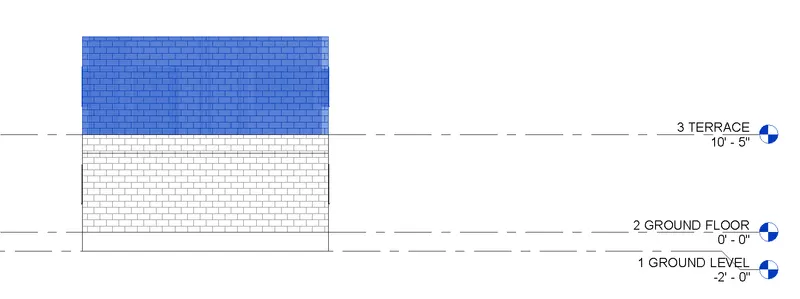
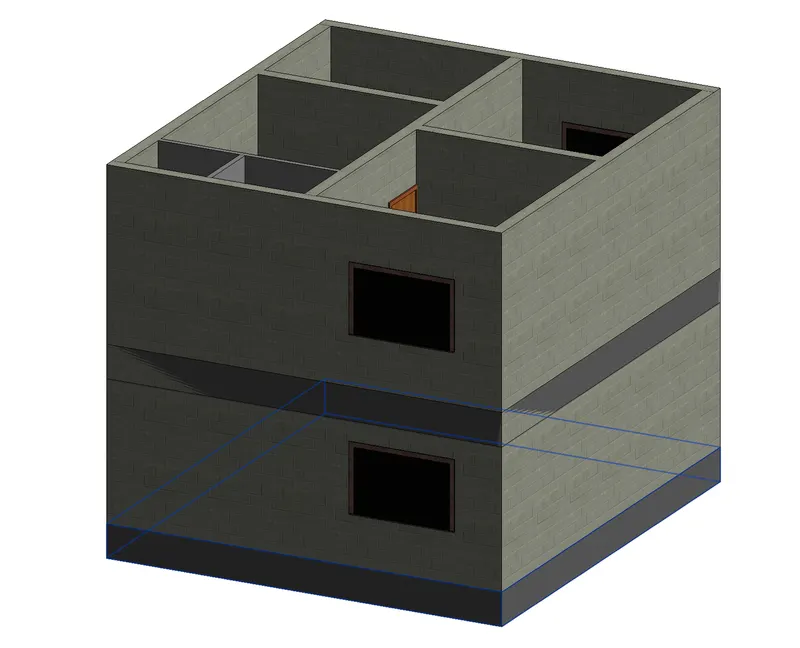
- As you can see the bottom wall and floor are overlapping and the unsteady structure is formed.
- To overcome this select the bottom wall and then select the "Attact Top/Base" option to attach the floor and wall with each other.
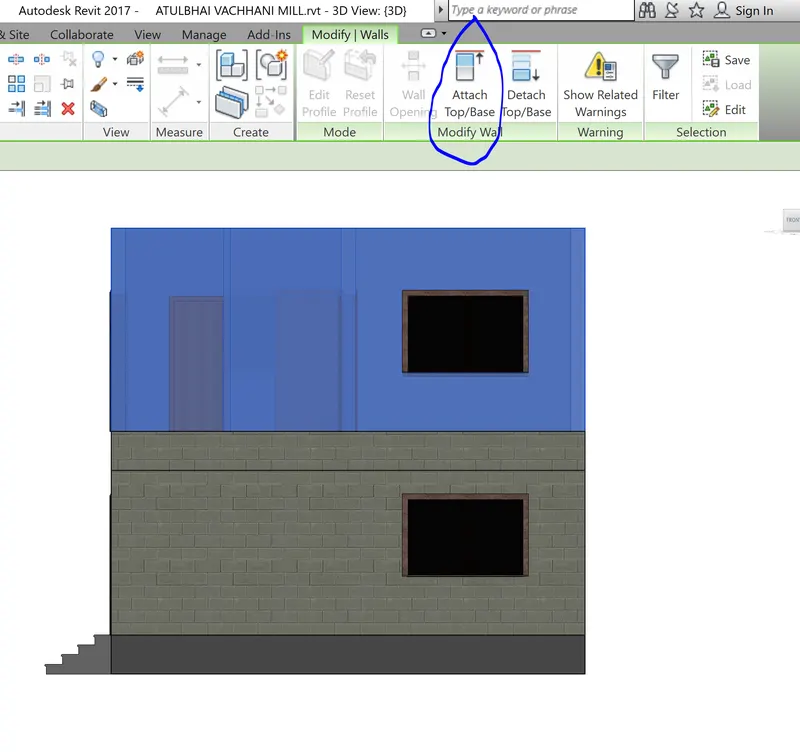
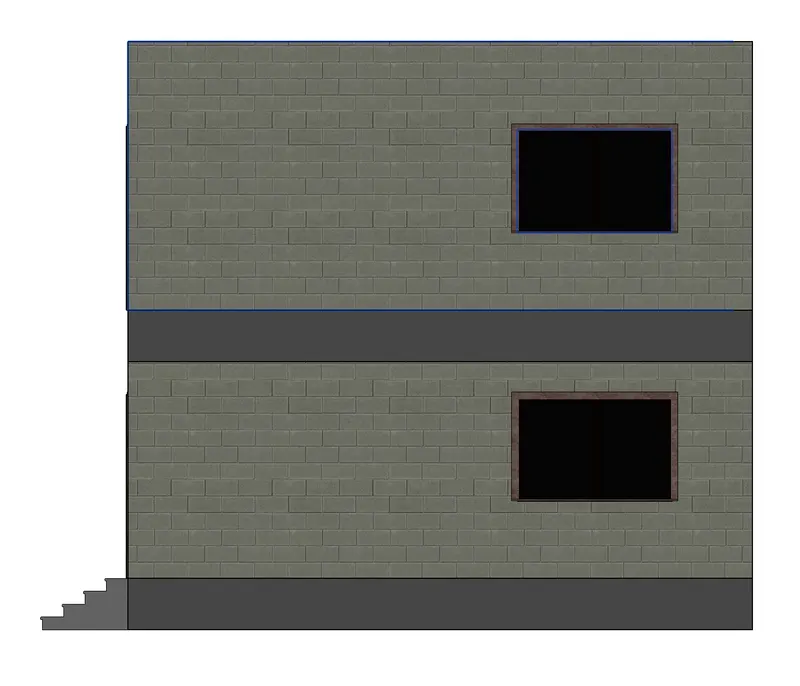
- As you can see the floor width is very much larger than it is needed at the first floor.
- But if you make any changes in the top floor it will automatically apply to the down floor.
- To overcome this problem select the floor to be changed.
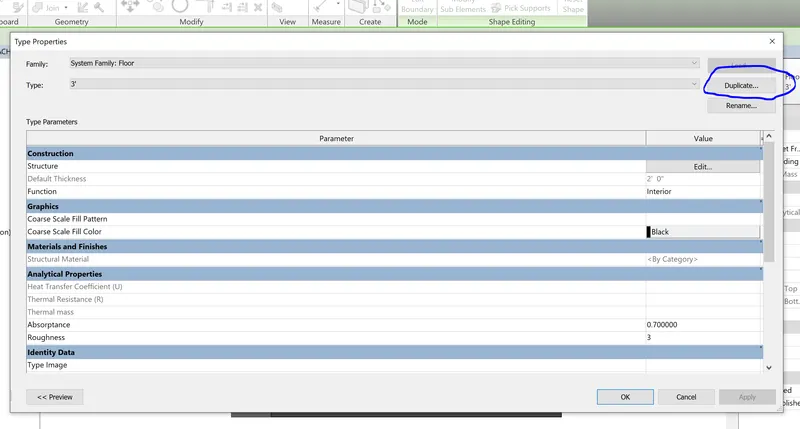
- Now go to edit type and then Duplicate and save with another name so a new floor type is created.
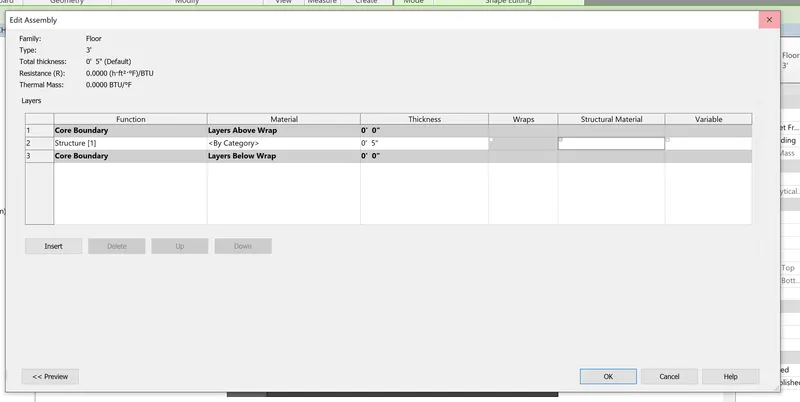
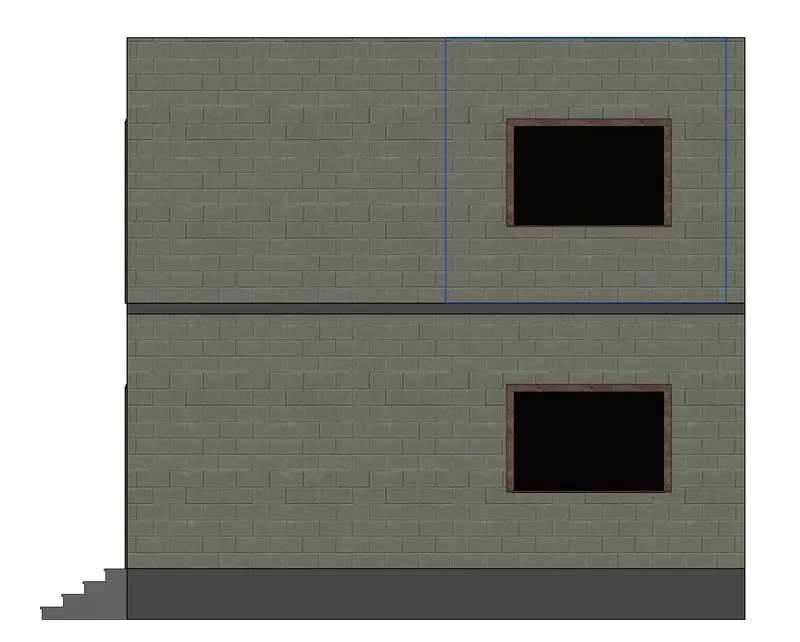
- Now edit the structure of the new floor and the floor is done .
---------------------------------------------------------------------------------------------------------------------------------------
4)
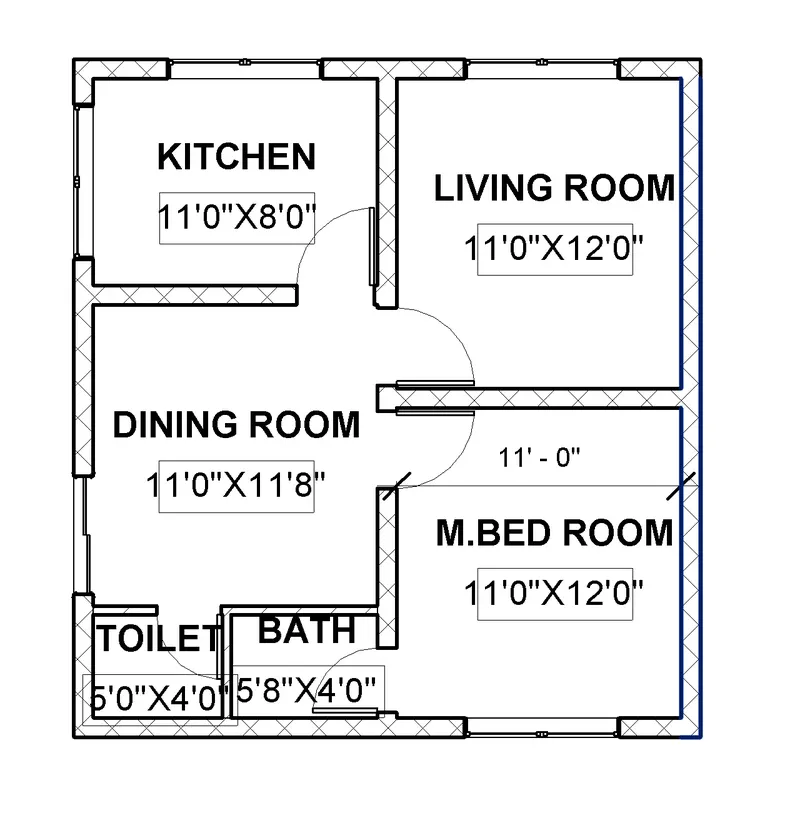
AIM:- Use interior partition walls to create separate rooms within your residential unit
PROCEDURE:-
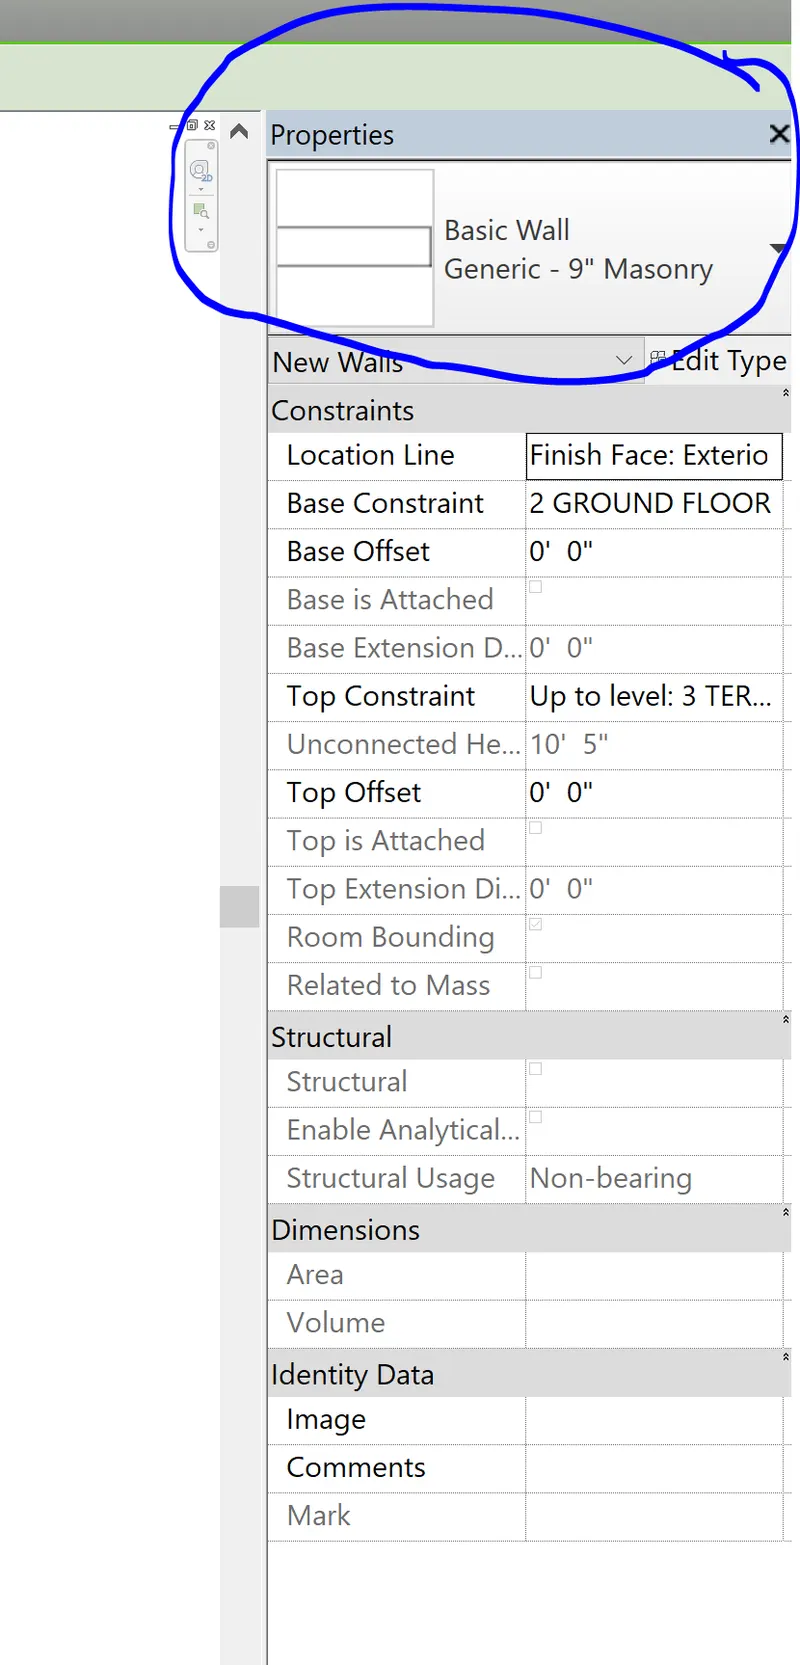
- For the creation of the partition wall go to the wall option in the architectural tool bar.
- Now select the wall type as partition wall.
- Now draw the partition wall of the desired length at the desired spot.

--------------------------------------------------------------------------------------------------------------------------------------
5)
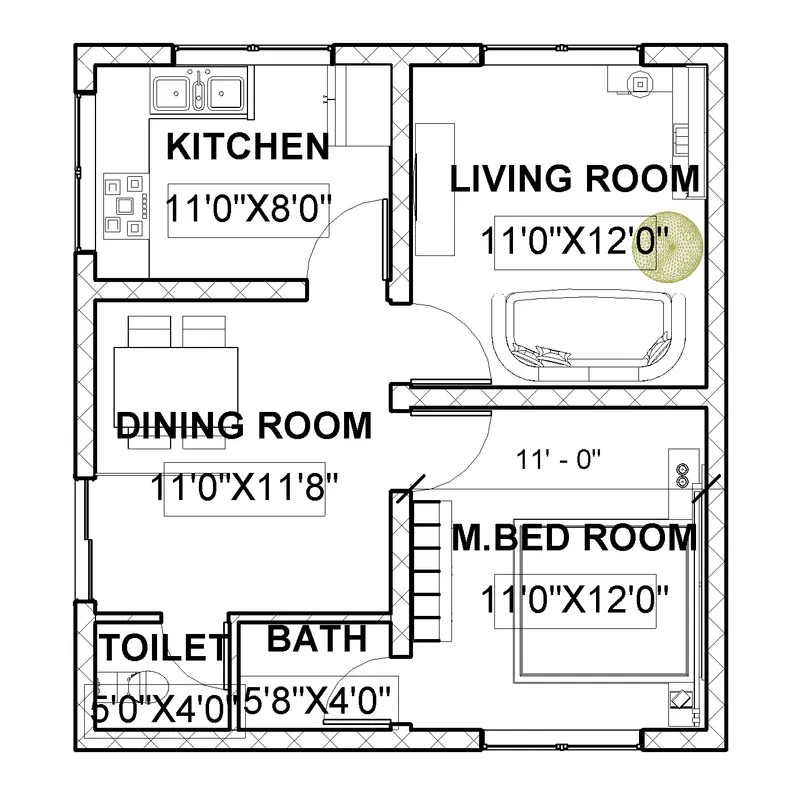
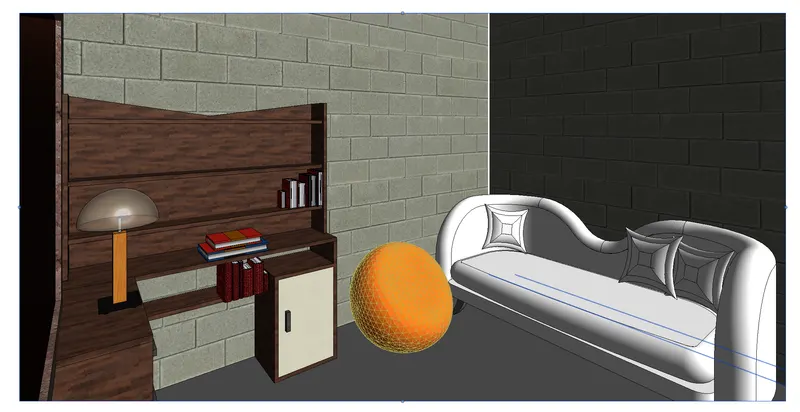
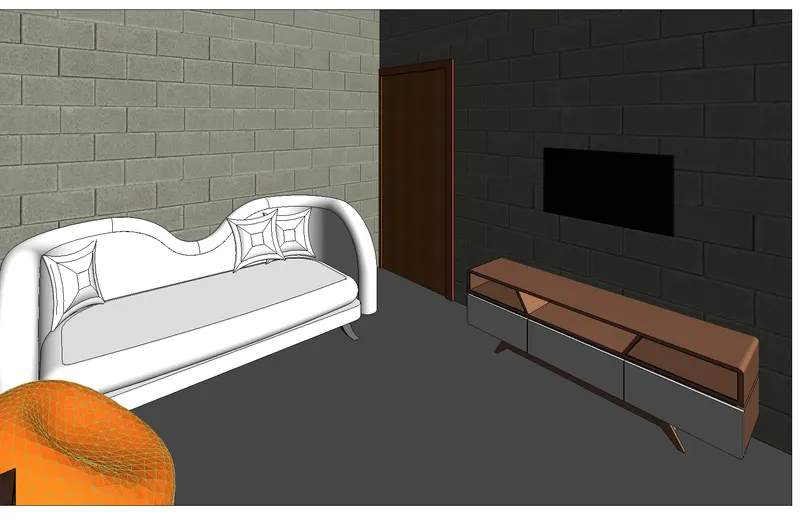
AIM:- Based on week 2 assignment, the components to be included in a residential unit were inserted to the Revit file. Place these components in appropriate locations to add details to your residential model
PROCEDURE:-
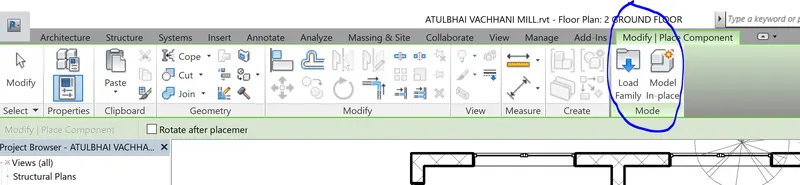
- To place a components go to the components option in the architecture toolbar.
- After selecting the component option further select the "place the model" option.
- After selecting the following option a modify tab will appear.
- From the modify tool bar select the load family option.
- And from the library select the appropriate objects to set up the plan.

- Now for the 3d view of the following models go to the view toolbar and select camera from the 3D view option.
- Now place the camera at the appropriate point and then go to the respective camera view to watch the placed objects in 3D.
- Kitchen.
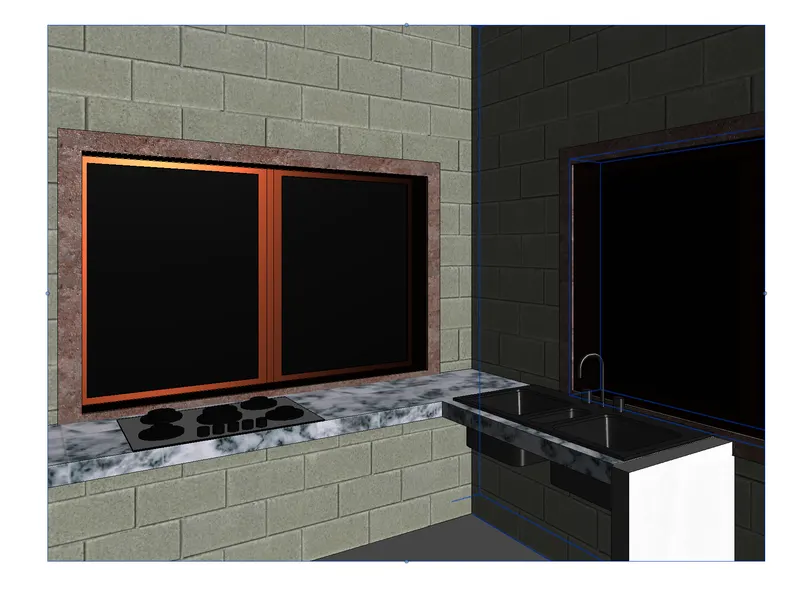
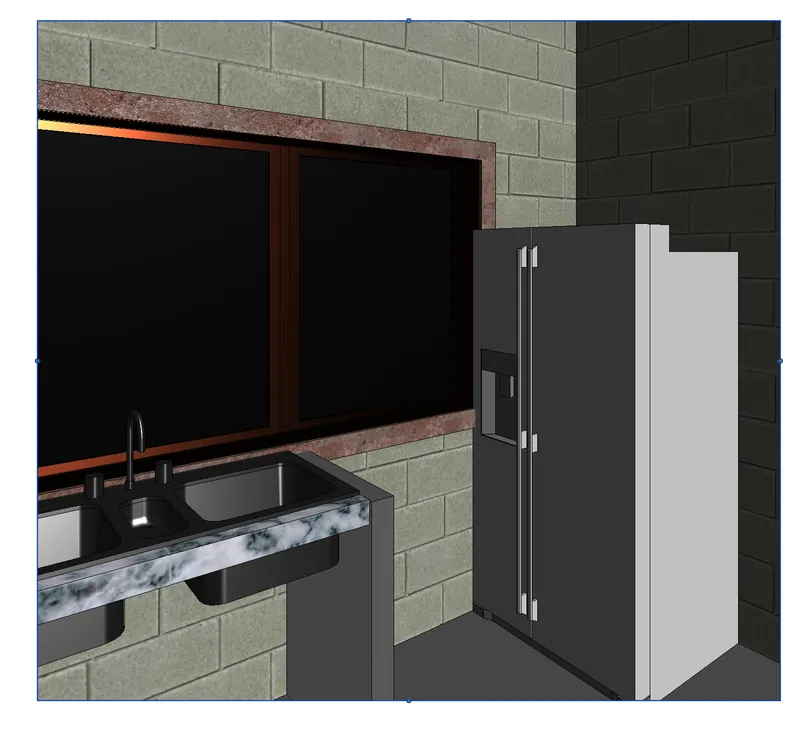
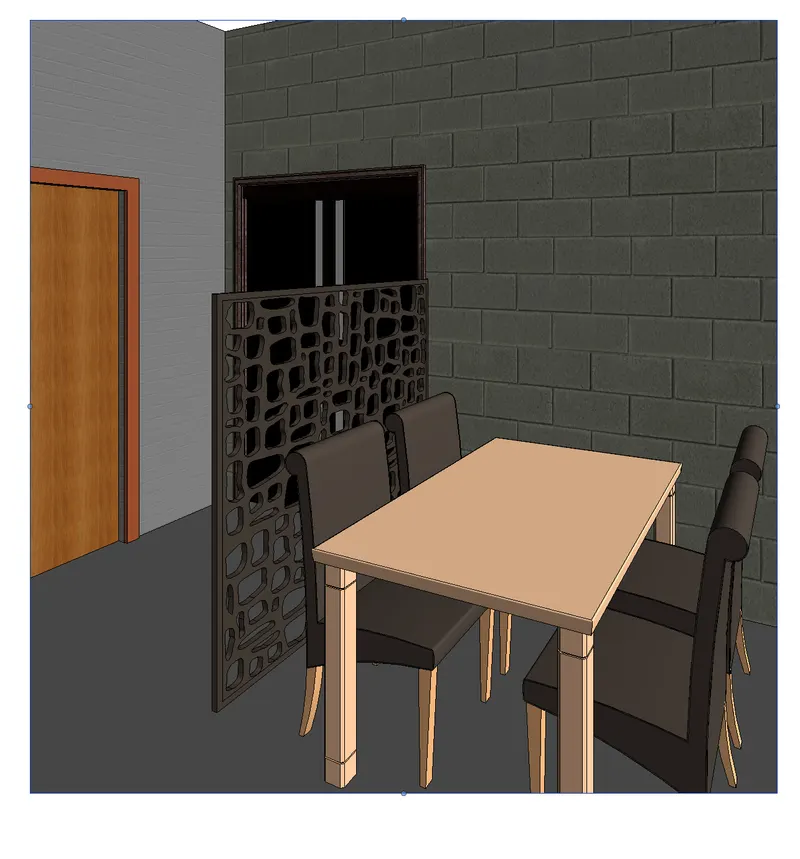
- Dining.
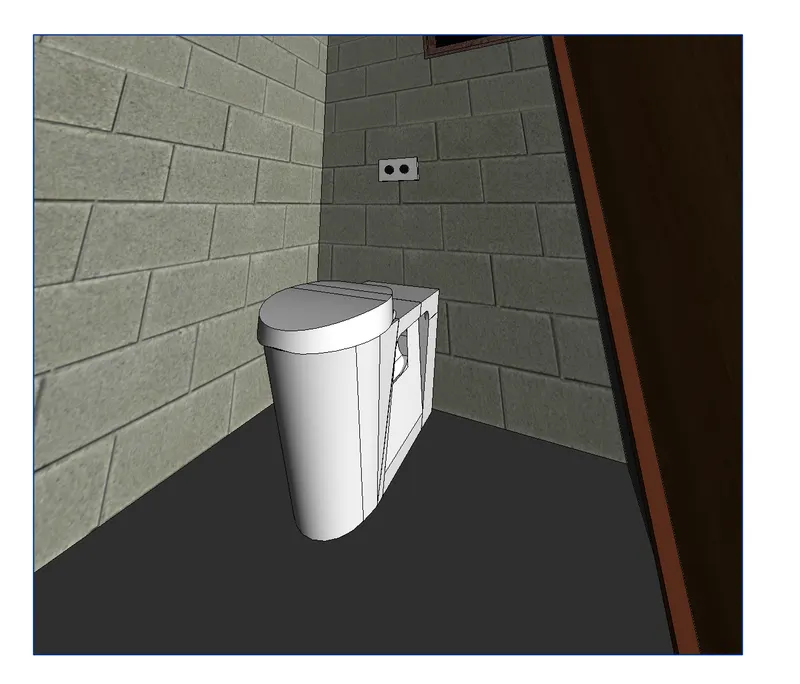
- Rest room.
- Living room.
- Bed room.