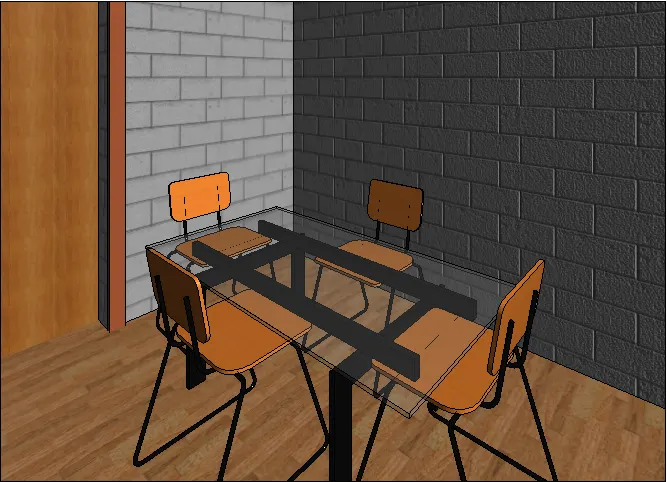
Creating Walls, Partition walls and Floors for a residential layout using REVIT
1.
AIM:Use the project file created from Week 2. Use it for this assignment. Based on your layout from week 2, using floor tool under architecture tab and select the floor with appropriate material and thickness using the property browser create a layout in the Ground floor Level.
PROCEDURE:
- Open REVIT
- go to Open->week2 project1 //Week 2 project will open
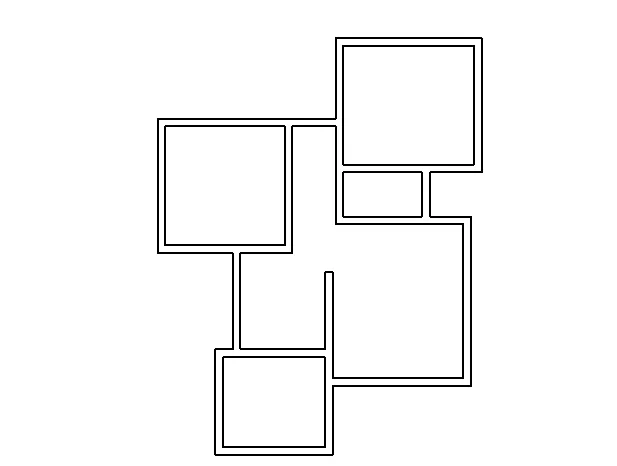
- Click on Architecture TAB
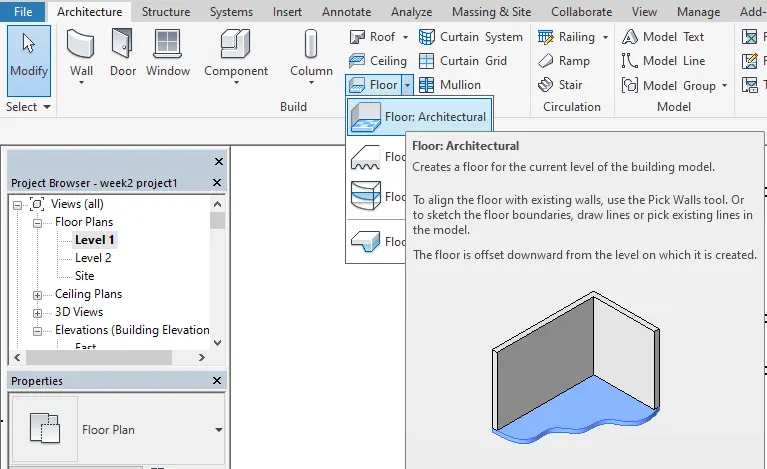
- Go to "Floor"->Architectural floor
- In modify panel->Select "pick lines " //To pick line of the walls
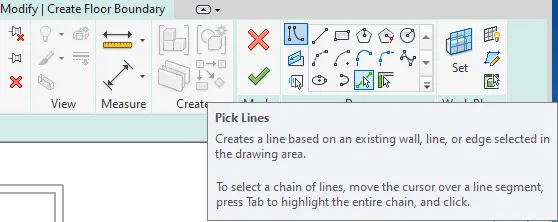
- Select the outer sides of the walls->Click "Tick" mark or panel to complete the process //In case of line intersecting,trim the lines going inside th plan
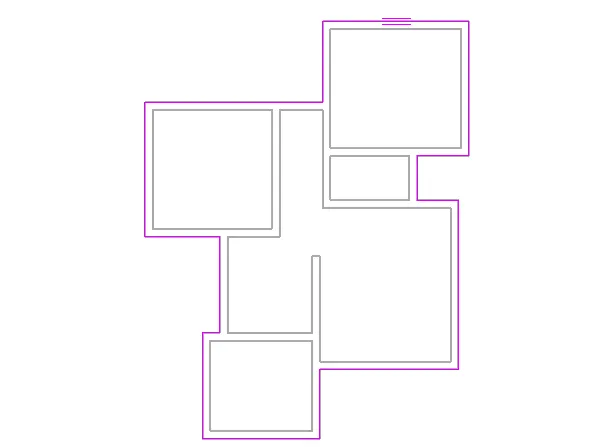
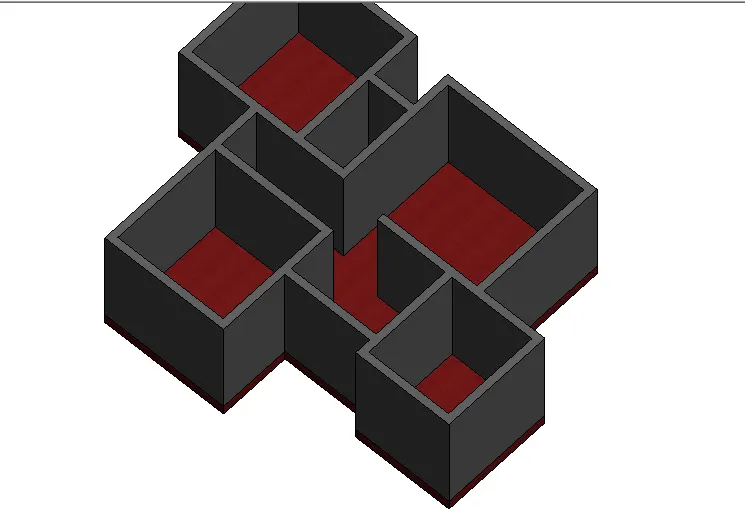
- Now the floor will be created on the plan //To view the floor change visual style to realistics
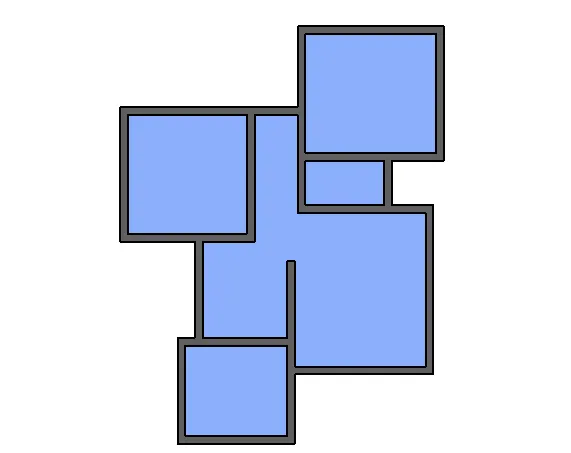
- Select the floor->Go to "Edit type" on properties panel
- Go to Structure "edit"->Material //Choose the material u want to add on floor
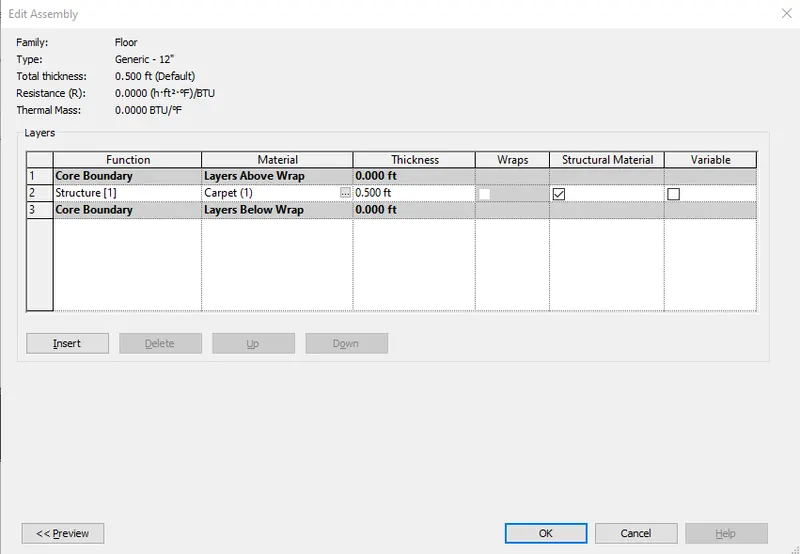
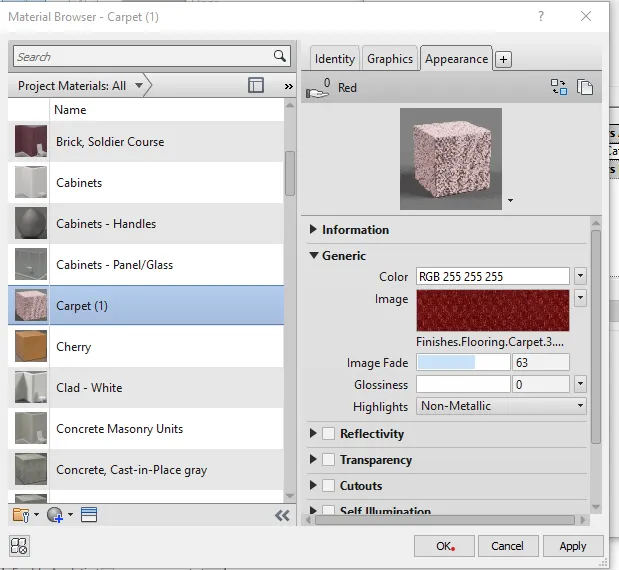
- You can also edit the thickness of the floor from it.
- RESULT:
2.
AIM:To create walls using project browser
PROCEDURE:
STEP1
- Open Revit
- Click open week2 house plan
- Go to properties->Top constraint
- Top constraint->Change it to level2 //The top of wall will be connected to level2
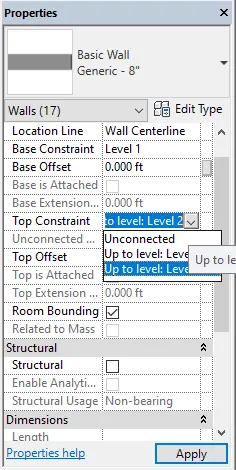
- Click on APPLY
STEP2
- Select the walls
- go to Properties->Edit type
- Structure->Edit
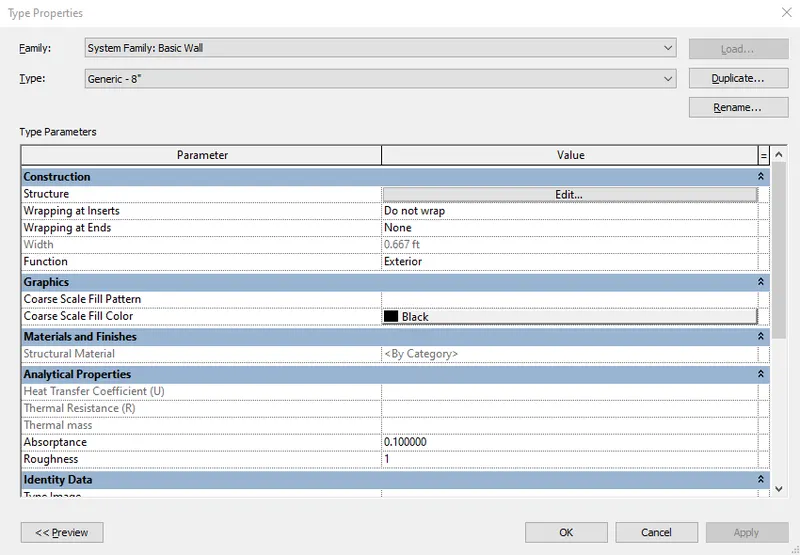
- A new window will open.
- Go to By category->Click on edit(3 dots)
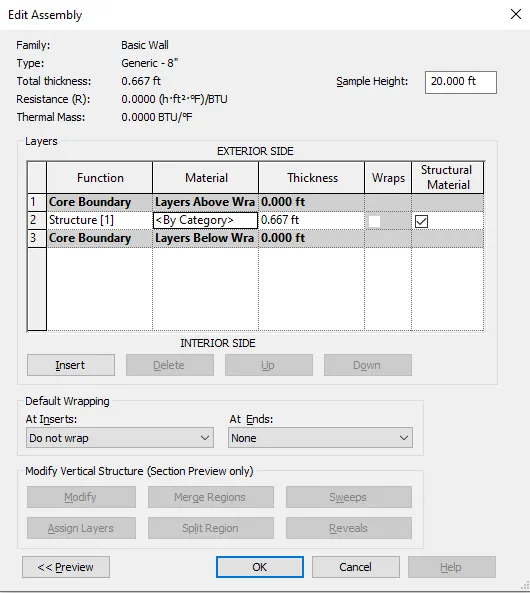
- A new page will open ->Select the texture you want for the wall //Brick,Soldier course is selected
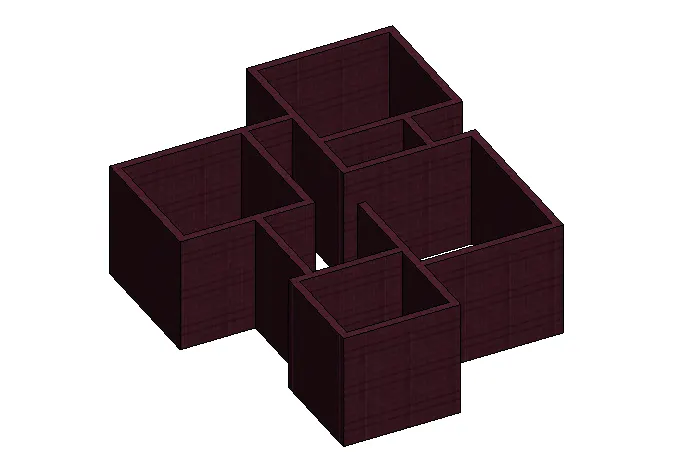
- Based on my observation "Top constraint" in properties panel is important for connecting walls with associated levels as change in levels also helps in changing the height of the walls ,thus reducing the steps to change it individually
- Bothe the methods are convinients ,but i prefer change in heights as it does not disturbs the base level
3.
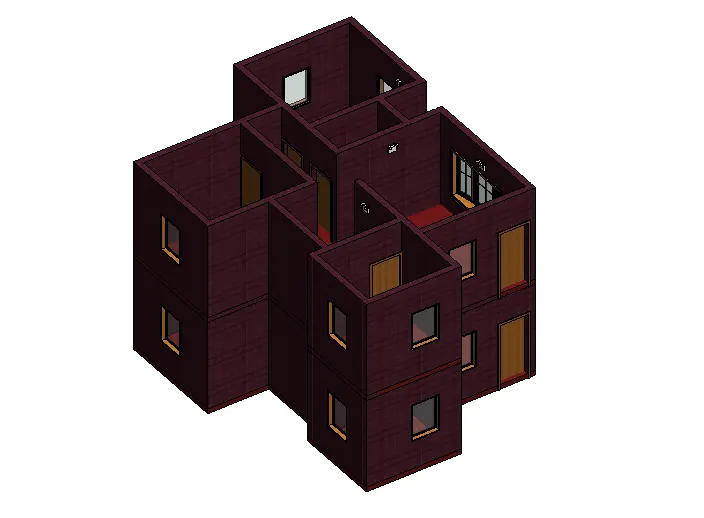
AIM: Copy the model elements ( wall, floor ) modelled to Ground Floor Level and paste it aligned to First Floor Level
PROCEDURE:
STEP1
- Open REVIT
- OPEN week2 challenge
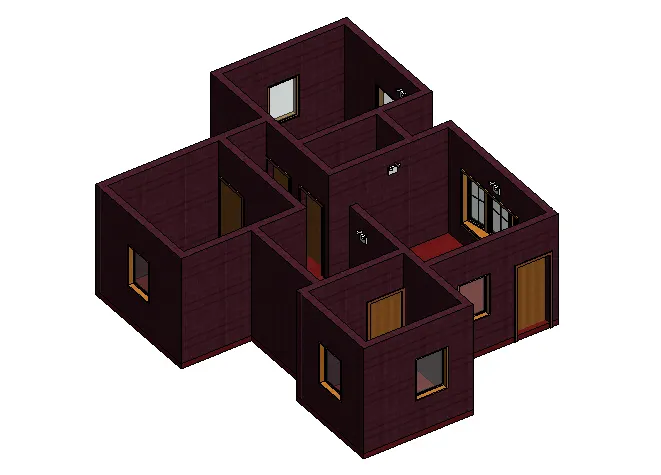
STEP2
- Go to Project browser->Go to Elevation view
- Click on Modify->COPY
- Select the walls and floors
- Go to clipboard->Paste(Aligned to selected levels)
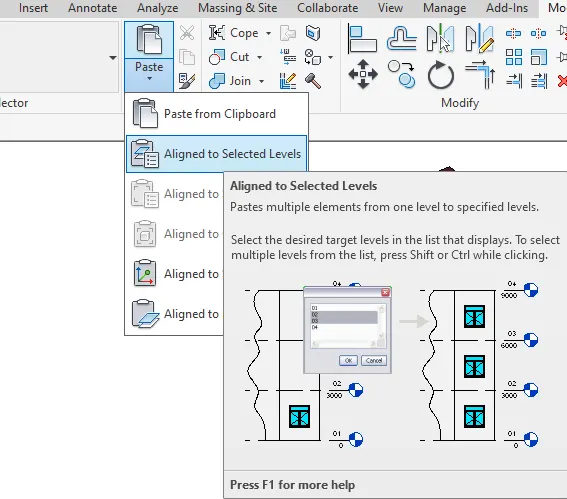
- Select the level at which you want to copy //In this case Level2
- Click OK
RESULT:
4.
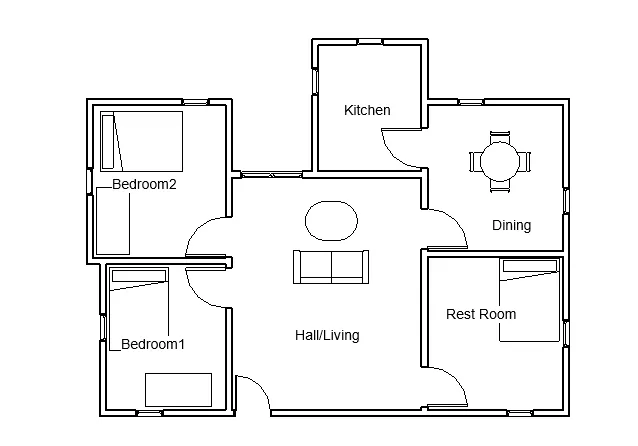
AIM: Use interior partition walls to create separate rooms within your residential unit.
PROCEDURE:
STEP1
- Open new file
- Go to architectural tab
- Select walls->Architectural
- Select the partitiion walls for making interior walls //taken 5 1/2" partition wall
- Creatw the walls according to the dimensions
- a. Living Room/ Drawing Room ( 15’ X 18’)
b. Dining Room (9’ X 11’)
c. Bed Room ( 9’ X 12’ and 15’ X 11’)
d. Rest Room ( 10’ X 12’ )
e. Kitchen (8’ X 10’) //Taken examples as the measurement
STEP2
- Go to insert tab->Load family
- New window will open->Select the families you want ot insert in the plan
- Go to project browser panel->Open the family you want
- Drag the family into the plan
RESULT: A plan in drawn with the size of dimension room and fmailies are inserted
5.
AIM:Based on week 2 assignment, the components to be included in a residential unit were inserted to the Revit file. Place these components in appropriate locations to add details to your residential model
PROCEDURE:
- To go to floor level1
- Go to View tab
- Go to Create section->Camera
- Place the camera from where u want to have the view
- adjust the camera view angle
- A new page will open->showing the camera view //Click on view edges and adjust view space
- Change visual style to realistic
- Go to project browser->3d views->right click(rename) //rename according to your views
PLAN.
RESULT:
//From the Properties panel you can adjust the camera height and elevation
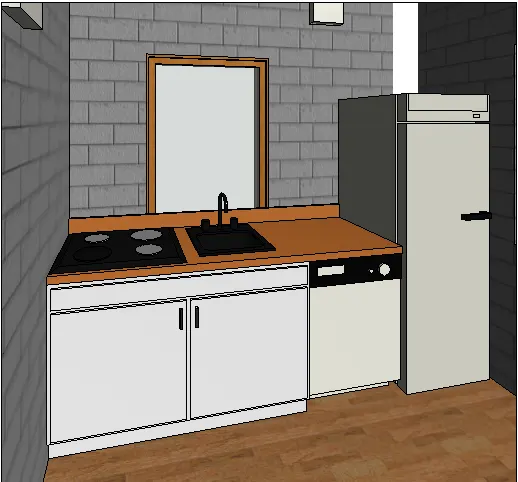
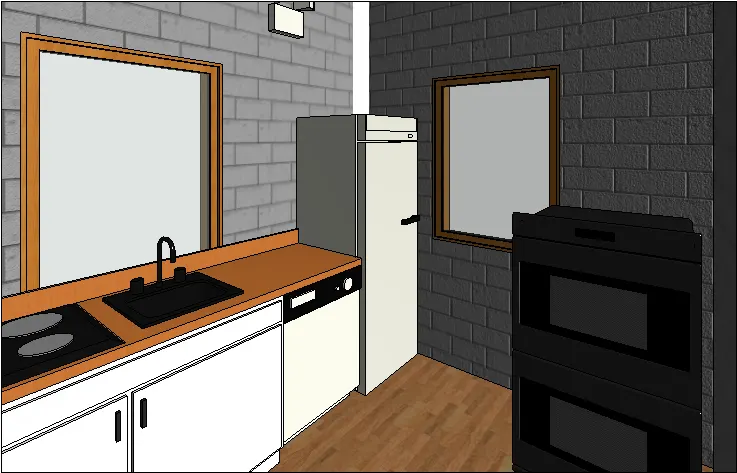
- KITCHEN
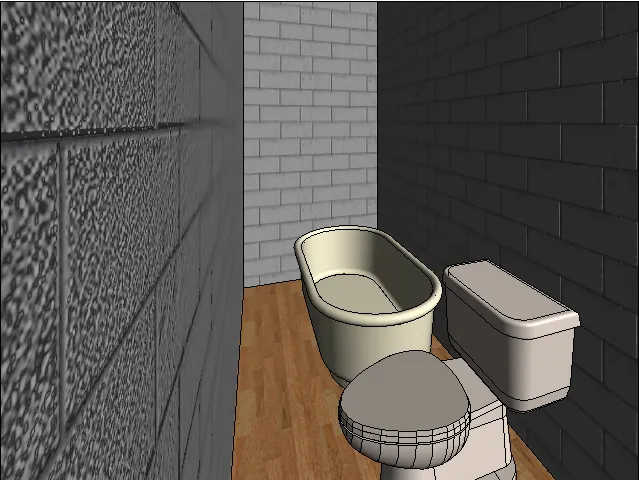
- BATHROOM
- BEDROOM &STUDY
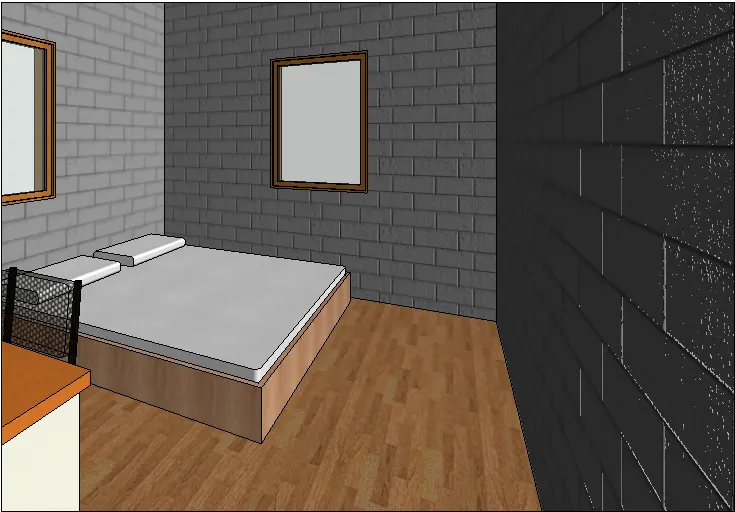
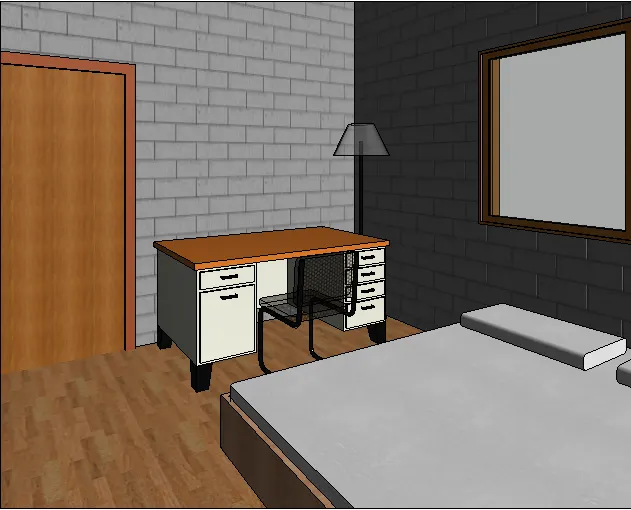
- LIVING/HALL
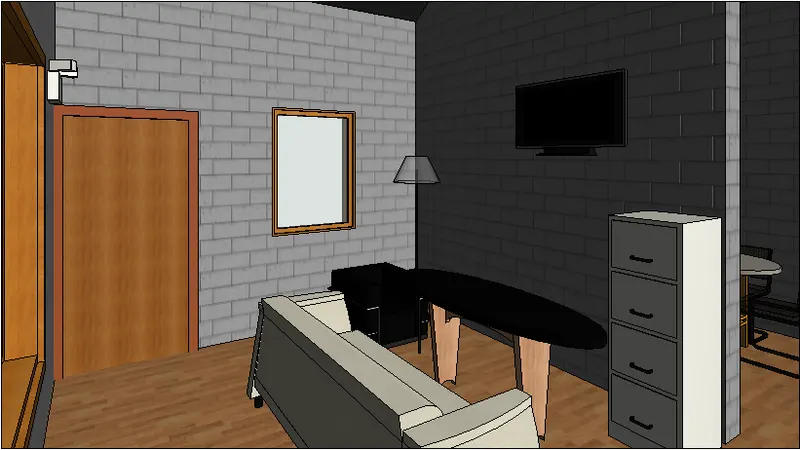
- DINING