Creating Walls, Partition walls and Floors for a residential layout using REVIT
1.AIM
To create a floor plan and need to apply the material and thickness to the floor using the property browser and need to allign the floor plan with the grids created in the week 2 challenge
INTRODUCTION
- Material libraries are collections of materials , usually from a single source ( like a manufacturer) in the Autodesk library format
- BIMSmith has hundreds of revit material libraries available for download and use in your revit projects
- The way materials are used may vary greatly from project to project , and therefore the level of information required might vary too .
- Thus , we must be aware of the intended use of materials when working on a model
PROCEDURE
STEP1
- First we will select the floor
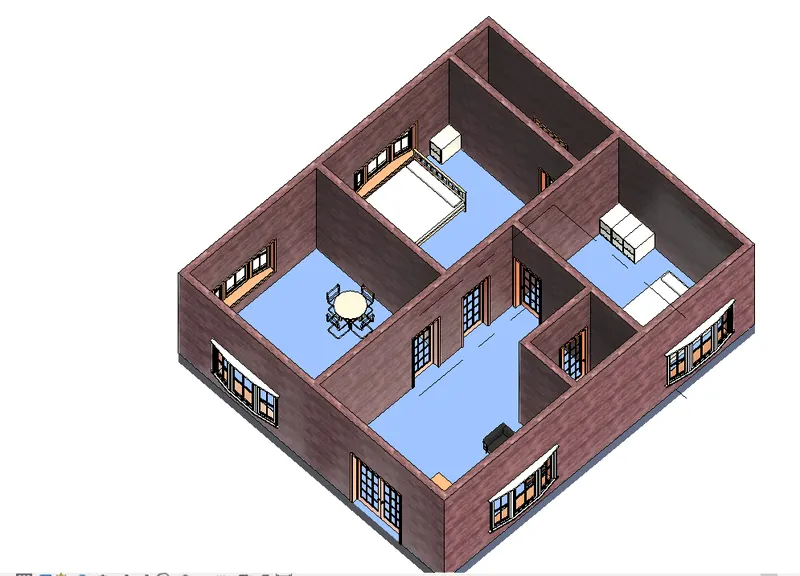
- After selecting the floor, we need to click on the edit type from the properties browser
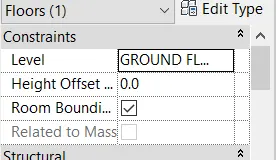
STEP2
- By clicking the edit type , the 'type properties tab' will be visible on the screen
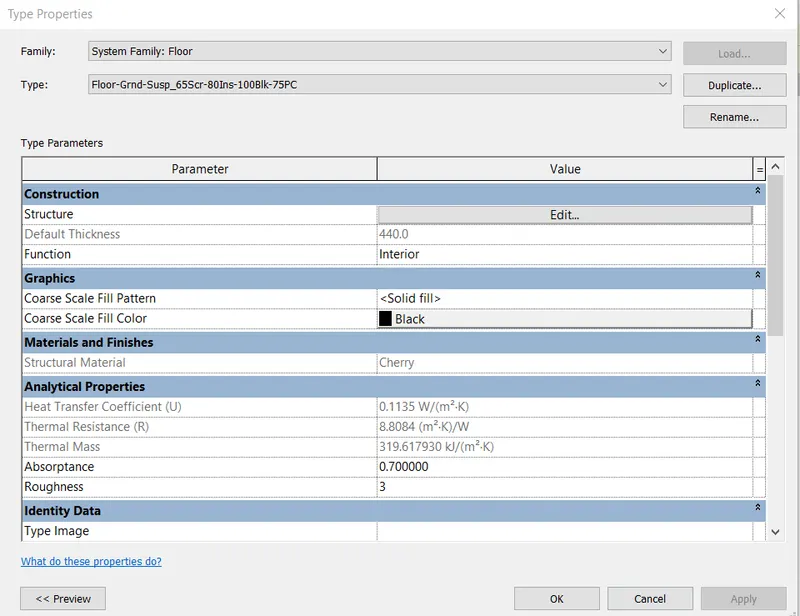
- For changing the material we need click on the edit option displayed in the 'type properties tab '
- After clicking the edit option , the edit assembly tab appears
- then we will select the material
- after clicking that the material browser appears , then select the material type as concrete , cast -in-place gray
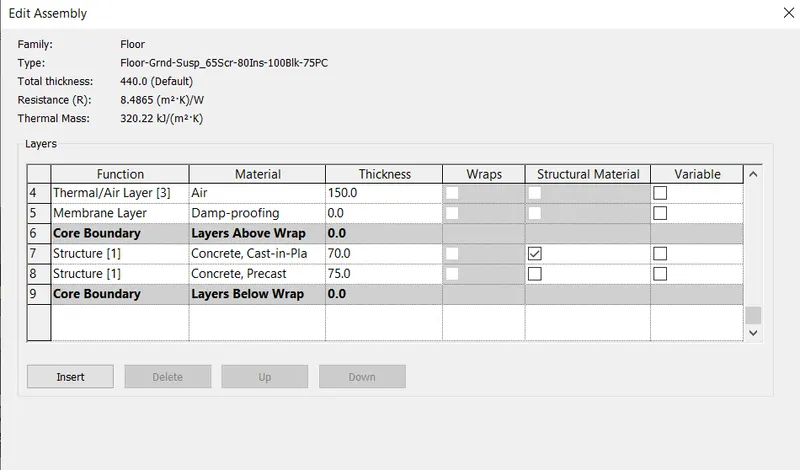
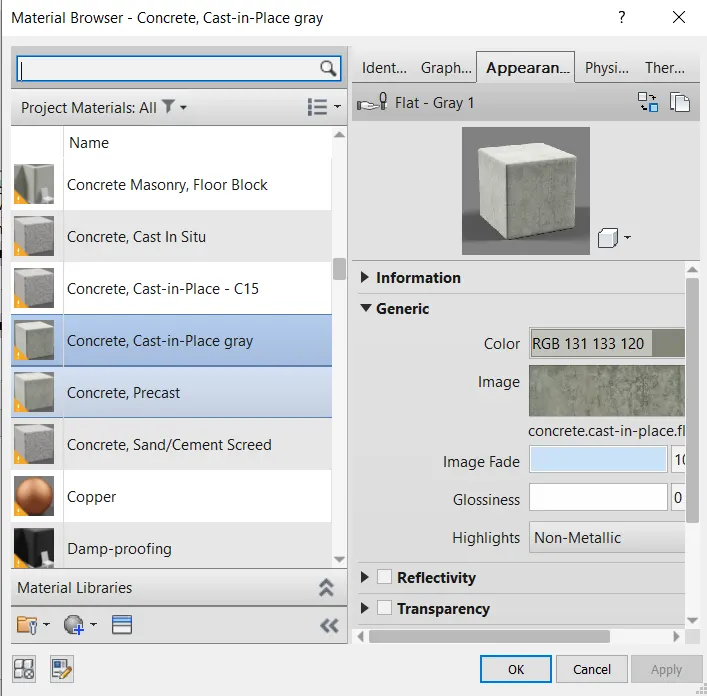
- After applying the materilas to the floor
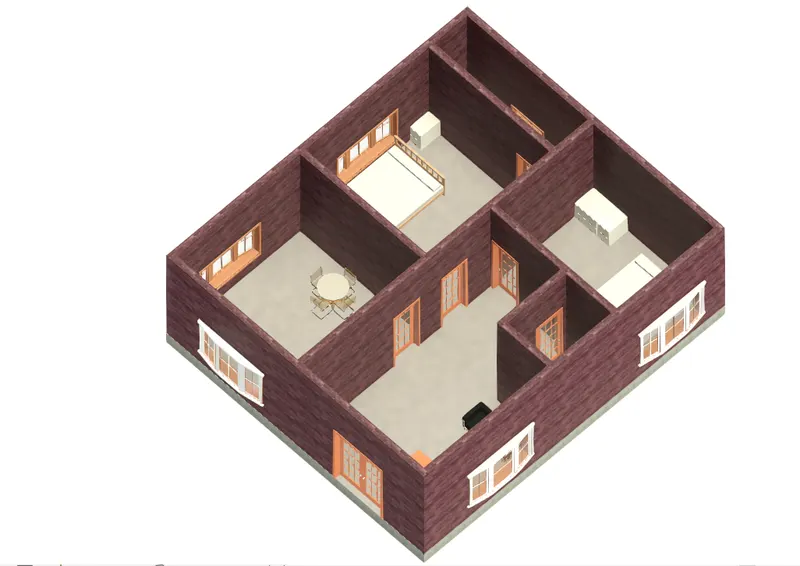
STEP3
- Floor plan is alligned to the grids
-
FOR CREATING GRIDS
- Go to the architectural tab and from that select the grid option
- draw a grid in horizontal manner
- use pick line and offset it by 4times and rename it as A,B,C,D,E
- Using line draw vertical grid line in such a way that it intersect the horizontal grid line
- use pick line and offset it to 4 times and names it as 1 to 5
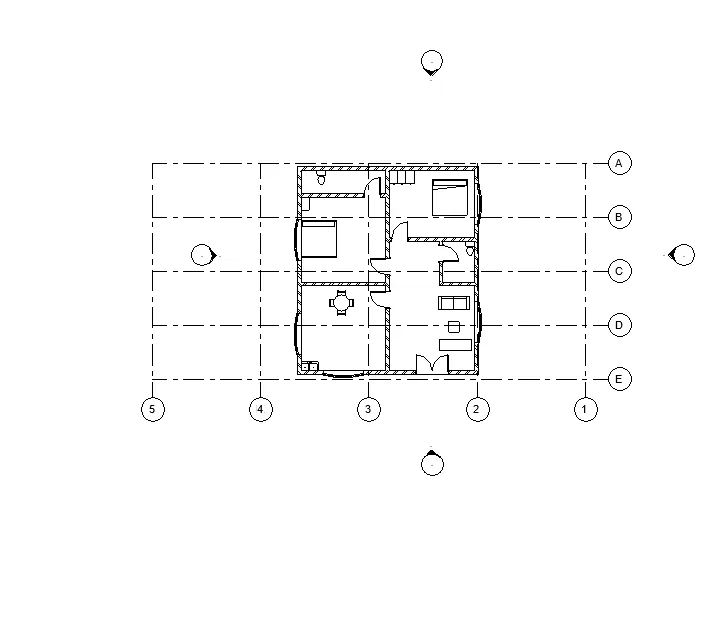
RESULT
--------------------------------------------------------------------------------------------------------------------------------------------
2.AIM
To create a floor plan and need to apply the material and thickness to the walls using the property browser
verify using the property browser to see if the top and bottom of the walls are constrained.
Need to understand the benefits of connecting walls with assosiated levels rather than being unconnected
Need to know which option is convienient for modelling walls , by height or depth
INTRODUCTION
- Material libraries are collections of materials , usually from a single source ( like a manufacturer) in the Autodesk library format
- BIMSmith has hundreds of revit material libraries available for download and use in your revit projects
- The way materials are used may vary greatly from project to project , and therefore the level of information required might vary too .
- Thus , we must be aware of the intended use of materials when working on a model
PROCEDURE
STEP1
- First we will select the floor
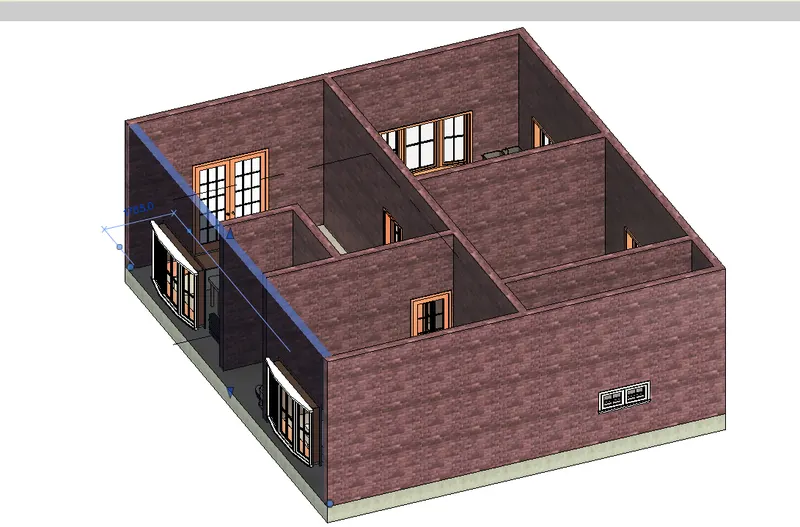
- After selecting the floor, we need to click on the edit type from the properties browser
-
-
STEP2
- By clicking the edit type , the 'type properties tab' will be visible on the screen
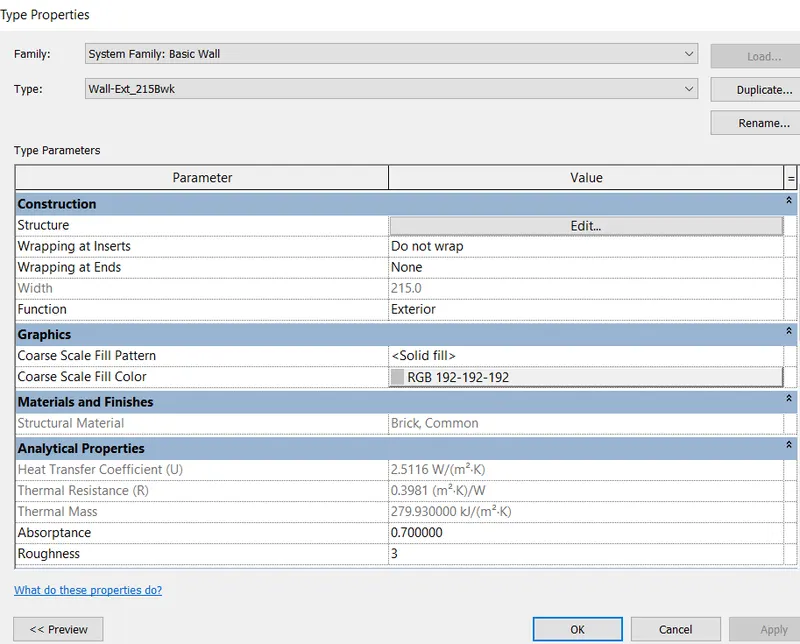
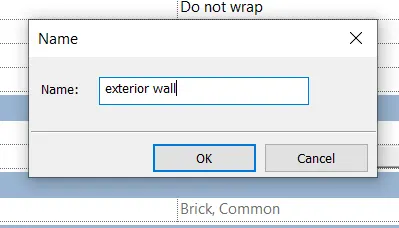
- Duplicate it and rename it as exterior wall
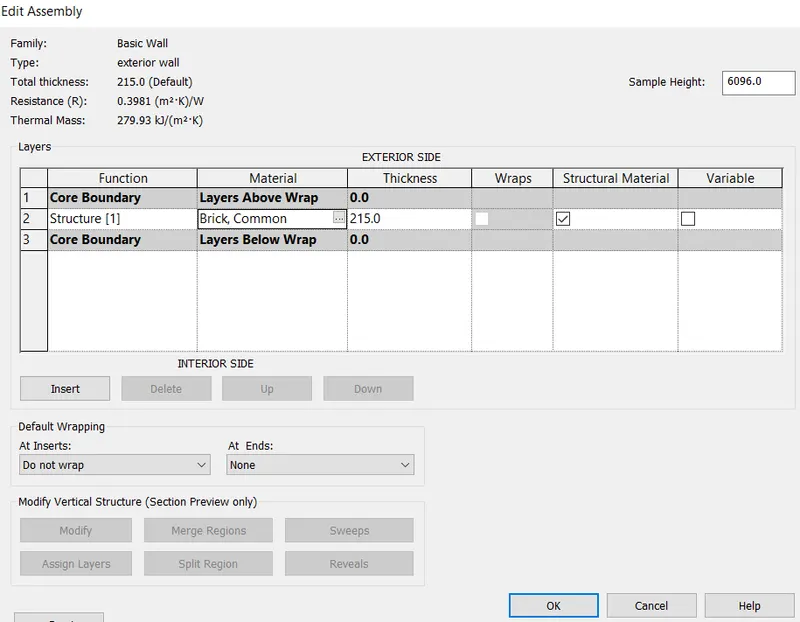
- For changing the material we need click on the edit option displayed in the 'type properties tab '
- After clicking the edit option , the edit assembly tab appears
- then we will select the material
- after clicking that the material browser appears , then select the material
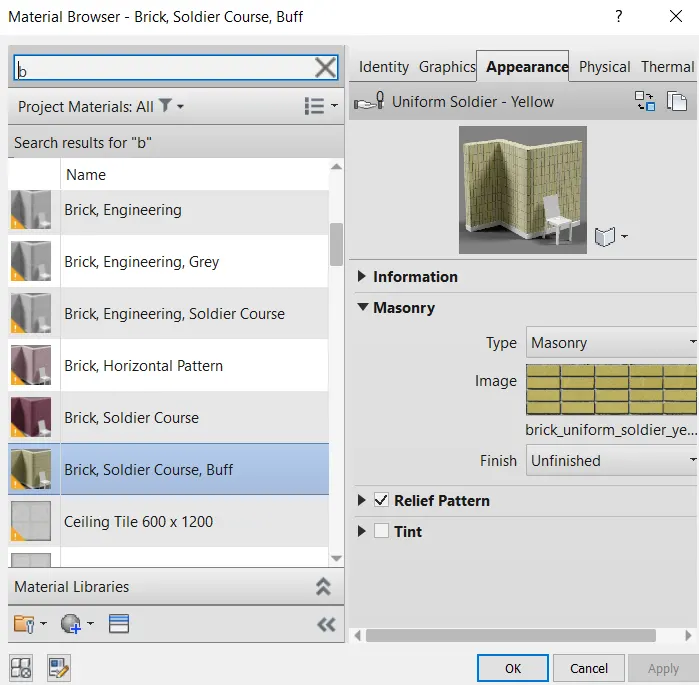
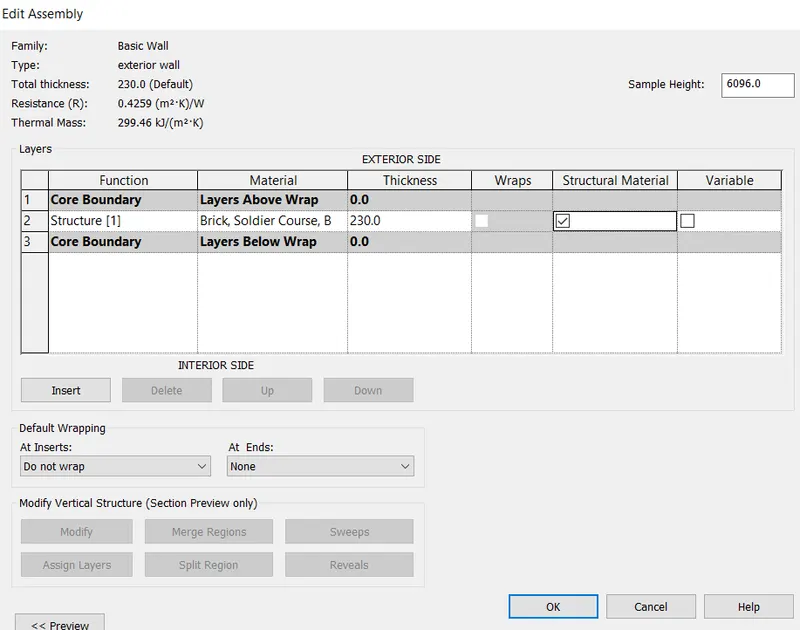
- After applying the materilas to the wall
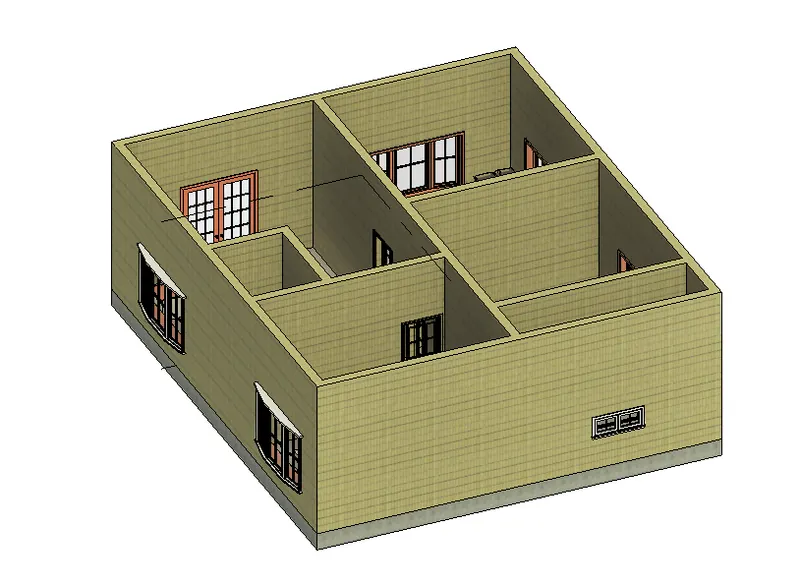
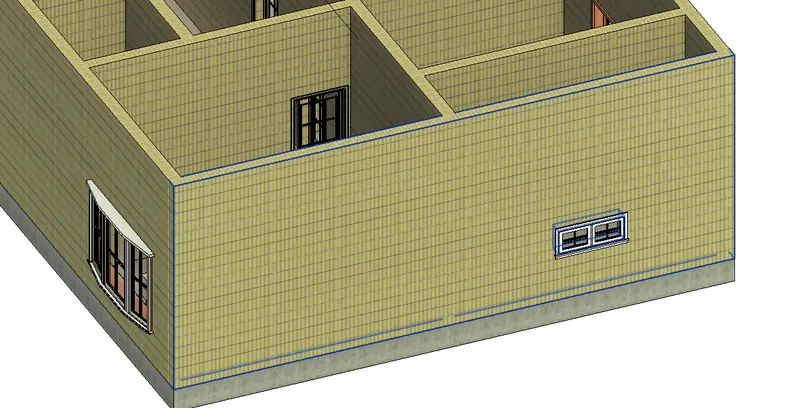
STEP3
Based on your observation, what is beneficial for connecting walls with associated levels rather than being Unconnected
- If we select the constraint upto first floor, the height of wall changes with the levels
- if we put height of levels as 4000 then the height of wall is also changes to 4000
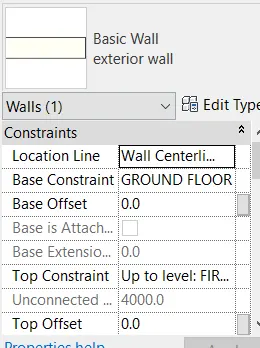
- Height of level is changed then height of the wall also changes
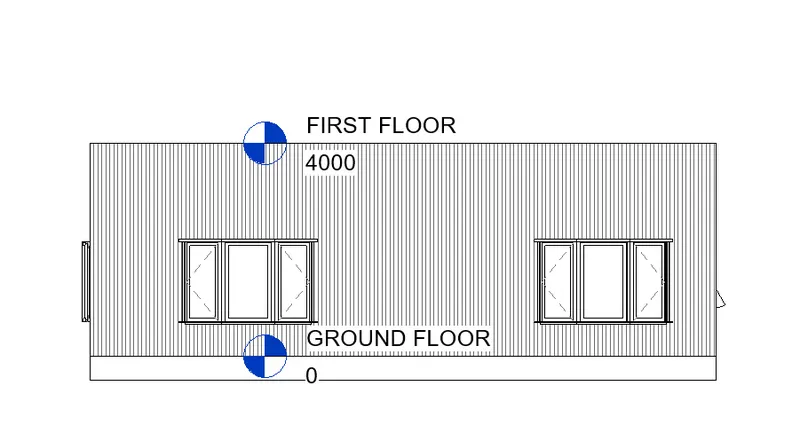
- If we select the top constraint as unconnected, the height of wall doesnot changes with the levels
- when we put the lwall height to the 2000 the only wall height is changes , the height of level will not be changed
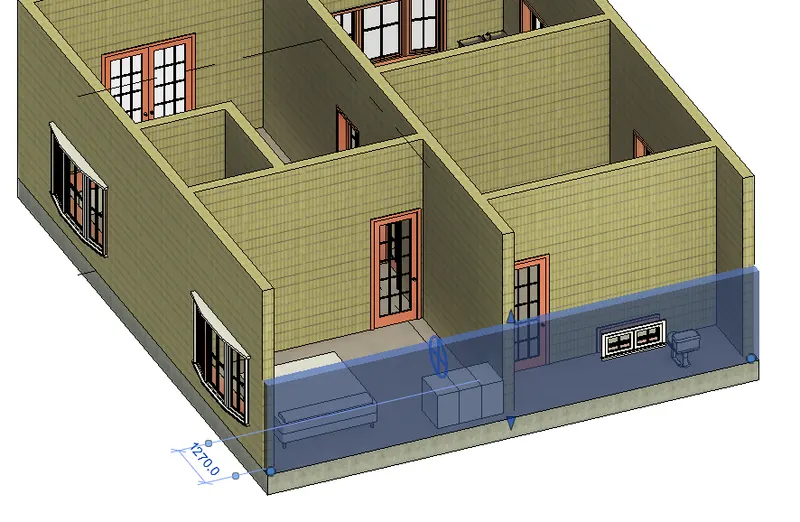
STEP4
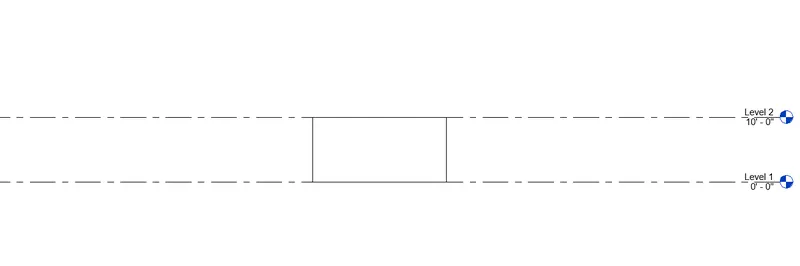
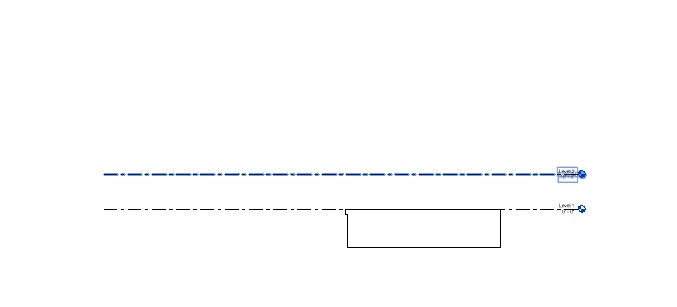
Which option is convenient for modeling walls, By Height or By Depth?
- when we select the height option for the wall, the wall will be created above the level
- when we select the depth option for the wall, the wall will be created below the level
RESULT
- Materials have been applied to the walls
- The top and bottom of the walls are constrained
- height of the wall is convenient for modelling walls
-------------------------------------------------------------------------------------------------------------------------------------
3.AIM
Use modify tab to utilize copy and paste options to align elements to a different level
INTRODUCTION
- Autodesk Revit is a building information modelling software tool for architects , landscape architects , structural engineers , mechancial, electrical and plumbing (MEP) engineers, designers and contractors .
- The software allows users to design a building and structure and its component in 3D , annotate the model with 2D drafting elements , and access the building information from the building model's database.
- The revit sotware offers the following
- Revit customization and support
- Revit plugin development
- Revit mobile app development
- Custom Revit add-ins for MEP
- Some of the major advantages of revit are as follows
- parametric modelling
- collaboration
- coordination
- scheduling
- energy analysis
- rendering presentation
- construction documentation
PROCEDURE
STEP1
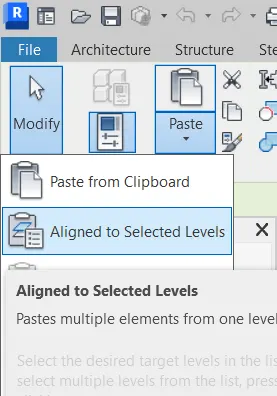
- First we need to select the total groundfloor, then the groundfloor is copied to the clipboard
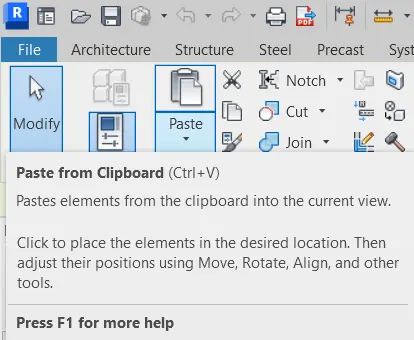
- then we will use the paste option to allign elements to a different level
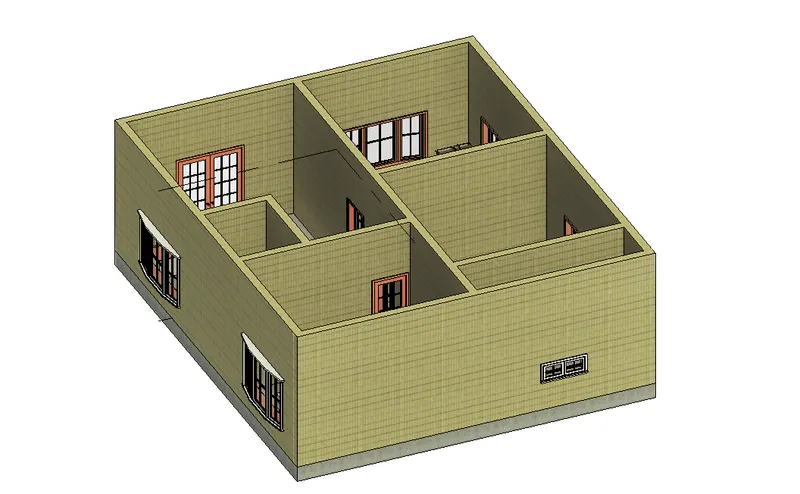
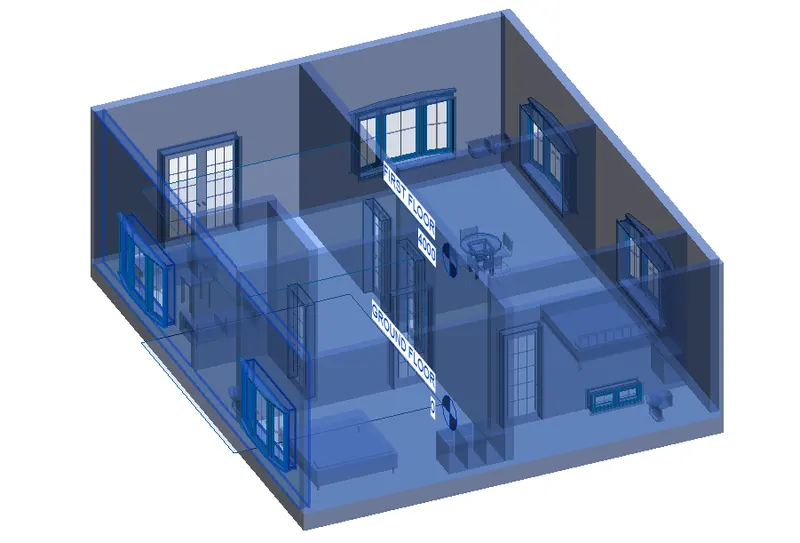
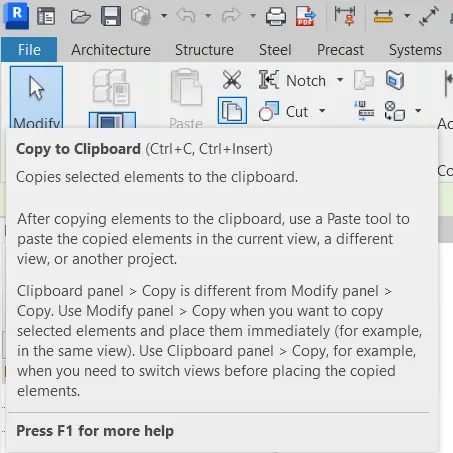
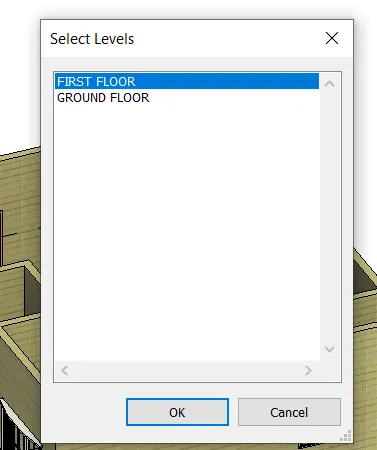
- Next we need to paste the copied element to selected levels
STEP2
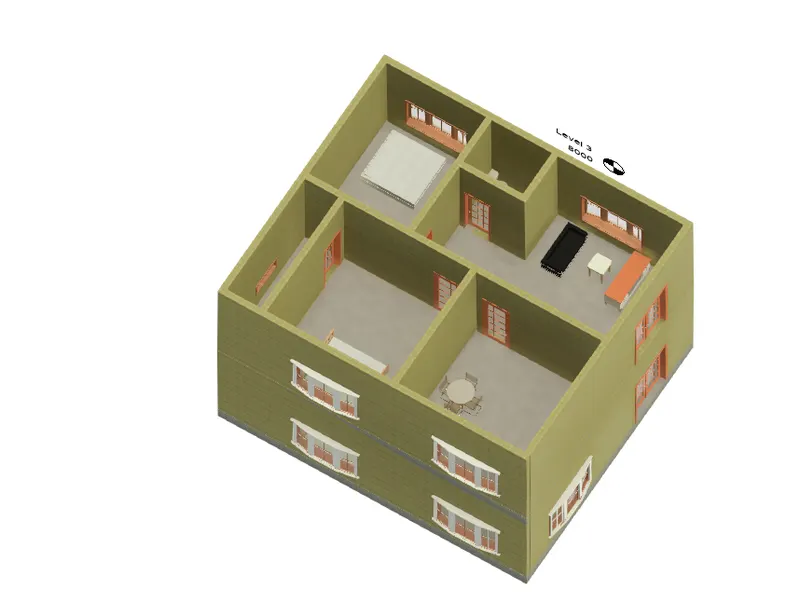
finally the elements are alligned to the different levels
RESULT
The elements are successfully alligned to the different level using the copy and paste options
--------------------------------------------------------------------------------------------------------------------------------------------
4.AIM
To create separate rooms within your residential unit using the interior partition walls.
INTRODUCTION
- A partition wall is a thin wall that is constructed to divide an enclosed space
- it is usually constructed as non load bearing wall that facilitate spatial division and provides priavcy, improved acoustics and fire separation
- Partition walls also bring flexibility to the building layout
PROCEDURE
- select the interior wall and change the wall type as partiton wall
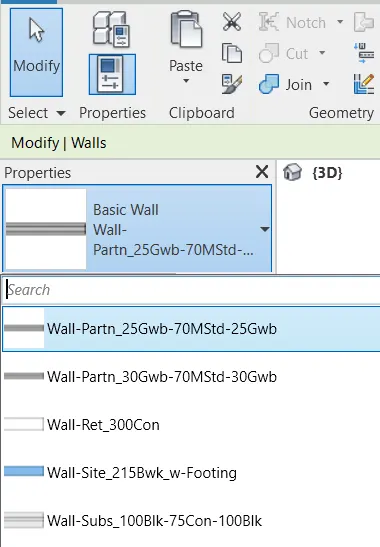
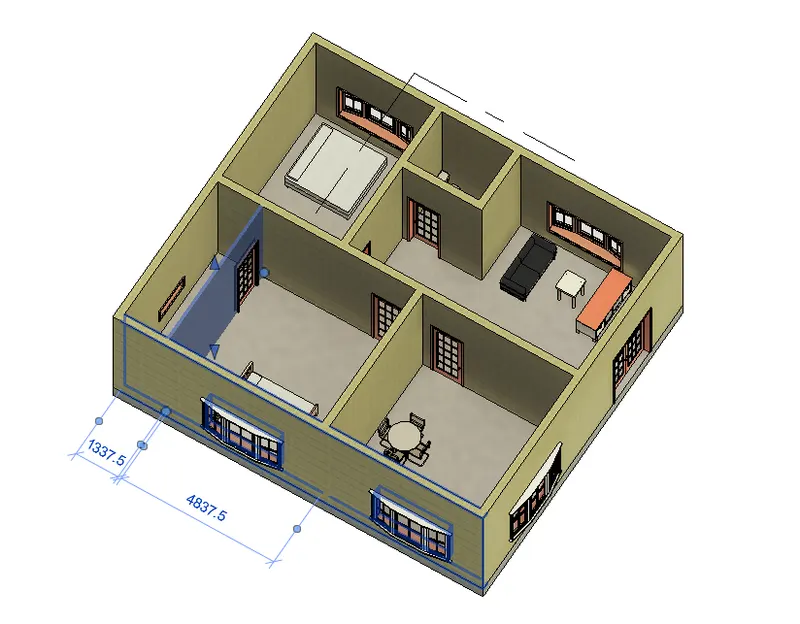
- interior walls are created
RESULT
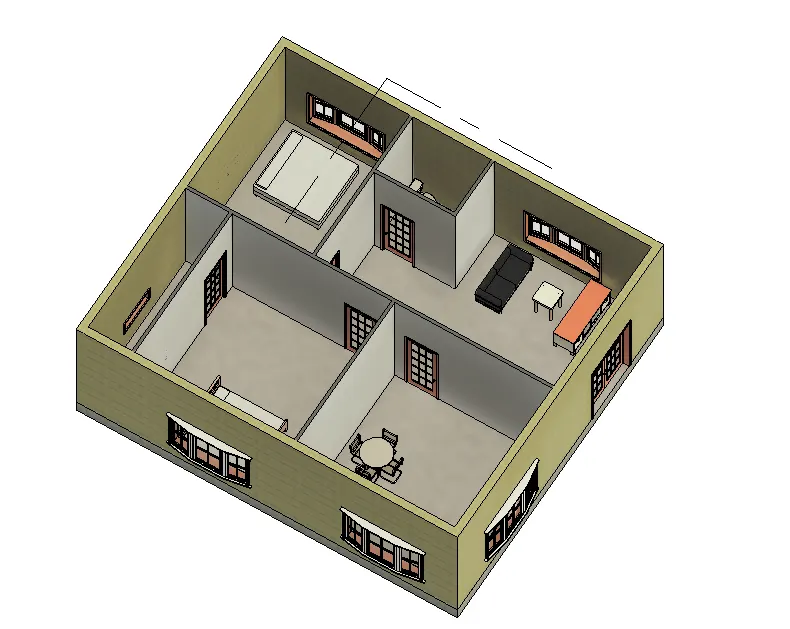
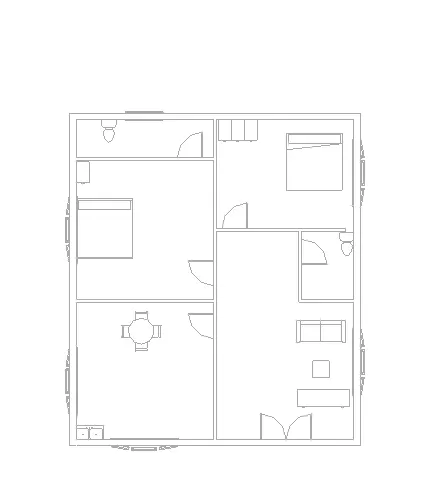
The interior partion walls are successfully created
--------------------------------------------------------------------------------------------------------------------------------------------
5.AIM
To insert the components in appropriate locations to add details to the residential model, based on week 2 assignment
INTRODUCTION
- Revit families are amazing libraries of fully functional templates and 3D models of various objects , that can be downloaded from external sources , for example from our website
- Revit families are crucial part of revit, as each 3D building model is made from hundreds or thousands of different revit families
PROCEDURE
STEP1
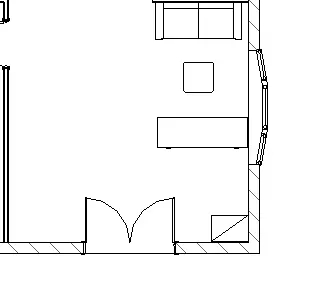
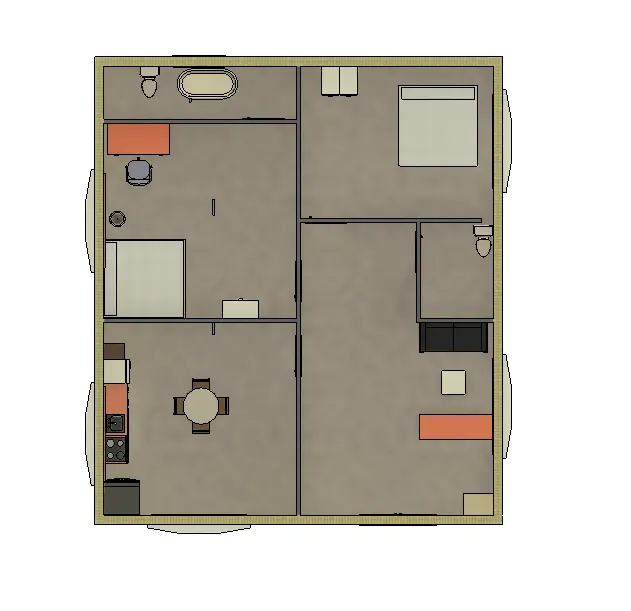
- Insert the furniture components in the hall
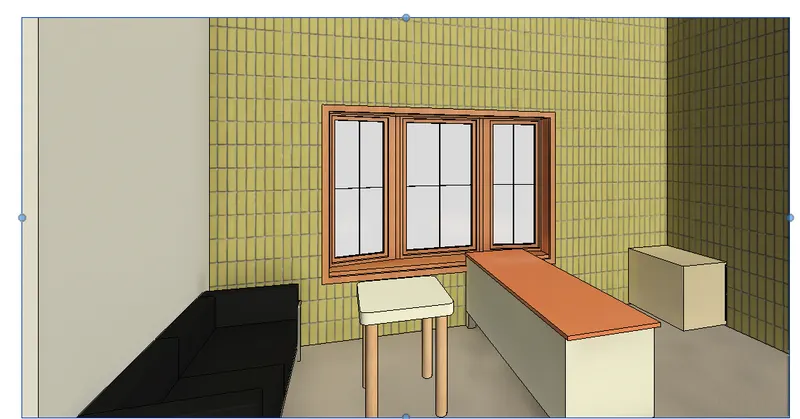
STEP2
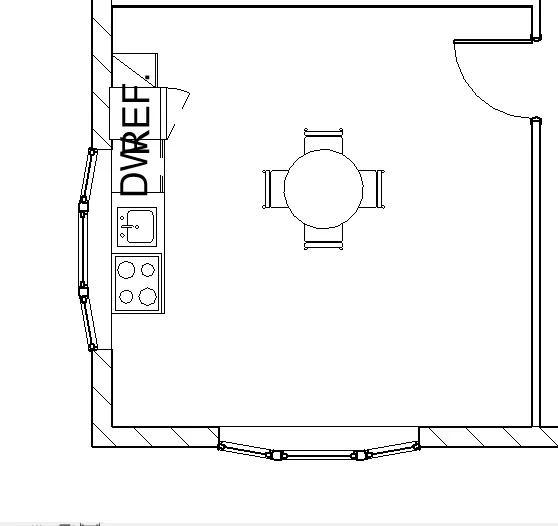
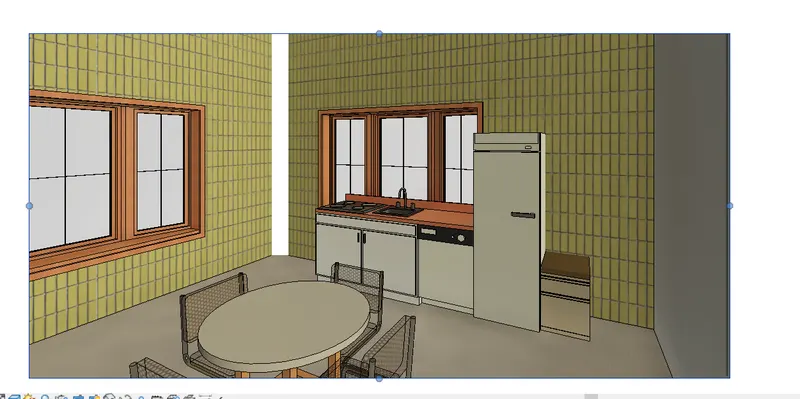
- we insert the kitchen cum dinning components from the library
STEP3
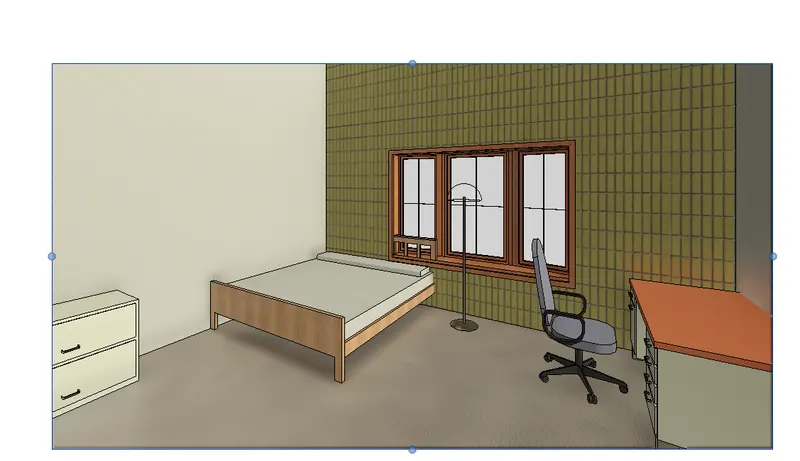
- Next we insert the bedroom components from the library
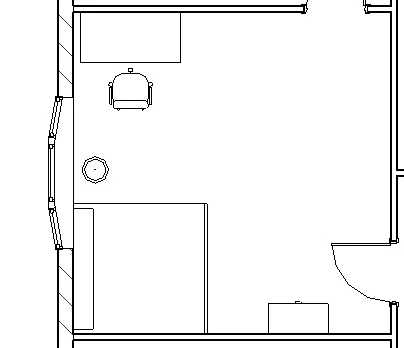
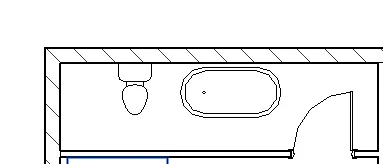
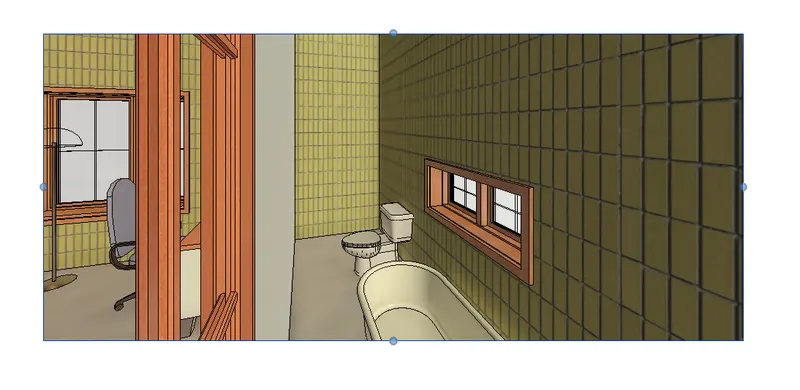
STEP4
- Next we insert the toilet components from the library
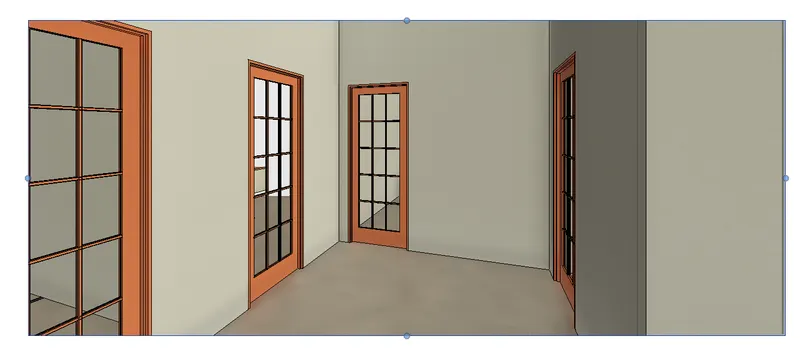
STEP5
- Way to bedrooms and kitchen
- top view
STEP6
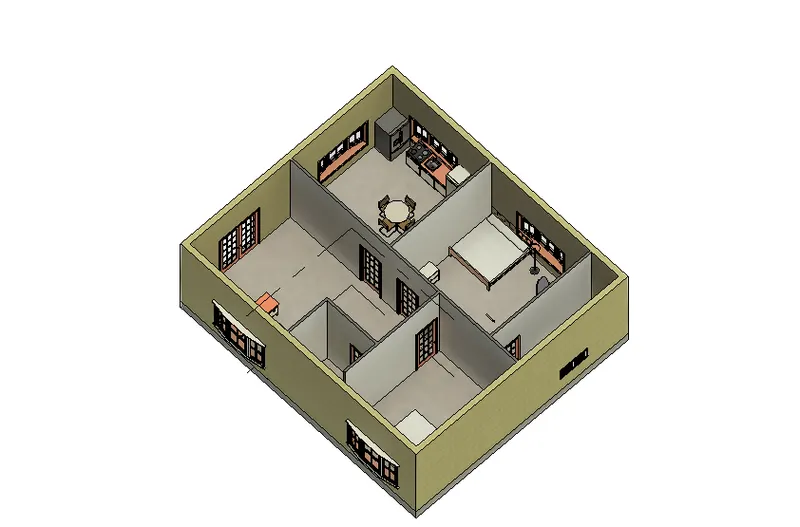
- layout plan is turned into 3D view , and all the components are visible in this view
RESULT
All components are inserted successfully from the library in the systematic manner
---------------------------------------------------------------------------------------------------------------------------------------------