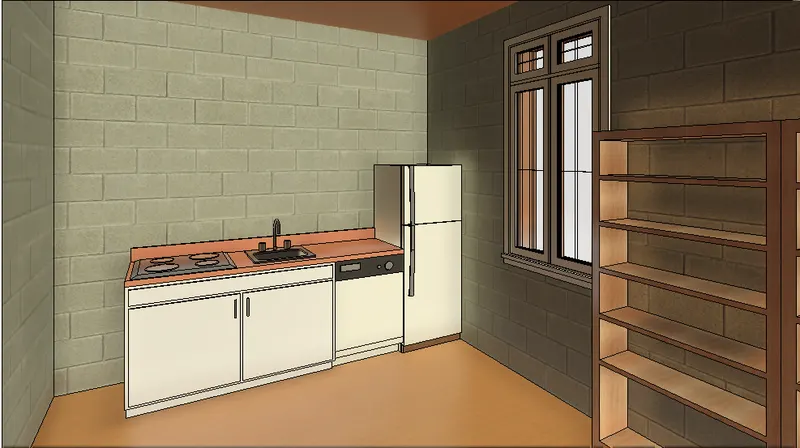
Creating Walls, Partition walls and Floors for a residential layout using REVIT
1.
Aim:
To create a floor for the layout created in week 2 challenge and select the floor with appropriate material and thickness using the properties browser.
Introduction:
Floor in revit is a parametric element. It is used to create the rooms in a layout. It is a parametric element so the thickness and the matrials are defined by the user.
Procedure:
- Open Revit software.
- Open the project that was created in week 2 challenege named as 'Q6'
- Select the floor under architecture tab.
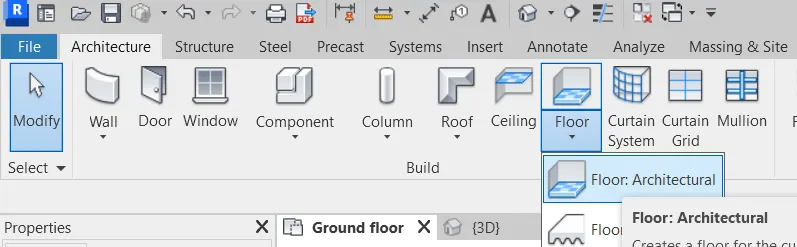
- Select pick line option.
- Select the outer lines of the layout and click finish edit mode.
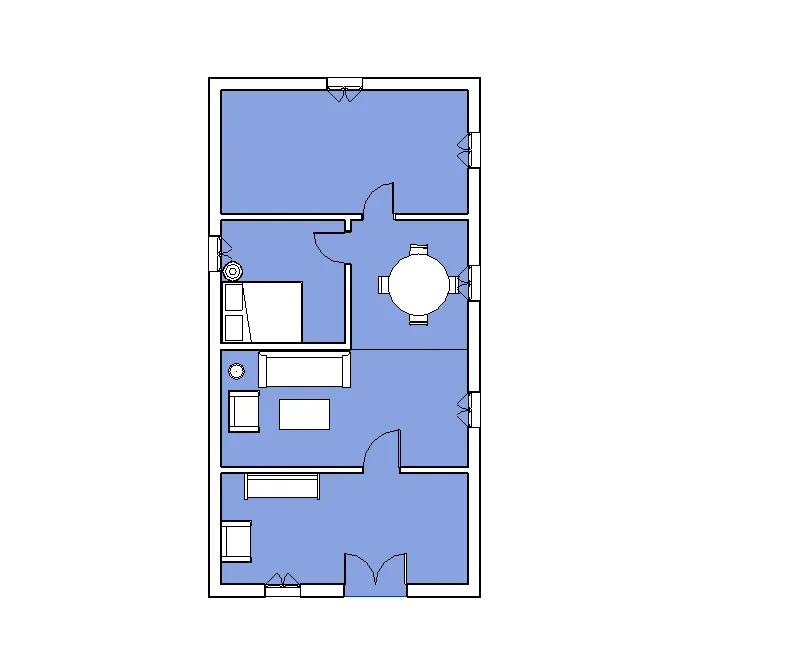
- Open 'Edit type' in the properties browser.
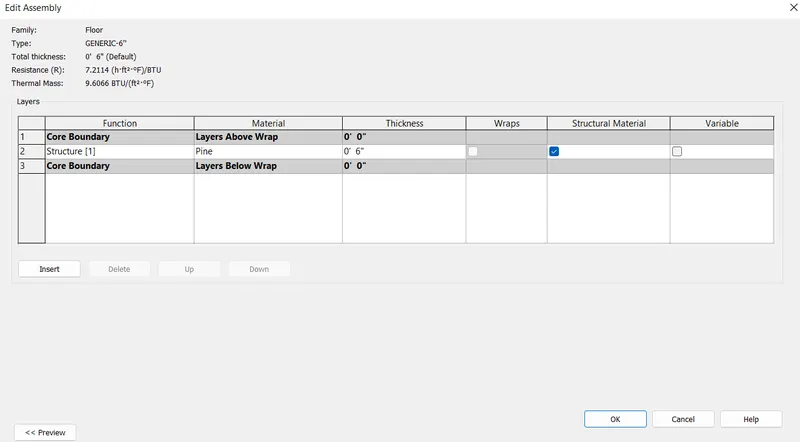
- Create duplicate of the floor element and name it as Generic-6''
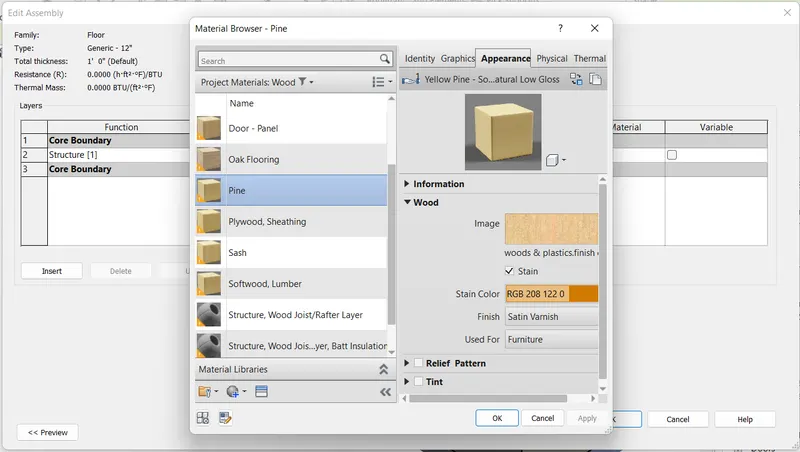
- Click edit
- Select the material as 'pine' wood.
- Change the thickness as 6''
- Set the model to default 3D view.
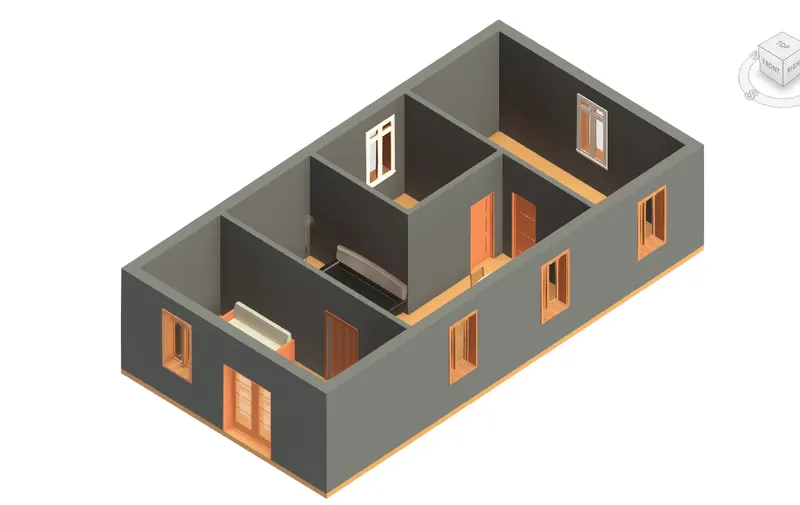
Result:
A floor for the layout created in week 2 challenge is created and the material and thickness of the floor is changed using the properties browser.
2.
Aim:
To add the wall to the layout and use properties browser select appropriate material and thickness for the wall.
Introduction:
Wall is a parametric element. It is used to elcloses or divide the structure. In this layout we use the wall material as concrete masnory and thickness as 9''
Procedure:
- Open the Previously created project.
- Walls in the project was already created by using finish face interior.
- Click the wall.
- Open 'Edit type' in the properties browser.
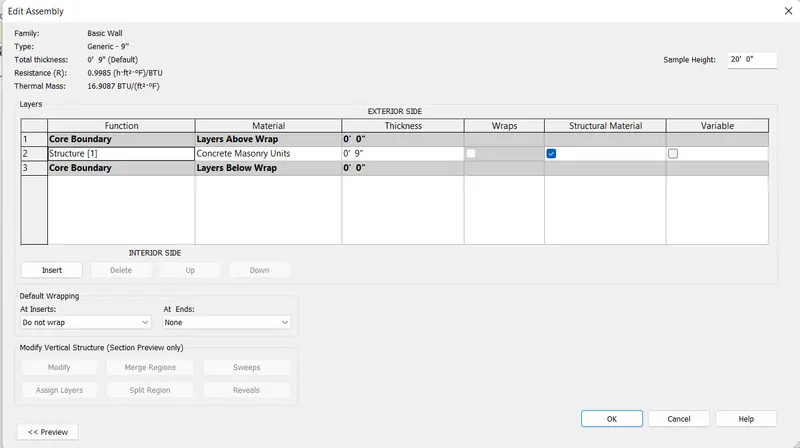
- Duplicate it with the name of Generic-9''
- Click edit
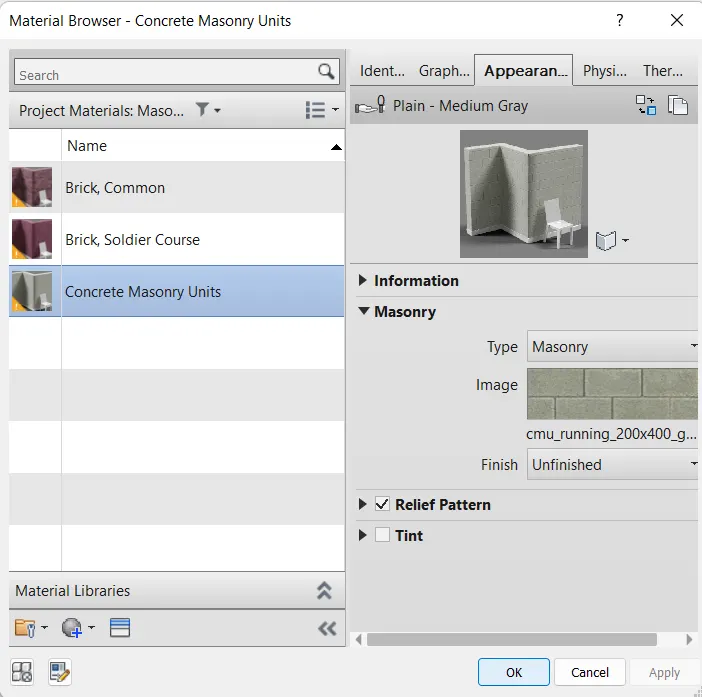
- Select the material as concrete masnory.
- Change the thickness as 9''
- Similarly click the internal wall.
- Change the material as concrete masonry.
- Change the thickness to 4.5''
- Set the view as defalut 3D view.
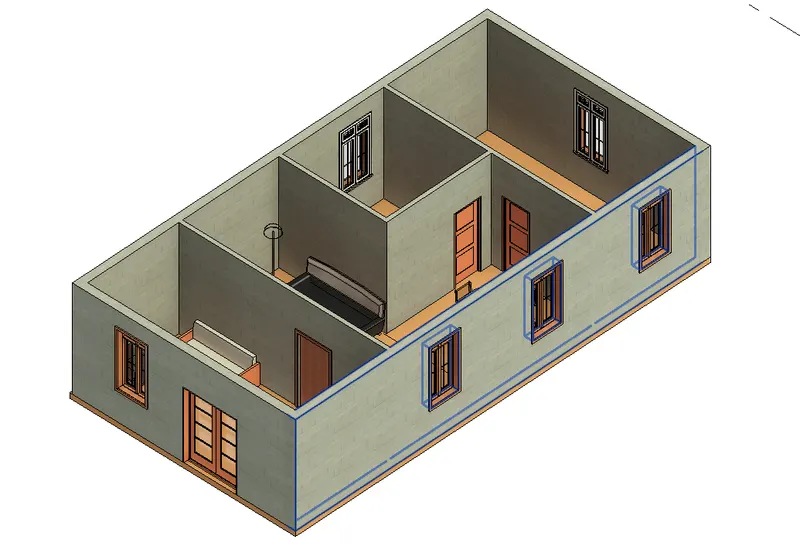
- Check the properties browser.
- The bottom constraint is ground floor and the top constraint is upto first floor level.
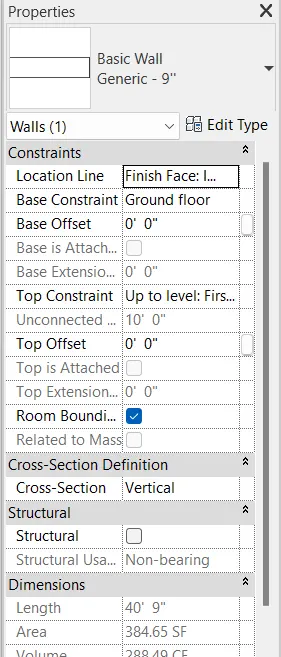
Result:
The wall to the layout is added and use properties browser material and thickness for the wall is changed with appropriate materal and thickness.
a) Based on my observation, the benificial for connecting walls with associated levels is If the levels is changed the wall height is also changed with respect to levels. So, it is benifical rather then unconnected.
b) Using heigth is convenient for modeling walls. By using height the wall height will automatically changed depends on the constraint.
3.
Aim:
To Copy the model elements modelled to Ground Floor Level and paste it aligned to First Floor Level.
Introduction:
Copy and paste option in revit is used to copy the element from one position and paste it to the another position or copy to the clipboard and use paste option we can place it to the aligned to selected levels, aligned to pick levels etc...
Procedure:
- Use cursor copy the entire ground floor elements.
- Click 'Copy to clipboard' under the modify tab.
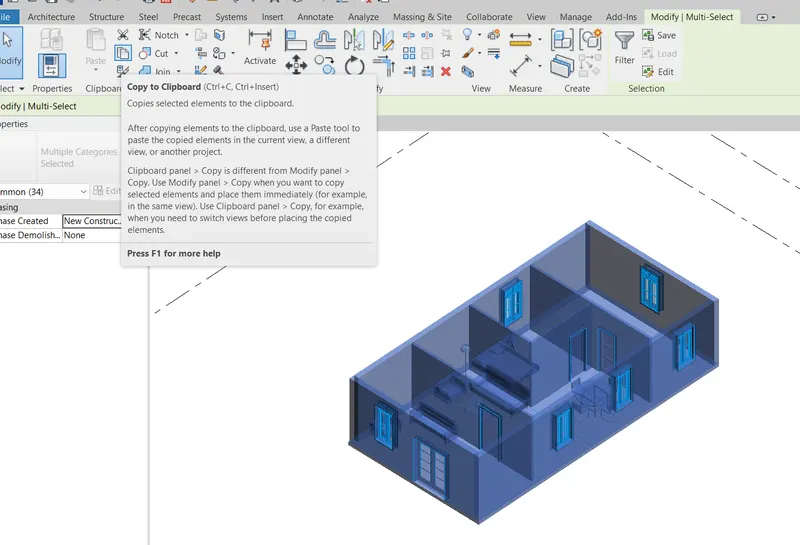
- Click the dropdown pannel and select aligned to selected levels.
- Select first floor.
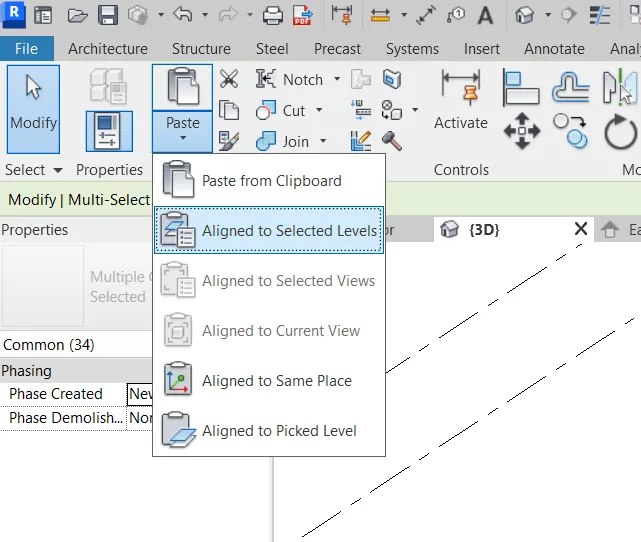
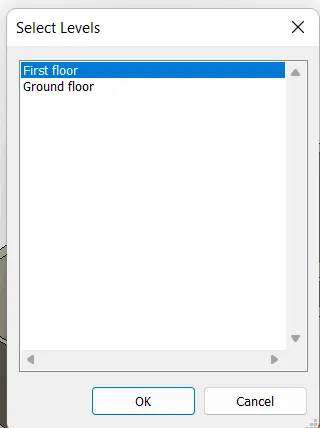
- The entire elements in the ground floor level is copied to the first floor level.
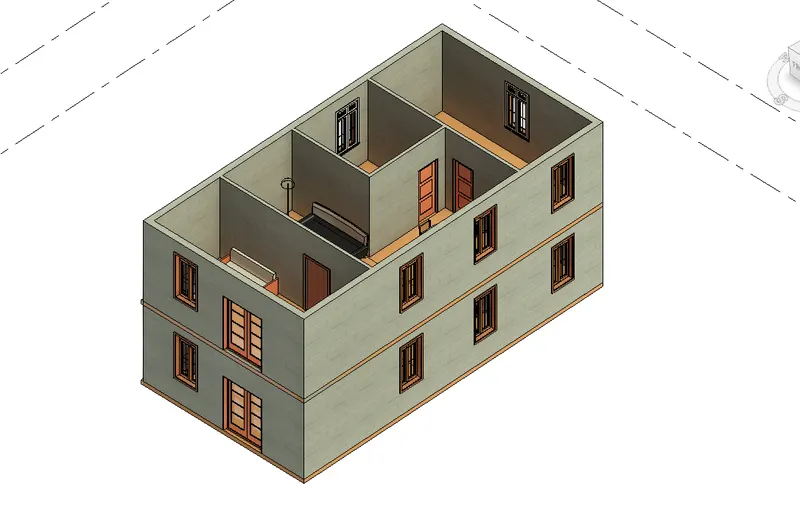
Result:
The model elements modelled to Ground Floor Level is copied and pasted it aligned to First Floor Level.
4.
Aim:
To create seperate rooms within the residential unit by using partition walls.
Intoduction:
Partition walls are used to seperate the rooms in the residential or commercial unit. In this project create partition walls to include the following rooms such as,
- Living room
- Dining room
- Besd room
- Rest room
- Kitchen
Procedure:
- Interior partition walls are added alredy. So, make some changes in the interior partition walls.
- Pick the 'interior wall' arcitectural option under architecture tab.
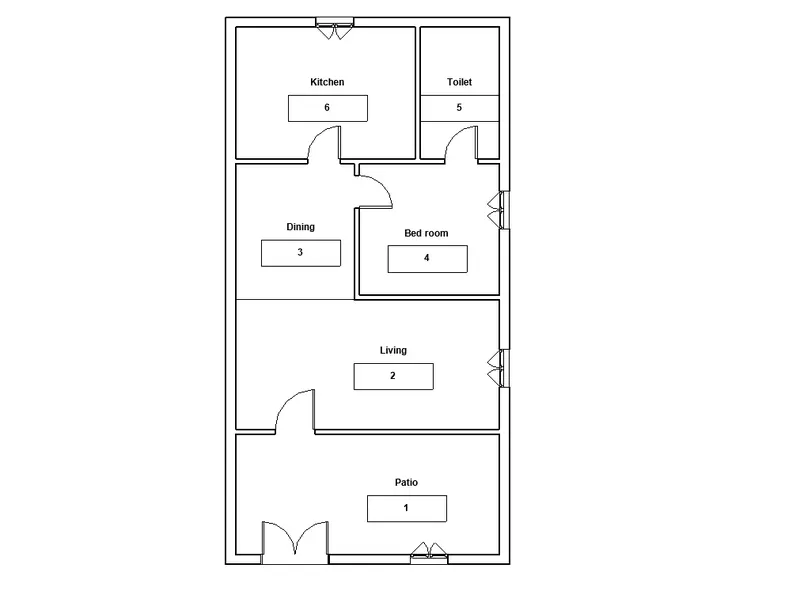
- Create walls of the mentioned dimensions patio (20'X10'), Living (20'X10'), Bed room (11'X10'), toilet (6'X10'), dinning (9'X10') and kitchen (13'X10')
Result:
Rooms within the residential unit is created by using interior partition walls of thickness 4.5''
5.
Aim:
To place components in appropriate locations to add details to the residential model.
Introduction:
Components in revit is used to give the details in the project. The level of details is make the model realistic as possible.
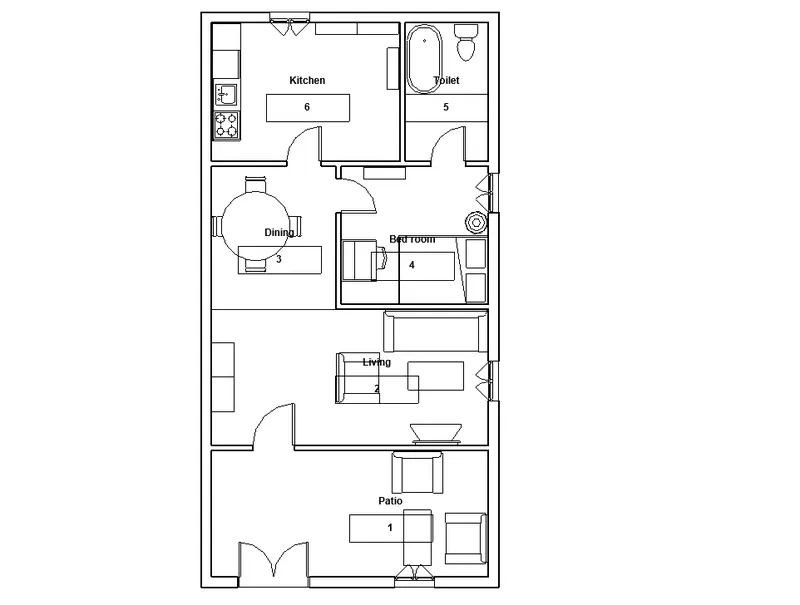
This model include the following components,
- Doors and windows.
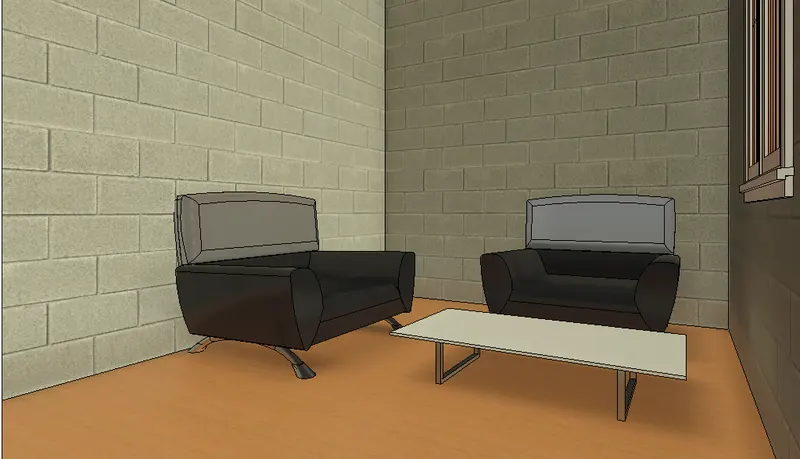
- Patio contain furniture set and coffee table.
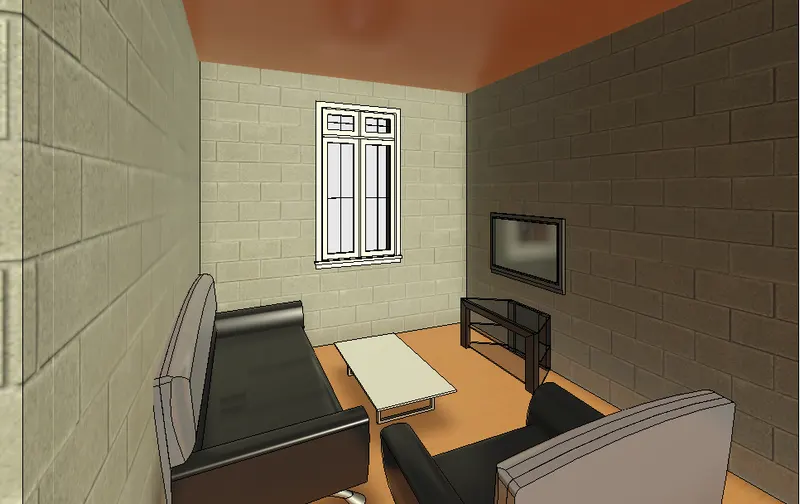
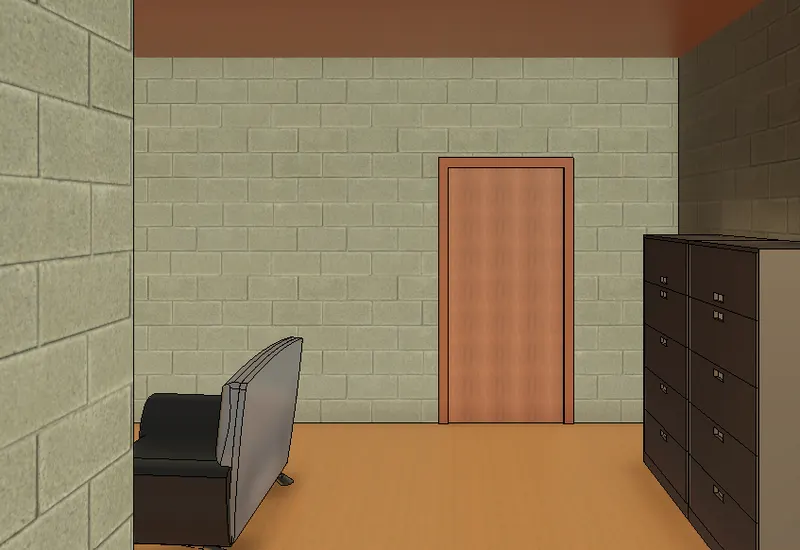
- Living Room contain furniture set, couch table and TV desk and shelf cabinets.
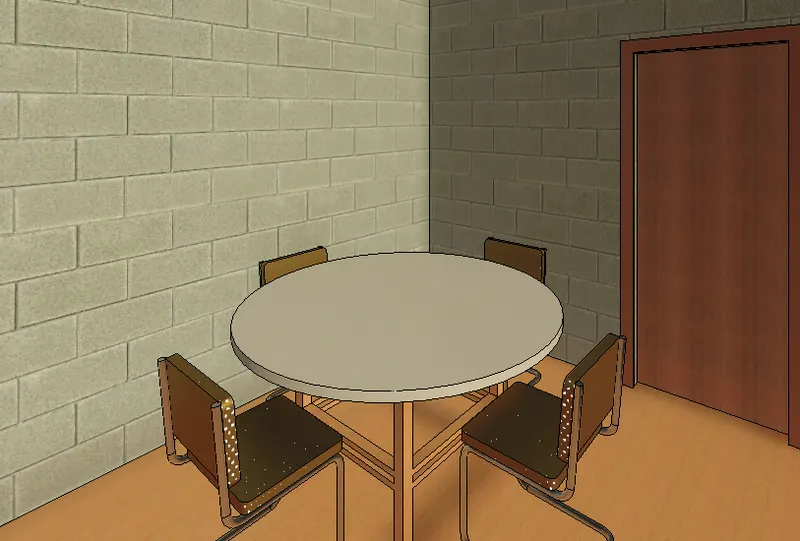
- Dining Room contain a table and chairs serving the purpose of eating.
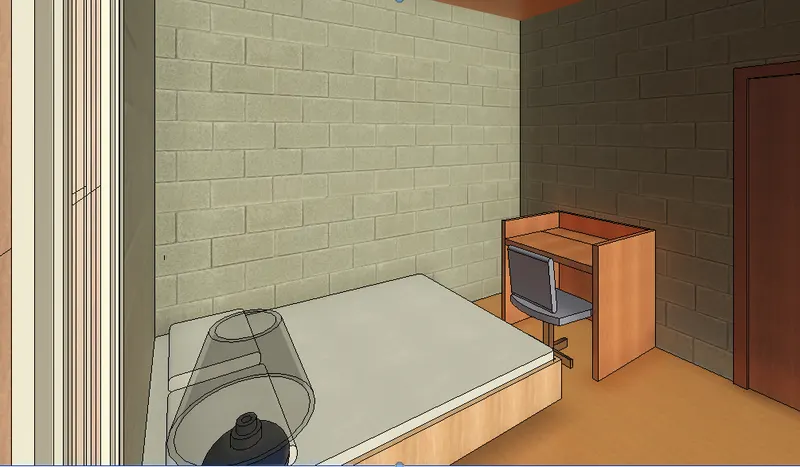
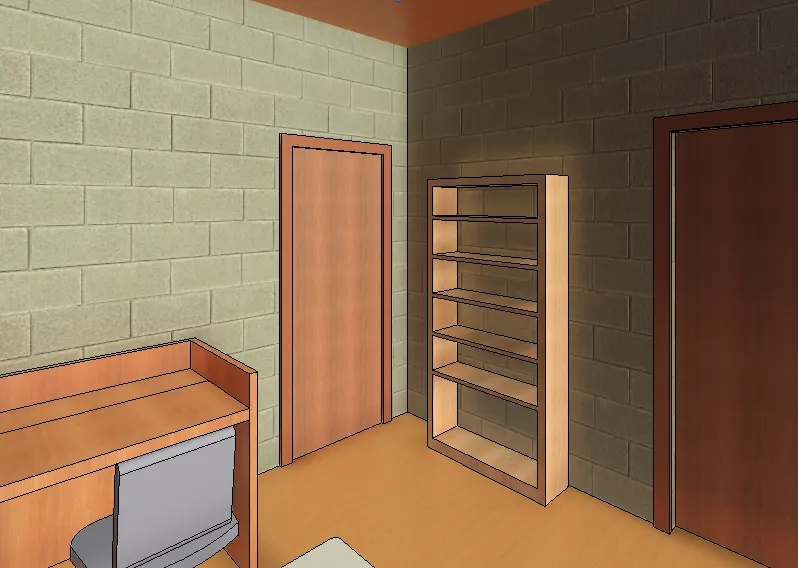
- Bed Room contain a bed set, shelf, lighting and individual study desk and chair.
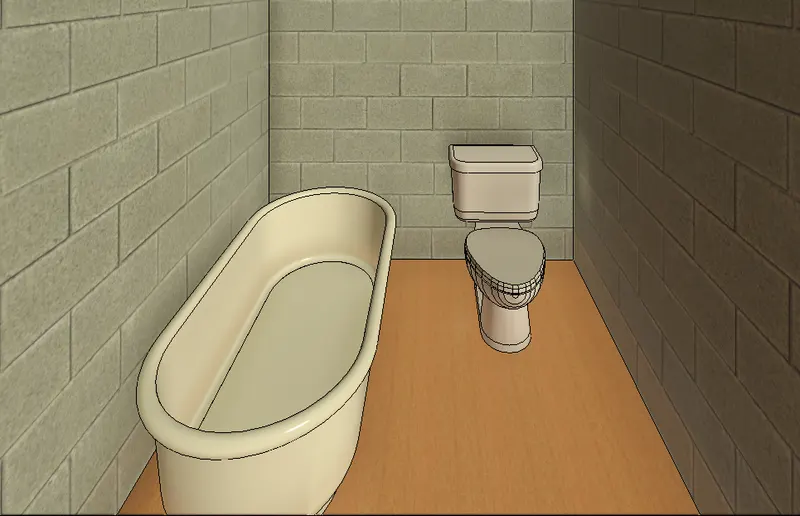
- Rest room contain bath tub and plumbing fixtures.
- Kitchen contain countertops, gas stove cabinet and shelves.
Procedure:
- Open the previous project of partition walls.
- Click 'insert tab'> click 'load family'> select 'categories'> select 'family'> select 'elements'
- Click open to load the elements into the project.
- Select 'place a component' under architecture tab.
- Choose the loaded components in the properties browser.
- Insert into the model.
Result:
Components are placed in appropriate locations to add details to the residential model.
patio
Living
Dining
Bedroom
Toilet
Kitchen