Creating Walls, Partition walls and Floors for a residential layout using REVIT
1. Aim: To create the project file created in week 2 by using floor tool under architecture tab by using proper material and thickness by using property browser.
Introduction:To create the project file created in week 2 by using floor tool under architecture tab by using proper material and thickness by using property browser.
Procedure:
- First we have to open the revit software by selecting proper temptlate which is to be used.
- Next for giving the material to the wall we have to select edit command in the project browser.
- Select the material which is to be edit the material.
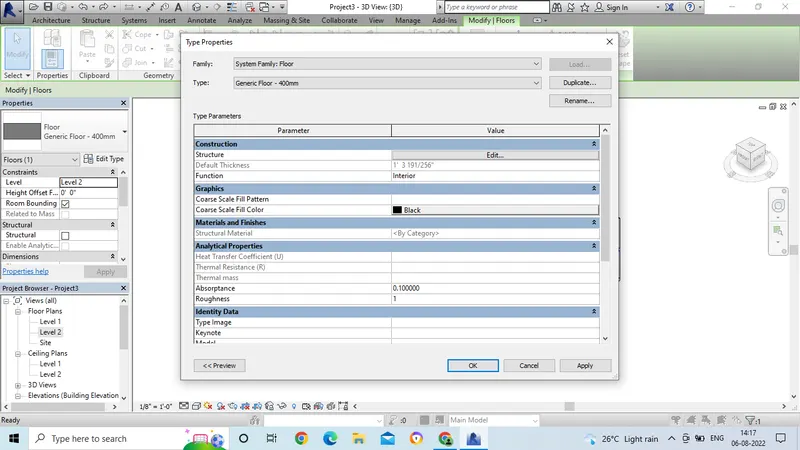
- After selecting the edit command next we have to click on by category.
- In this by category option we can change the material.
- And also the colour for material also can be changed.
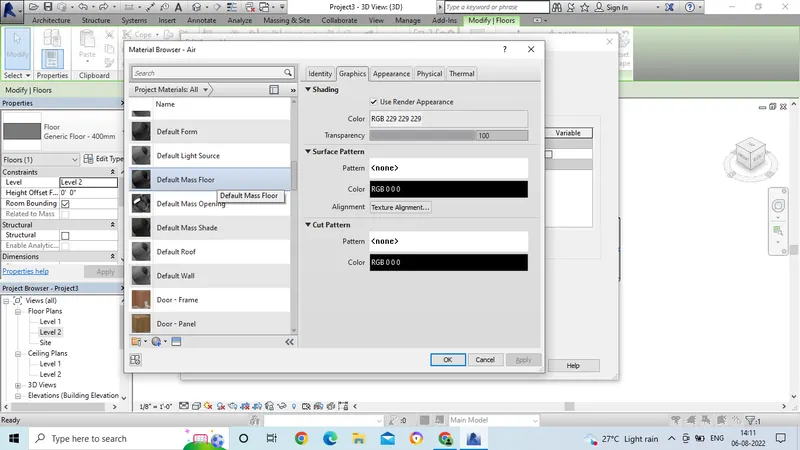
- After selecting the material then select for thickness.
- Then click "Ok".
- And then Apply and then "Ok".
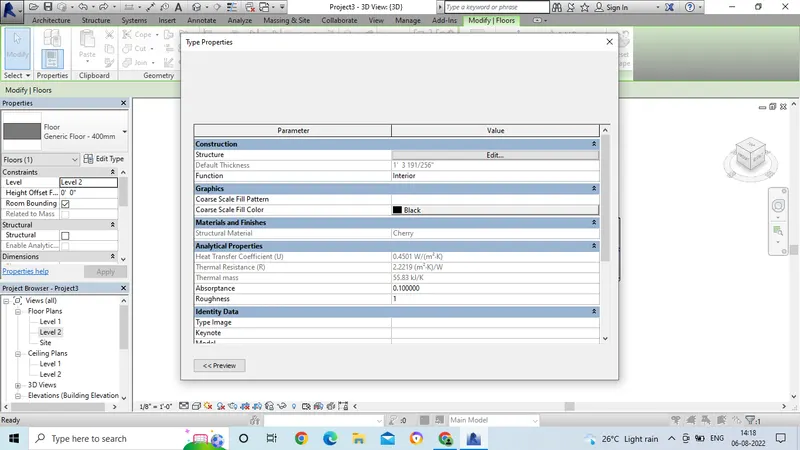
- After applying the material, go to the 3D view.
- Then select for shaded or realsitic view.
- Then the final drawing will appear after applying the material.
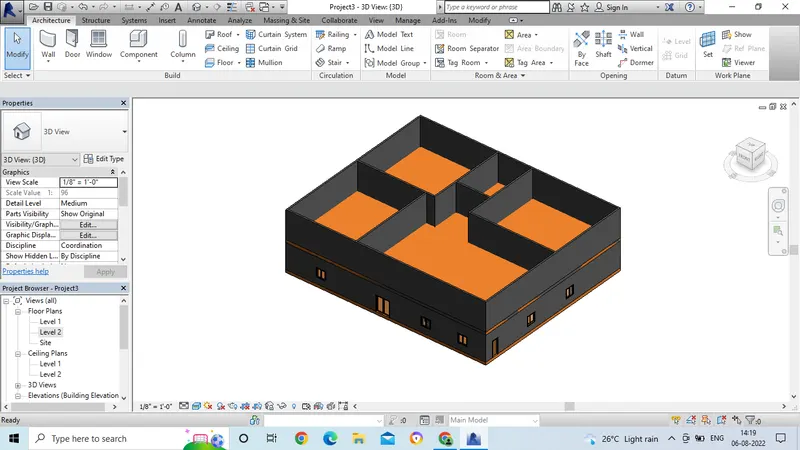
- In the same way by editing the material, we have to edit the thickness of the wall.
- In the Property browser click on the edit option.
- Then we can change the thickness of the wall.
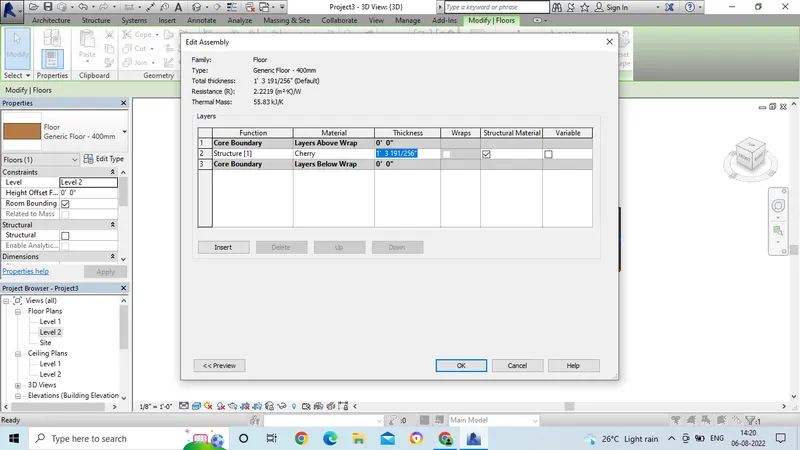
- After applying the thickness, go to the 3D view.
- Then select for shaded or realsitic view.
- Then the final drawing will appear after applying the material.
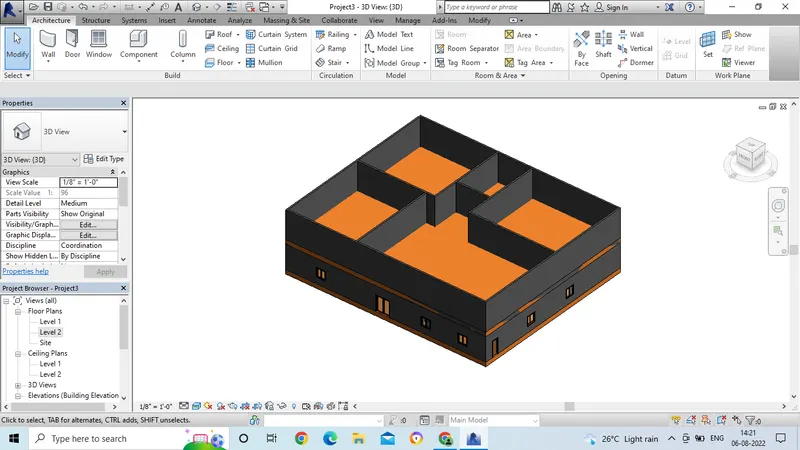
Result:
2. Aim: To add the wall on the floor layout by using the draw tool in the modify bar.
Introduction:To add the wall on the floor layout by using the draw tool in the modify bar and by selecting proper material to the wall.
Procedure:
- In the Architecture tab, by using the wall command we have to draw the walls.
- Then separate the rooms by using wall command.
- Then go for 3D view.
- Next for giving the material to the wall we have to select edit command in the project browser.
- Select the material which is to be edit the material.
- After selecting the edit command next we have to click on by category.
- In this by category option we can change the material.
- And also the colour for material also can be changed.
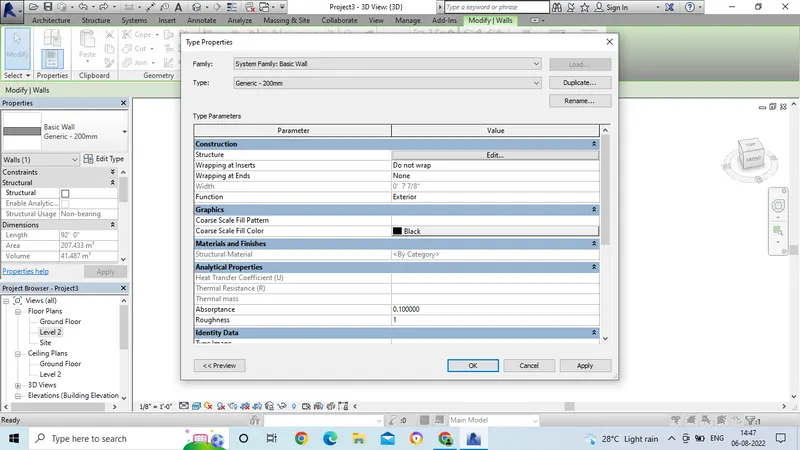
- After selecting the material then select for thickness.
- Then click "Ok".
- And then Apply and then "Ok".
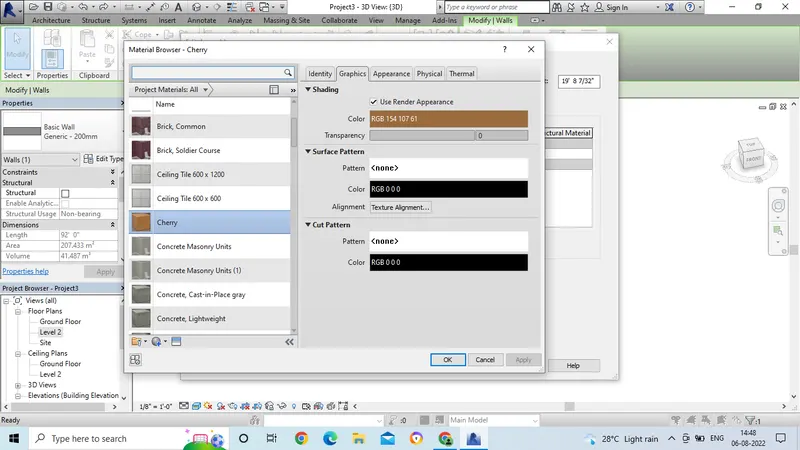
- After applying the thickness, go to the 3D view.
- Then select for shaded or realsitic view.
- Then the final drawing will appear after applying the material.
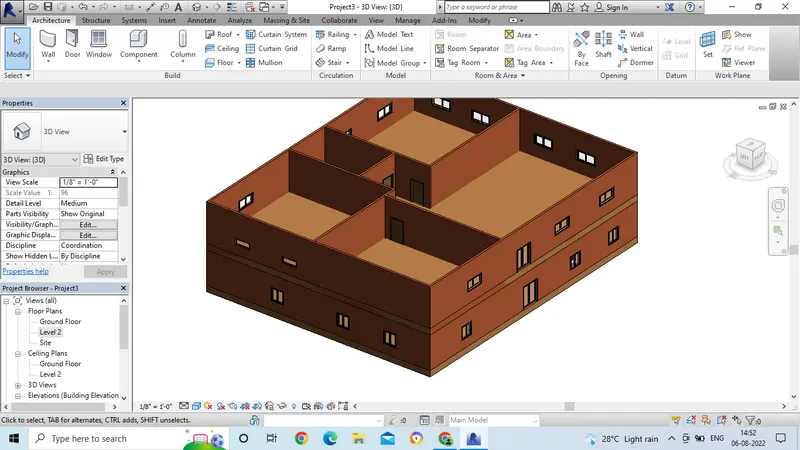
- In the same way by editing the material, we have to edit the thickness of the wall.
- In the Property browser click on the edit option.
- Then we can change the thickness of the wall.
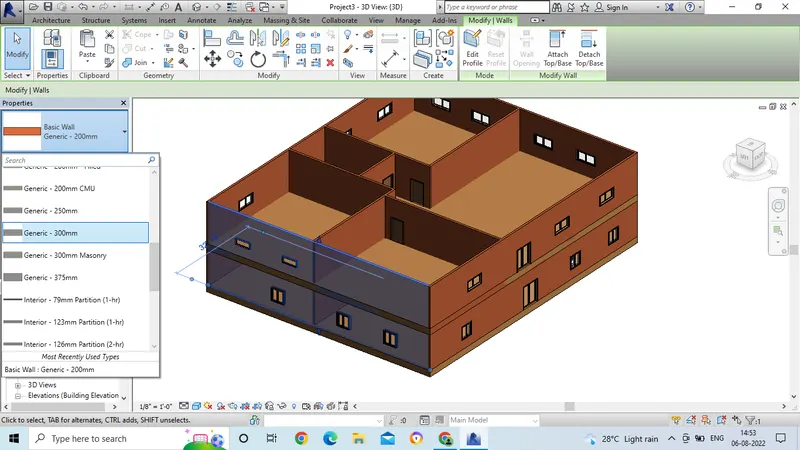
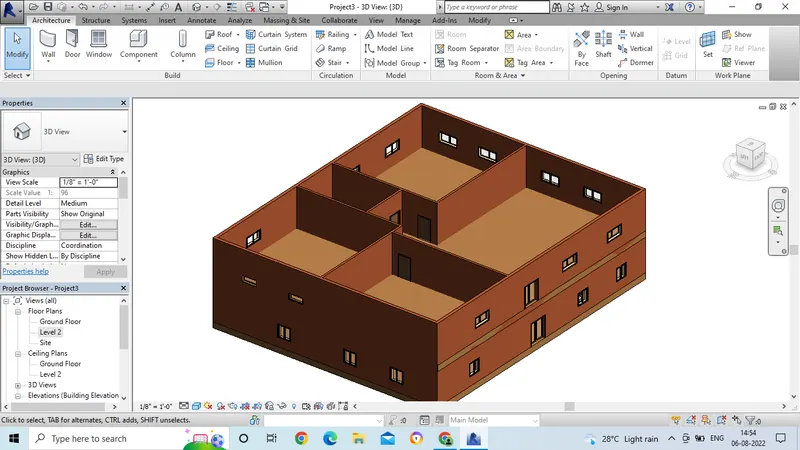
Result:
3. Aim: To copy the modeled ground floor to the first floor by using modify tab.
Introduction: To copy the modeled ground floor to the first floor by using modify tab.
Procedure:
- After creating the ground floor, we have to go for first floor.
- We can copy the elements which are created in the ground floor.
- We have to select the ground floor.
- Then we will get a command tool bar after selecting the material.
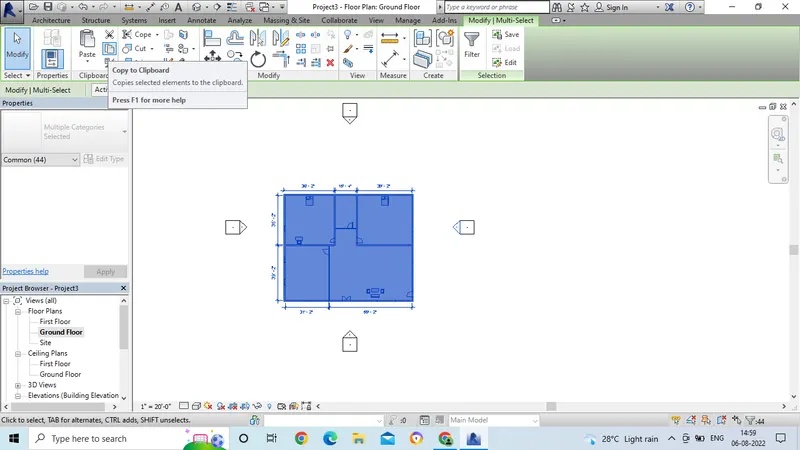
- Then select for the copy to clipboard option.
- Then select the paste option.
- In the paste option select for the Aligned to the clipboard.
- Then the first floor is copied with material.
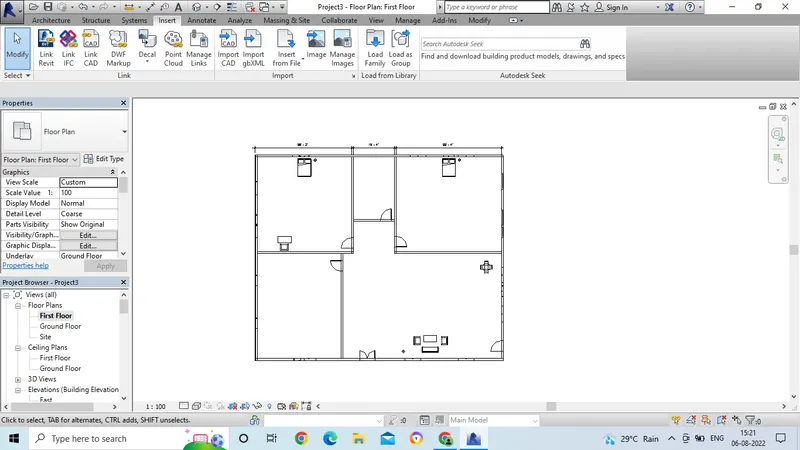
- After creating the first floor go for 3D view.
- In the view command select 3D view.
- Then final drawing is ready.
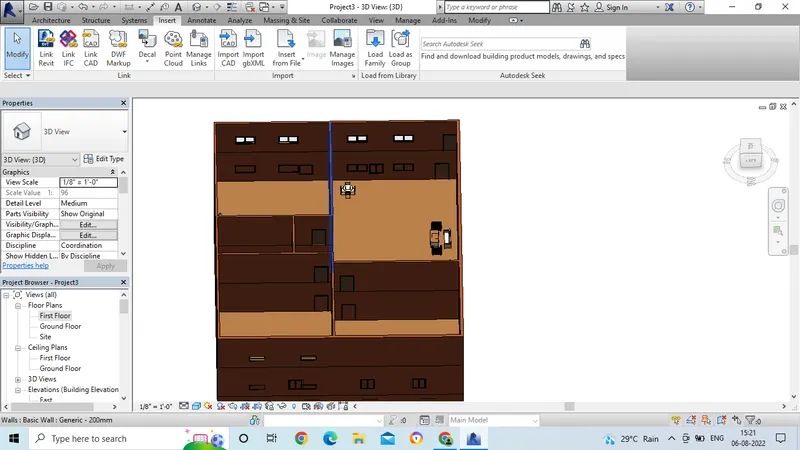
Result:
4. Aim: To create the seperate rooms within the residential unit by using given dimensions or by assuming the dimensions.
Introduction:To create the seperate rooms within the residential unit by using given dimensions or by assuming the dimensions.
Procedure:
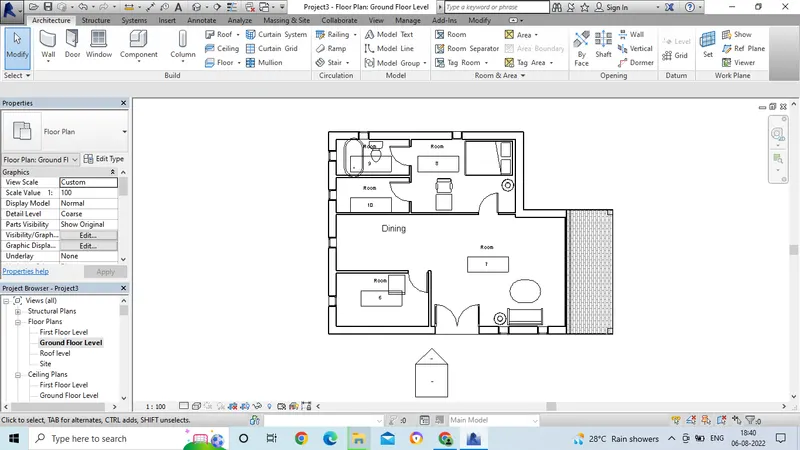
- We have to divide the room areas for the residential unit.
- For that go for the Architecture tab and select the wall command.
- Then draw the wall from the given dimenisons.
- And also as per vaastu we have to divide the room areas.
- Then separate the room portions as per the requirement.
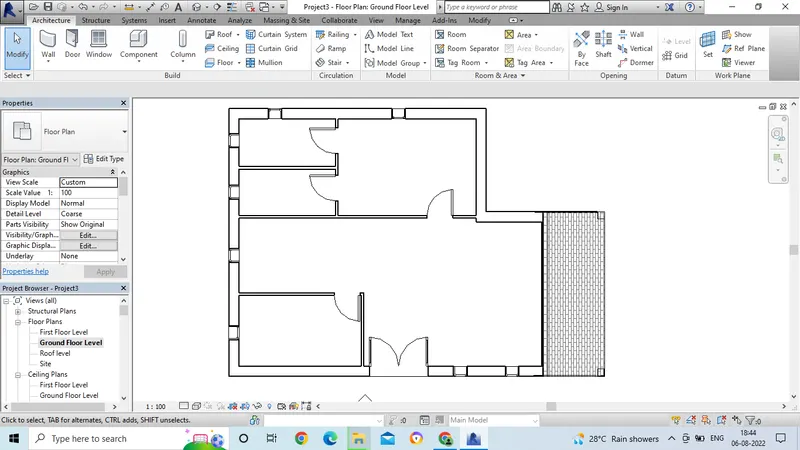
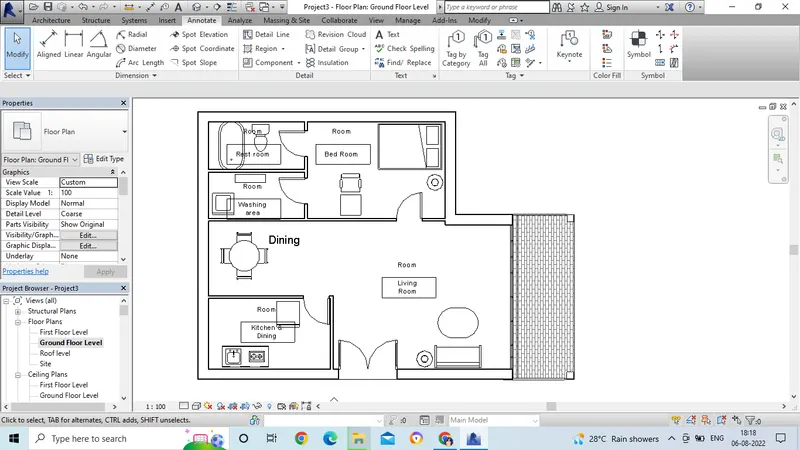
- After placing the rooms we have to mention the text for the rooms.
- For that go to the Architecture tab.
- Select the room area.
- Then click on all the rooms.
- Then edit the text and give proper names to the room areas.
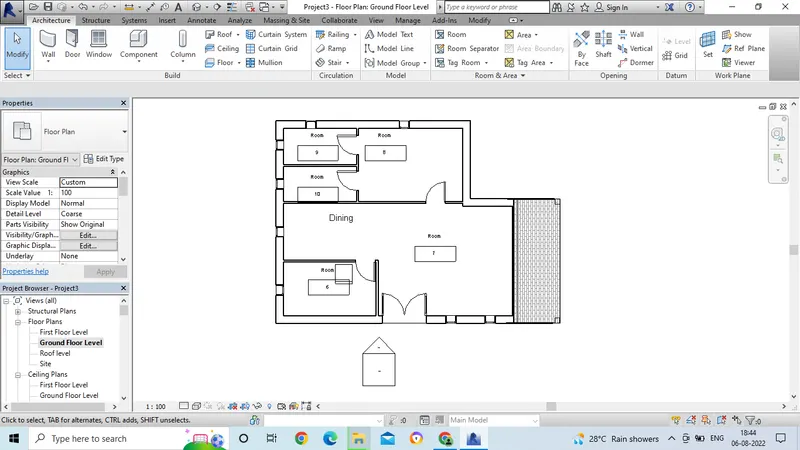
- After givinng the room names, edit the room names by clicking double click.
- Then we have to apply the furniture to the room areas.
- Next for giving the material to the wall we have to select edit command in the project browser.
- Select the material which is to be edit the material.
- After selecting the edit command next we have to click on by category.
- In this by category option we can change the material.
- And also the colour for material also can be changed.
5. Aim: To create the residential unit by giving the components in appropriate locatons to add details for residential model.
Introduction:To create the residential unit by giving the components in appropriate locatons to add details for residential model.
Procedure:
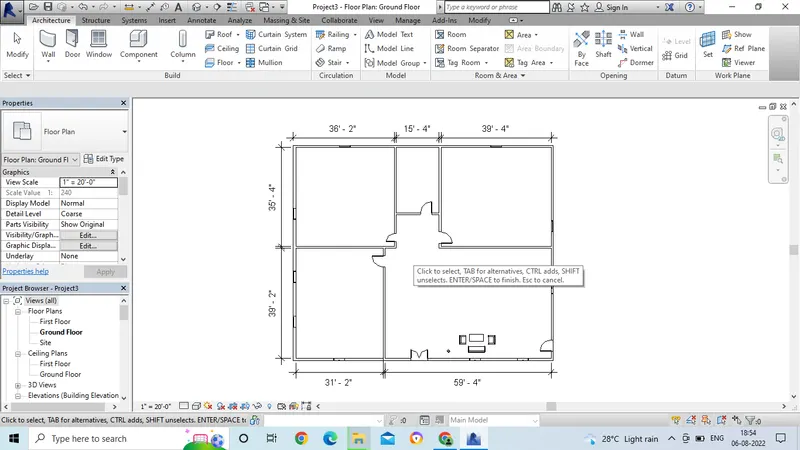
- We have to add the material to the residential unit by loading the material from the families.
- First we have to select the component command and in that select the place a component.
- Then click on the load families option.
- Then families tab will get open.
- For the living room as in the given attachement we have to give the proper furniture.
- Once we select the furniture then click open.
- Then ww have to place the furniture wherever it is necessary.
- We can select and move the furniture after placing.
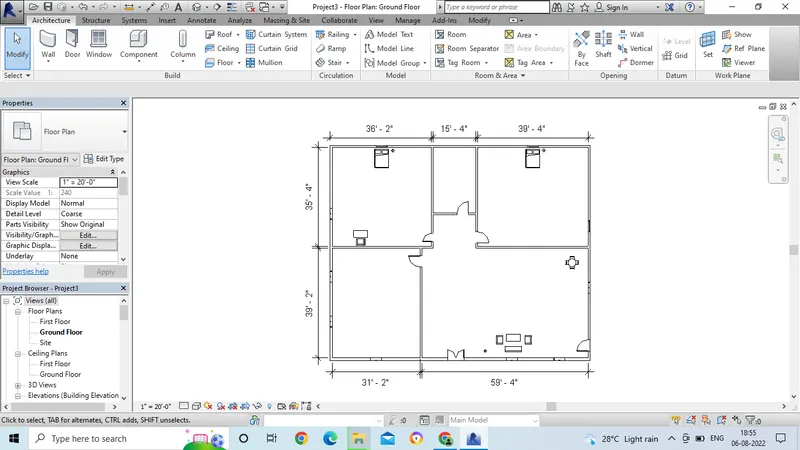
- In the same way, go for the bed room and place the furniture.
- Select the bed size and place the bed as per the dimension.
- Then we have to place for te table and chair for study purpose.
- And also we can edit the material as per por requirement.
- Go for the edit option in the project browser.
- Then choose for the material and size of the bed.
- In the same way, go for the another bed room and place the furniture.
- Select the bed size and place the bed as per the dimension.
- Then we have to place for te table and chair for study purpose.
- And place the dining wherever it is required.
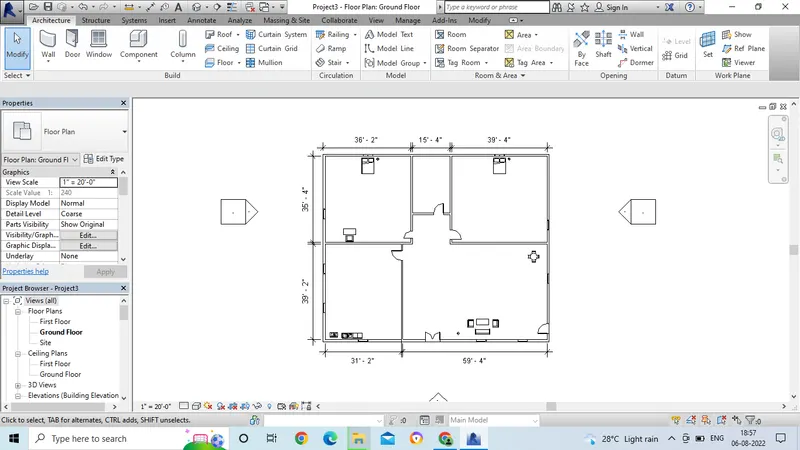
- In the same way, give the material to all the room for kitchen, wash area and wash room.
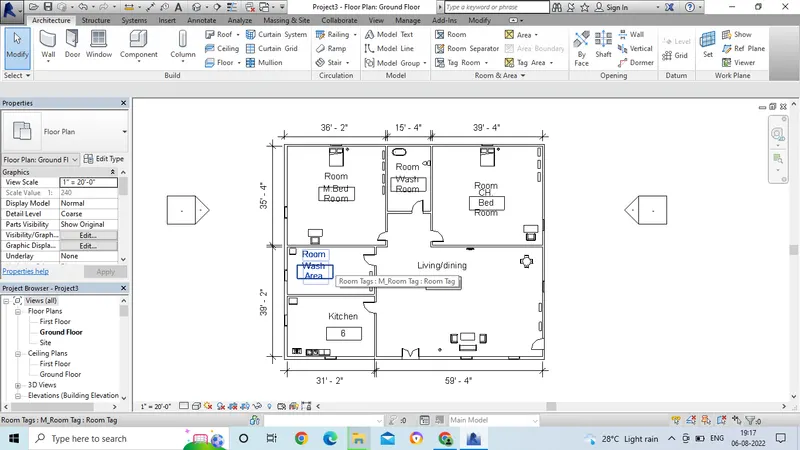
- After placing the material we have to mention the text for the rooms.
- For that go to the Architecture tab.
- Select the room area.
- Then click on all the rooms.
- Then edit the text and give proper names to the room areas.
Result: