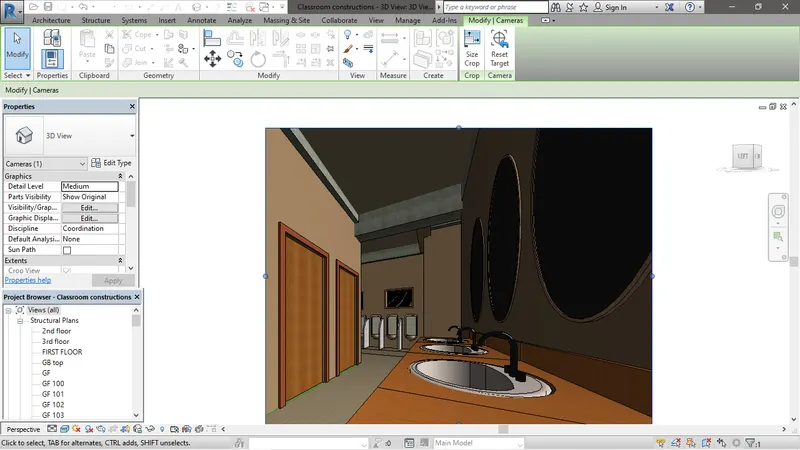
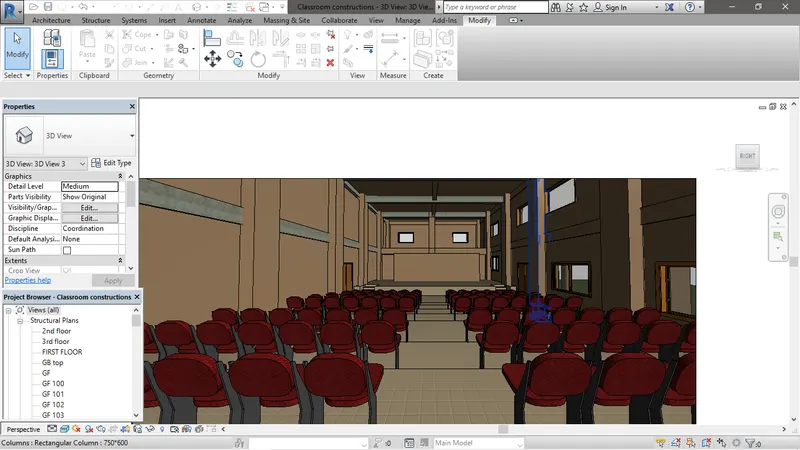
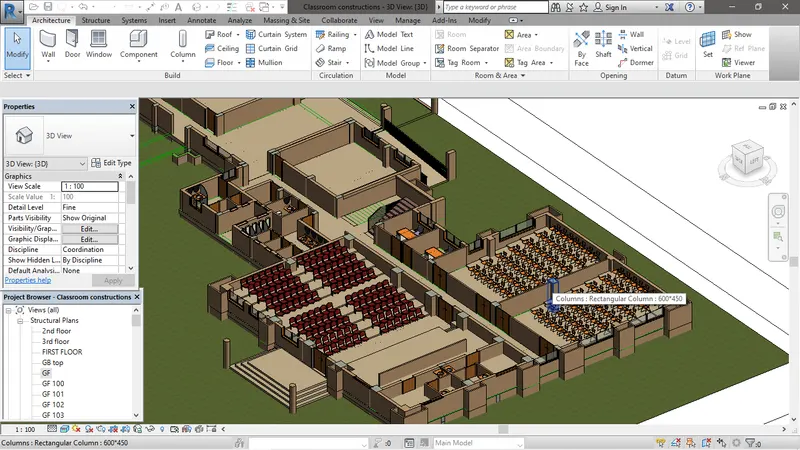
Creating Walls, Partition walls and Floors for a residential layout using REVIT
A1)
Aim:
To provide floors in the layout using floor tools with appropriate material and thickness.
Introduction
Floor in Revit is a category that has been designed to use it as a base for the flooring of the building where flooring materials like tiles, granite, etc can be applied for an aesthetic view. In multi storey building this can be used both as the ceiling and floor.
Procedure
- In Revit floor tools can be used by going to Architecture tab > Floor > Floor: Architecture.
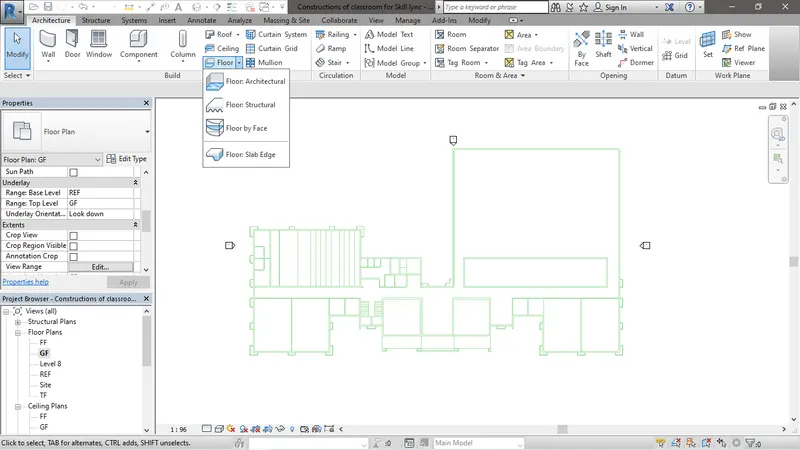
- Now in property browser choose the type of floor family required with appropriate size. If the size that required not available. Click on Edit type in property browser of the floor.
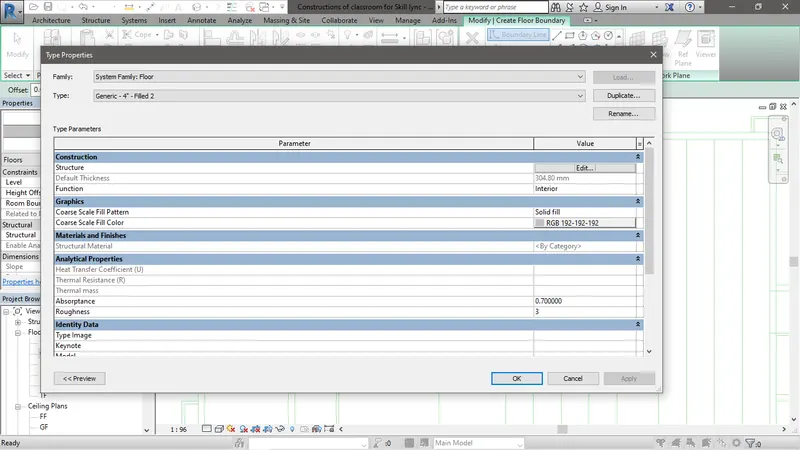
- Click on duplicate and save it with the required name and click Ok.
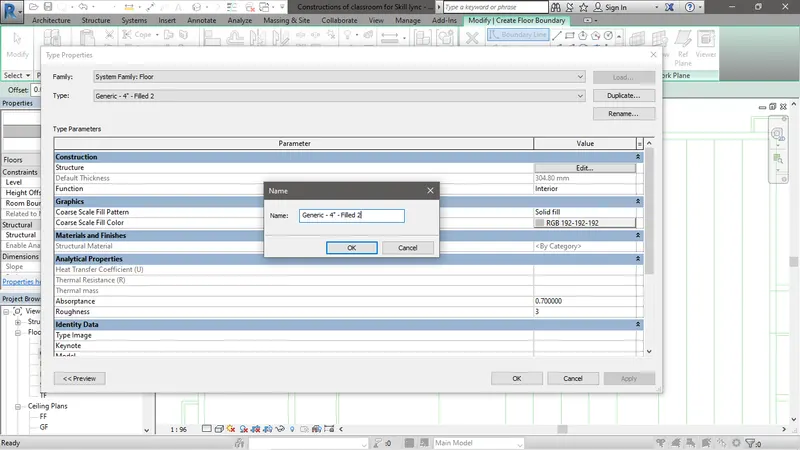
- Now Click on edit in the Value column.
- Thickness can be changed in the thickness column and to insert another layer with different thickness, click on insert (In the image we can see the thickness has been edited and another layer is added above core layer which is named as Finish 1 [4] in the Function column.
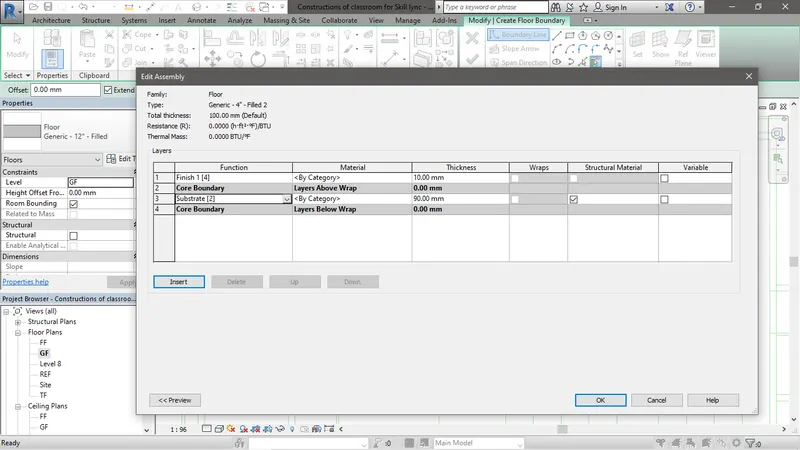
- Now click on <By Category > to change the material of the floor. After selecting required material click on OK
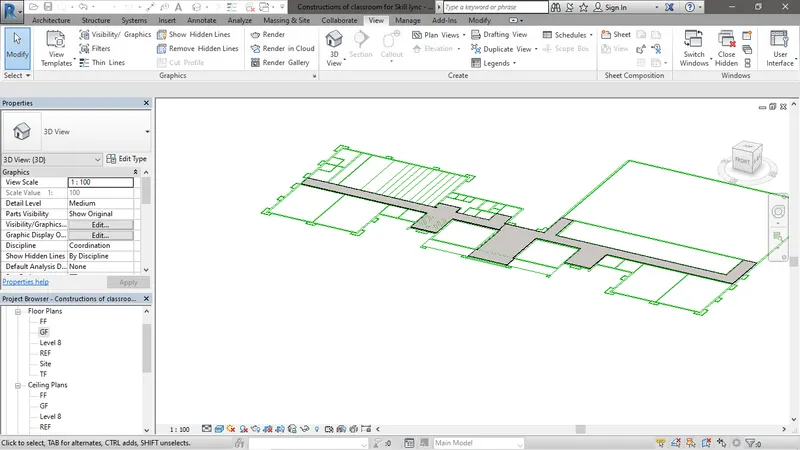
- Using line, pick line tools or any respective tool create floor as per the layout and click on the Green colour right.
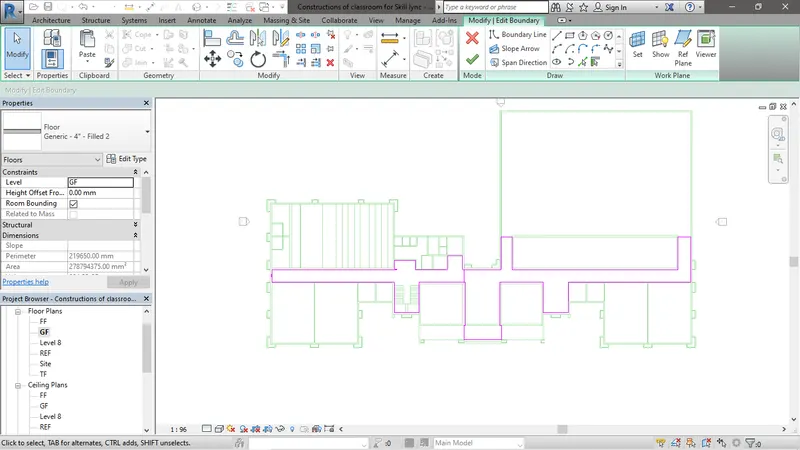
- Following image shows the floor created as above.
- For elevated floors like platforms, staging or balconies. We can provide it by setting up the height offset from the level in property browser of the selected floor.
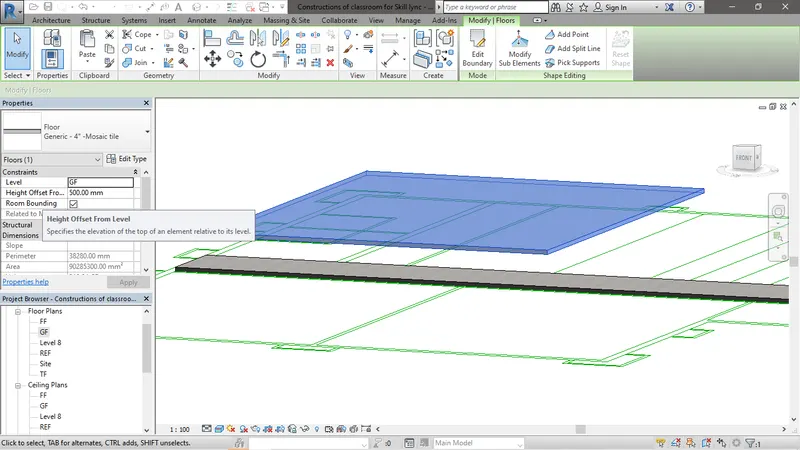
Result
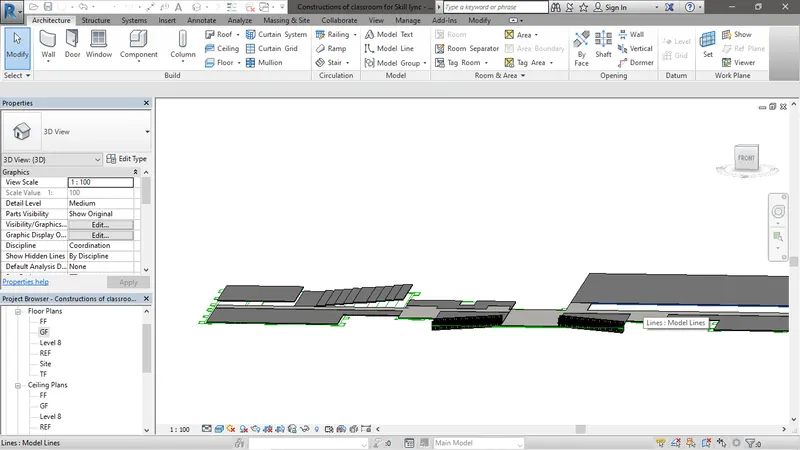
Floor is being created using floor tools with appropriate size and material and setup that was available in property browser.
A2)
Aim:
To provide walls in the layout using wall tools with appropriate material and thickness.
Introduction
In Revit Walls are the category used to create a Wall for the project to enclose and part the rooms. This category in Revit is programmed such a way that the component like doors, windows and other openings can be fixed easily. The walls in Revit can be drawn of as per desired size and material can be used. If constrained to the levels the height of the wall will alter as per the levels.
Procedure
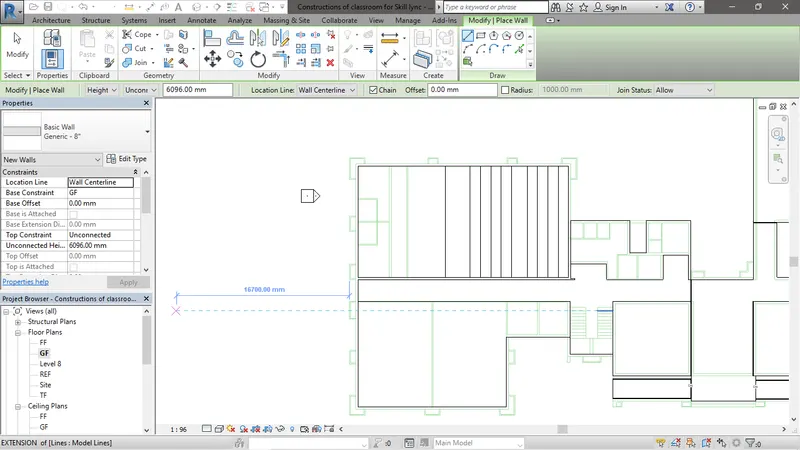
- To find Wall tool go to Architecture tab > Wall Or type WA.
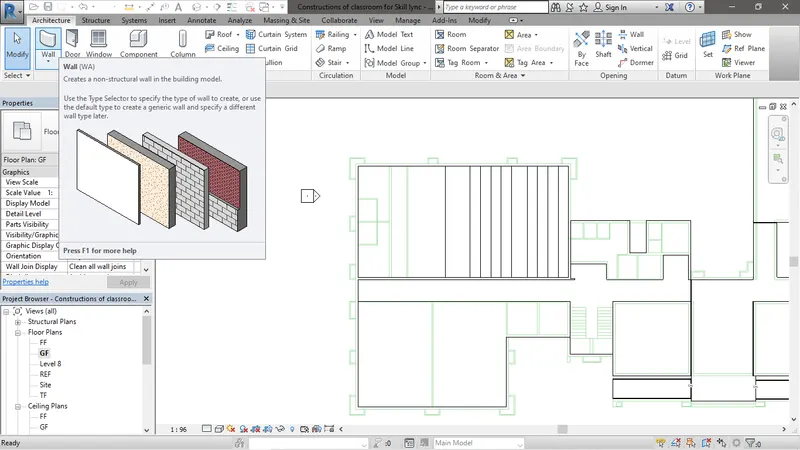
- Select the type of wall required in the property browser and check whether the Top constrain and Base constrain is connected to respective level.
- Now draw the wall as per the layout after setting up the location line of the wall.
Result
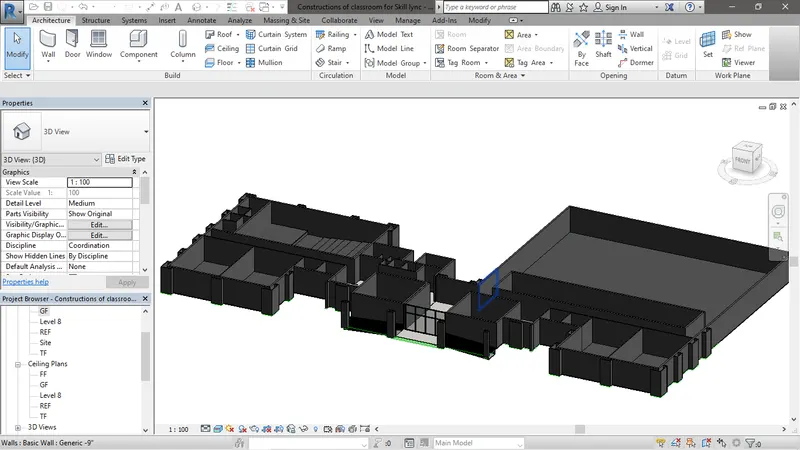
Walls are provided to the layout as per design.
Conclusion
- The benefit of connected wall over unconnected wall is that the height of the walls are fixed as per the height of the levels and the wall height will alter simultaneously as per the height of the levels.
- Modelling walls by height is convenient only when we want to draw wall from the base to top and walls by depth is convenient only when we want to draw wall from the top to bottom.
Example:
Wall by height- Drawing a partition wall or Peripheral wall of height 3Mtr.
Wall by depth- Drawing a wall for substructure of depth 2.3Mtr etc.
A3)
Aim:
To copy the model element from ground floor and paste it to first floor.
Introduction
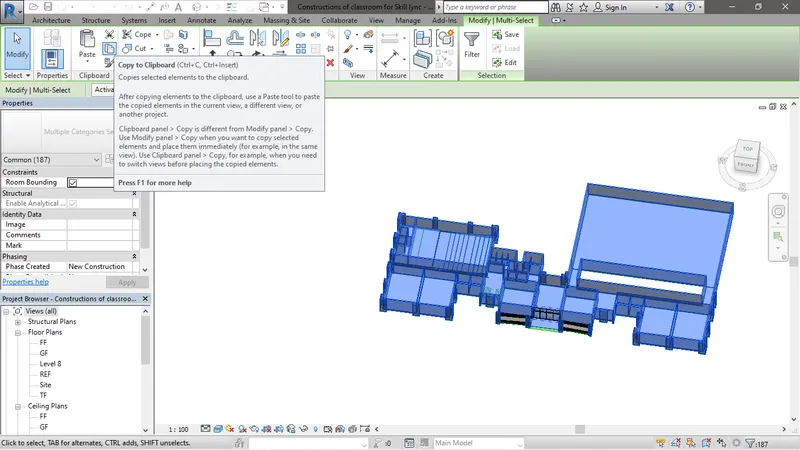
In Revit for quick replica of the model at different levels an option called Copy and Paste is used. This option helps us to save our time by not letting us to re-create the model again for different levels.
Procedure
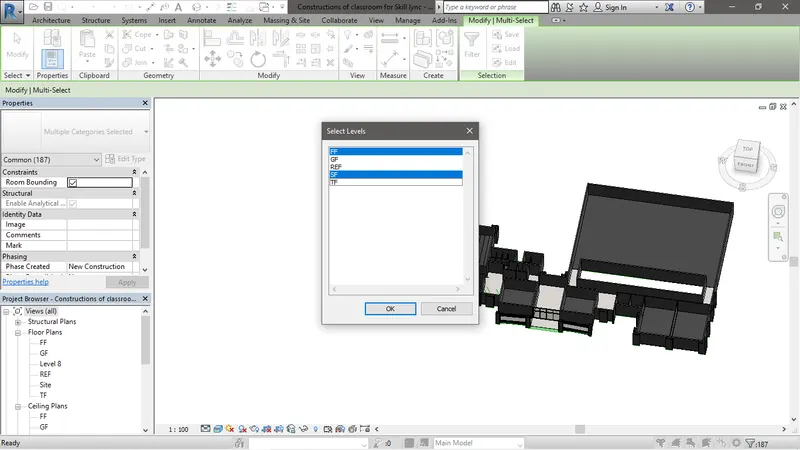
- Select the model element that you want to paste on another level by holding the left click of the mouse and dragging to the element and click on copy to clipboard in modify tab.
- Now go to paste from clipboard and click on aligned to selected levels in modify tab at clipboard panel.
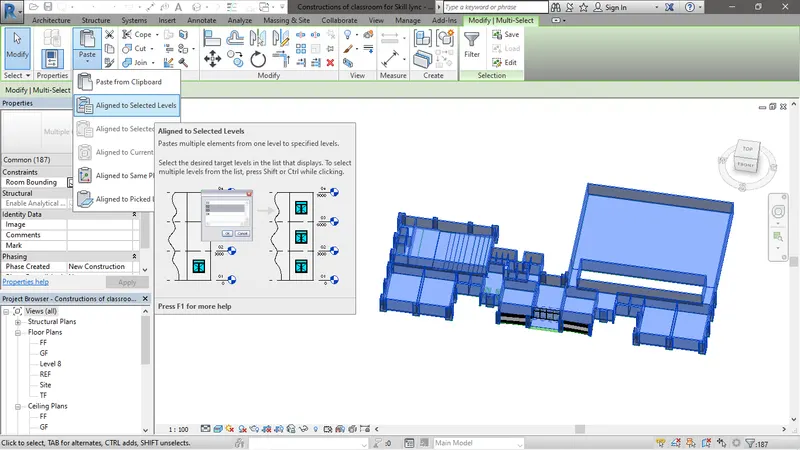
- Select the level that you want to paste from clipboard and then click Ok
Result
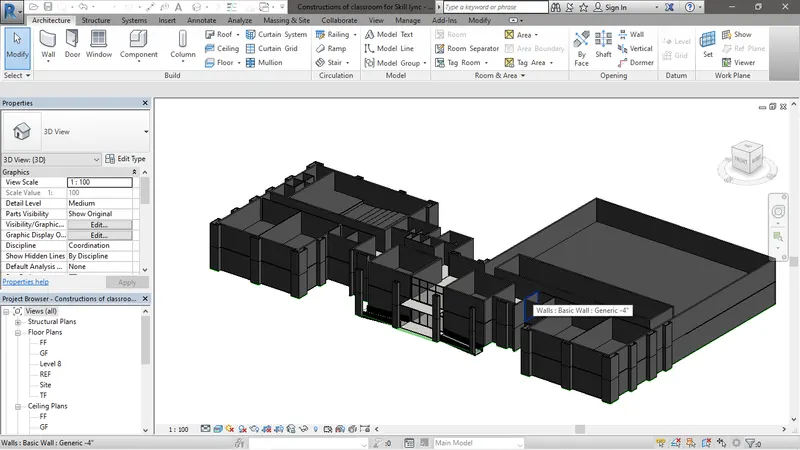
We can see that all the elements that is being selected are pasted to the selected levels with very mean effort.
A4)
Aim:
To place an interior partition wall.
Introduction
Interior partition walls are the walls used in a model to divide the rooms and the thickness of these walls are less then 100mm. It is so thin to provide more space to the room. This wall can be brick, Wooden, gypsum board etc.
Procedure
- Go to wall in Architecture tab and select the interior partition wall in the property browser.
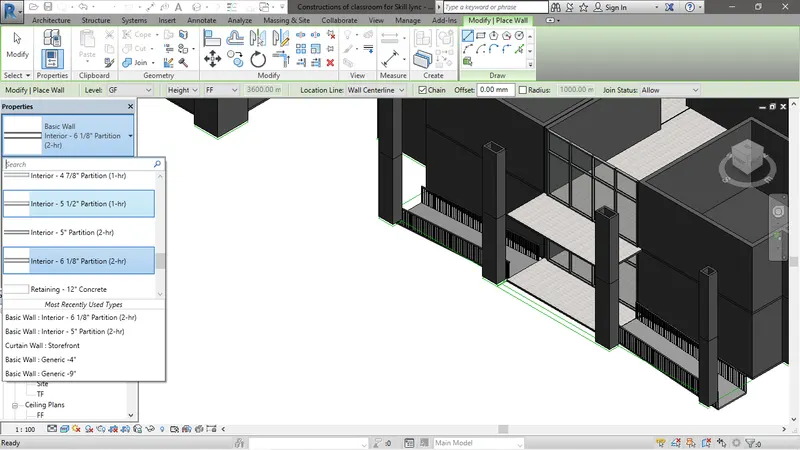
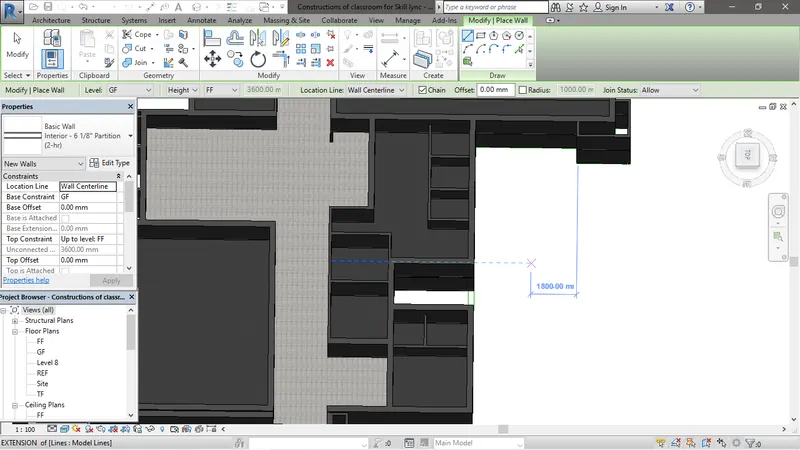
- Now place the partition wall in the project as the walls are placed.
Result
Partition walls are placed in the required region.
A5)
Aim:
To place a components like doors, windows, WC, at its respective region.
Introduction
In Revit components that are required for the project are already created by the developer and uploaded in the library which help us to get access to it quickly thus saving the time of the user. For some unique components we can create them as per our design in the Revit family.
Procedure
- To place a door, window or any other component go to Doors, Windows and Components and choose the components in the property browser.
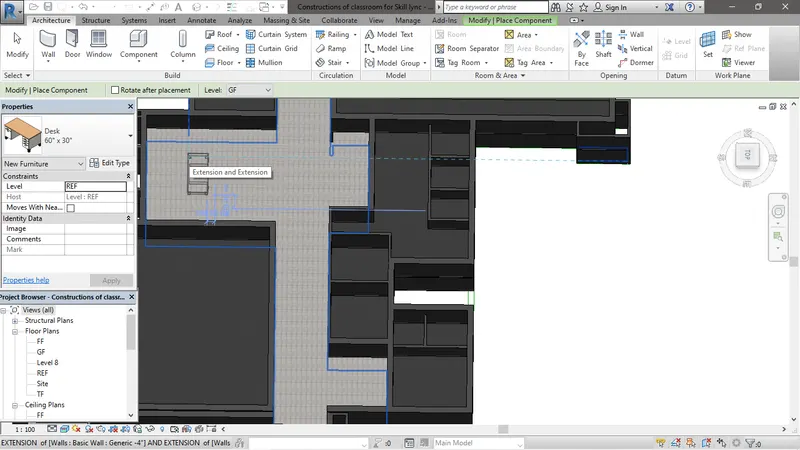
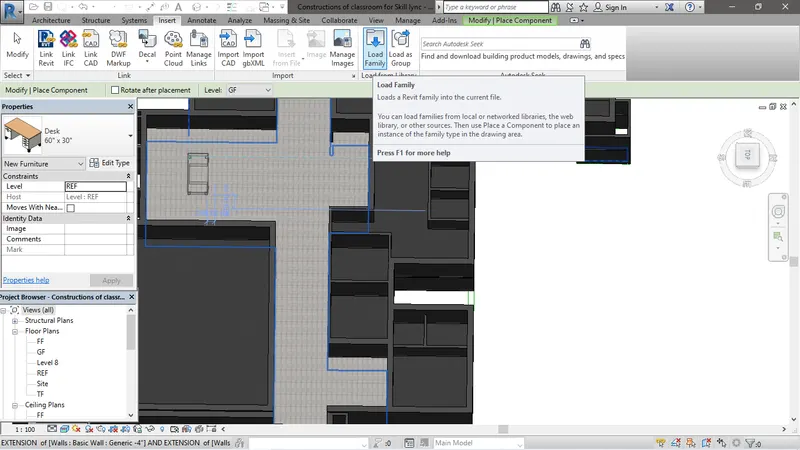
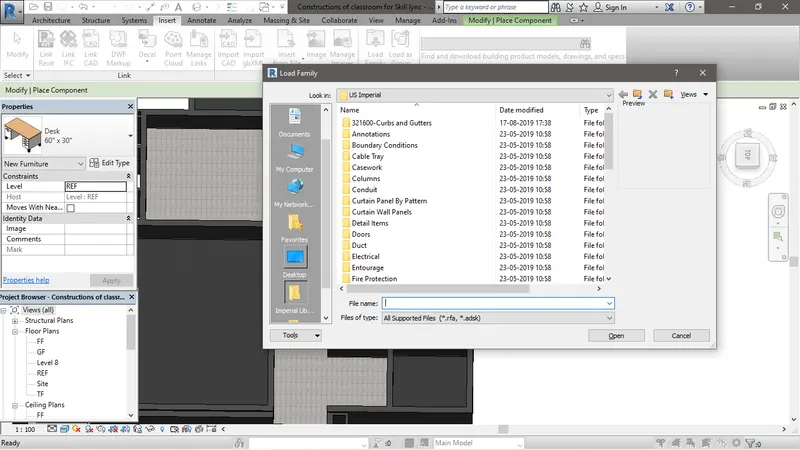
- If the required components are not available in the Revit file then we can find those component in the library and for that you need to go to Insert tab > Load family.
- Now choose any components that you require and click on open we can see that it is now shown in the property browser of the component.
Result
Respective components are placed.