Creating Walls, Partition walls and Floors for a residential layout using REVIT
1)
AIM:
- To create a floor and align it with the grids creaated in week 2.
- To use appropriate material and thickness from the property browser for the created floor.
PROCEDURE:
- In Revit open the model created and saved in Week 2 from File->Open->Project.
- Set the current view to Floor plan of Level 1.
- To create the floor open Archtecture tab ,Floor->Floor:architectural.
- In the Draw panel that appears select lines option and draw lines on the required grids.
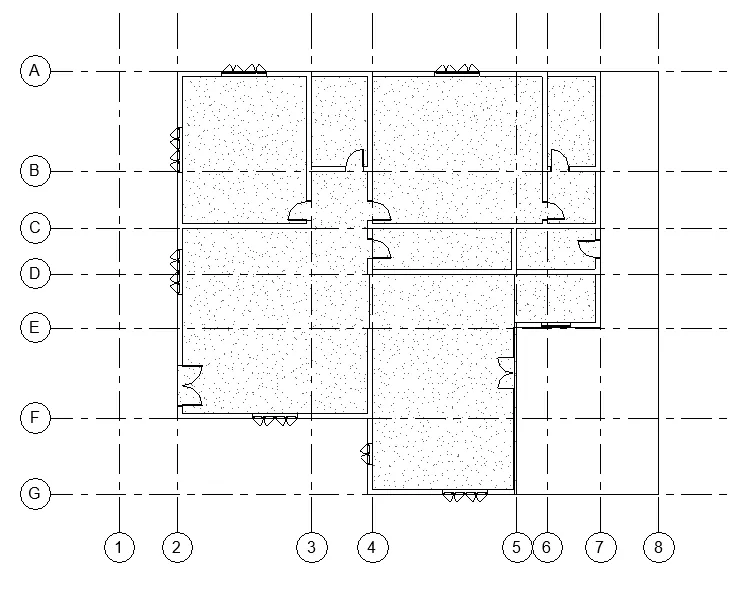
- The floor is created for the Ground floor and patio.
- To edit the material and thickness of the floor, select the required floor, Edit type option is selected in the property browser.
- In the Type properties dialogue box select Duplicate option, rename it as necessary.
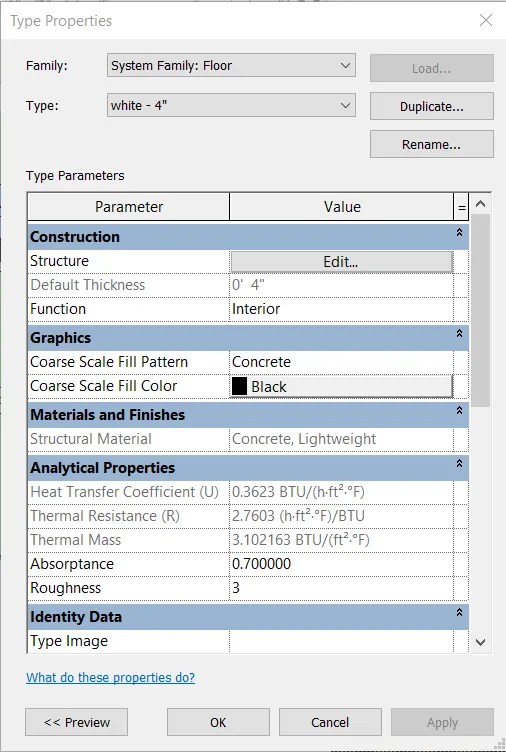
- Select the Edit option near Structure parameter.
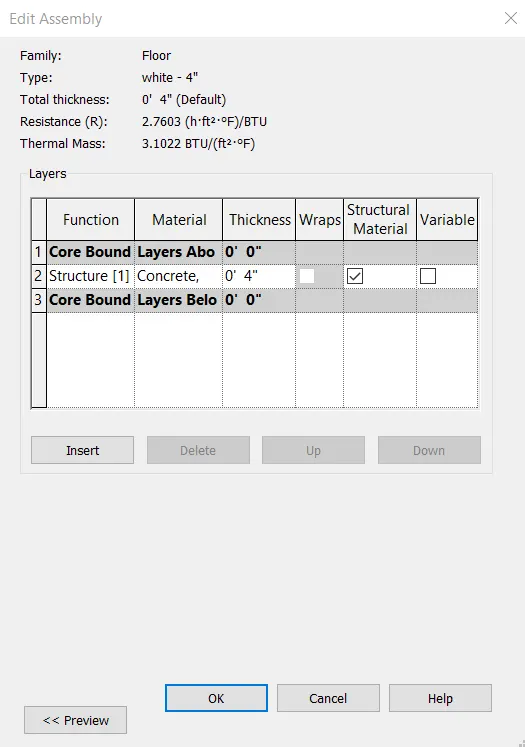
- The Edit assembly dialogue box is opened, select the Material and Thickness and change it as required and click on OK.
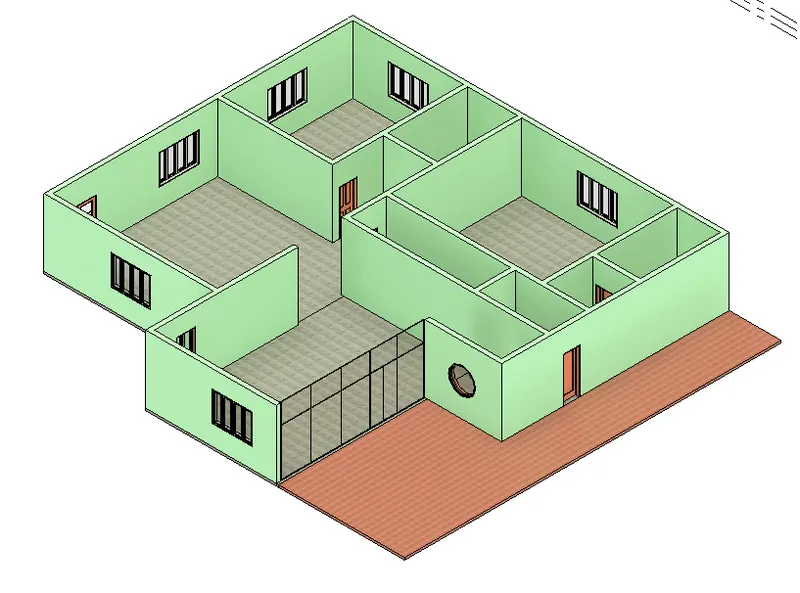
- The floor type that has been created and applied to the model.
- The same procedure is followed for the Patio floor.
FINAL RESULT:
A floor is created by aligning with the grids. Property browser is used to give Material and Thickness to the floor.
2)
AIM:
- To add walls based on the floor layout and modify the boundary of walls.
- To use the property browser to select appropriate material and thickness for walls.
- To verify using the property browser to see if the top and bottom of the walls are constrained.
PROCEDURE:
STEP 1:
- In Revit open the model created and saved in Week 2 from File->Open->Project.
- Set the current view to Floor plan of Level 1.
- To add walls open Architecture tab, Walls->Walls:architectural and drawn the walls as required.
- To modify an existing wall select the wall, use the grips to drag it to the required position, or as soon as the wall is selected Modify/walls tab is opened, select Edit profile option to modify the wall as necessary.
STEP 2:
- Select the wall and in Property browser choose the type of wall that is required.
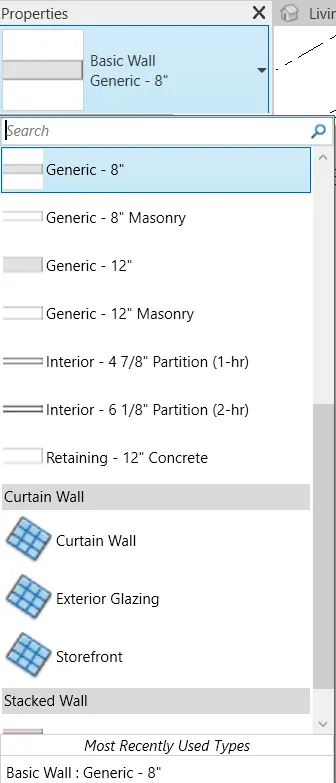
- To edit the material and thickness Select Edit type in the property browser.
- In the Type properties dialogue box select Duplicate option, rename it as necessary
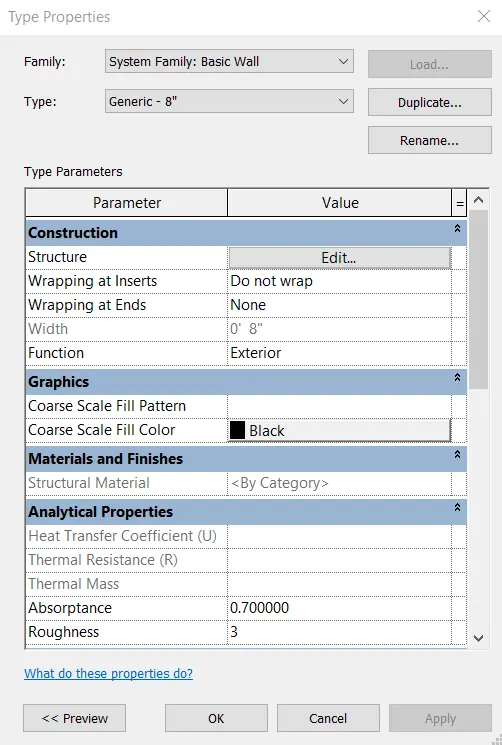
- Select the Edit option near Structure parameter.
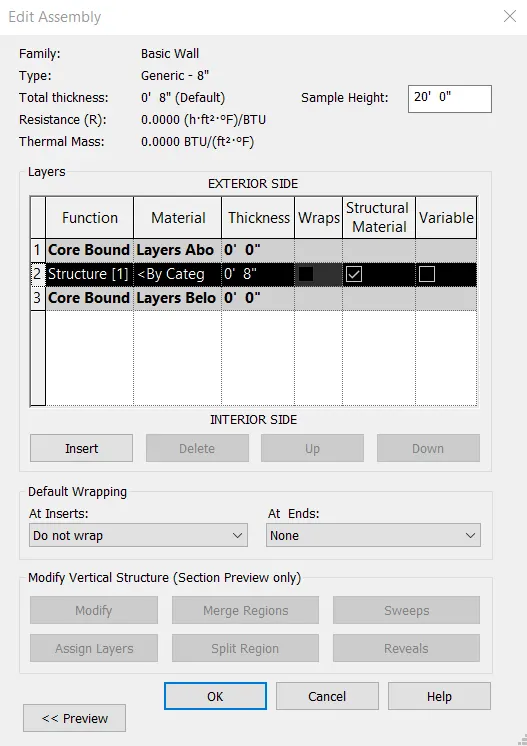
- The Edit assembly dialogue box is opened, select the Material from the Material browser.
- To change the colour Select Appearance Tab in the Material browser, select colour and change it as required.
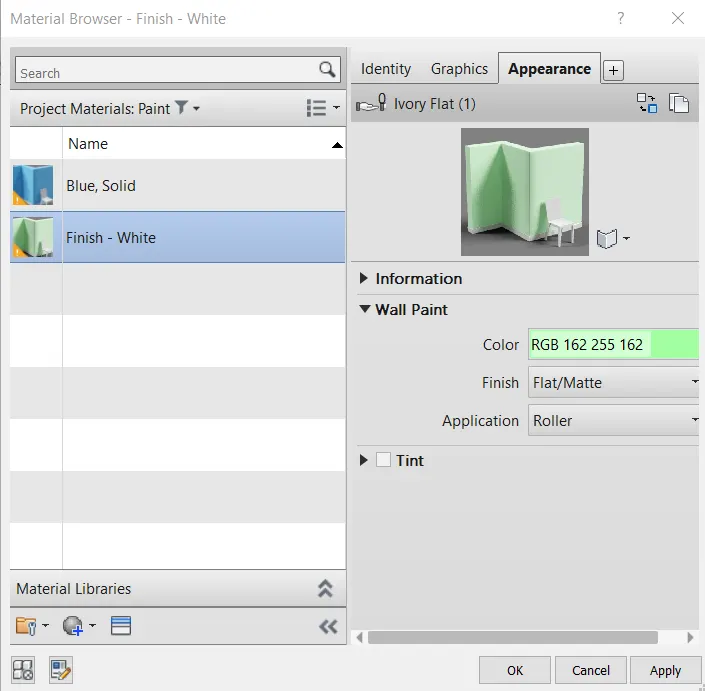
- Thickness is changed by editting the thickness in from thickness, then click on OK and APPLY.
STEP 3:
- To constrain the top and bottom of the walls select the walls, in the property browser Top constraint and bottom constraint options are availabe.
- Click on it and in the dropdown constrain it to the appropriate levels.
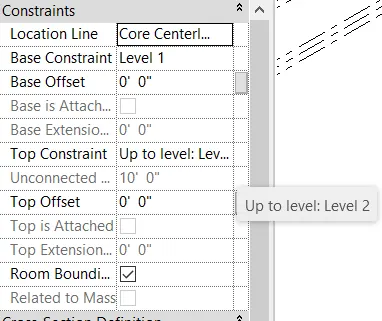
FINAL RESULT:
The walls are added and modified and their material, thickness, top and bottom constraints were editted appropriately using the property browser.
a) Revit gives the option of connecting walls to associated levels or even lets the wall remain unconnected based on the preference of the user. Each wall must be connected to asssociated levels for easier manipulation of the entire model because when a wall is unconnected to a level it needs to be modified seperately whenever the height of the required level or wall must be changed. When it is connected it is automatically aligned with the level when modifications are made to the level.
b) Walls can be modelled by depth and by height in Revit based on the requirement of the user. For creating models from the ground up modelling by height makes it simpler.
3)
AIM:
- To copy the model elements ( wall, floor ) modelled to Ground Floor Level and paste it aligned to First Floor Level.
- To use modify tab to utilize copy and paste options to align elements to a different level.
PROCEDURE:
STEP 1:
- In Revit open the model created and saved in Week 2 from File->Open->Project.
- Set the current view to Floor plan of Ground floor.
- Select all the elements that require to be copied.
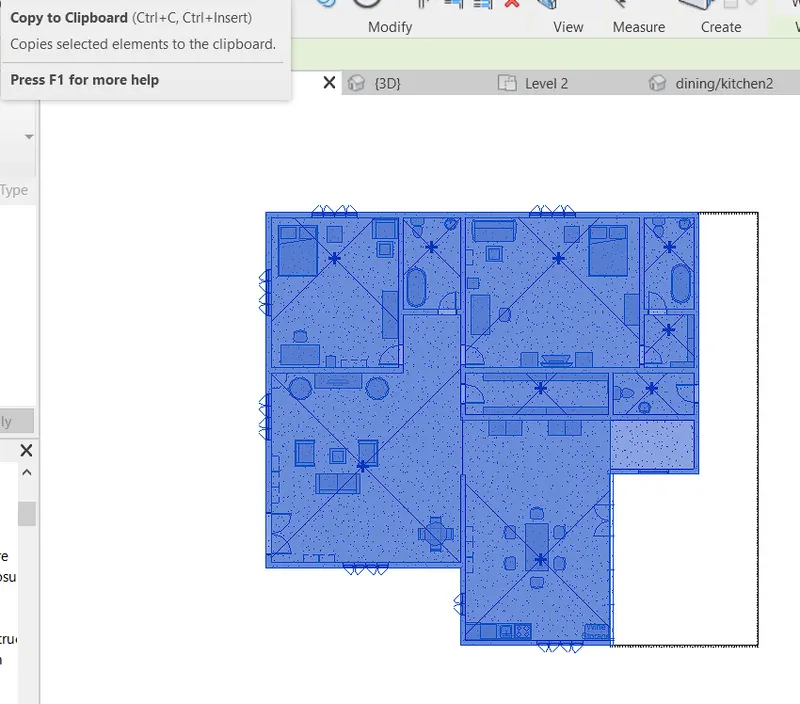
STEP 2:
- In the ribbon select the copy to clipboard icon.
- Then click on Paste icon and in the dropdown choose Align to Selected levels and select First floor level.
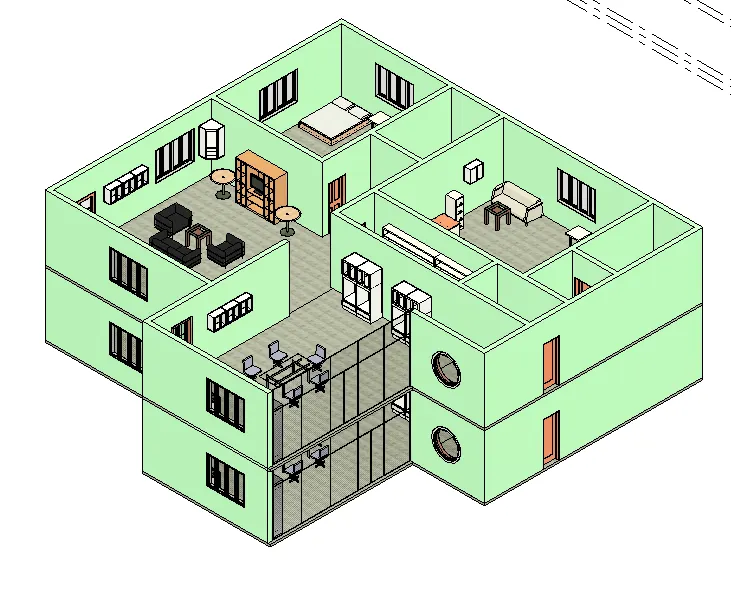
FINAL RESULT:
The model in the groundfloor has been copied and pasted to first floor using Modify tab.
4)
AIM:
- To use interior partition walls to create separate rooms within your residential unit. The model must include the following rooms
a. Living Room/ Drawing Room
b. Dining Room
c. Bed Room
d. Rest Room
e. Kitchen -
To create your entry walkway, patios or Guest rooms based on purpose of modeling.
PROCEDURE:
STEP 1:
- In Revit open the model created and saved from File->Open->Project.
- Set the current view to Floor plan of Ground floor.
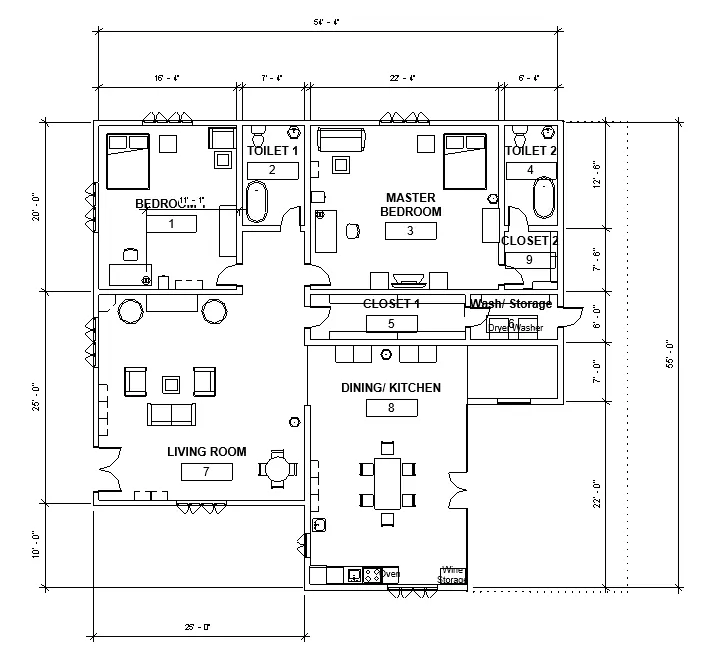
- From Architecture Tab select Wall->Wall:Architectural and create the required rooms as required with appropriate dimensions.
- From Architecture Tab select Doors and in the property browser select the type of door and place it wherever required.
- From Architecture Tab select Windows and in the property browser select the type of window and place it wherever required.
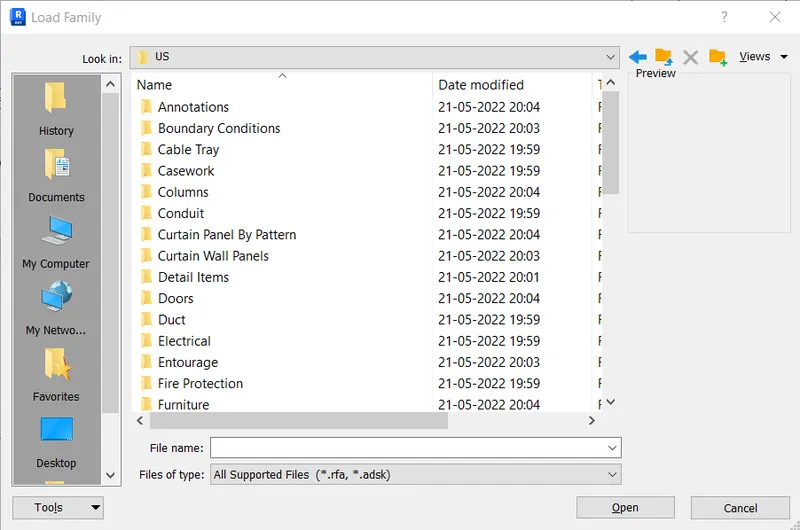
- If required family is not available use Load family option in the Insert Tab to select the families that is required.
- From the Ribbon select Component->Place a component and place required components in appropriate rooms.
- If required family is not available use Load family option in the Insert Tab to select the families that is required.
- In Project browser set Floor plans->First floor as current.
- Repeat the same process as mentioned for the ground floor.
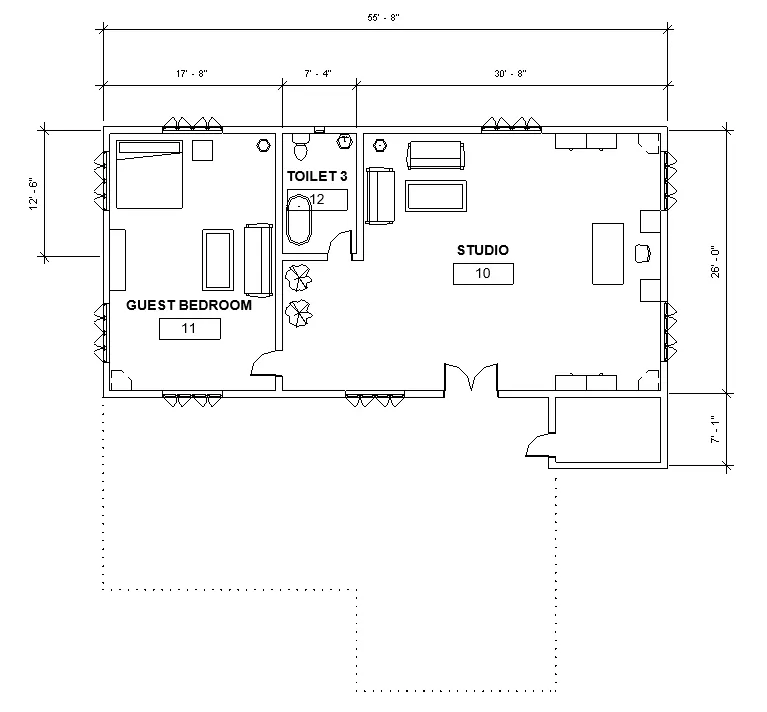
STEP 2:
- To create entry walkway set the Ground floor pan as current view.
- Use Floor tool and line option in Draw to create a pathway.
- Edit the Floor material from the Property browser as required.
- For the side walls create a wall using Wall tool and edit the height and material from the property browser.
- To create the patio set Ground floor plan as current view.
- Select Floor->Floor:Architectural from the ribbon, draw the boundary using Line command.
- Once the floor is created Edit type option from property browser is used.
- The current Material is duplicated, thickness is editted and a Patio floor is created as per requirement.
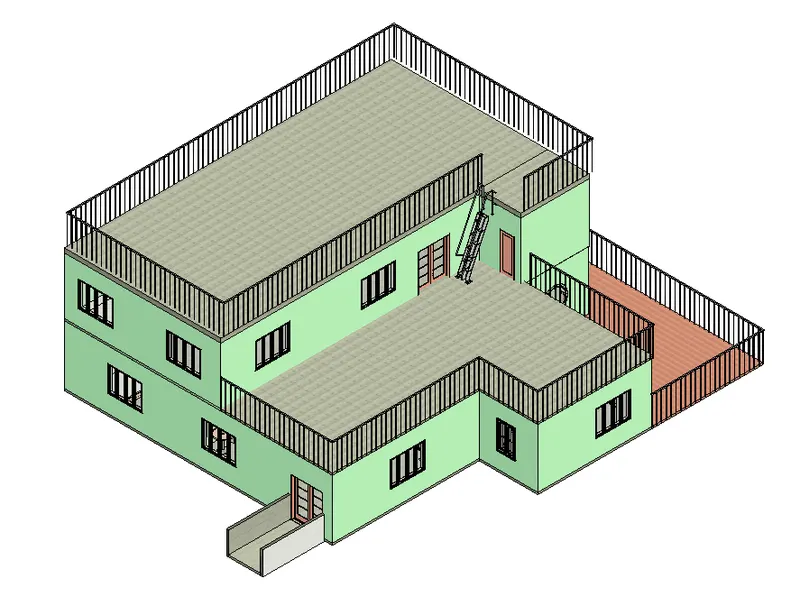
- To create the railings select Railing->Sketch path from ribbon and use Line in Draw to sketch the path of the railings.
- It is editted from edit type as per requirement.
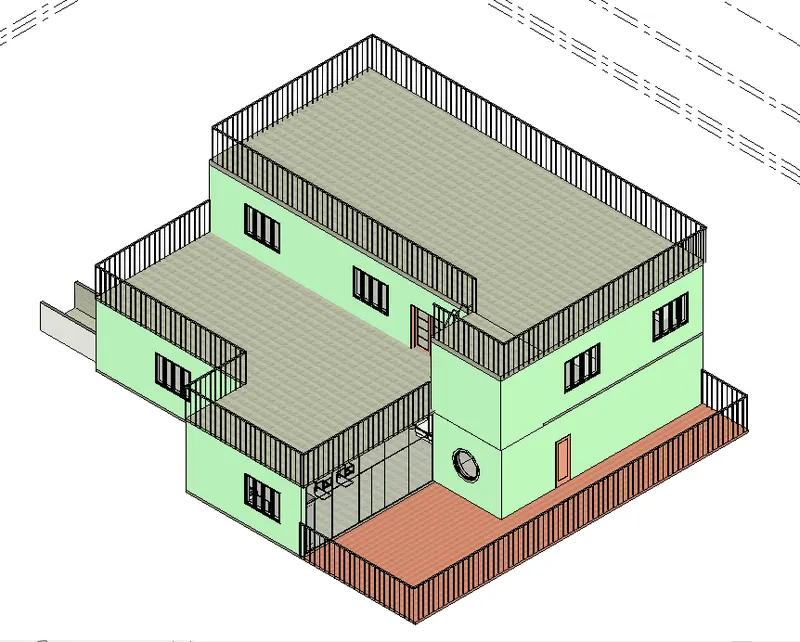
FINAL RESULT:
A model is created with all the rooms mentioned in the question using Interior partition walls. Entry walkway, patios and Guest rooms have also been created.
5)
AIM:
- To place components available in Revit library in appropriate locations to add details to the residential model.
- To place Doors and windows in the wall at appropriate locations.
- The Living Room must include furniture set, couch table and TV desk and shelf cabinets.
- The Dining Room must include a table and chairs serving the purpose of eating.
- Bed Room must include a bed set, shelf, lighting and individual study desk and chair.
- Rest room should include bath tub and plumbing fixtures discussed in class.
- Kitchen should include countertops, gas stove cabinet and shelves to store food items.
- The wash/storage room can include washing machines and shelves to store clothes.
- To use 3D navigation to check the model and its authenticity on a real time basis to verify the model.
PROCEDURE:
STEP 1:
- In Revit open the model created and saved from File->Open->Project.
- Set the current view to Floor plan of Ground floor.
- To add components into the floor plan Select Architecture->Component->Place a component.
- If the component is not already loaded in Revit it must be loaded from Revit library.
- To open Revit library click on Insert->Load family and required components are chosen from the various pre existing components.
STEP 2:
- Walls, doors and windows have already been added to the model, if needed it can be added from Architecture tab.
- All the required components are loaded and added in the model.
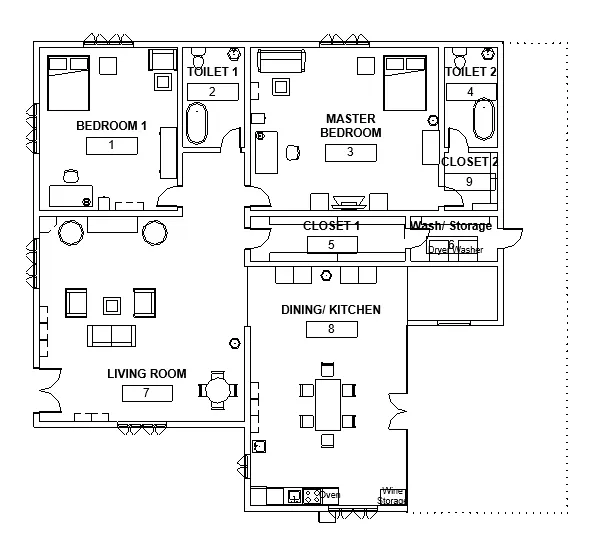
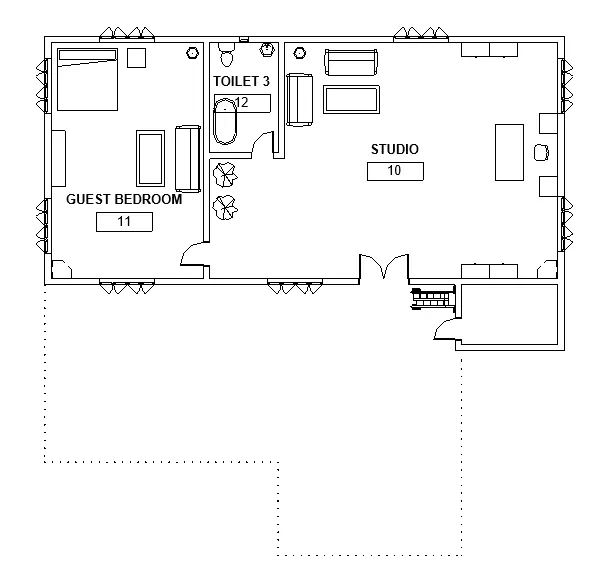
STEP 3:
- To verify the model and components' authenticity on a real time basis 3D views are used.
- From the 3D house icon in the Toolbar select the Camera option.
- Place the camera on the desired location to get a 3D view.
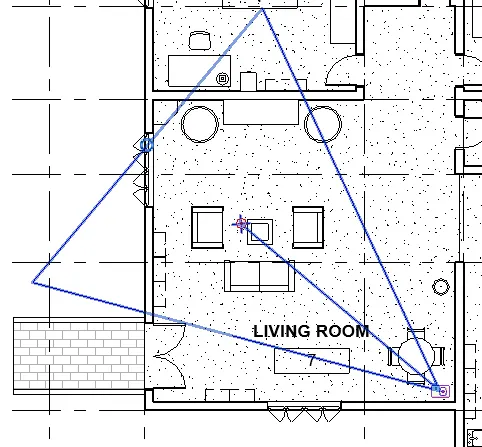
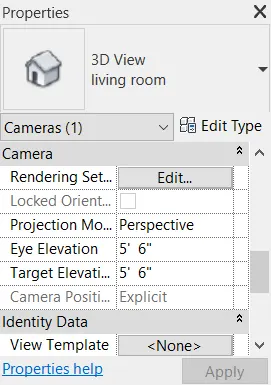
- The view can be adjusted by moving the grips to get the desired view.
- Properties of camera view like eye elevation, target elevation can be editted from Property browser.
STEP 4:
- Once the 3D views are created they can be renamed from the Project browser.
- They are saved under 3D views in the project browser.
- The 3D views of the rooms obtained from camera are displayed below in Realistic visual style.
GROUND FLOOR:
LIVING ROOM:
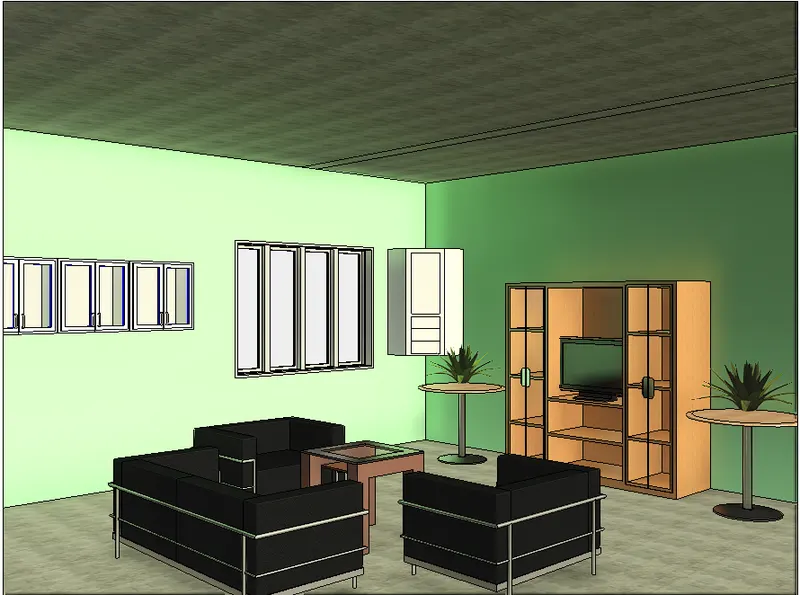
- The Living room includes couches, furniture set, lamps, entertainment centre, TV and shelf cabinets.
DINING/KITCHEN:
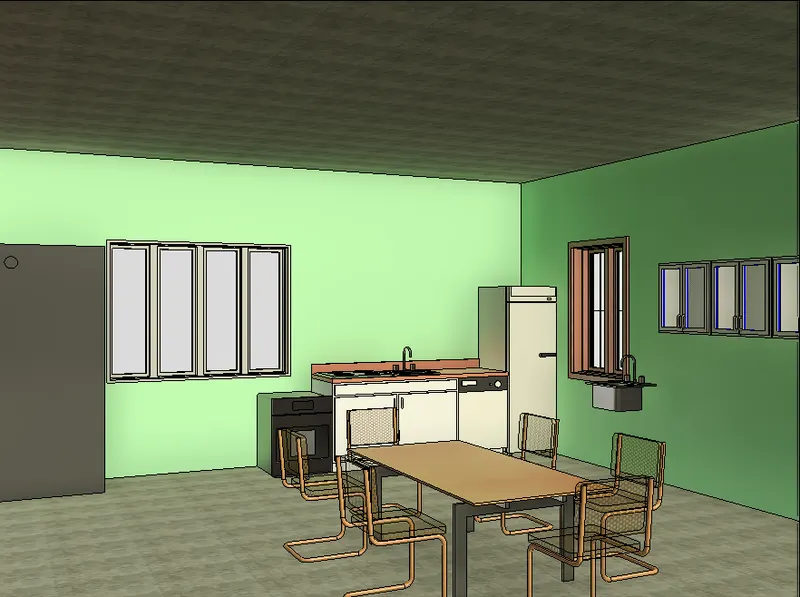
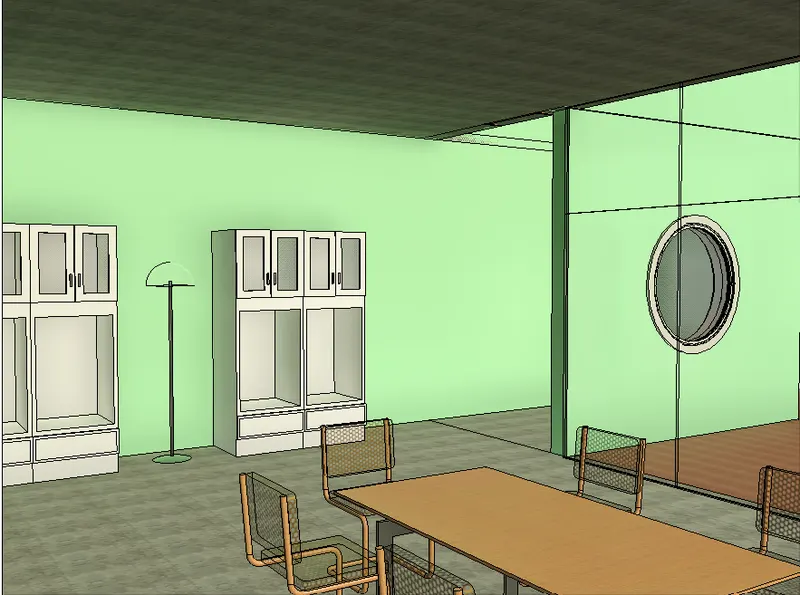
- The Dining/Kitchen space contains a dining table, sink, storage cabinets, gas stove, dishwasher, oven, wine storage and sink.
MASTER BEDROOM:
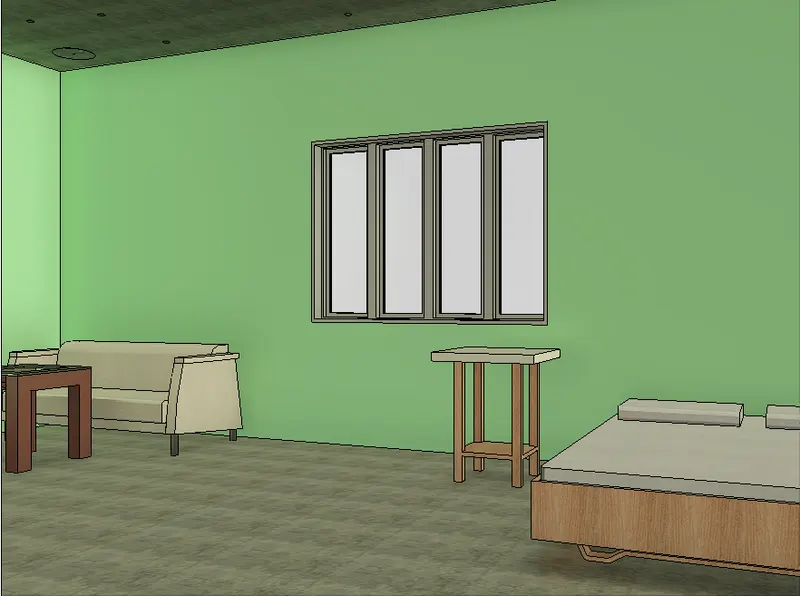
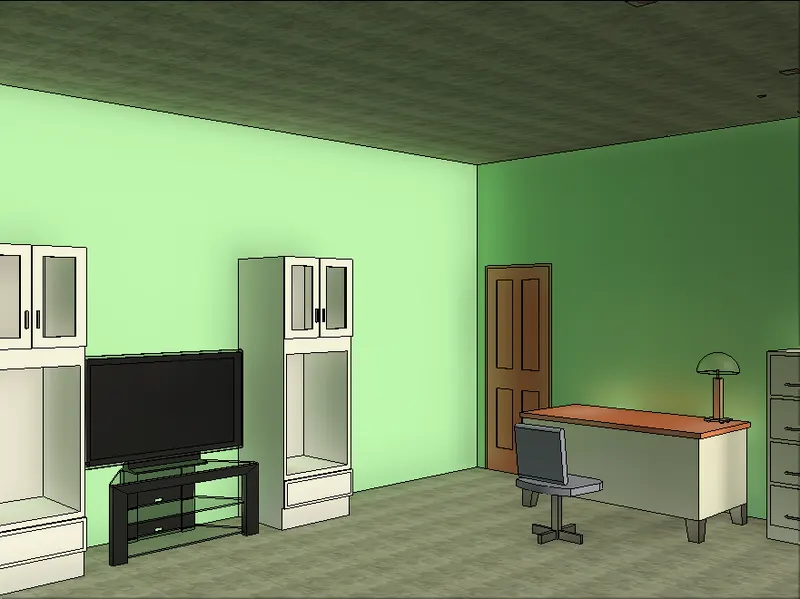
- The Master bedroom consists of a bed, night stand, study table and chair, lamps, storage cabinets, TV, sofa and a coffee table.
BEDROOM 2:
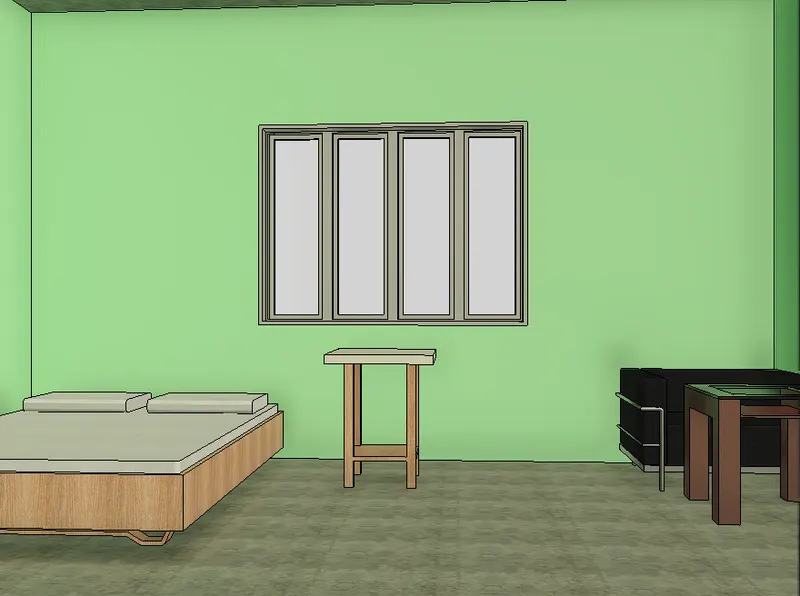
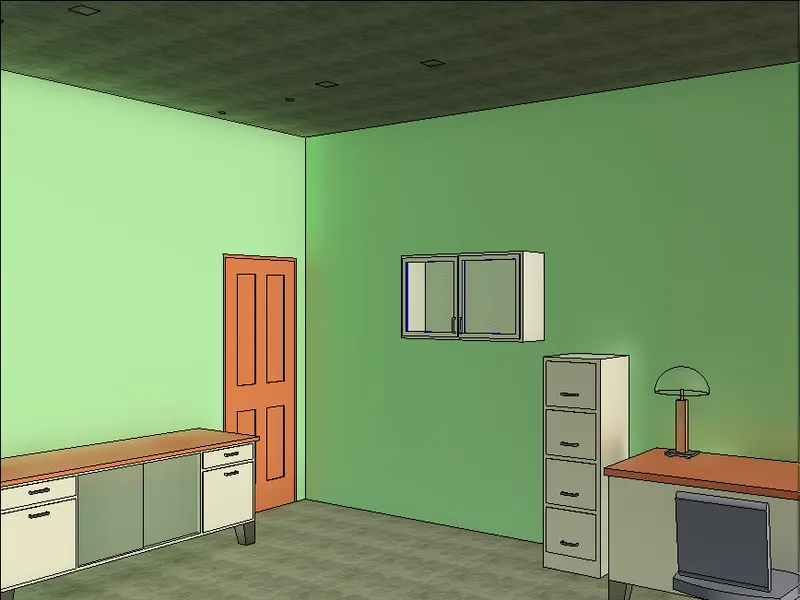
- The bedroom consists of a bed, night stand, study table and chair, lamps, storage cabinets, sofa and a coffee table.
FIRST FLOOR:
STUDIO:
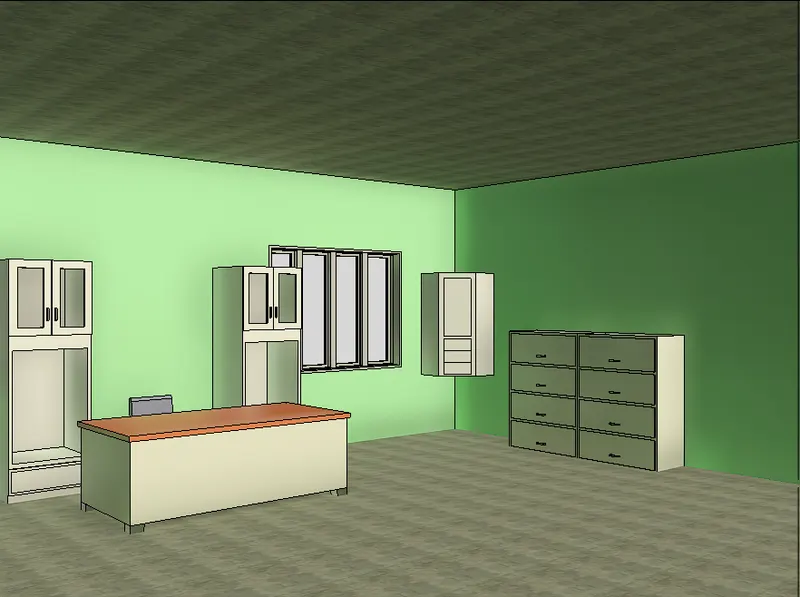
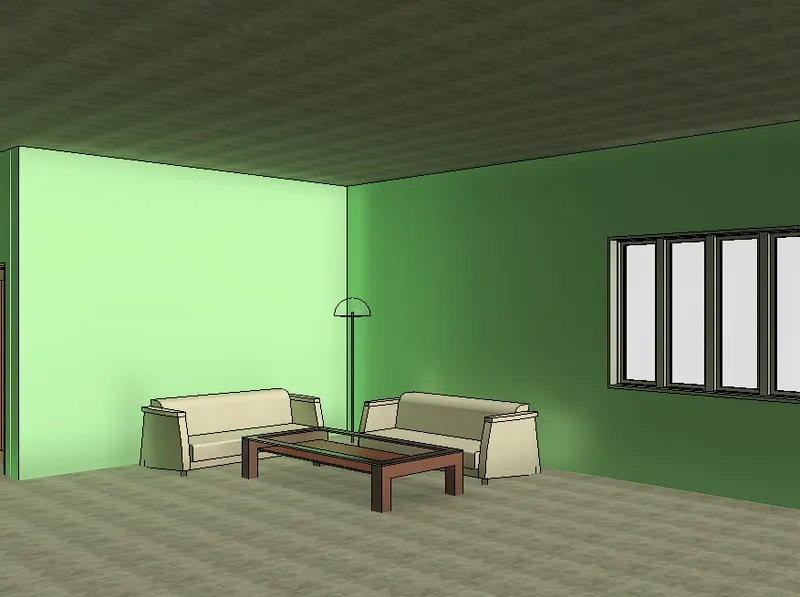
- The studio consists of desk, chair, storage shelves and cabinets, lamp, couches and a coffee table.
GUEST BEDROOM:
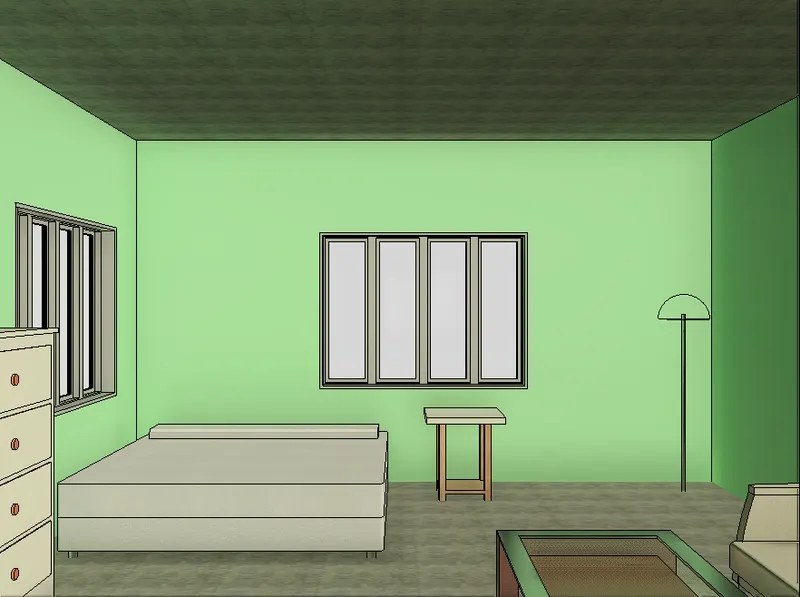
- The Guest bedroom consists of a bed, night stand, couch, lamps, storage cabinets, sofa and a coffee table.
OTHER:
TOILETS:
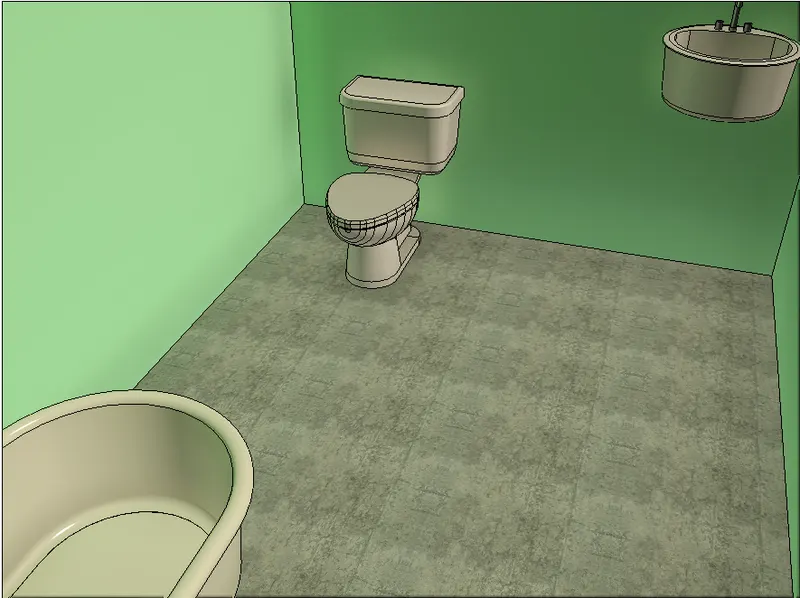
- All three toilets consist of water closets, bathtubs and sinks.
WASH/STORAGE:
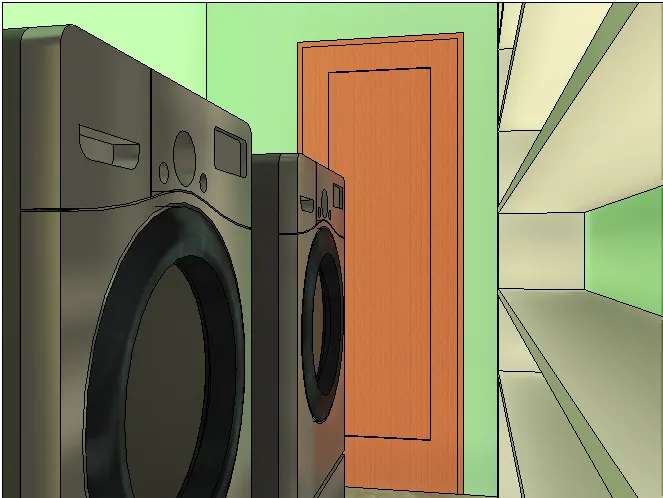
- The storage room consists of Washer, Dryer and shelves for storage.
CLOSETS:
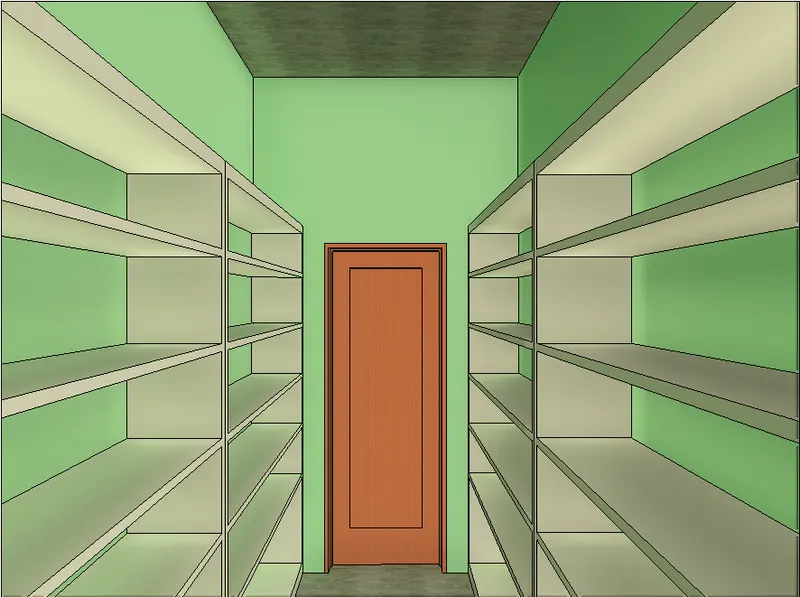
- Both the closets contain shelves for storage.
FINAL RESULT:
A model of a residential unit has been created with all basic requirements and displayed in 3D view using Revit.