Creating Walls, Partition walls and Floors for a residential layout using REVIT
AIM-1:Use the project file created from Week 2. Use it for this assignment. Based on your layout from week 2, using floor tool under architecture tab and select the floor with appropriate material and thickness using the property browser create a layout in the Ground floor Level. Align the floor plan with grids created from week 2
PROCEDURE:
STEP-1:
- open the previous drawing using open icon from file menu
- select floor icon in architecture ribbion
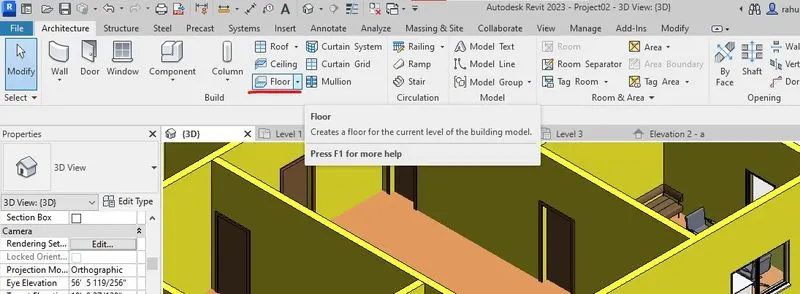
- after we selected the floor we edit tab will be appear in that we select the pic-line option
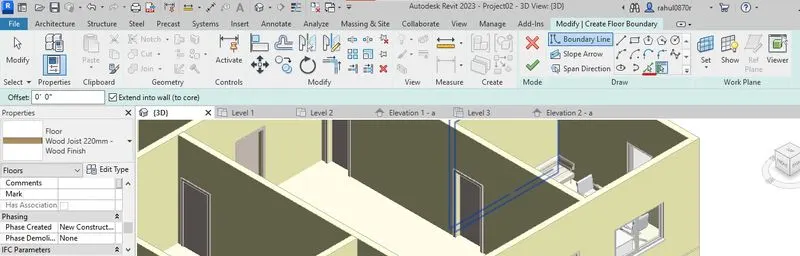
- after we selected the boundaries of seect sight symble ok
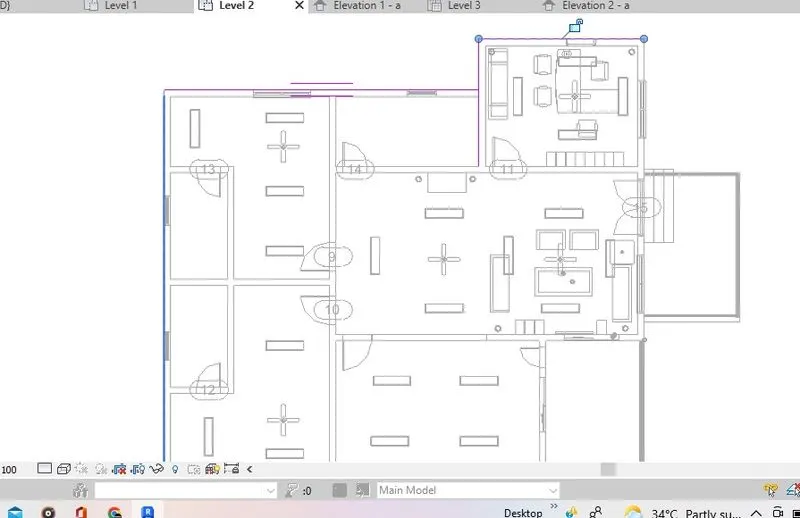
- boundary created
- we have add grids can add to drawing in level-1 or level-2
RESULTS:
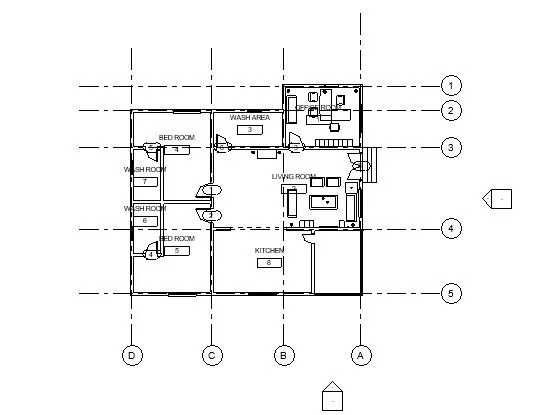
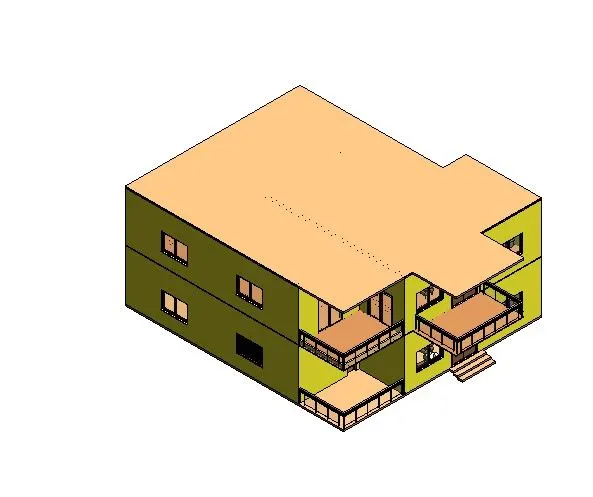
AIM-2: Add walls based on the floor layout. Pick lines or use the draw tool to modify the boundary of walls. Use the property browser to select appropriate material and thickness for walls. After creating the walls verify using the property browser to see if the top and bottom of the walls are constrained.
PROCEDURE:
- Open the previous drawing select the wall which element we using in drawing
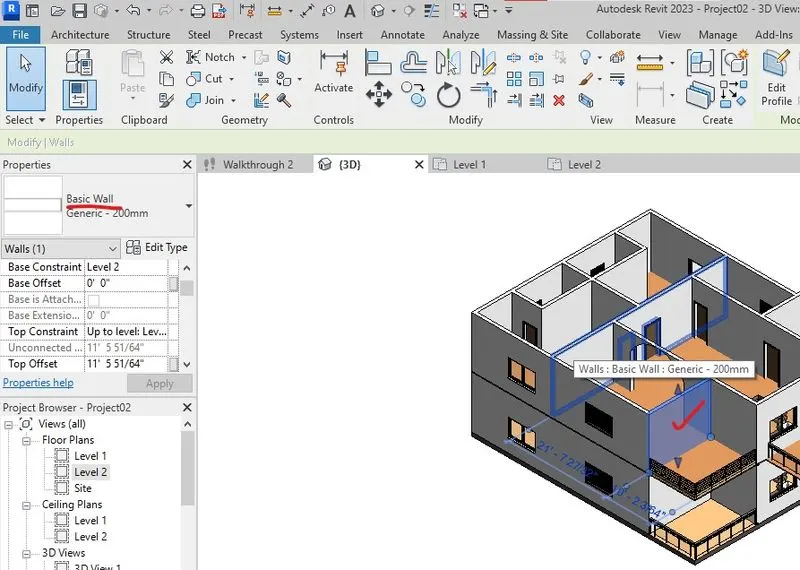
- that selected wall reflected in property browcer edit that wall from property browcer
- after click on edit we get a pop-up windowtype properties window
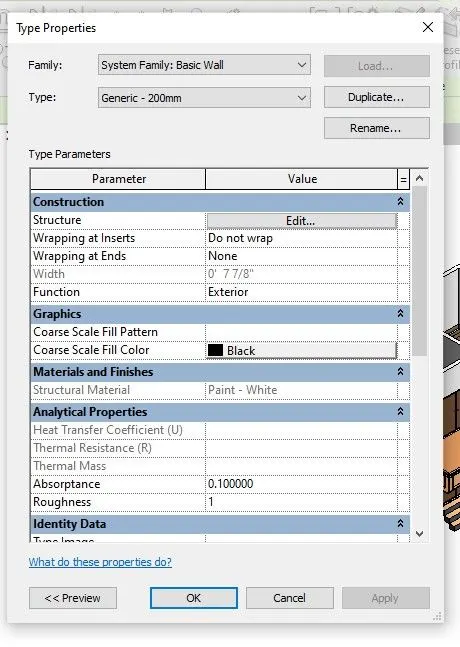
- select edit tab from stracture we get a another window
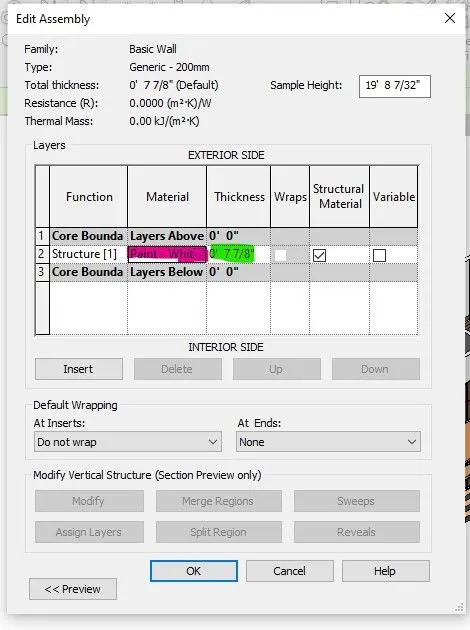
- click on the 3 dots we get material selection options from thickness row we get to place thivkness edit
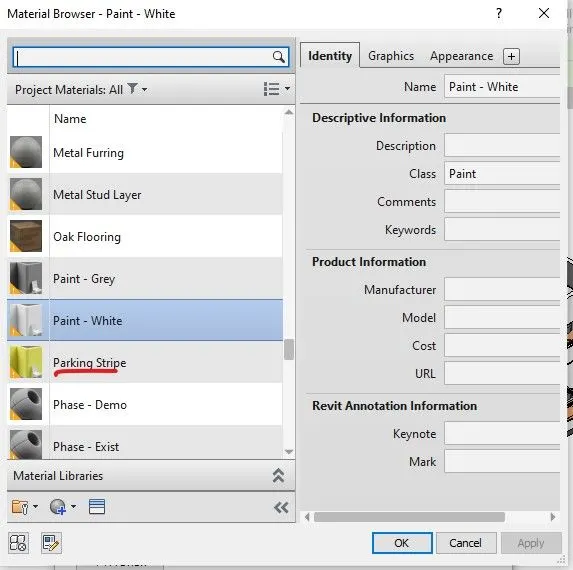
- after selection of material click ok and again apply < ok
RESULTS:
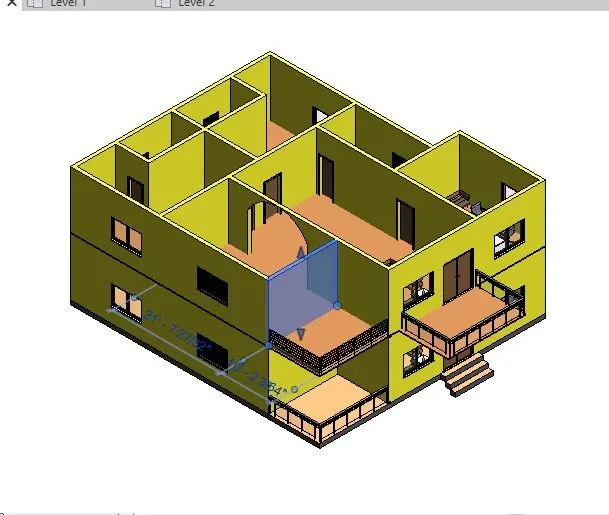
AIM:3 Copy the model elements ( wall, floor ) modelled to Ground Floor Level and paste it aligned to First Floor Level . Use modify tab to utilize copy and paste options to align
elements to a different level
STEP-1:
- Open previous drawing by using file< open
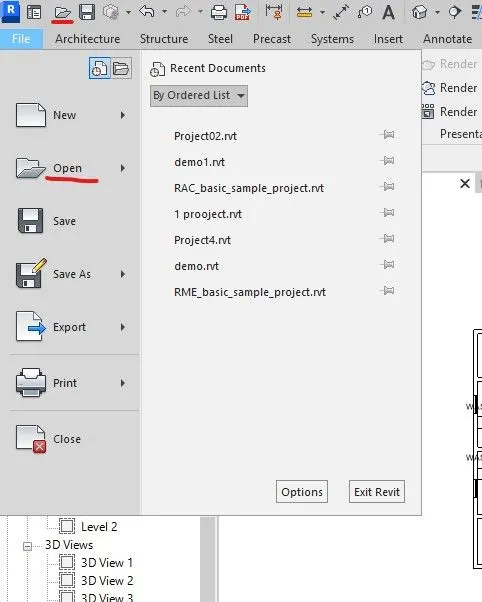
- now open level 1 drawing of ground level plan
- select the over all drawing to reflect the drawing to 1st floor to copy
- after selection of drawing ribbion tab changes another tools
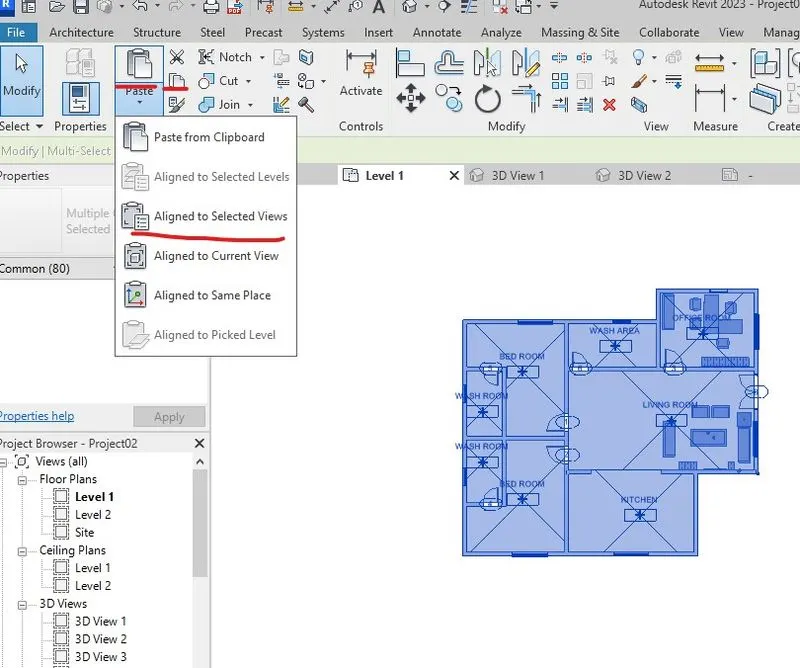
- select copy icon then click rooling in paste icon to select the alingned to selected views
- now we get pop-up window releated of floor level
- we can select the which level to paste that drawing alined levels click ok.
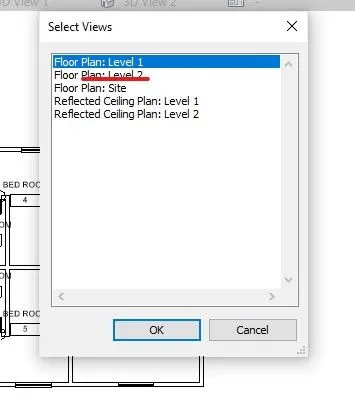
- now we select the drawong paste to to what we selected level now we open the 3d view view
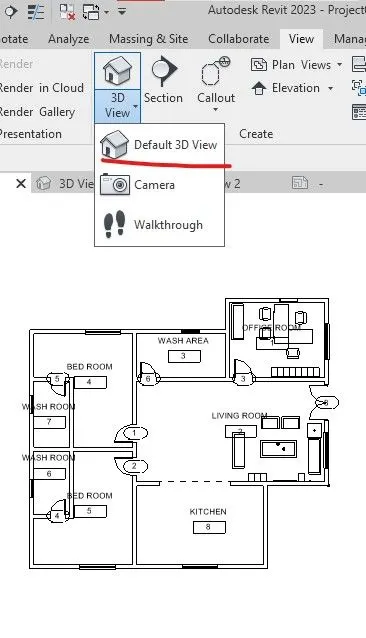
RESULTS:
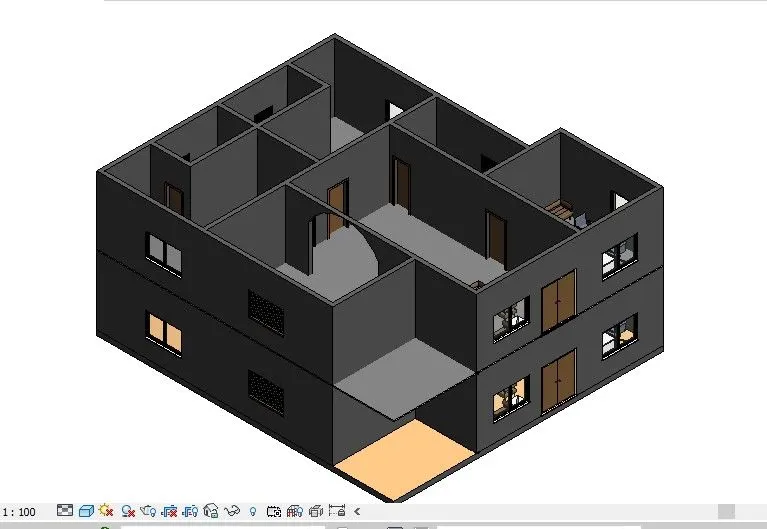
AIM-4:Use interior partition walls to create separate rooms within your residential unit. The model must include the following rooms
AIM-5: Based on week 2 assignment, the components to be included in a residential unit were inserted to the Revit file. Place these components in appropriate locations to add details to your residential model
a. Living Room/ Drawing Room ( 15’ X 18’)
b. Dining Room (9’ X 11’)
c. Bed Room ( 9’ X 12’ and 15’ X 11’)
d. Rest Room ( 10’ X 12’ )
e. Kitchen (8’ X 10’)
The above are for examples. You can use them or use your measured entities to create your model based on your layout. You may include entry walkway, Patios or Guest
rooms based on your creativity and purpose of modeling. Convert units if you are using metric system
PROCEDURE:
- select wall in architecture draw in articuler portions ass wall thickness as 9".
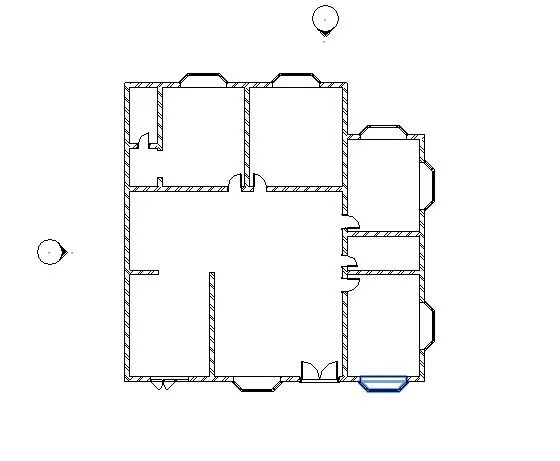
- add doors and windows choosing icons to place
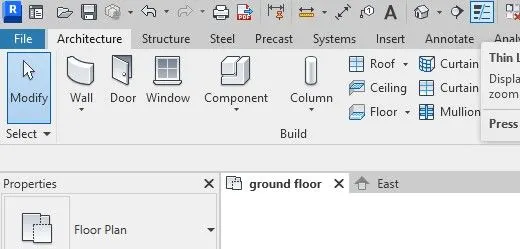
- using component icon furniture placed
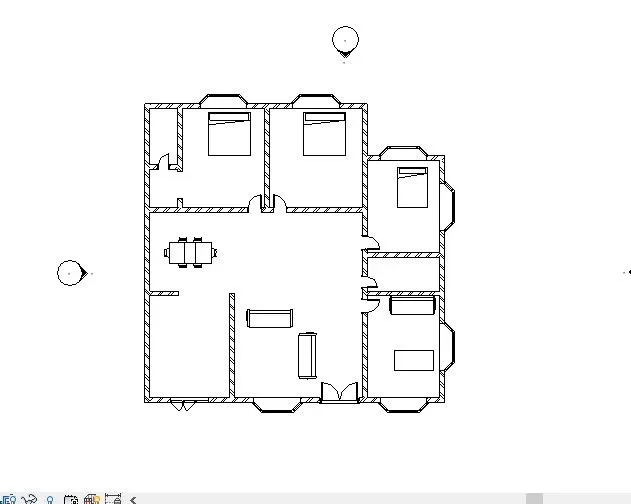
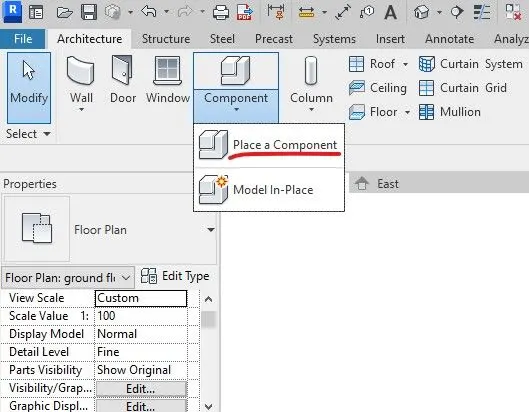
- select component < load family < select element what we want from family.

- now we get pop-up window load family library elements
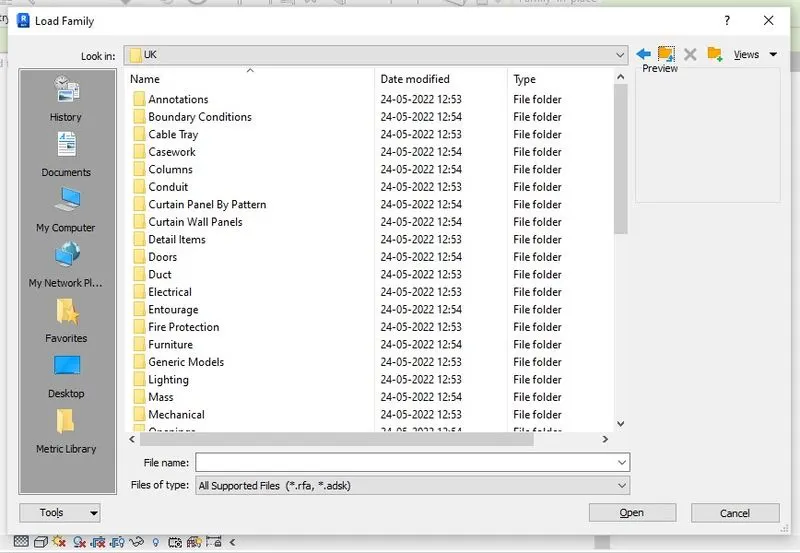
- select furnotue from that list
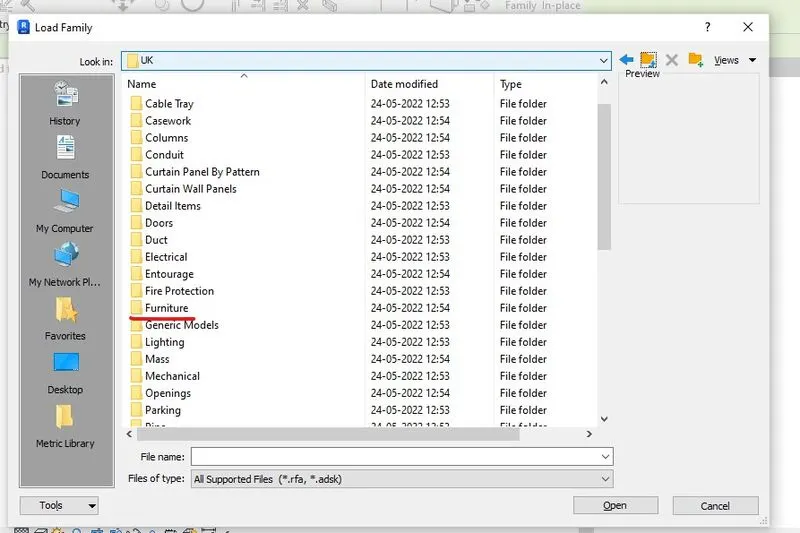
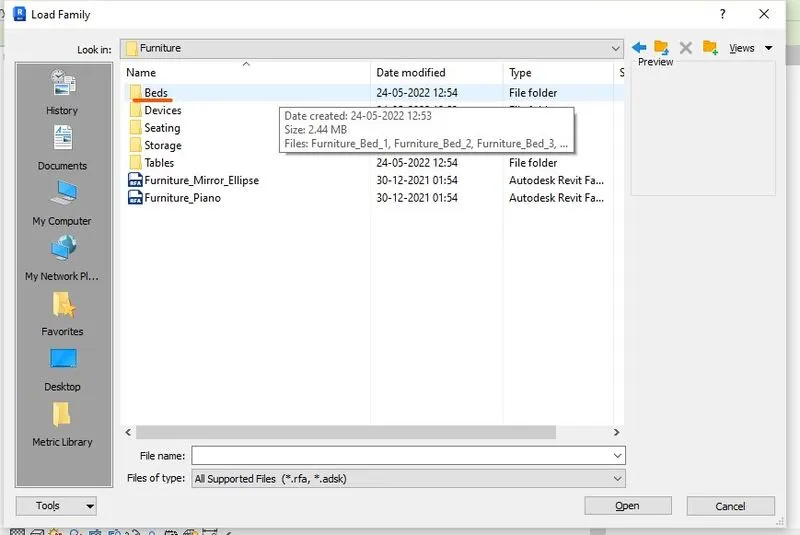
- if select any item from family that element reflect and insert into revit propery browcer
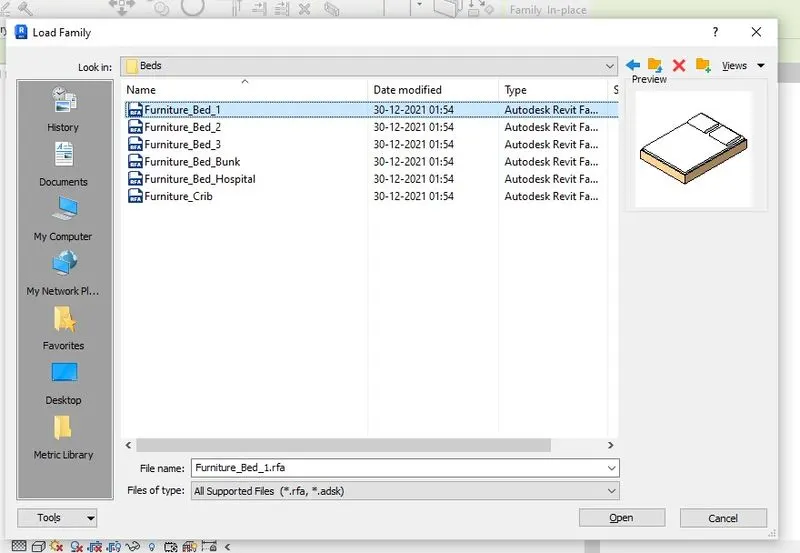
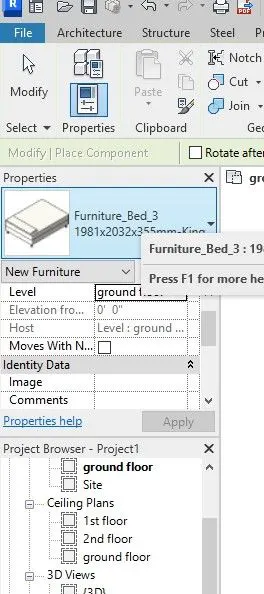
- now we place element where we want
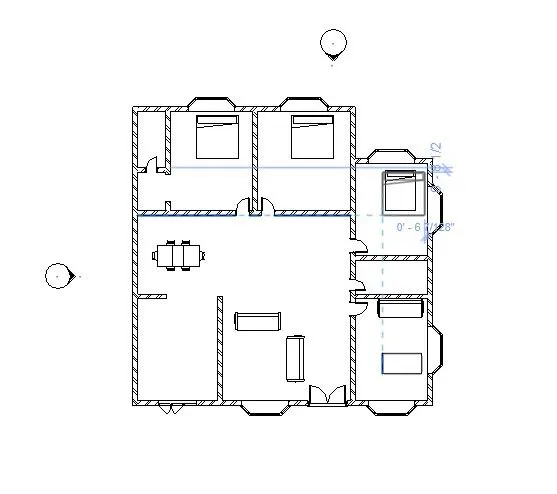
- now add elements what required
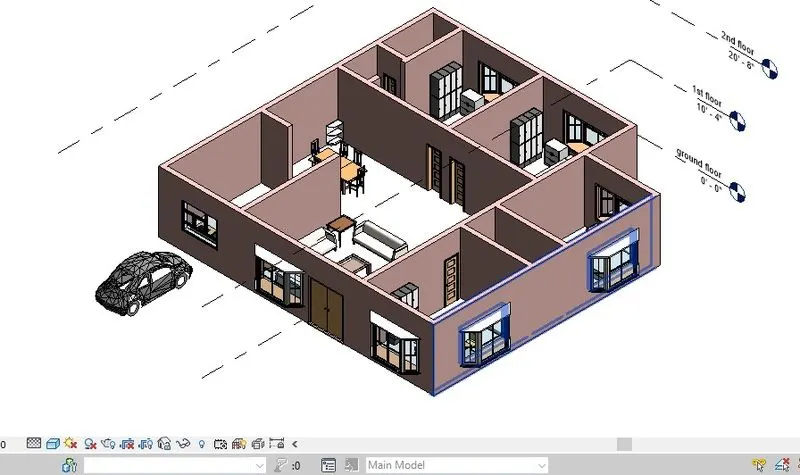
- add floor by the slection icon from arechiteture tab
- floor < skitch < slecting boundaries < enter
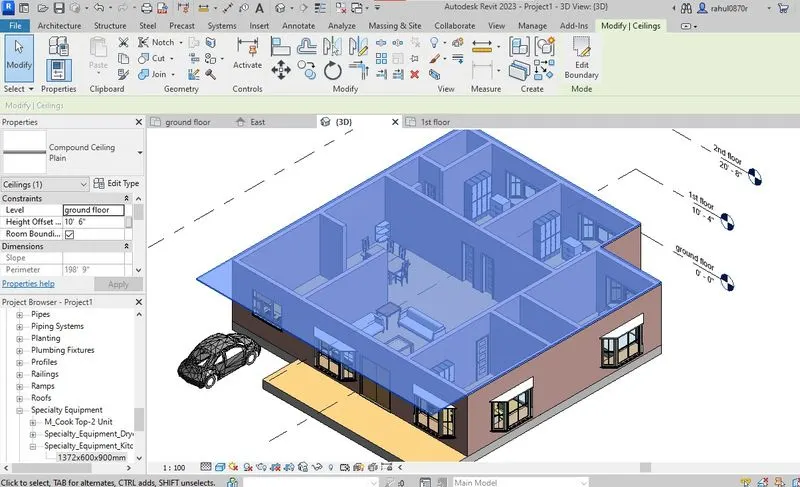
- now copy the ground floor to 1st floor
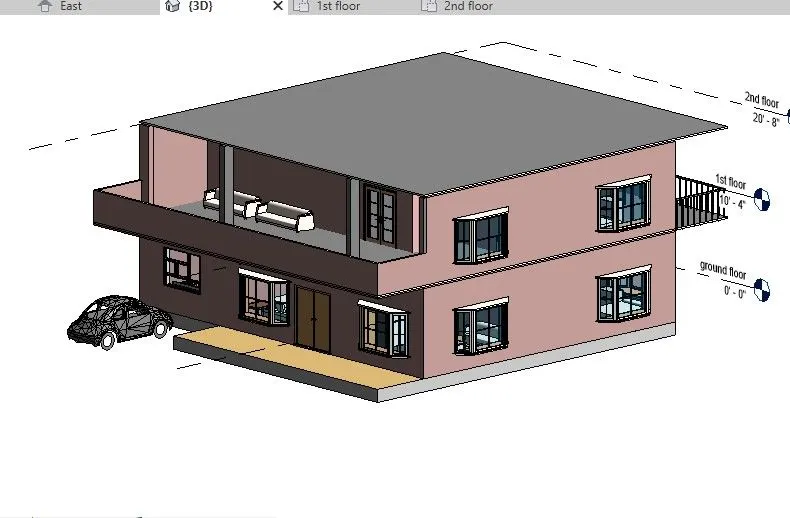
RESULTS:
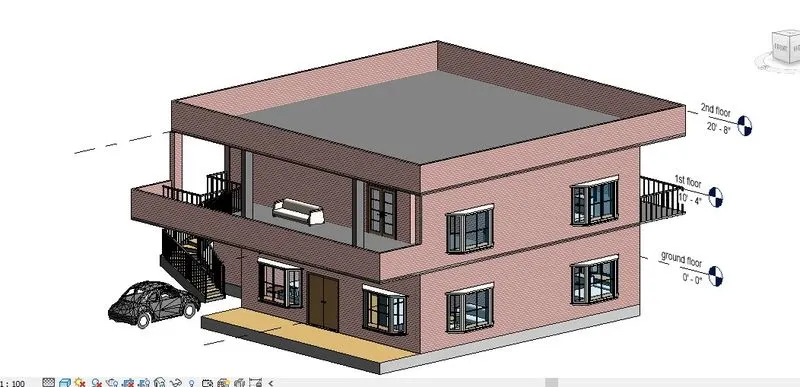
REMARKS: BOTH 4&5 answers in included in 1 answer.