Creating Walls, Partition walls and Floors for a residential layout using REVIT
Q. 1) Use the project file created from Week 2. Use it for this assignment. Based on your layout from week 2, use the floor tool under the architecture tab and select the floor with appropriate material and thickness using the property browser to create a layout on the Ground floor Level. Align the floor plan with grids created from week 2.
Aim:- To create a Floor on your existing week 2 layout.
Procedure:-
- open the week 2 project file.
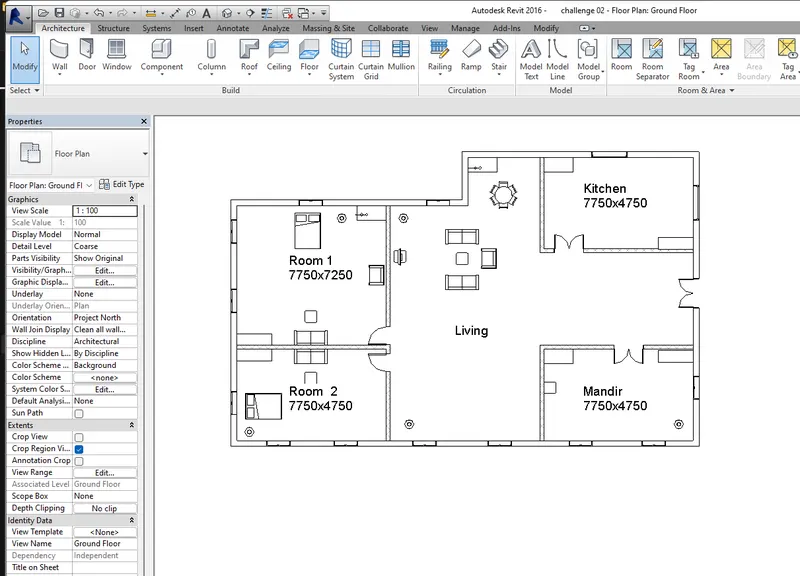
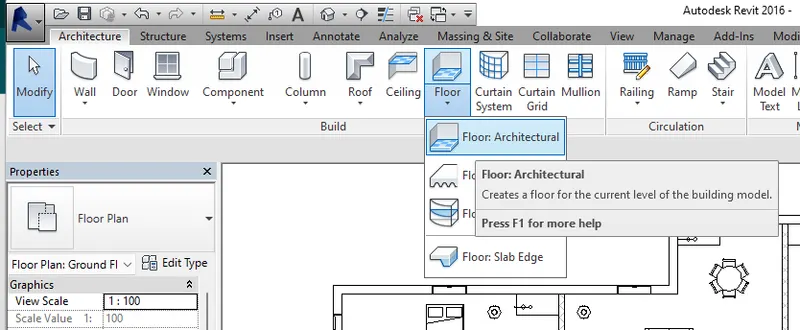
- To create a floor in the plan go to Architecture>Floor>Floor: Architecture.
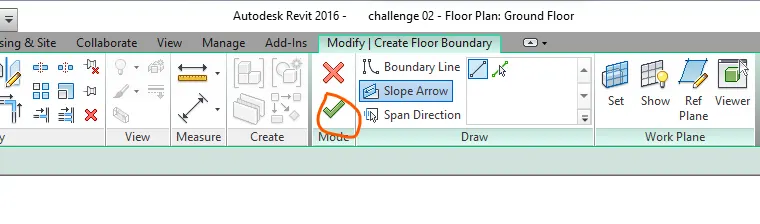
- Now, we can see the tab "Modify|Create Boundry Line" option in that we have many options to select the boundary of your floor.

- I had selected the 'line' option to select the boundary of plan, now we can see the floor boundary in a pink polyline.
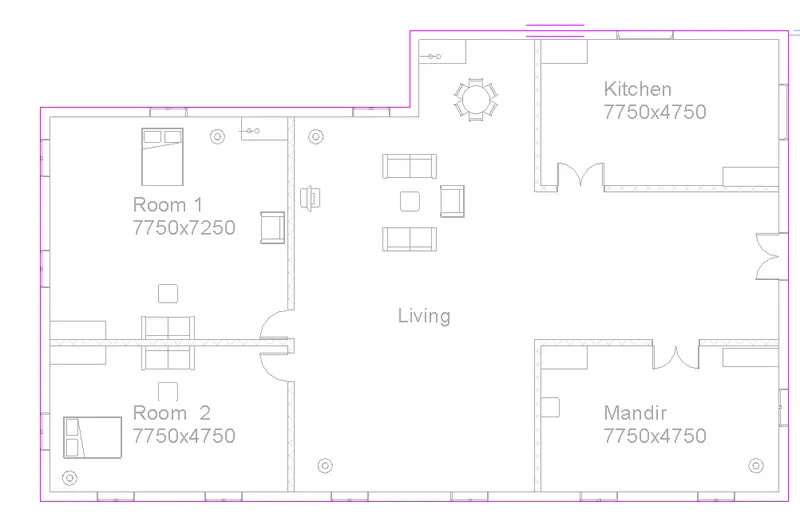
- check this green tick, after that floor, will create.
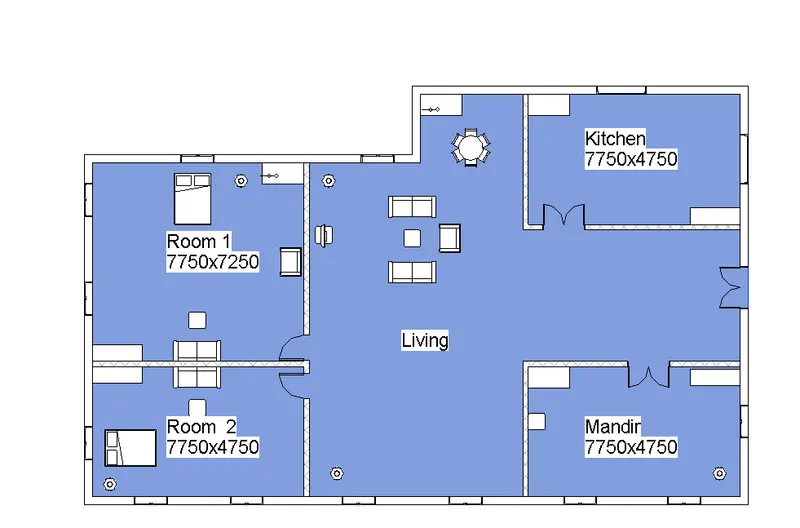
- Now, we can see the Floor a) In-floor plan
 b) In 3D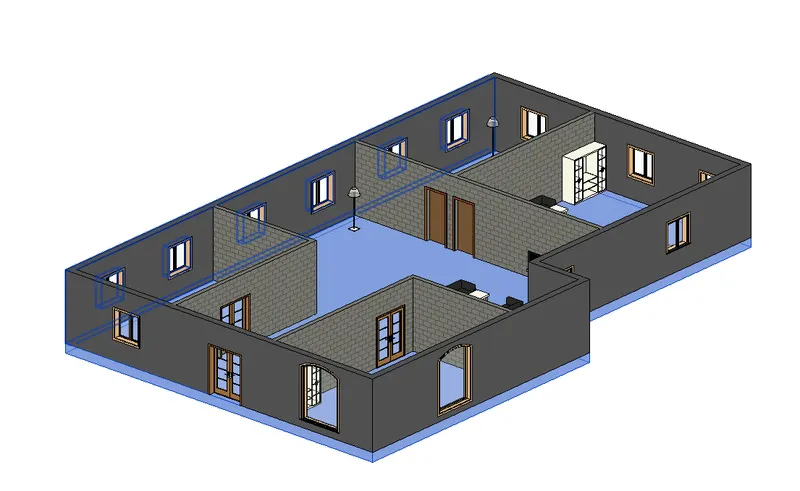
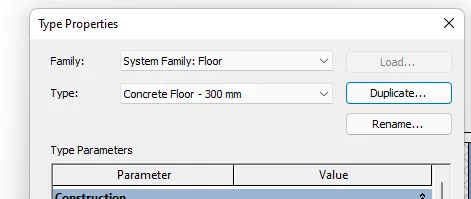
- Now, Let's select suitable material & thickness for the Floor. For that, we have to select the floor and go to the 'property browser' and click on "Edit Type". we can see the details of the floor which have been created.
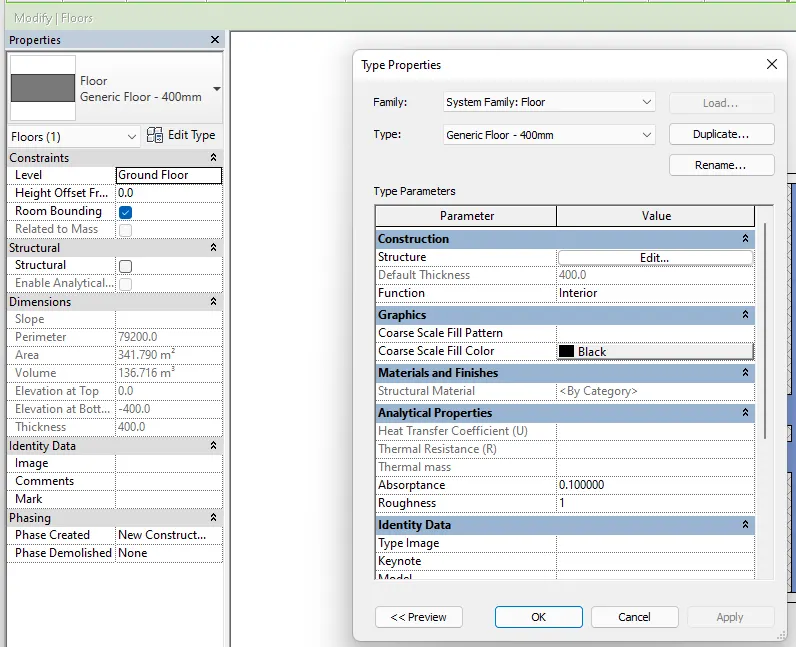
- To change the floor parameter we can change direction or duplicate that floor and change the parameter. I had duplicated the existing floor and after that, I'm changing the parameter.
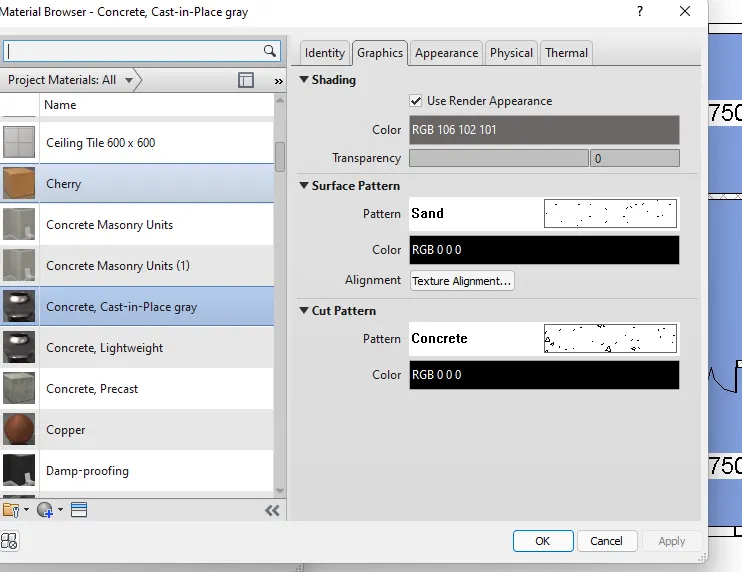
- This is 'Material Browser' here we can change the material property .
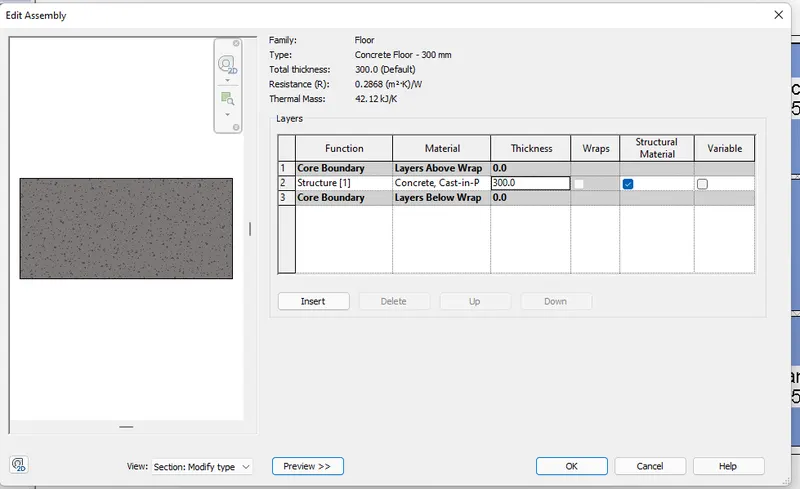
- This is my updated floor material & thickness.
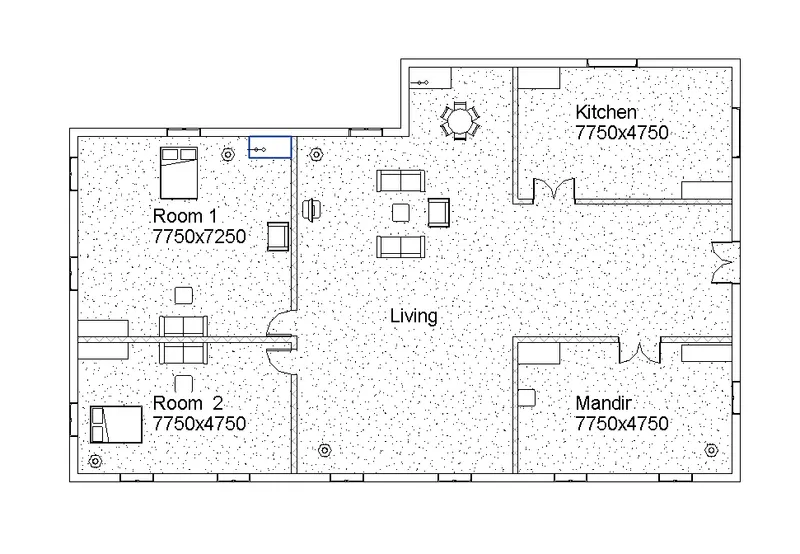
Result:-
- Ground Floor plan view:-
- 3D view :-
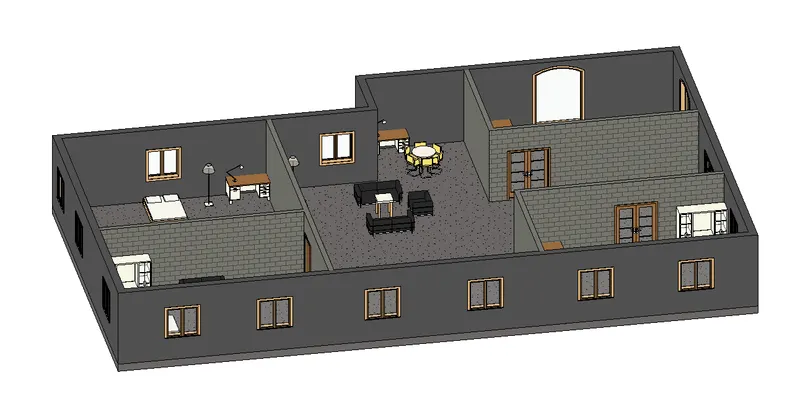
- Elevation view:-
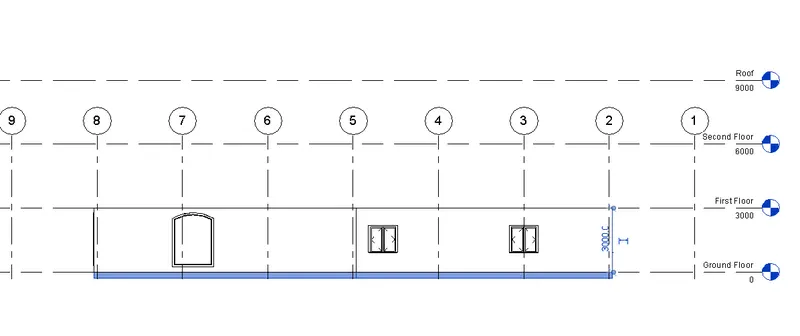
Q. 2) Add walls based on the floor layout. Pick lines or use the draw tool to modify the boundary of walls. Use the property browser to select the appropriate material and thickness for walls. After creating the walls verify using the property browser to see if the top and bottom of the walls are constrained.
Aim:- To create walls using the Property browser & select the material and thickness of the wall using the property browser.
Procedure:-
- open the week 2 project file.
- select any wall and go to property browser>edit type
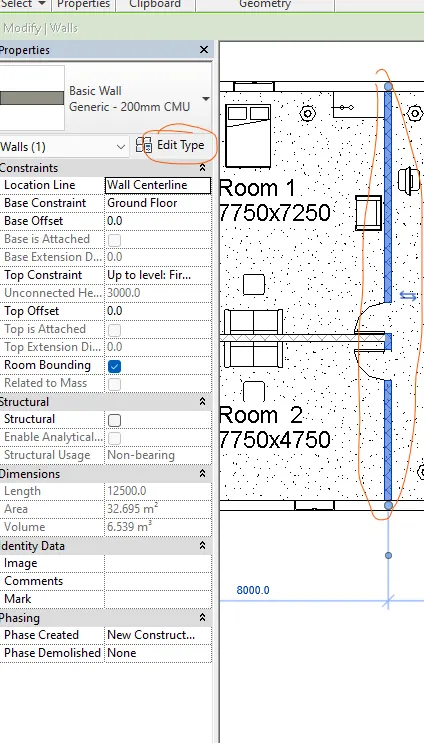
- To change the properties, edit type>structure
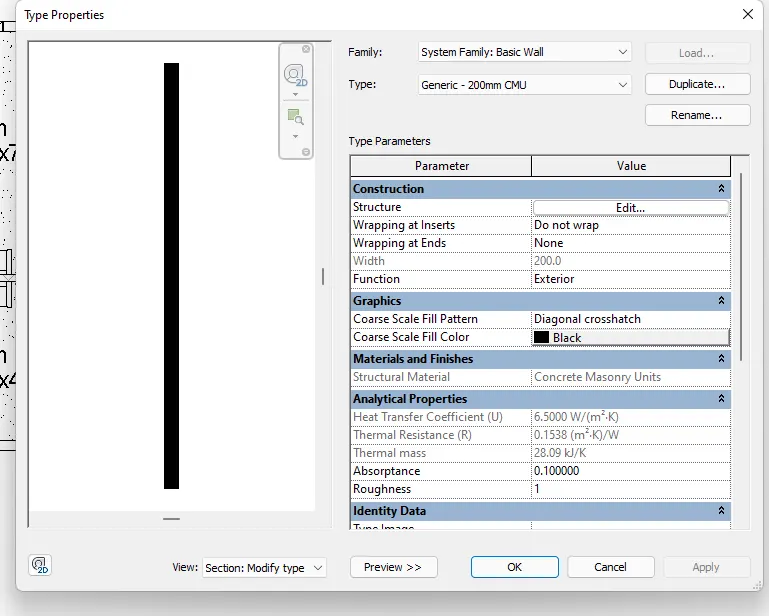
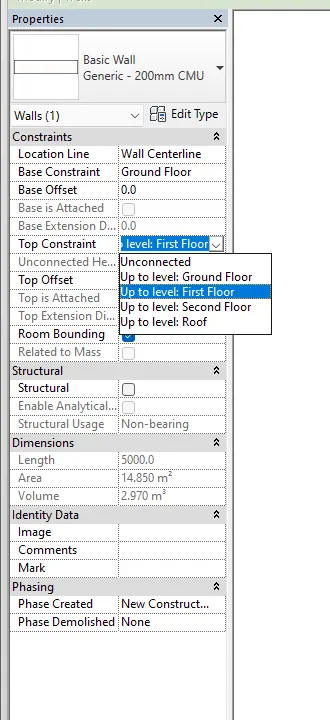
- we can check the wall constraint from the property browser, for that "property browser> base constraint" for the base of the wall & "property browser>Top constraint" for top of wall.
Result:-
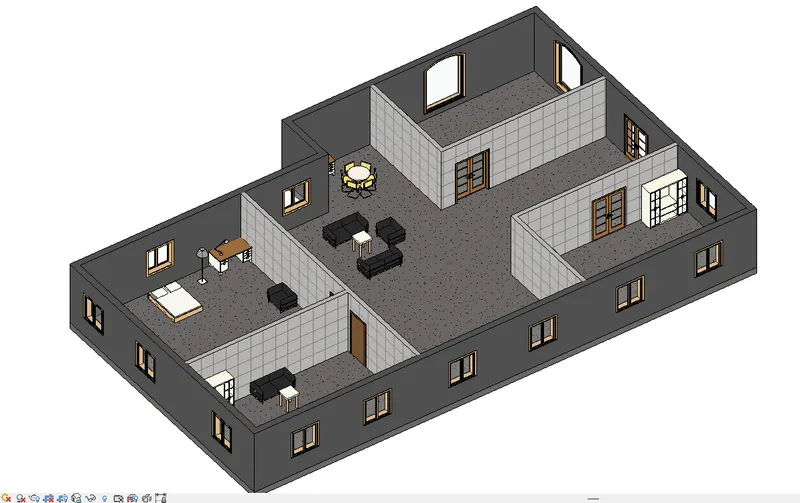
Q 2.a) Based on your observation, what is beneficial for connecting walls with associated levels rather than being Unconnected
Answer:- It's better to connect the walls with the associated level because if you made any change in level difference the wall height (depth) will be changed automatically, If you keep unconnected, then it will not change.
Q 2. b) Which option is convenient for modeling walls, By Height or By Depth?
Answer:- By Height.
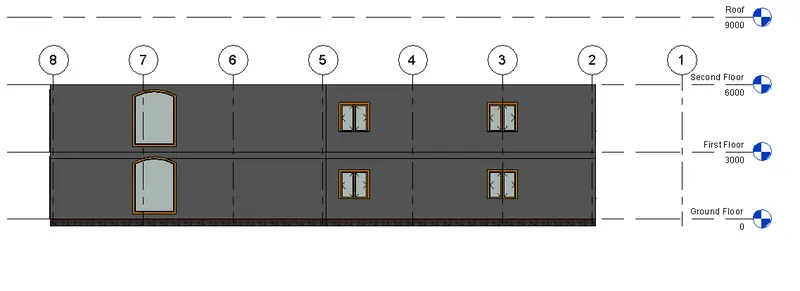
Q.3) Copy the model elements ( wall, floor ) modeled to Ground Floor Level and paste it aligned to First Floor Level. Use modify tab to utilize copy and paste options to align elements to a different level.
Aim:- To copy the model elements ( wall, floor ) modeled to Ground Floor Level and paste it aligned to First Floor Level.
Procedure:-
- Go to elevation and create elevation if you have not created it.
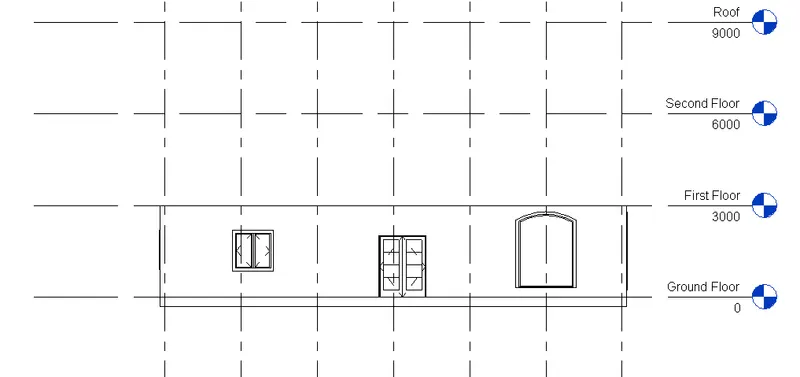
- Select your plan first.
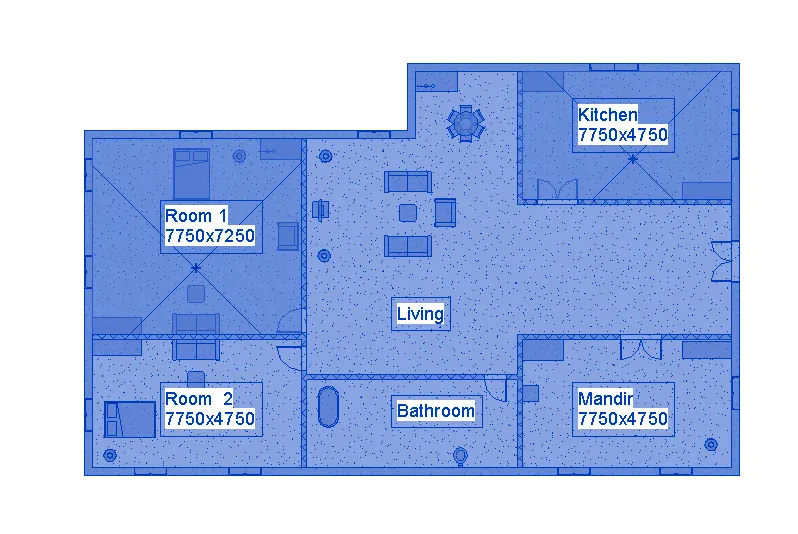
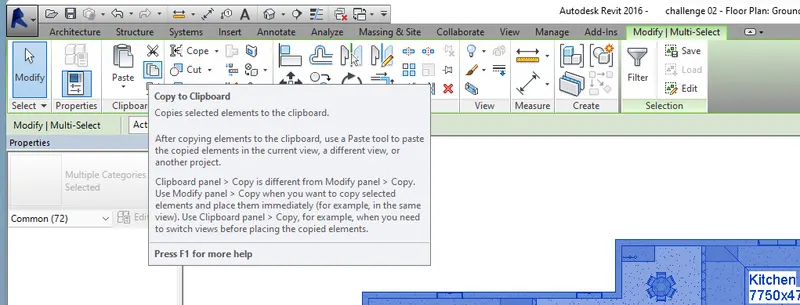
- then go to modify tab>copy the model>clipboard
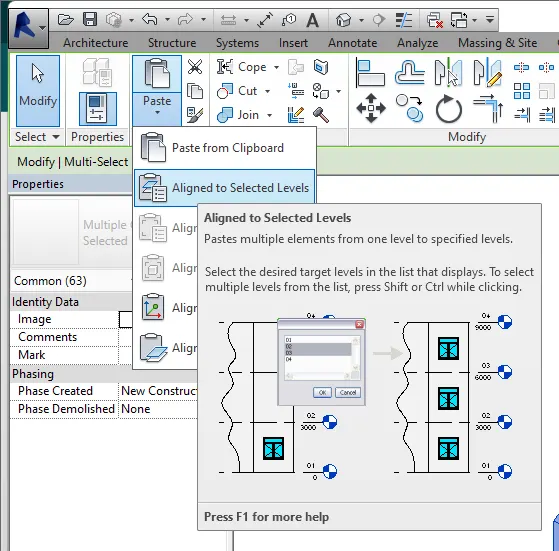
- now, Paste>alined to selected levels> the first floor
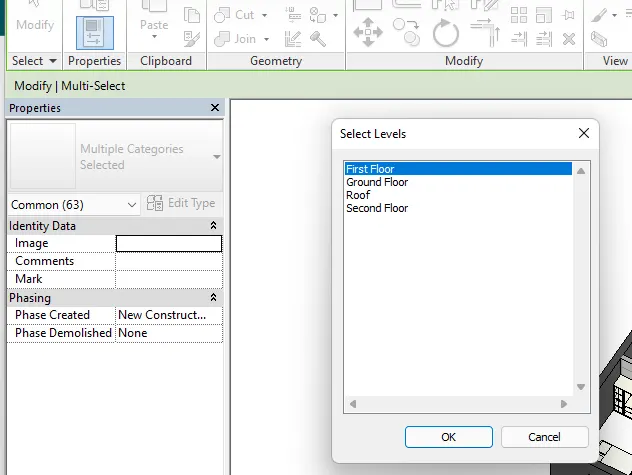
Result:- 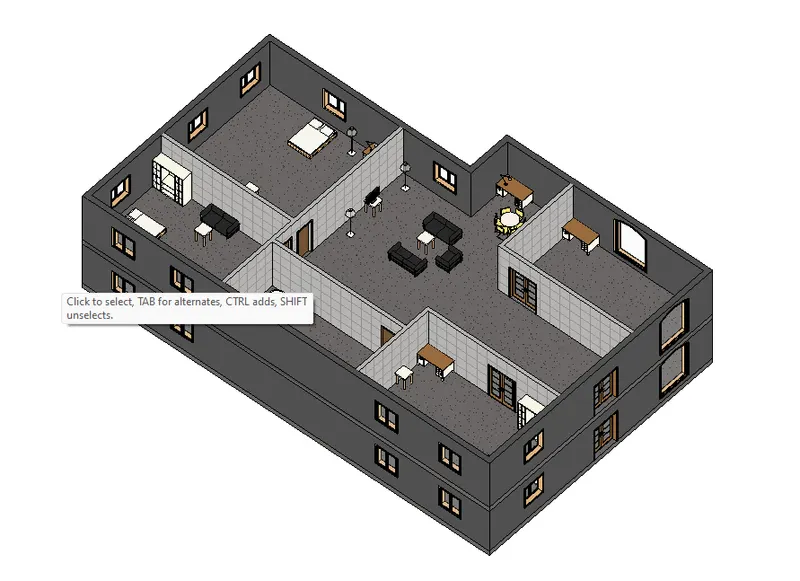
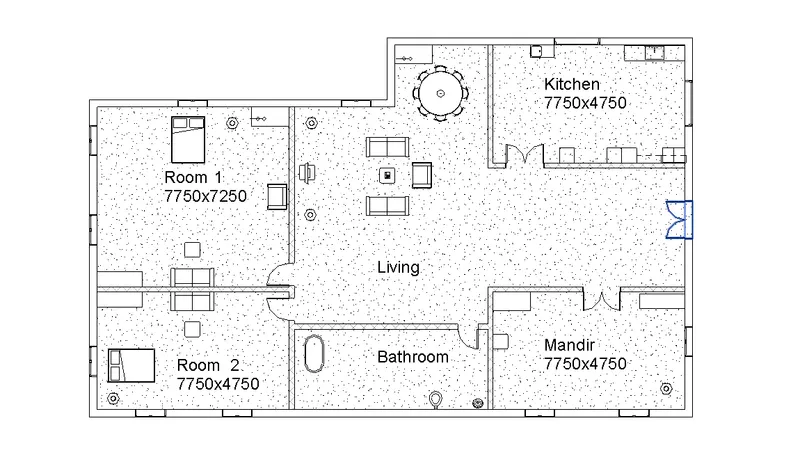
Q. 4) Use interior partition walls to create separate rooms within your residential unit. The model must include the following rooms
a. Living Room/ Drawing Room
b. Dining Room
c. Bed Room
d. Rest Room
e. Kitchen
Aim:- To create Living Room/ Drawing Room, Dining Room, Bed Room, Rest Room, and Kitchen.
Procedure:-
- Go to architectural tab>walls>property browser>interior wall> then create walls in your model as required
- Go to architectural tab>place a componet>load famiilies> add Plumbing, furniture, kitchen, lighting application, etc.
Result:-
Q. 5) Based on the week 2 assignment, the components to be included in a residential unit were inserted to the Revit file. Place these components in appropriate locations to add details to your residential model.
Aim:- To add components to be in the residential unit was inserted into the Revit file.
Procedure:-
- First, open your Revit file.
- create boundary wall and partition wall also
- Now go to the architecture tab>place a component>load families>add a kitchen, furniture, plumbing fixtures, etc.
Result:-
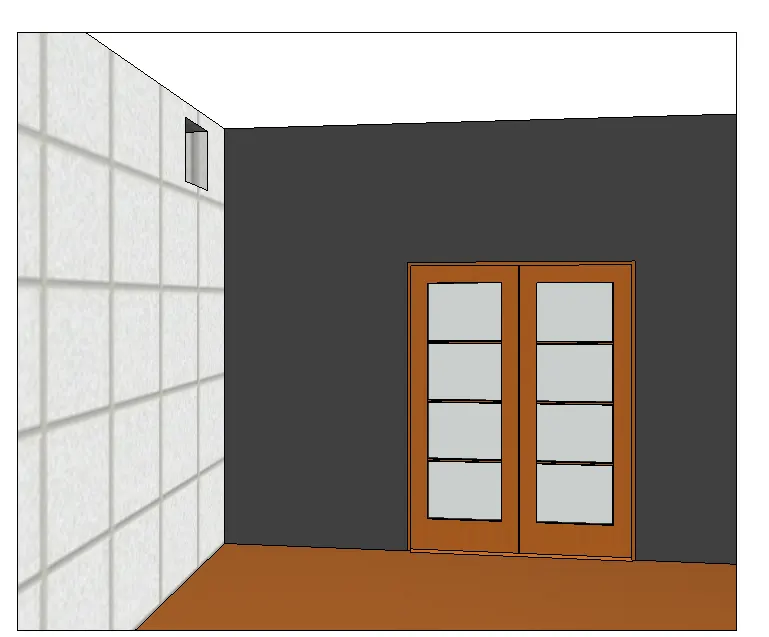
- door
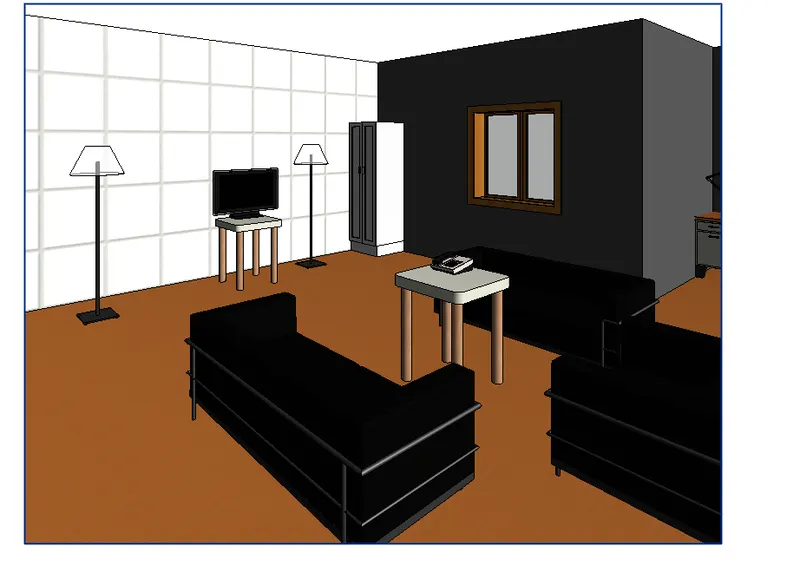
- Living room
- Dining Room
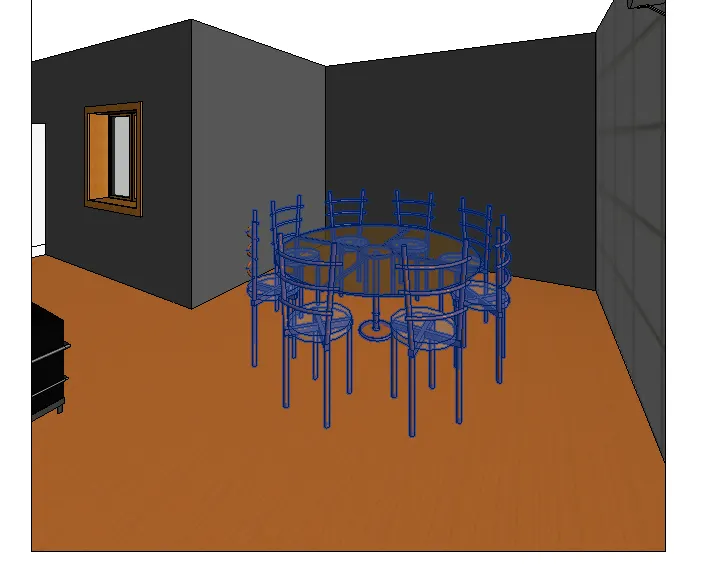
- Bed Room
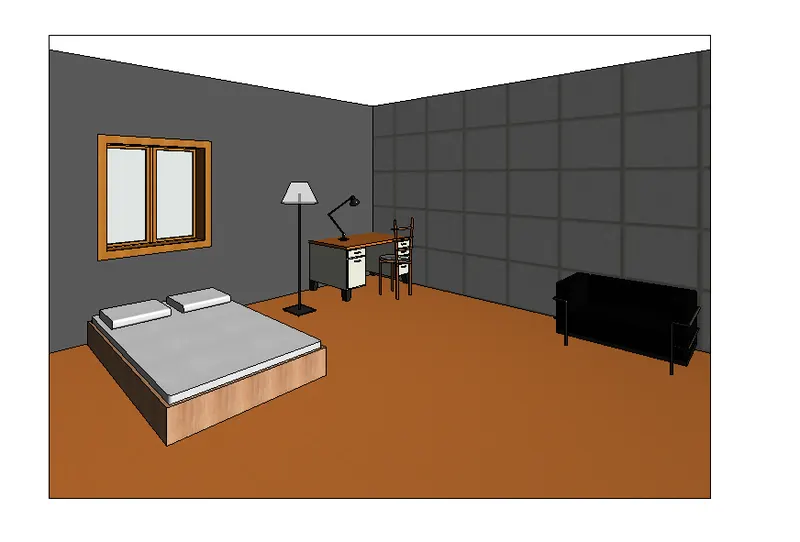
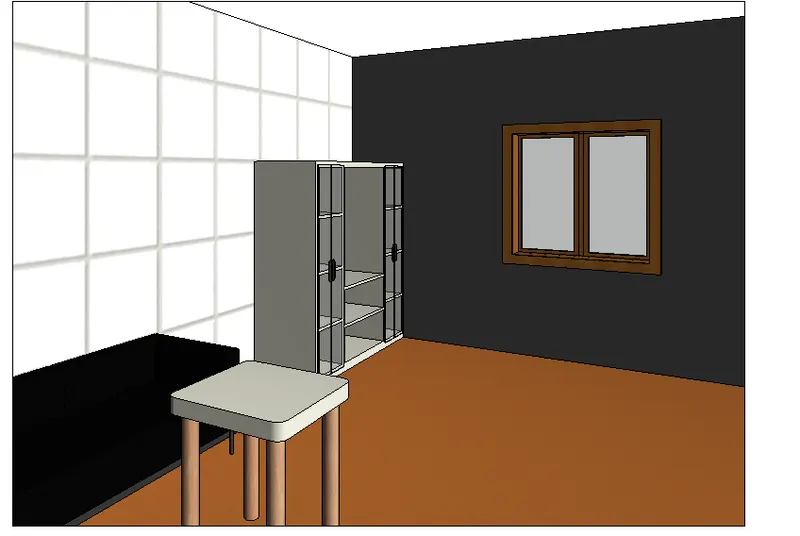
- Rest room
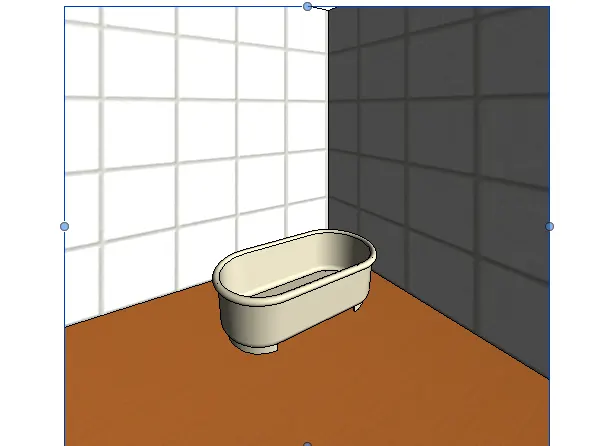
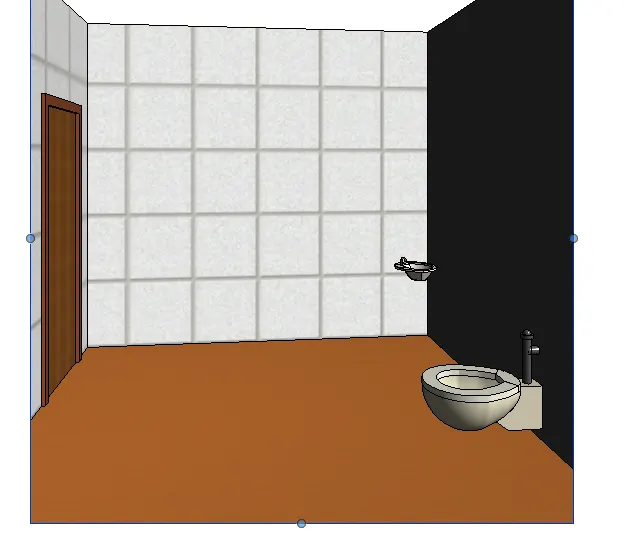
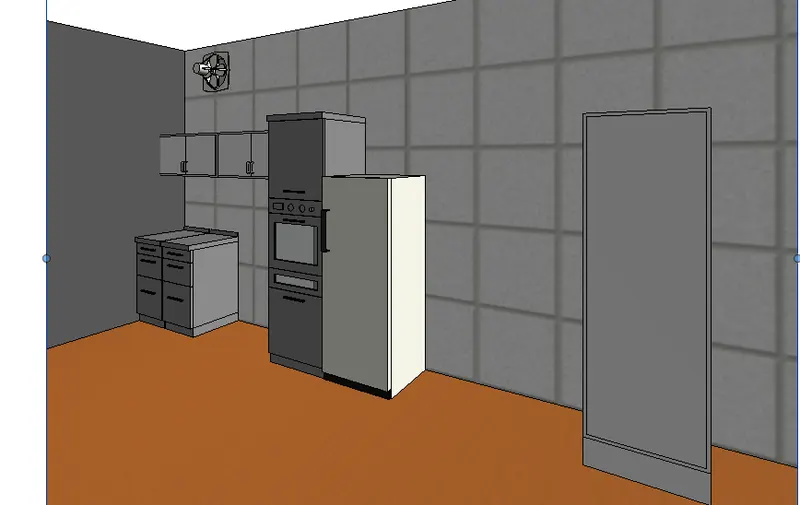
- Kitchen
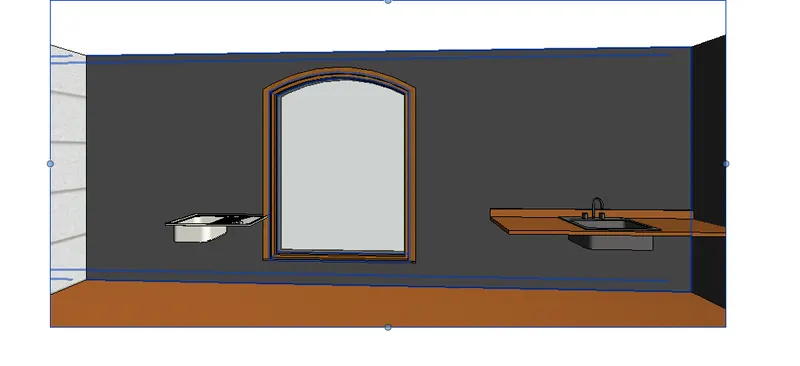
- Storage