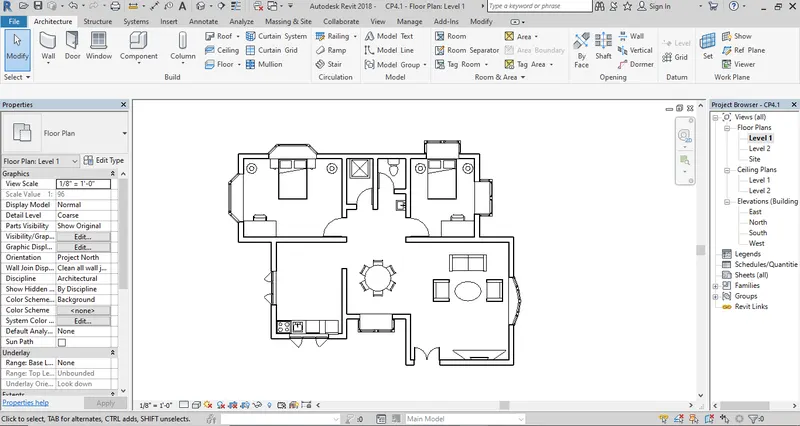
Creating Walls, Partition walls and Floors for a residential layout using REVIT
Q.1 Ans
AIM : Create a Floor to Project Layout.
Procedure:
Step 1: Create a floor to project layout created in week 2.
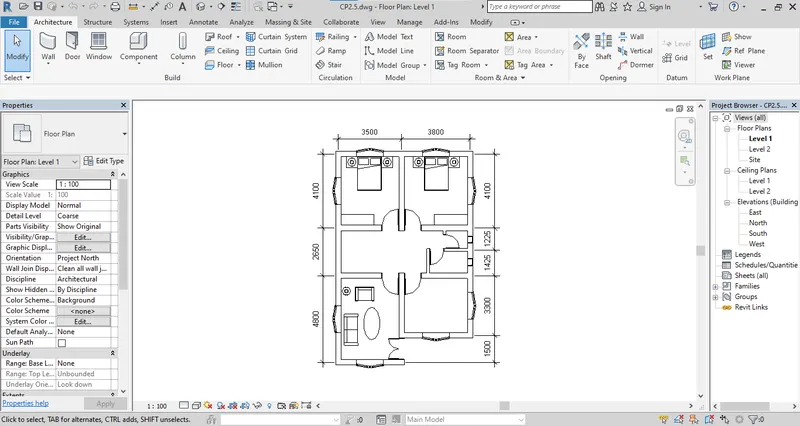
Step 2: Go to Architectural tab and build panel and select the floor.
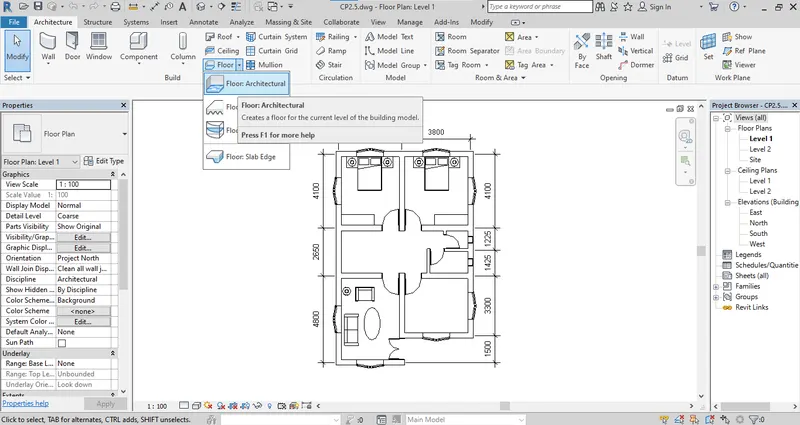
Step 3: Go to floor drop down select the floor architectural and draw menu will be open.
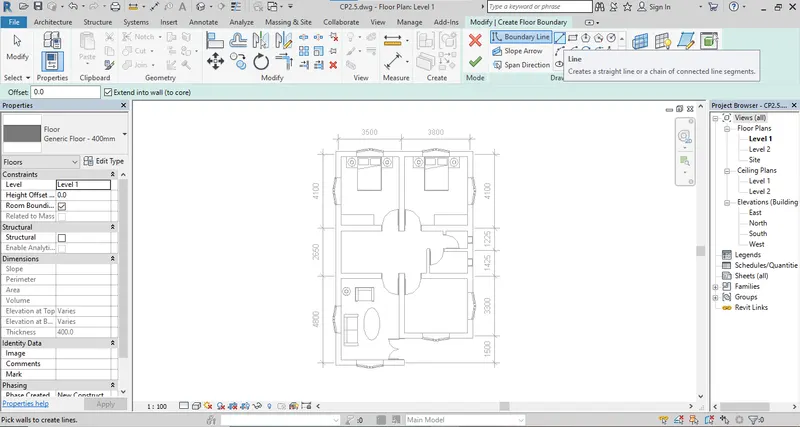
Step 4: Select the pick line option and select all the boundary of layout.
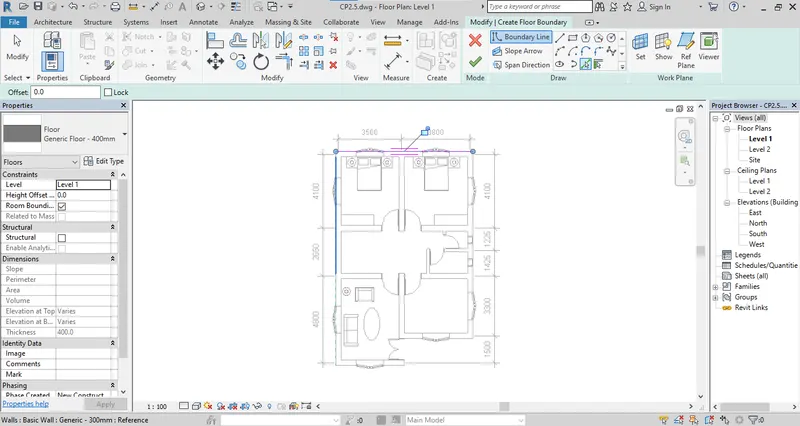
Step 6: As you selected all the boundaries of layout go to finish.
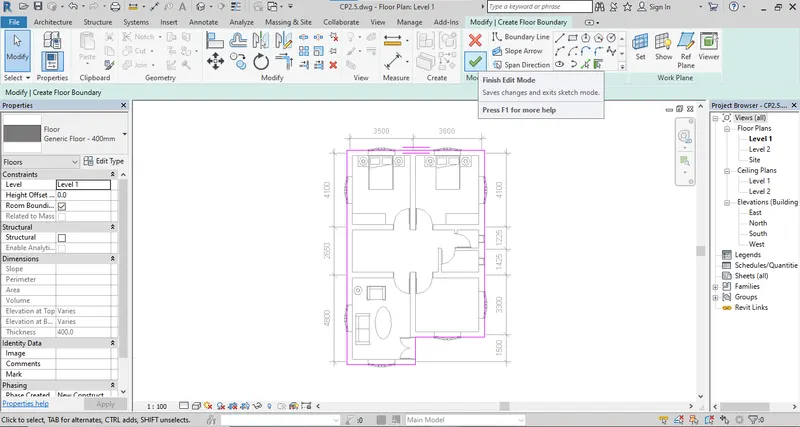
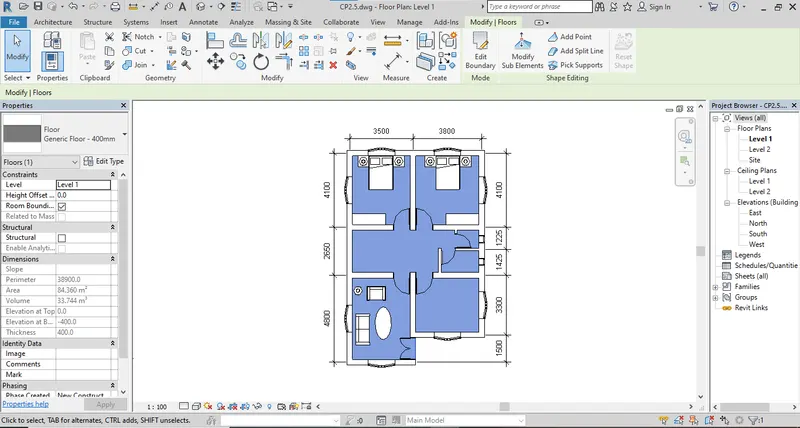
Step 7: The floor will be added at the selected portion.
Step 8: Go to 3D view & check the created floor.
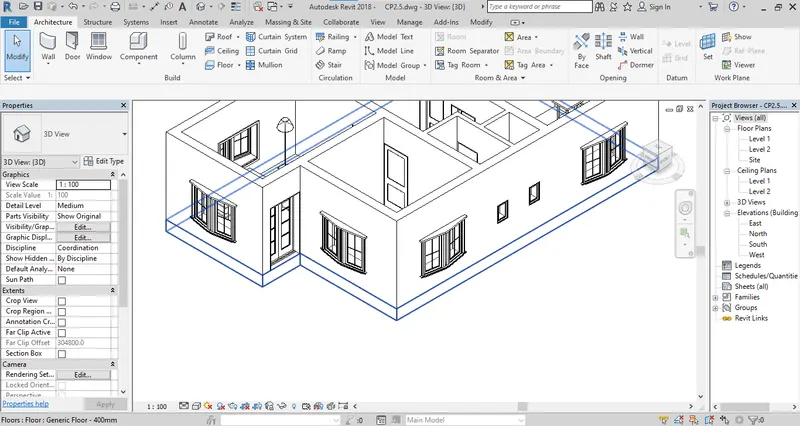
Step 9: Select the created floor and go to edit type from properties browser.
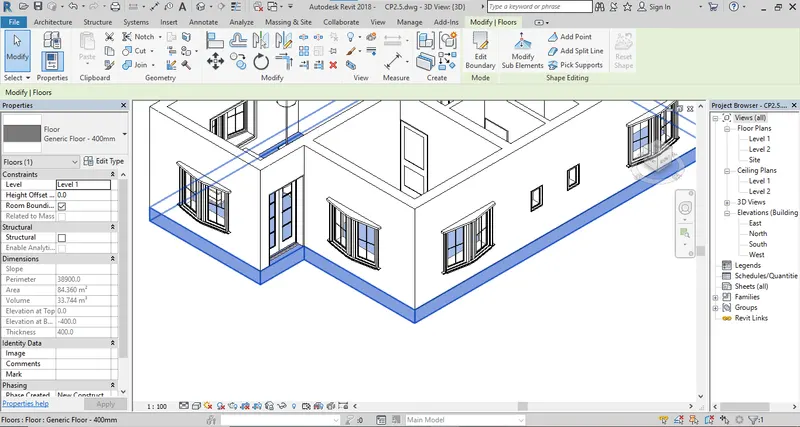
Step 10: Go to edit type from properties browser.
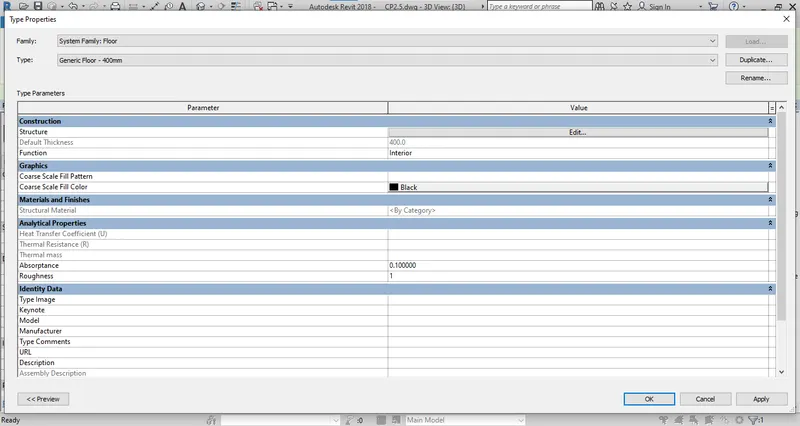
Step 11: Again Go to edit to change the material and thickness of the floor.
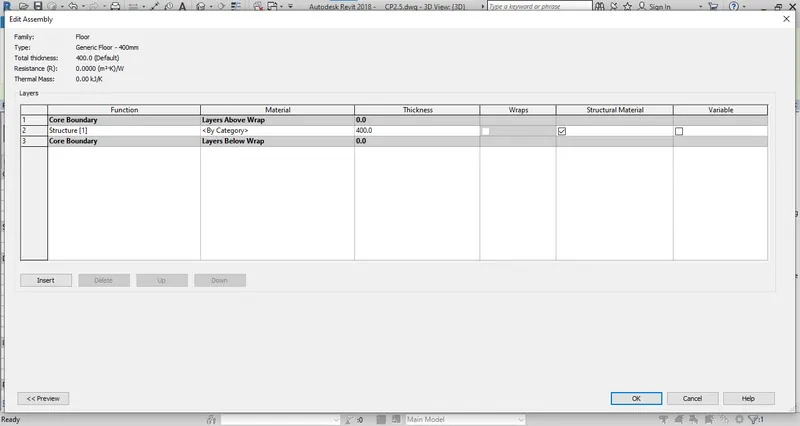
Step 12: Select the three dots from material and select the material for the floor. I am selecting the Oak flooring material and change the thickness 300mm.
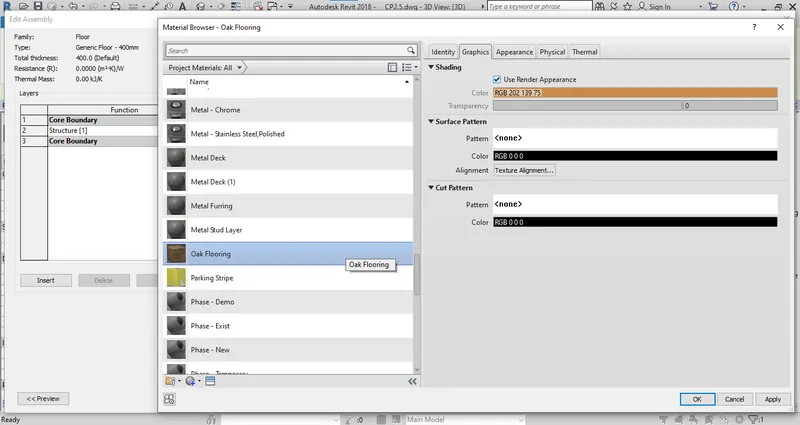
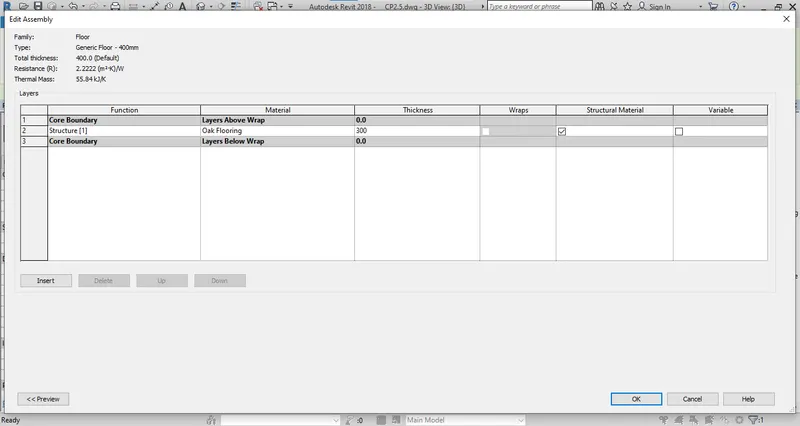
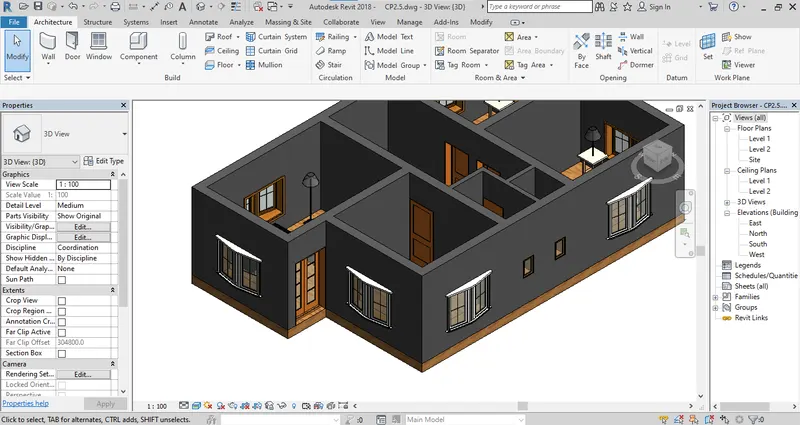
Result: Again Go to 3D view and go realistic view and check that material and thickness of floor will be changed.
Q.2 Ans
AIM : Edit the wall thickness and material.
Procedure:
Step 1: Select the wall and go to properties browser from and go to edit type.
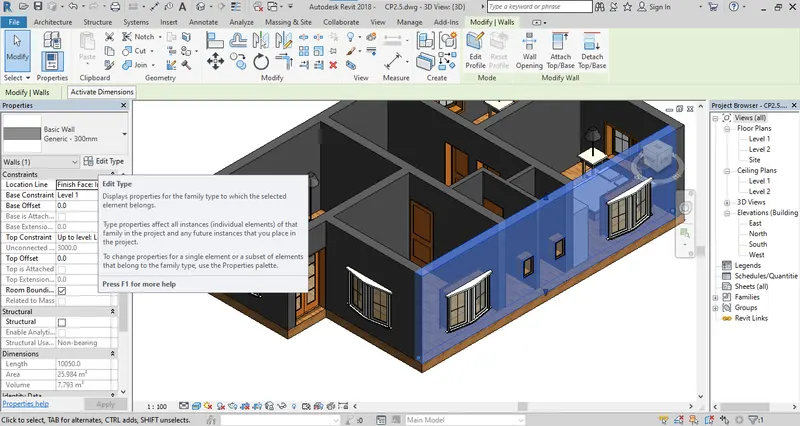
Step 2: Go to edit again to change the properties of wall.
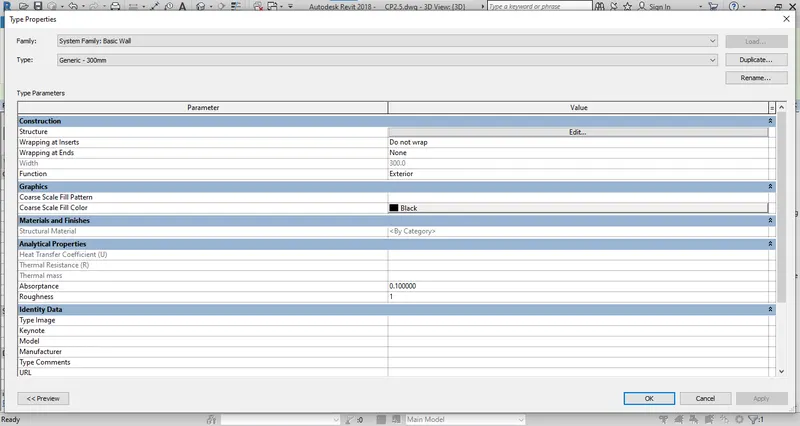
Step 3: As open the edit properites there is a table of material and thickness from that properties will be change.
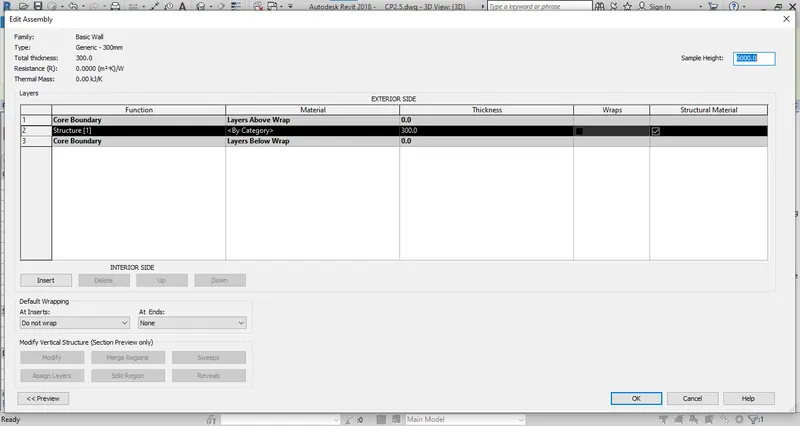
Step 4: Now select the material and change the material of wall and change the thickness of wall.
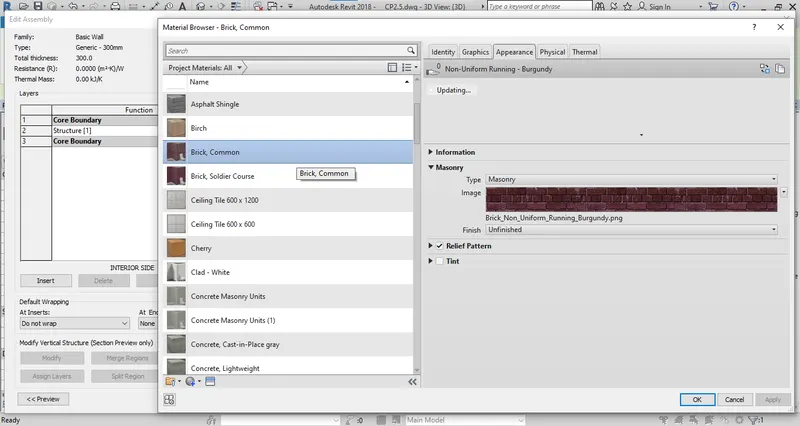
Step 5: I am using the Brick common material & thickness to 230mm.
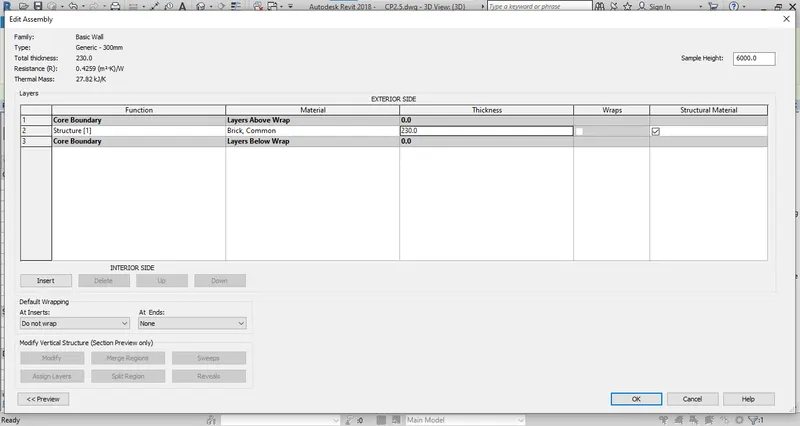
Step 6: Click to apply and click ok for assign a material.
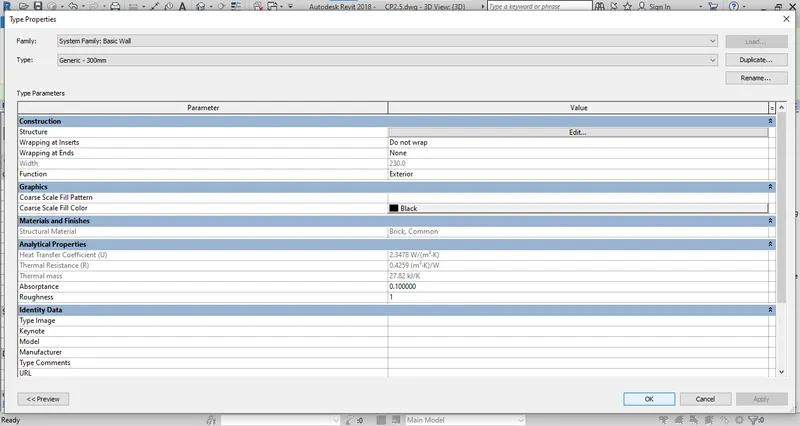
Result: The material and thickness of wall is changed.
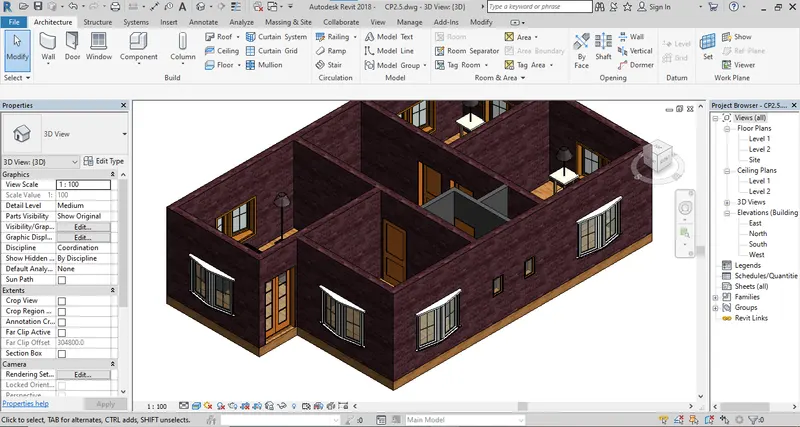
a. Benefits of connecting wall to the level:
1. It is good to provide the height for level to level.
2. It is provide margins to the walls at selected level.
3. It will be easy to work on floor to floor level.
4. Reduce efforts to provide height for every wall.
b.
1. To provide a wall Height is convenient option.
2. As we created the level at certain distance height is a very good option to draw a wall.
3. It will good from work on floor level.
Q.3 Ans
AIM : Copy all the elements From ground floor to first floor.
Procedure:
Step 1: Go to floor plan and go to ground floor.
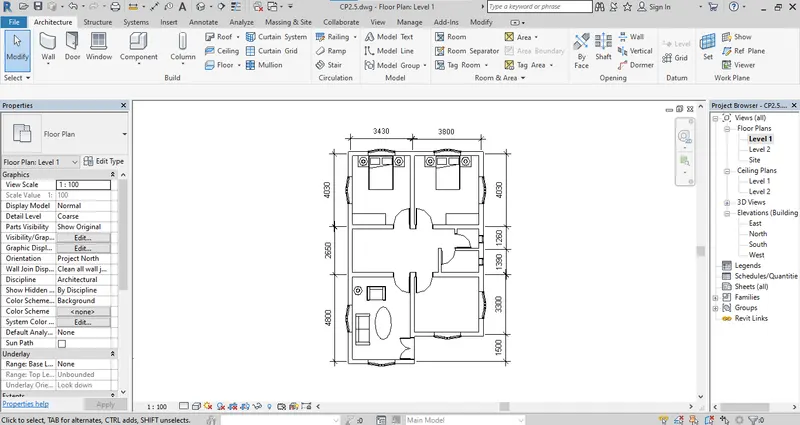
Step 2: Select all the components to copy.
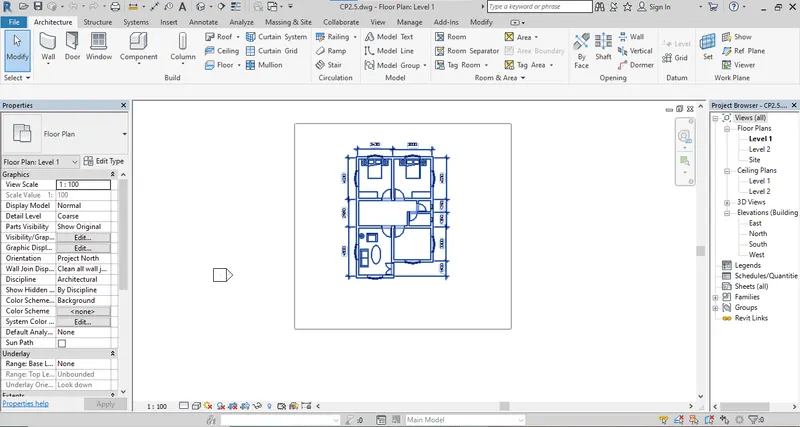
Step 3: As you selected all the components the modify tab will be open.
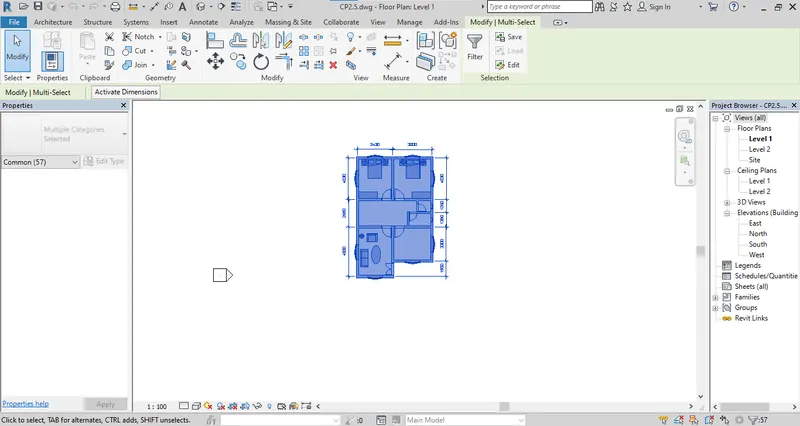
Step 4: Go ro clipboard panel select copy to clipboard option.
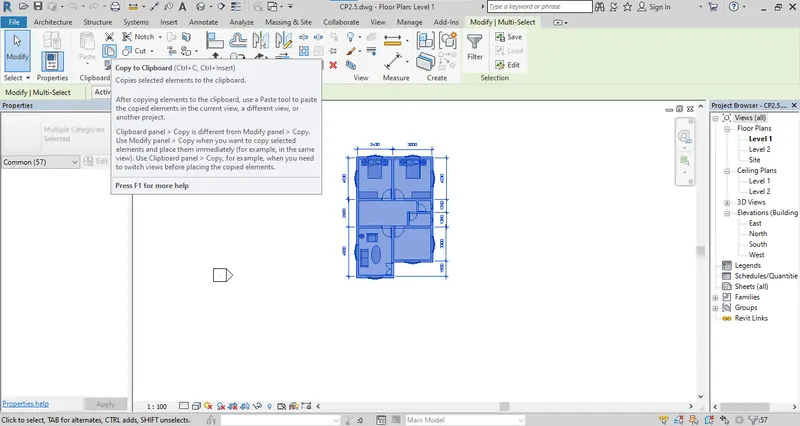
Step 5: After selecting go paste dropdown menu and select the "Aligned to selected Level".
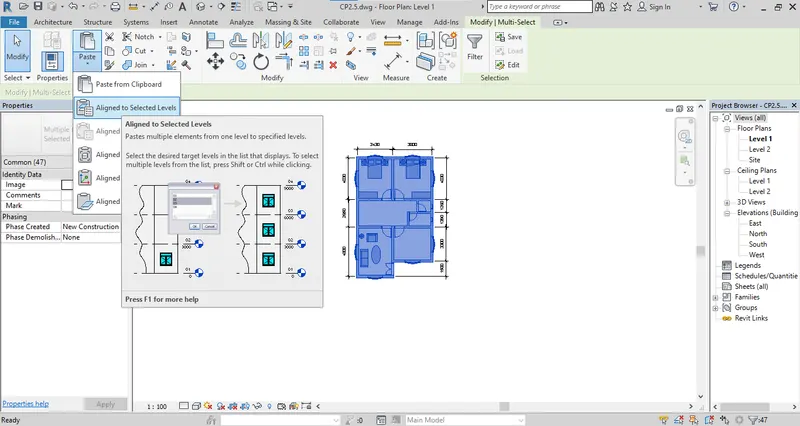
Step 6: The level selecting window will be open. My first plan means ground floor is on level 1. So I am copying to Level 2.
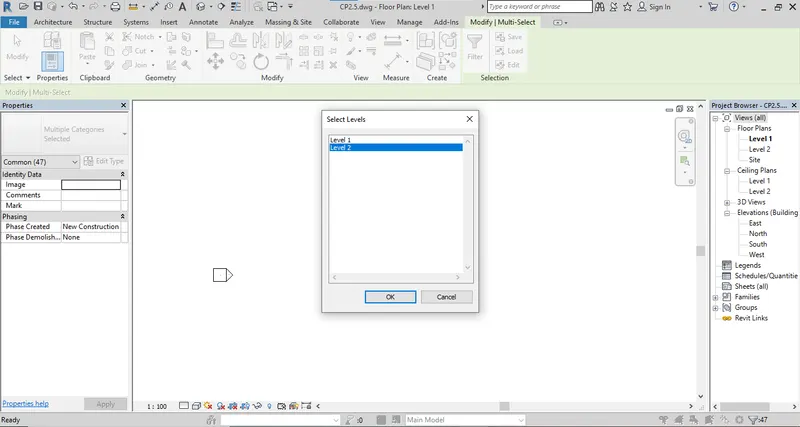
Result: The Layout will be copied on first floor.
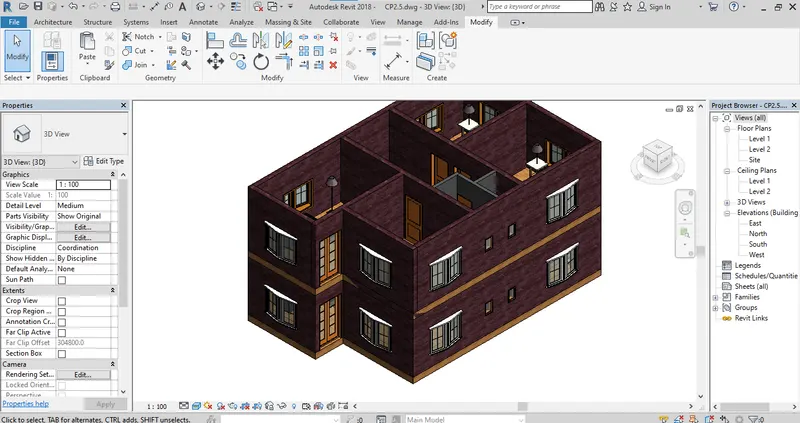
Q.4 Ans
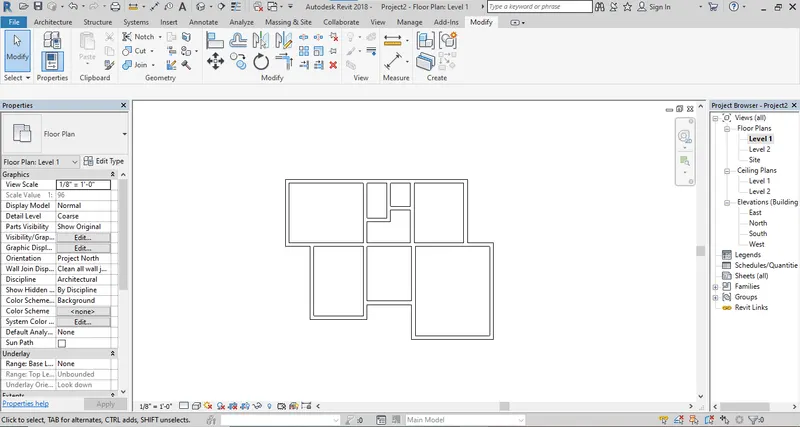
AIM : Create a Plan.
Prrocedure:
Step 1: Select a Imperial template and start a new layout.
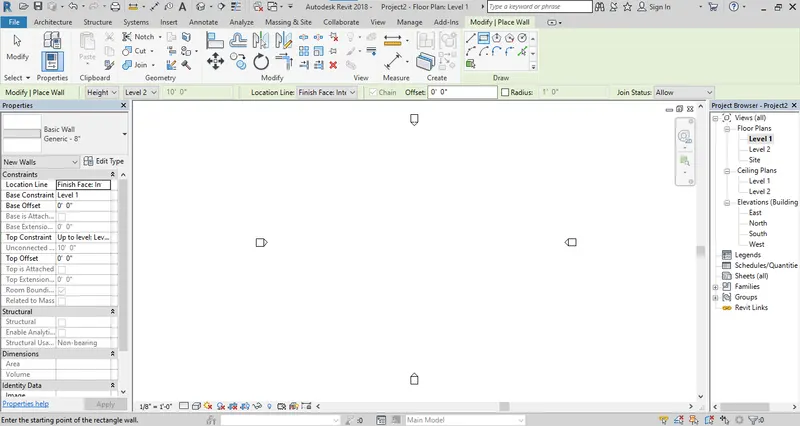
Step 2: Select a wall with any thickness and start a drawing.
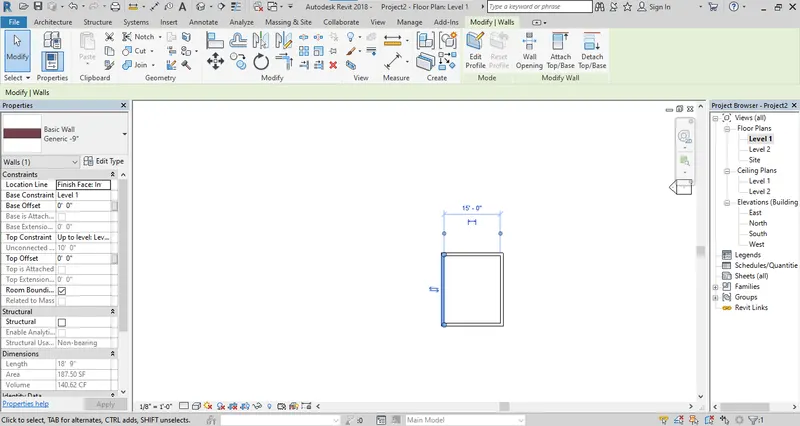
Step 3: Create rooms with refference dimensions otherwise take your own dimensions.
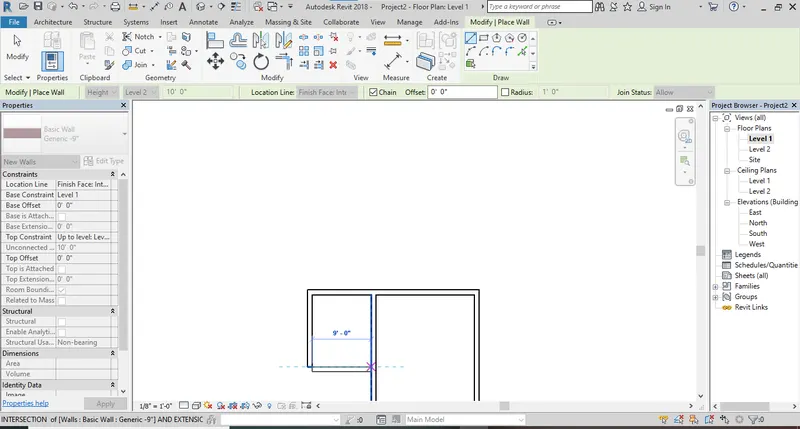
Step 4: Create a room one by one with the proper dimension.
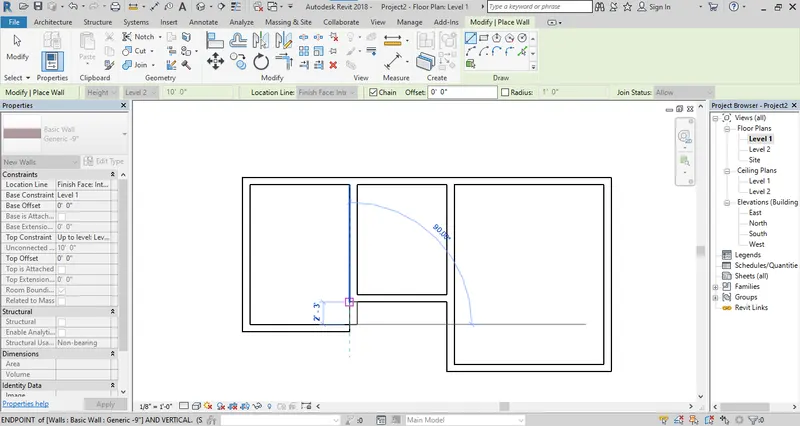
Step 5: I am creating rooms with the refference dimensions. Completing the rooms.
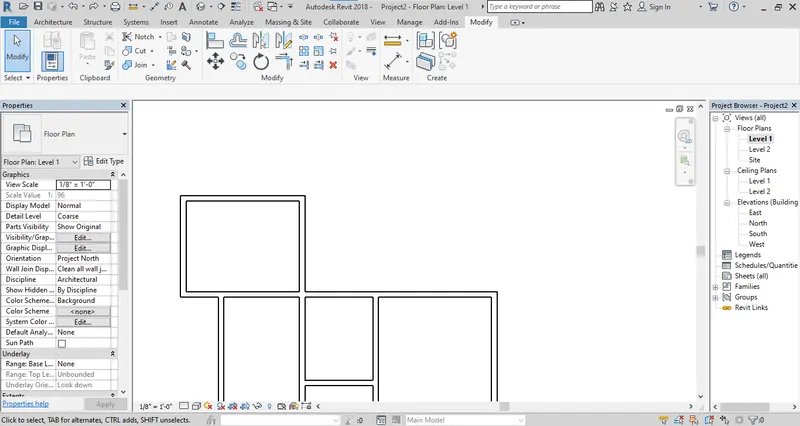
Step 6: Draw the bathroom and wc with standard dimensions.
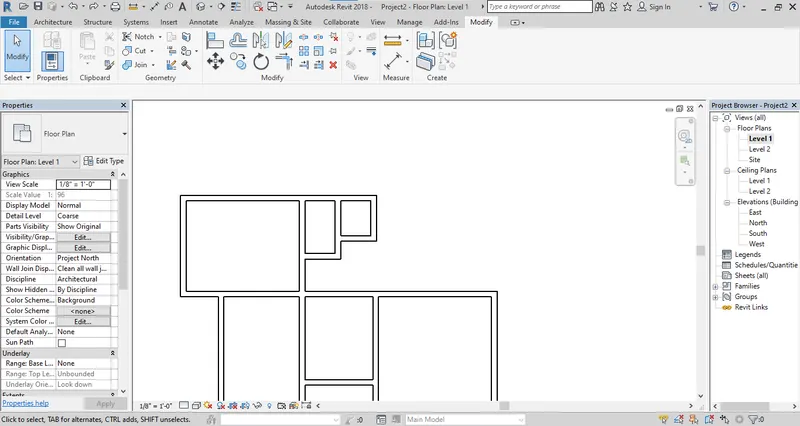
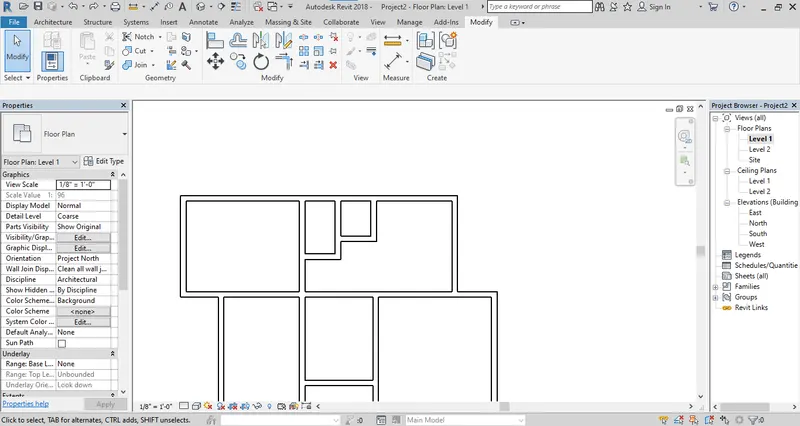
Step 7: Complete the drawing and use tools for modify the layout.
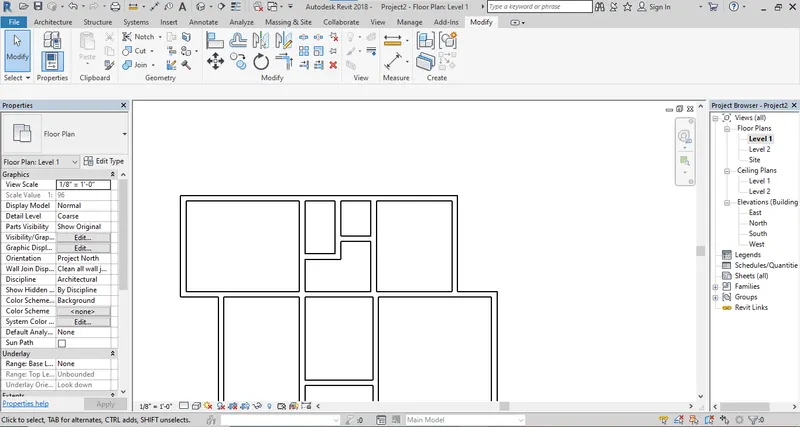
Result: The drawing is completed with the refference dimensions.
Q.5 Ans
AIM : Place the components in appropriate location.
Procedure :
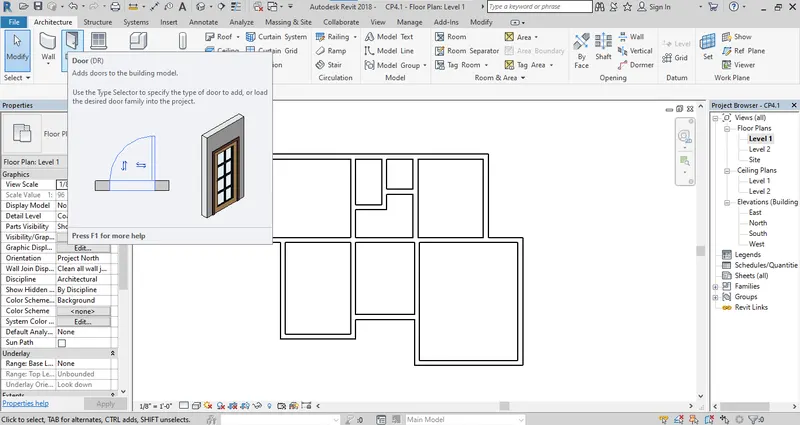
Step 1: Provide the doors and windows to the layout where required.
a. From architectural tab select doors from build panel.
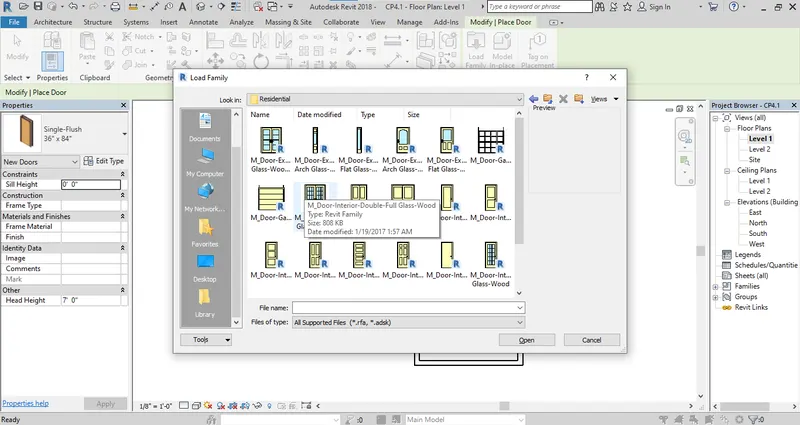
b. Go to load family and select the doors from the residential category.
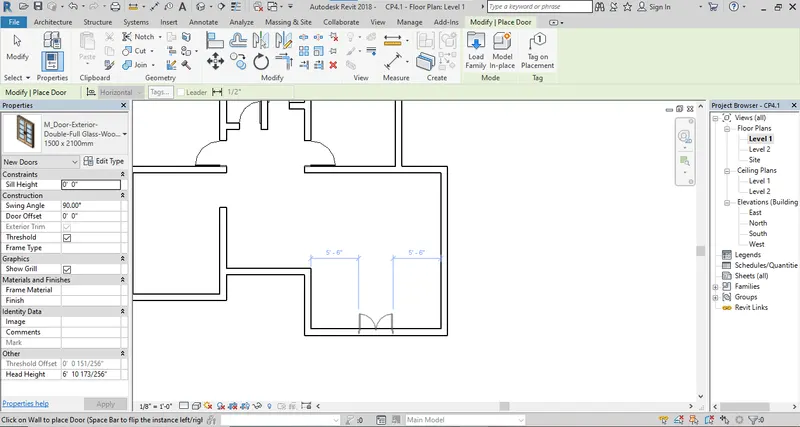
c. Select the type of doors for Bed room, Living room, kitchen and bathroom.
d. Repeat the procedure for window and provide where required.
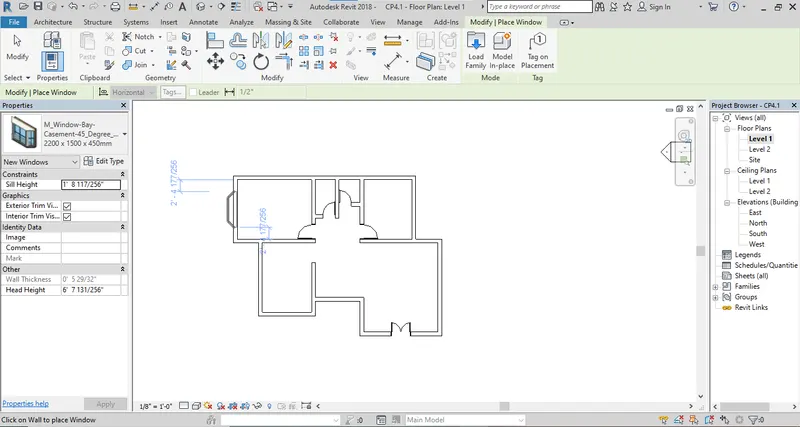
e. Select the different types of window for different rooms and provide where required.
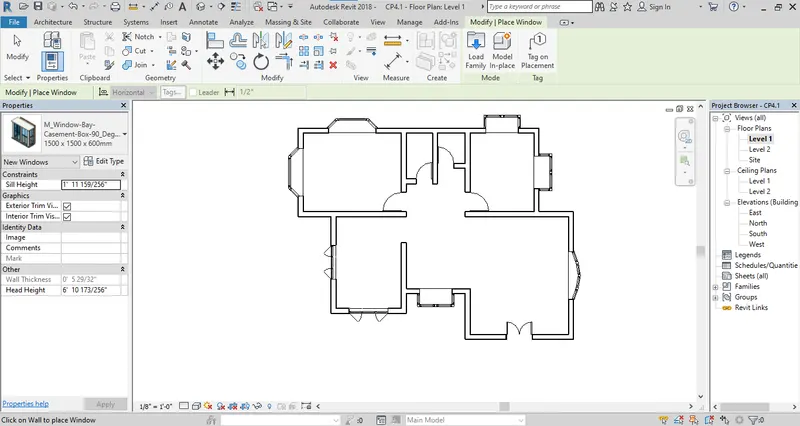
Step 2: Provide the furniture of Living room.
a. Go to furniture component and add the family for living room.
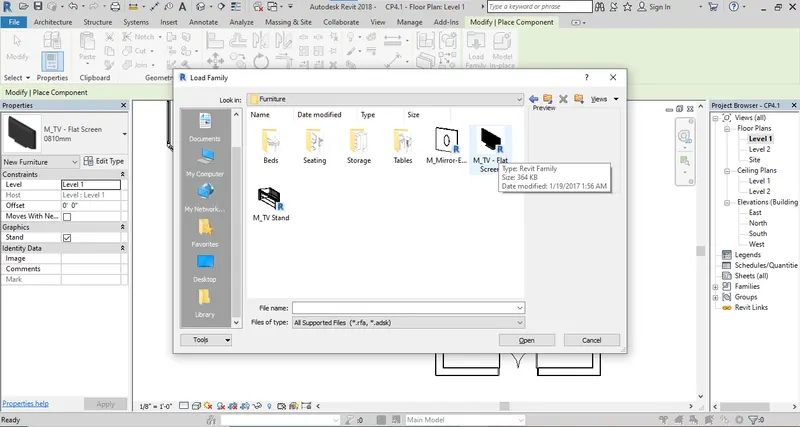
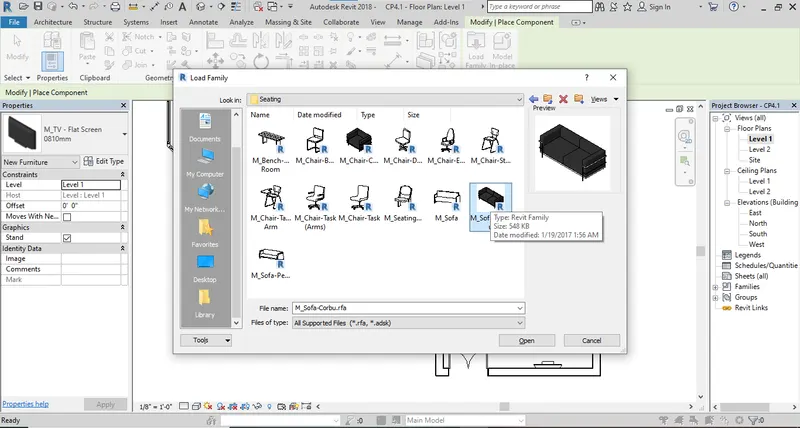
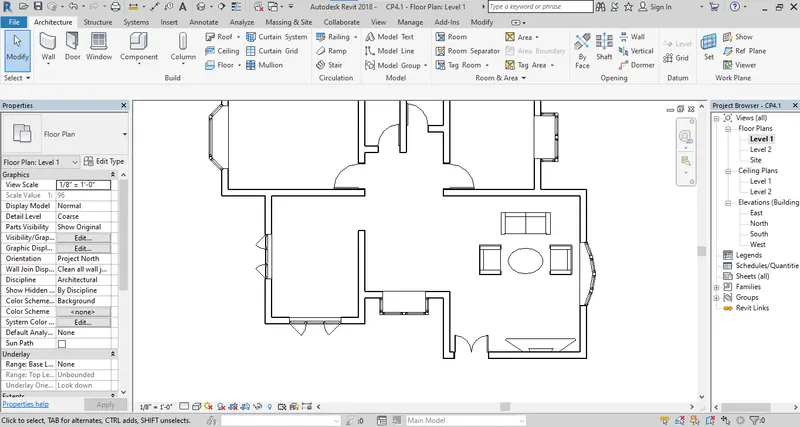
b. Go to Furniture select the table componnt and use dinning table family in dinning area.
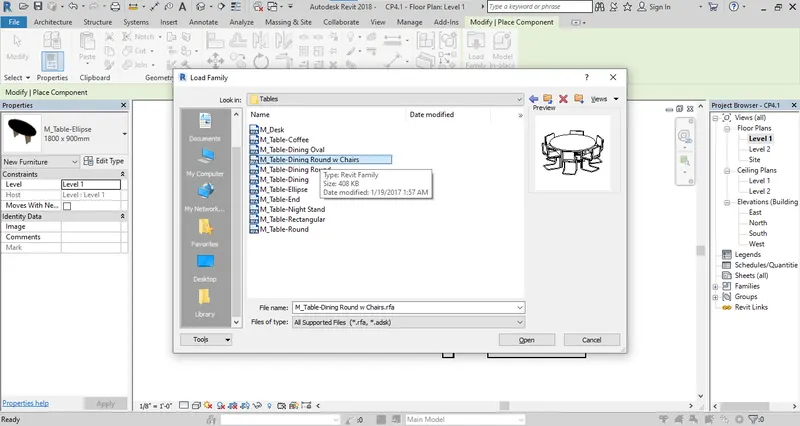
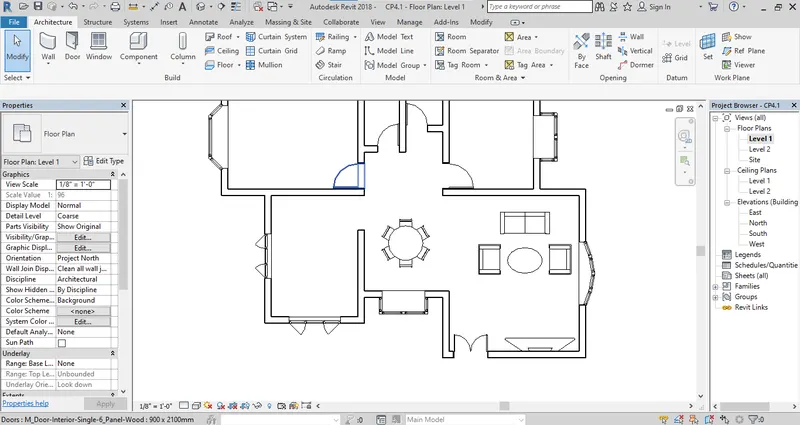
Step 2: Go to speciliaty equipment and from domestic component use kitchen families.
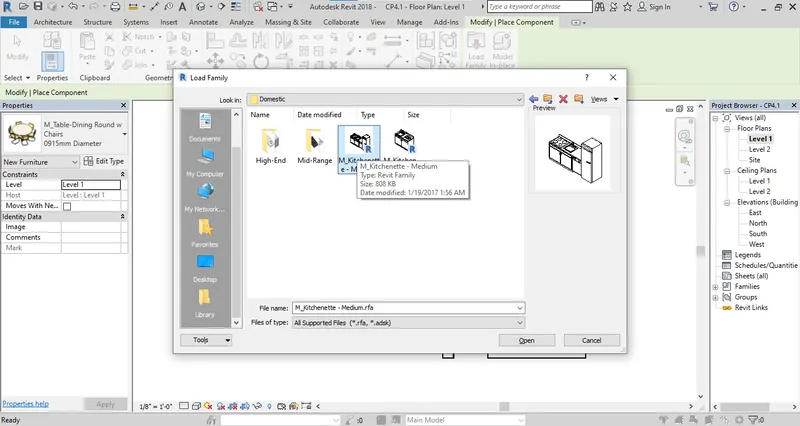
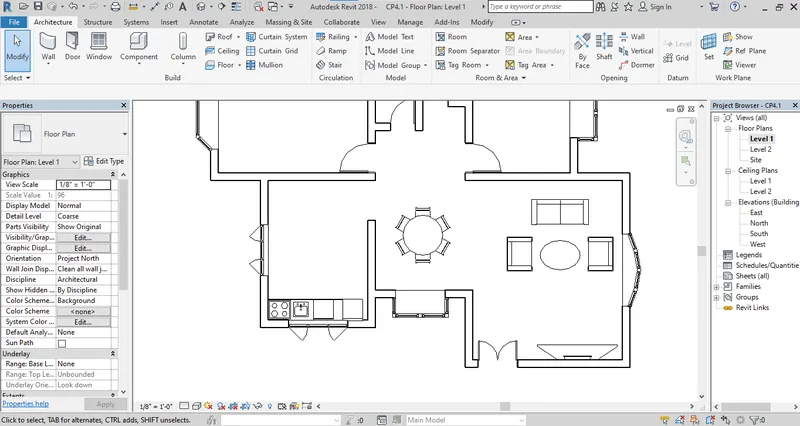
Step 3: Again take the furniture and add the components for the bed rooms.
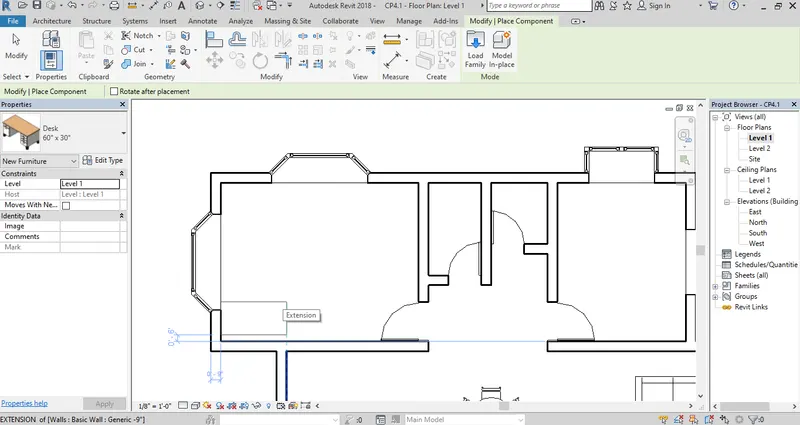
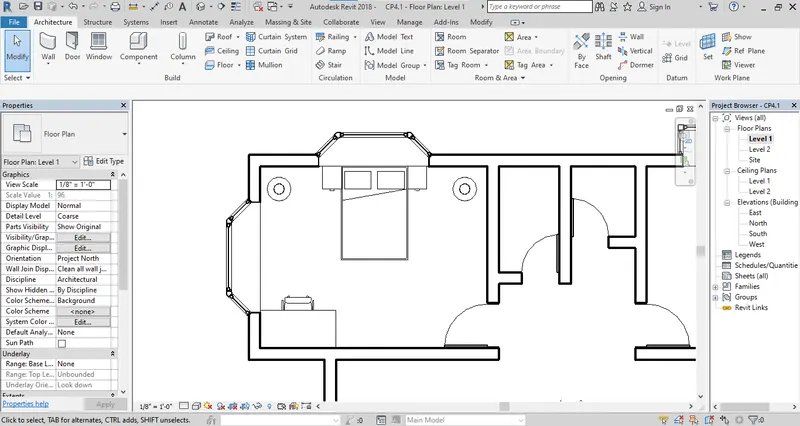
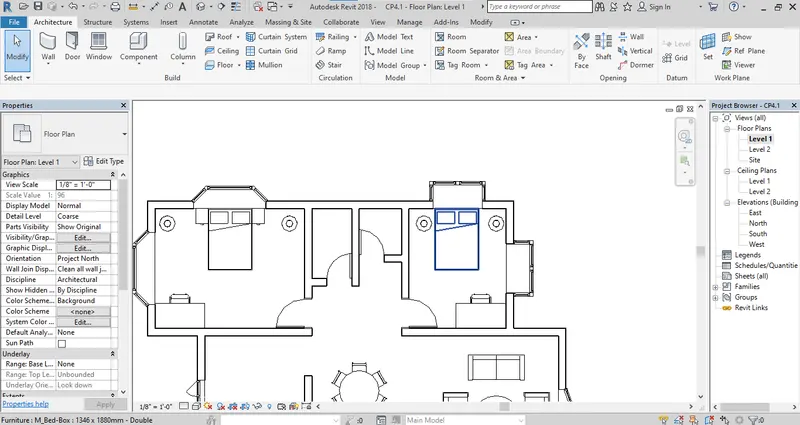
Result: All the components should be provided as per room specification and room requirement.