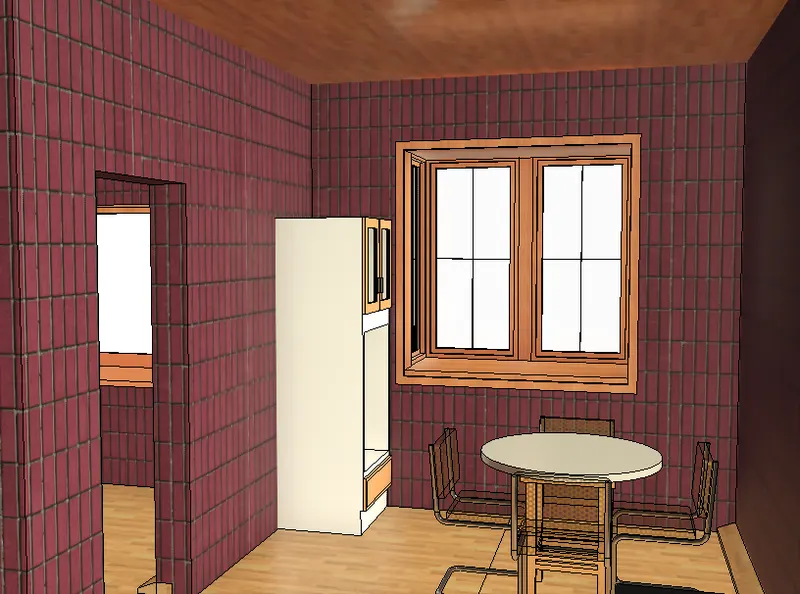
Creating Walls, Partition walls and Floors for a residential layout using REVIT
QUESTION-1
AIM: To create a floor based on our layout and also use property browser to change type of material.
PROCEDURE:
step-1: Open challenge 2 residential unit
step-2: Select Floor in architectural tab
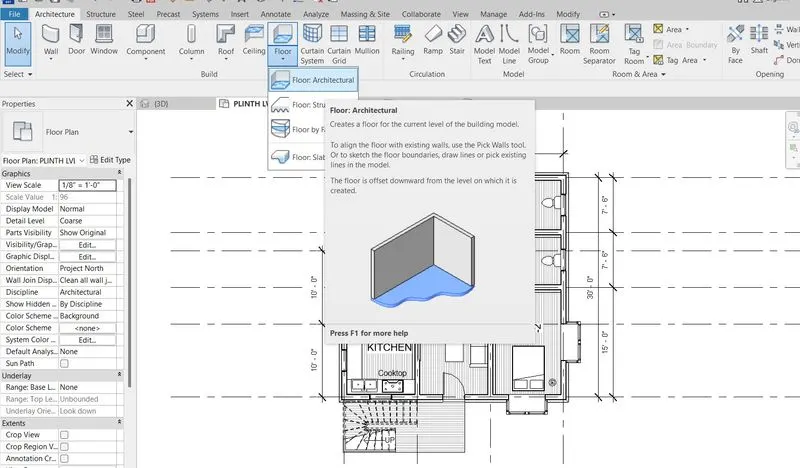
step-3: Select pickline option to select all the boundary wall to insert floor
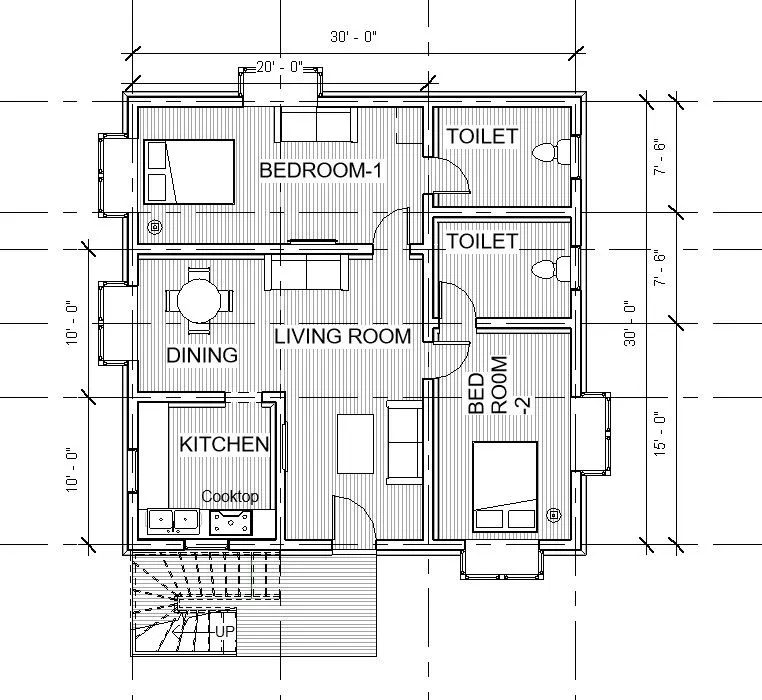
step-4: Go to property browser
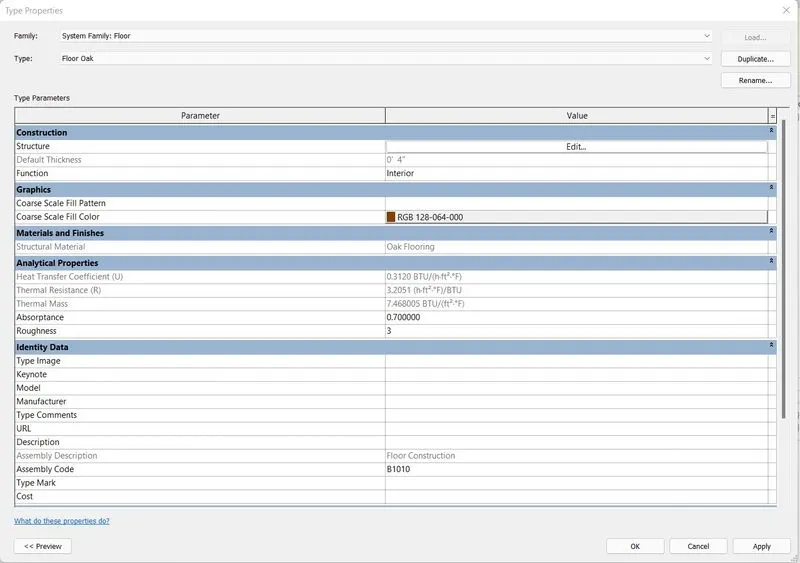
step-5: Change material of the floor
step-6: Change the floor thickness as per standard code provisions
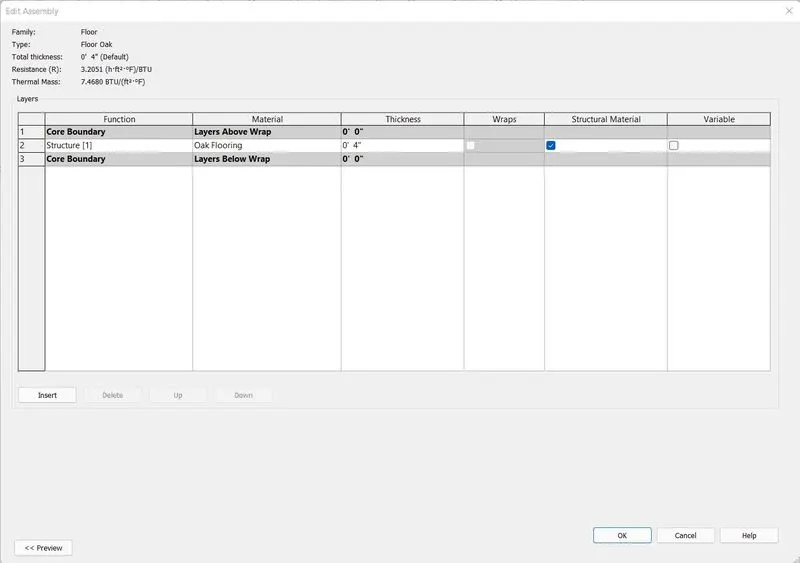
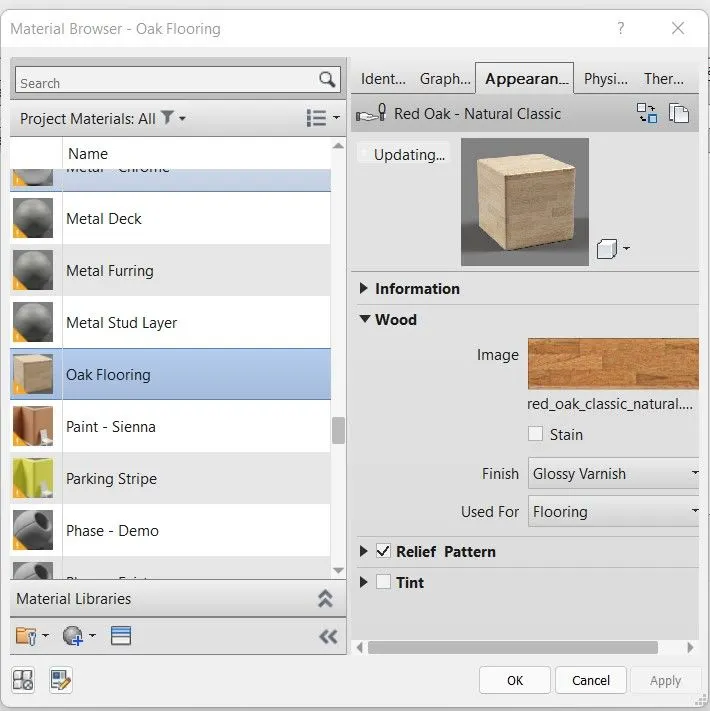
step-7: Select Realistic view to see the material texture in the layout.
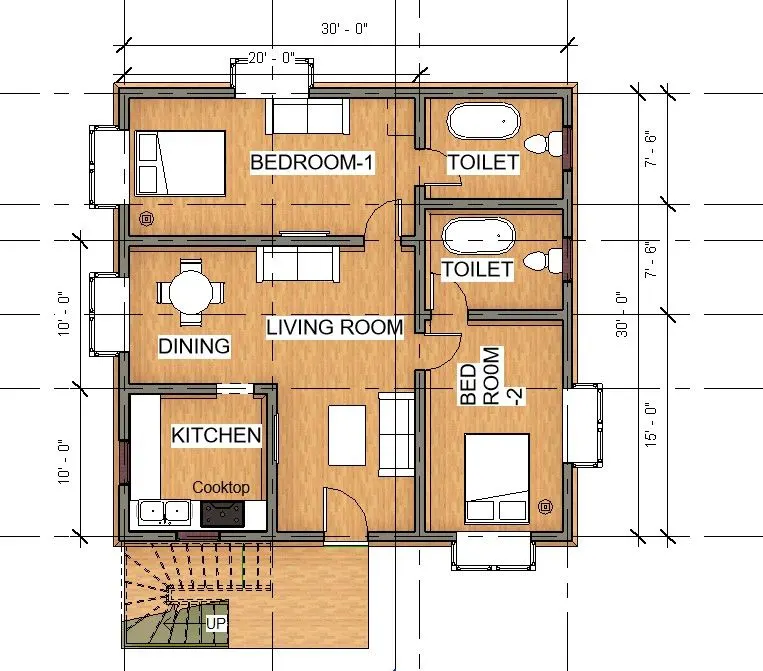
RESULT:
QUESTION-2
AIM: To create a wall based on the layout and also use property browser to change type of material.
PROCEDURE:
step-1: Open challenge 2 grid level
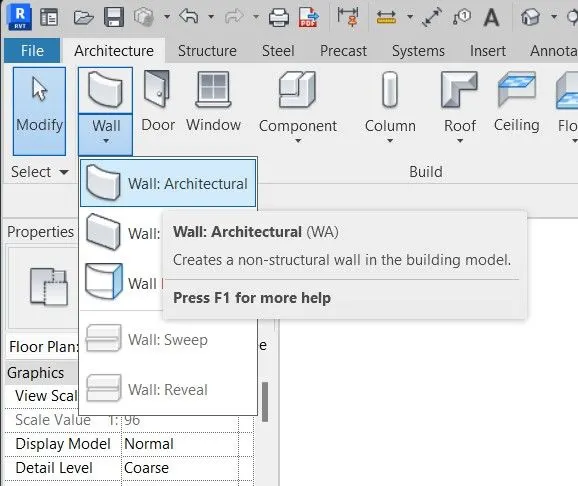
step-2: Select wall in architectural tab
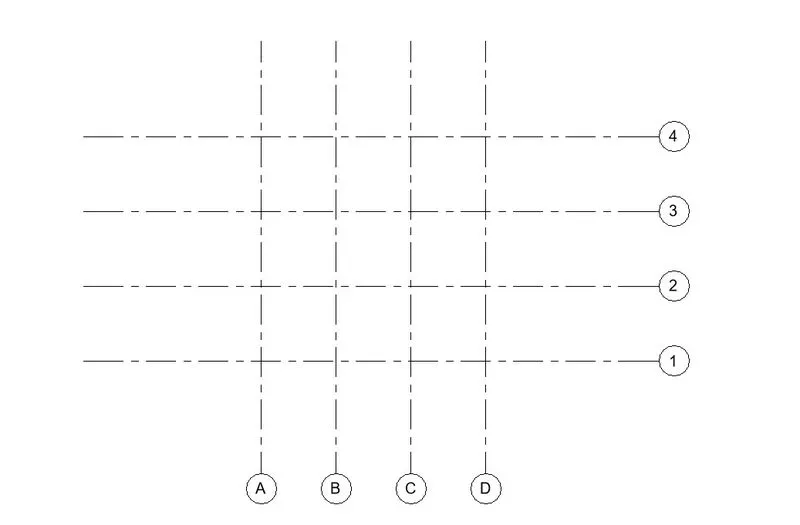
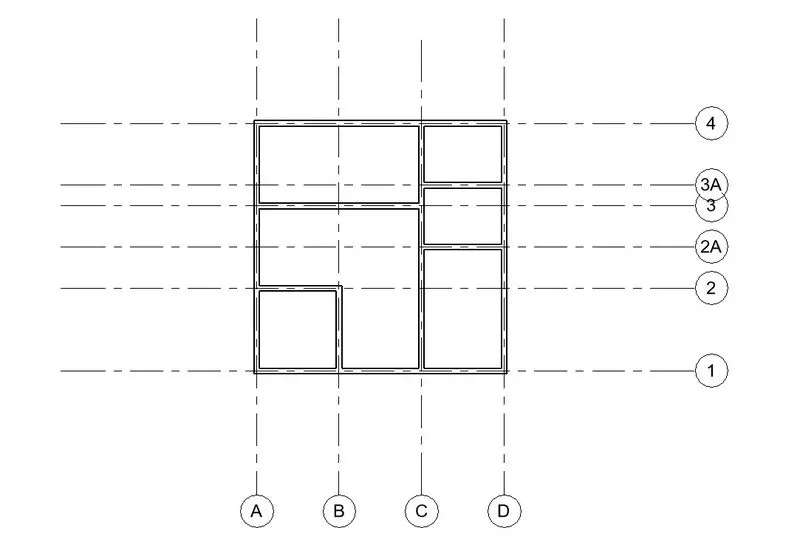
step-3: Add walls to grid by grid
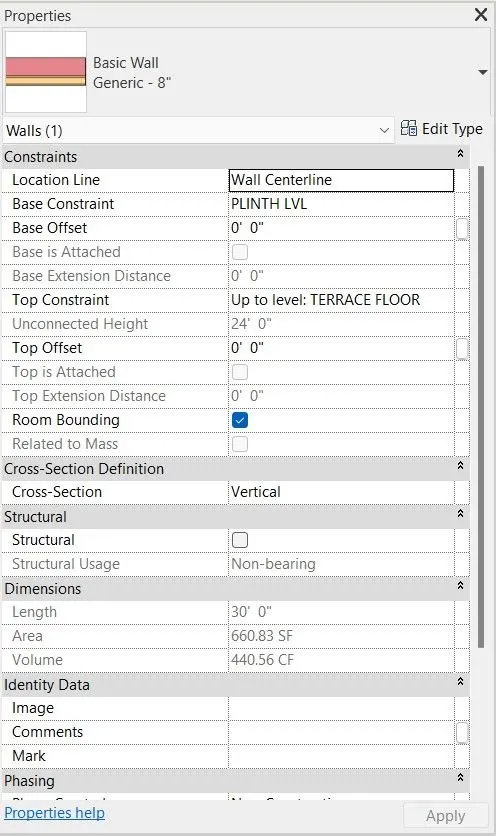
step-4: Go to property browser check whether this wall is connected through all levels we created.
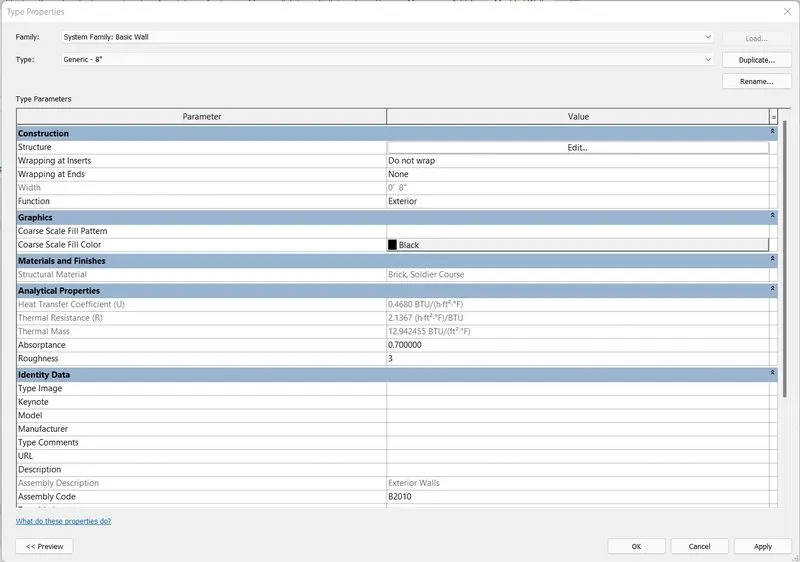
step-5: Go to property browser to change material property of walls
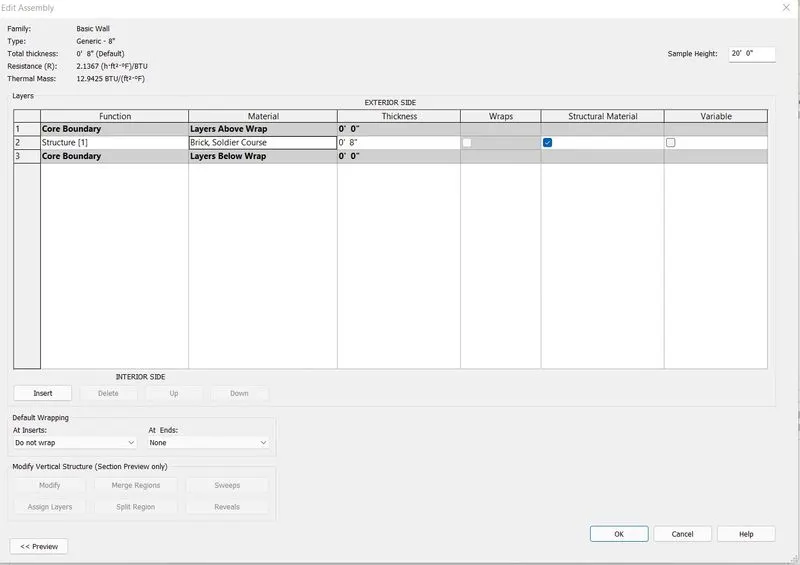
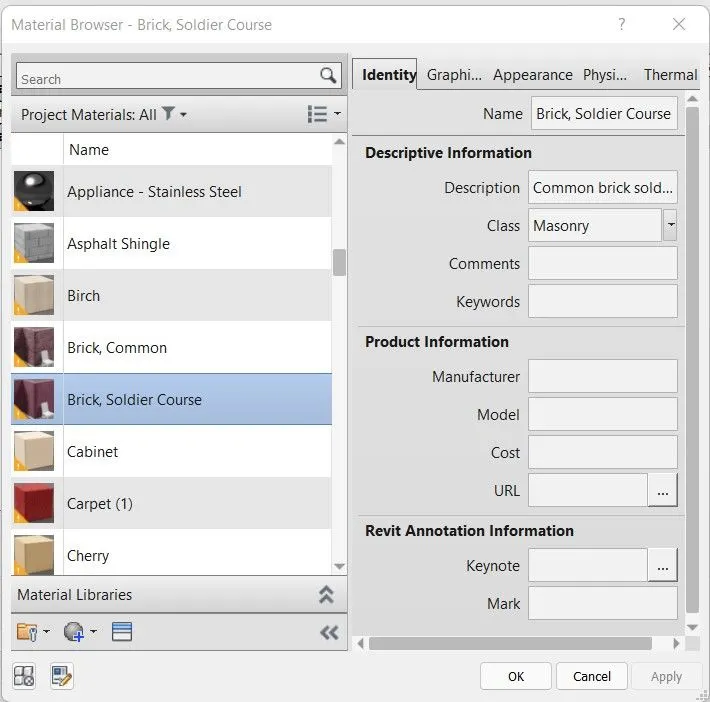
RESULT:
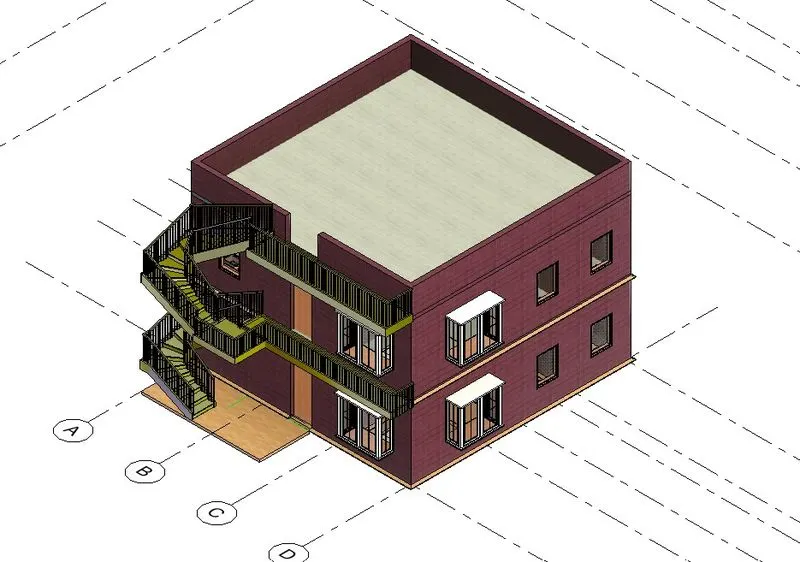
2A) As per my view, Connected wall with associated level is beneficial, in same case we need to change the level for certain distance, in that case if we draft walls are unconnected than it should not follow the levels. These levels are also considered as floor height of the building or important level in elevation drawing. so the walls are connected through out the all levels is beneficial one only.
2B) As per my view, we always used to construct bottom to top only, so we used to draw in the same manner like using height option to draw walls. If we draft substructure like pile or something below to it we could use depth option rather than choosing height. This kind of method is convenient for all.
QUESTION-3
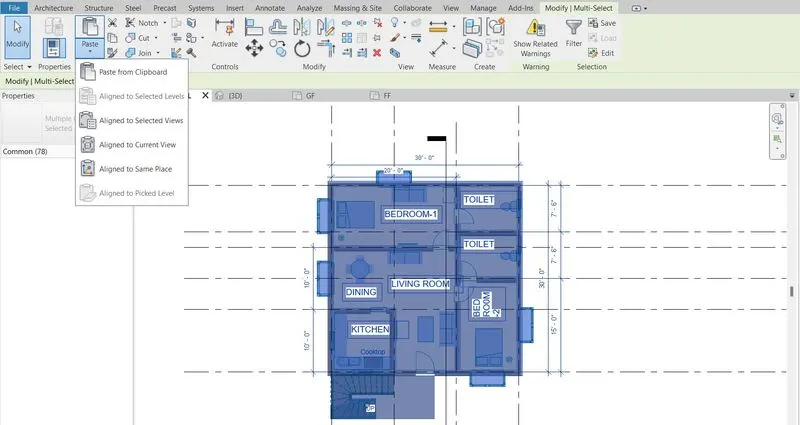
AIM: To copy the wall and floor elements and paste it into all the floors.
PROCEDURE:
step-1: Open challenge 2 ground floor layout
step-2: Select all in the layout
step-3: Click copy to the clipboard
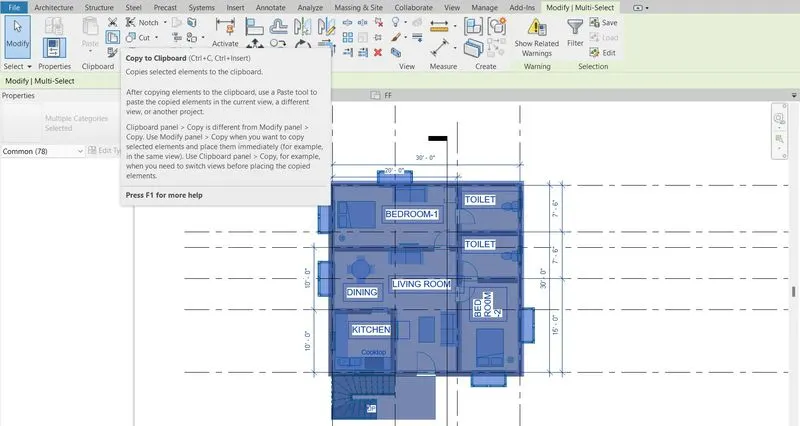
step-4: select paste options and drag down, we have paste it into aligned level
step-5: Click the level we want
step-6: Than press enter and copied the items are pasted in appropriate levels.
step-7: Click elevation view to see the entire elevated residential unit
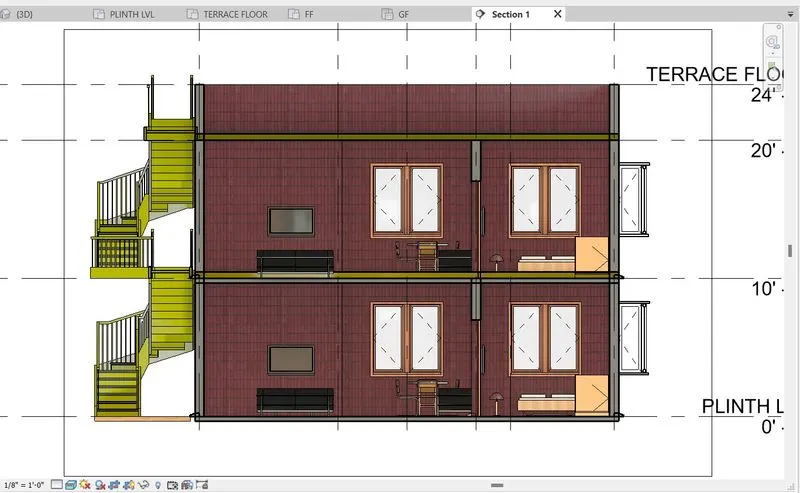
RESULT:
QUESTION-4
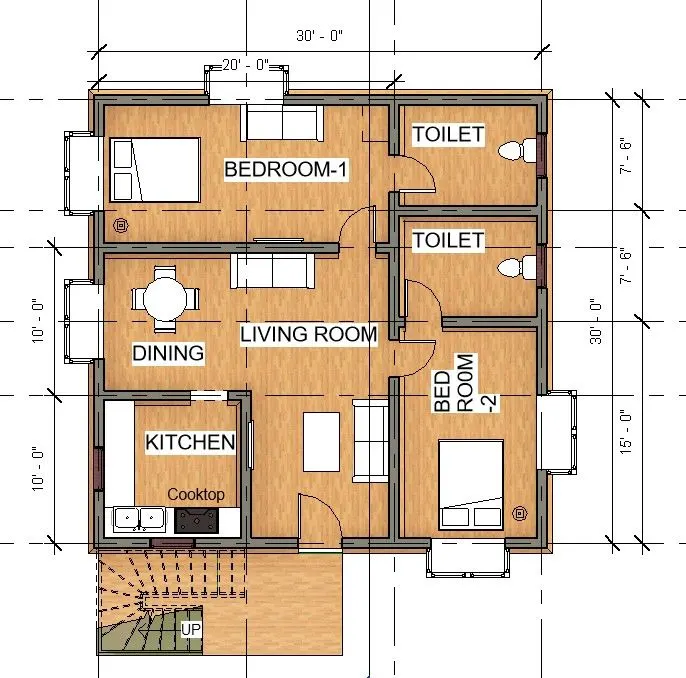
AIM: To create interior partition wall for the residential unit
PROCEDURE:
step-1: Open Rvt 2023
step-2: Create grid and levels
step-3: Select wall from architectural tab
step-4: Select text and aligned dimension in the annotation tab
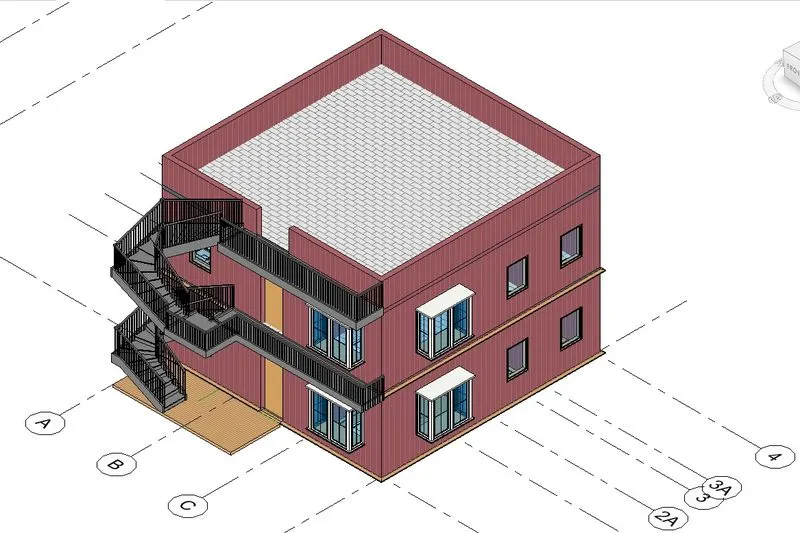
step-5: Select 3D view
QUESTION-5
AIM: To add the components that should be included in a residential unit like furnitures, doors, windows etc.,
PROCEDURE:
step-1: Go to Architectural tab
step-2: Select place a component option
step-3: Select the component we need if it is not there choose load family and load the component we want.
step-4: Place it into the place it required.
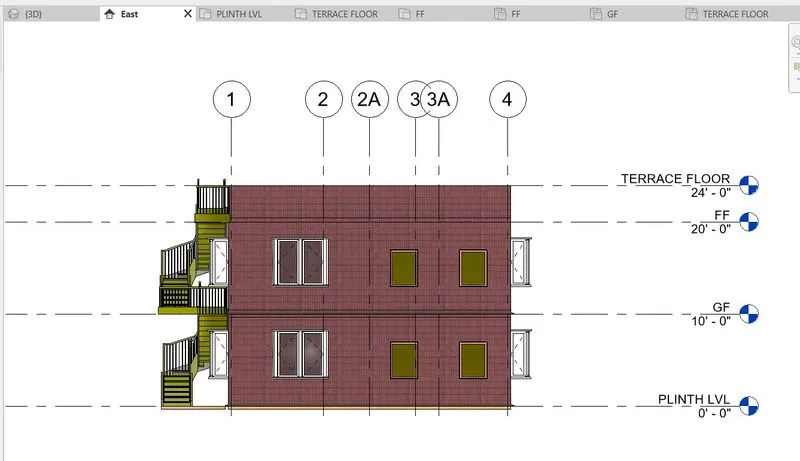
A) Doors and windows in the walls
step-5: Select elevation tab from project browser
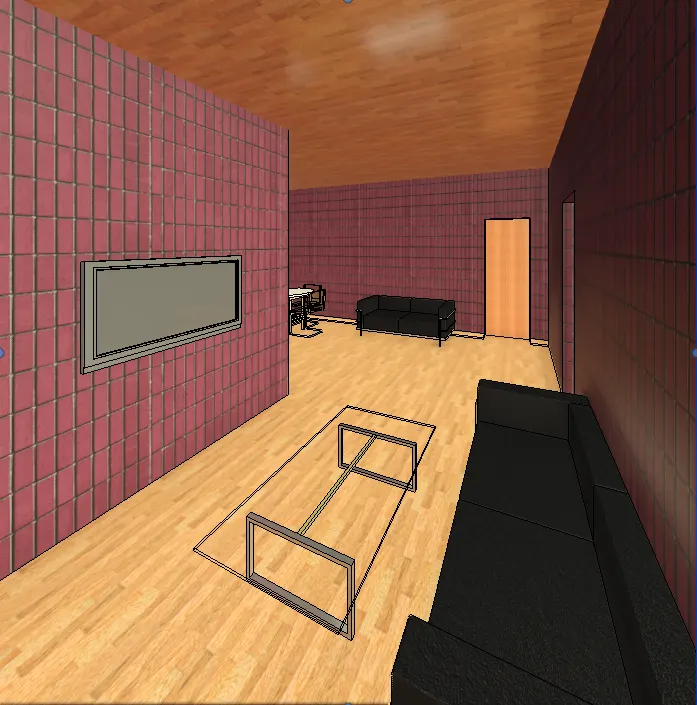
B) Living room components:
step-6: Select camera view in the view tab and place the camera and take a snap from which place we want in the residential unit.
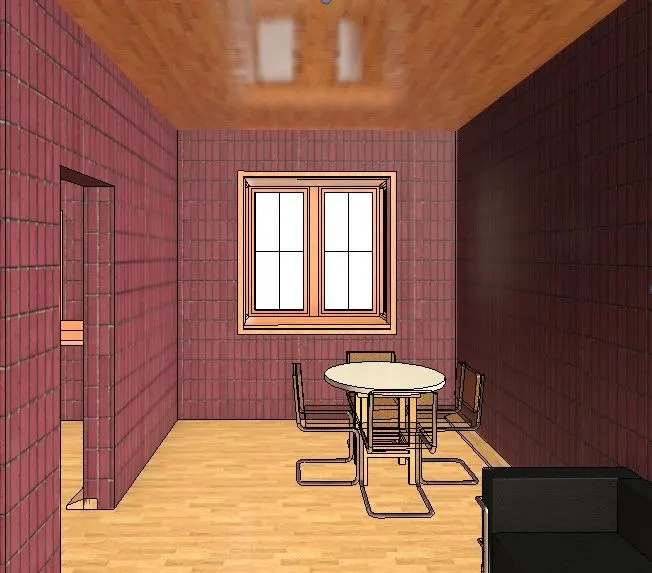
C) Dining room:
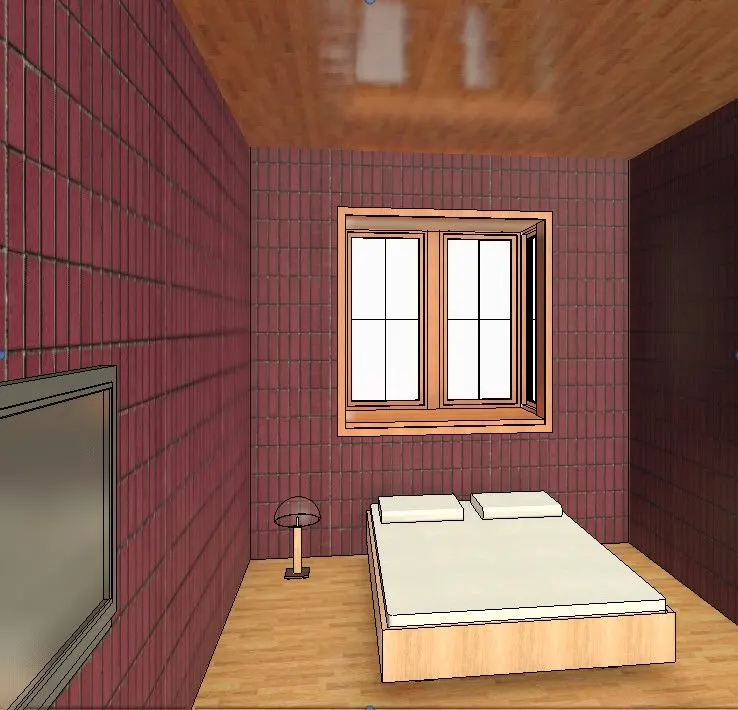
D) Bed room and its components:
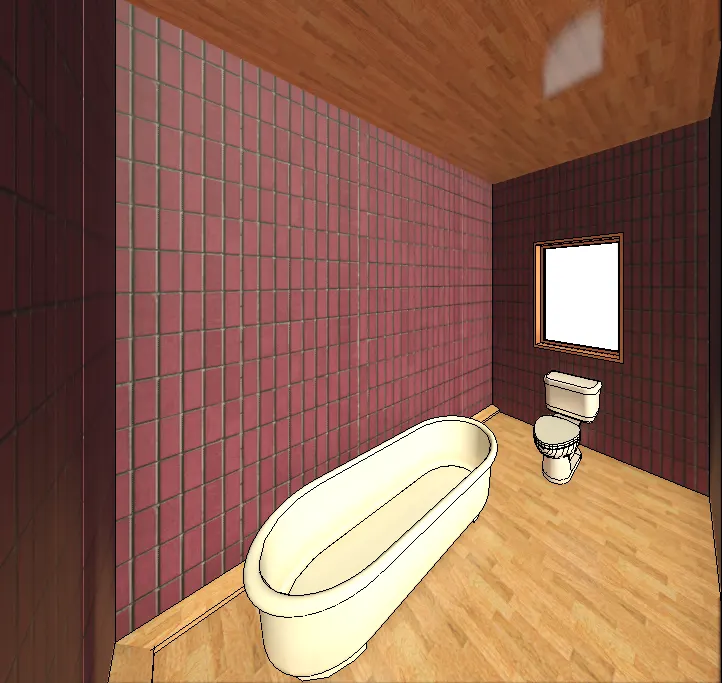
E) Rest room:
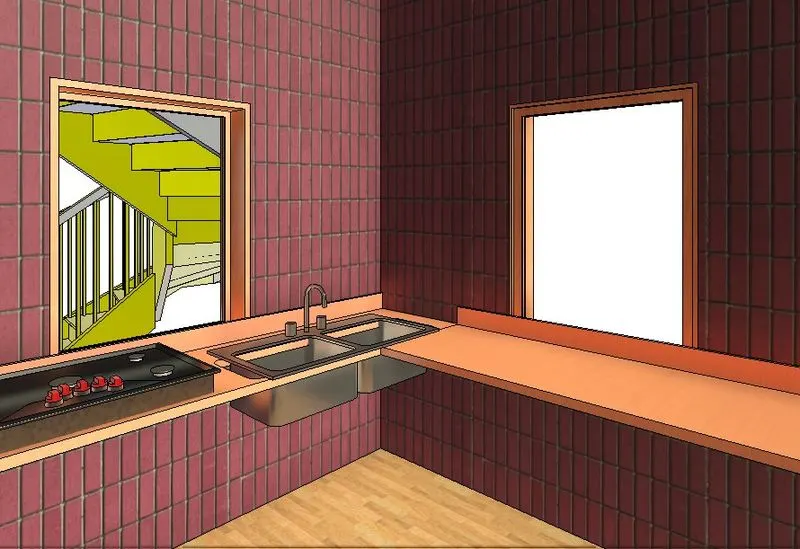
F) Kithen components:
G) Storage unit