Creating Walls, Partition walls and Floors for a residential layout using REVIT
1.
Aim
To draw the floor for the existing residential plan by using Revit.
Procedure
- Open the week 2 project work of residential plan.
- Go to ground floor and in architecture tab go floor option, once floor Architect is clicked modify tab will open.
- In that we can choose type of floor we are going to select, by using line, rectangle, polygon, pick line, pick wall etc.
- Choose pick line option and press each outer wall carefully.
- Then click on tick mark in the tool bar. The floor has been created.
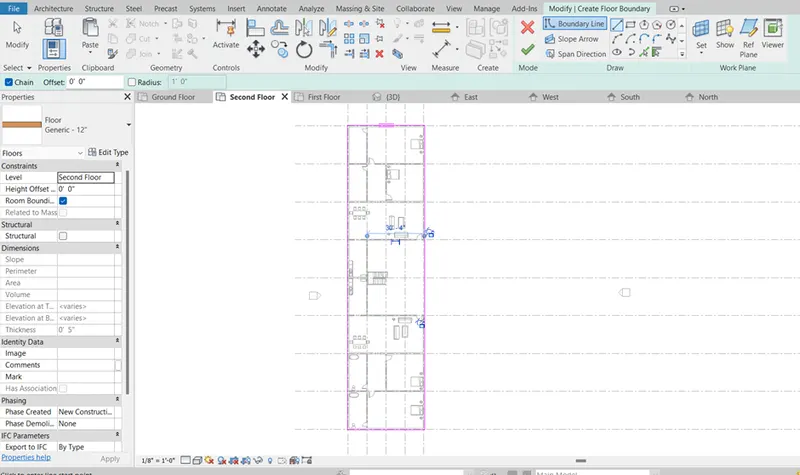
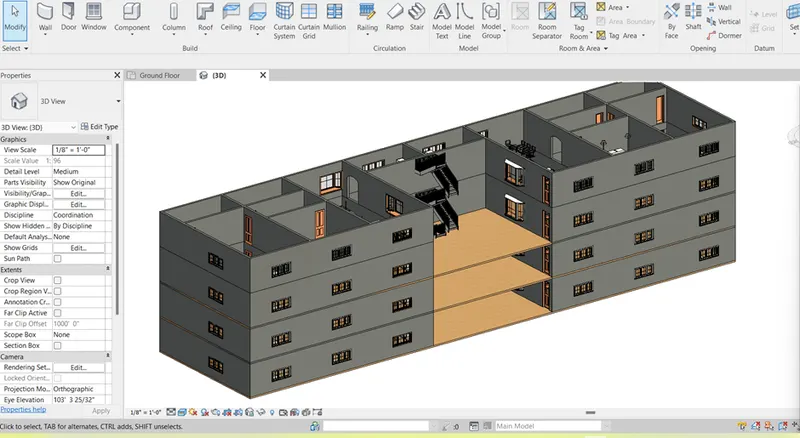
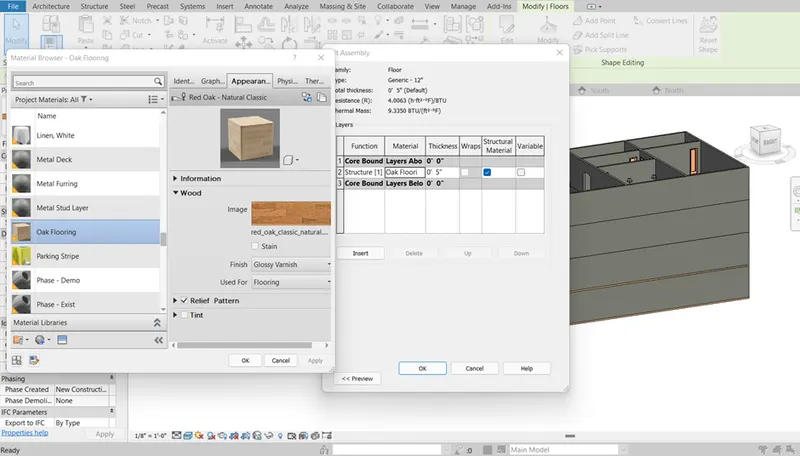
- For viewing the floor go to 3D view floor will be visible. Click on the floor to edit the material type and thickness of floor
- In edit type go to structures tab and click on 3 dots the different floor materials will appear click on any one of the materials and apply then below that thickness is mentioned we can edit the thickness of slab as well.
Result
Thus, the floors for the residential layout have been created.
2.
Aim
To draw the partition walls and to assign the material property for the walls by using Revit software.
Procedure
- open the existing project.
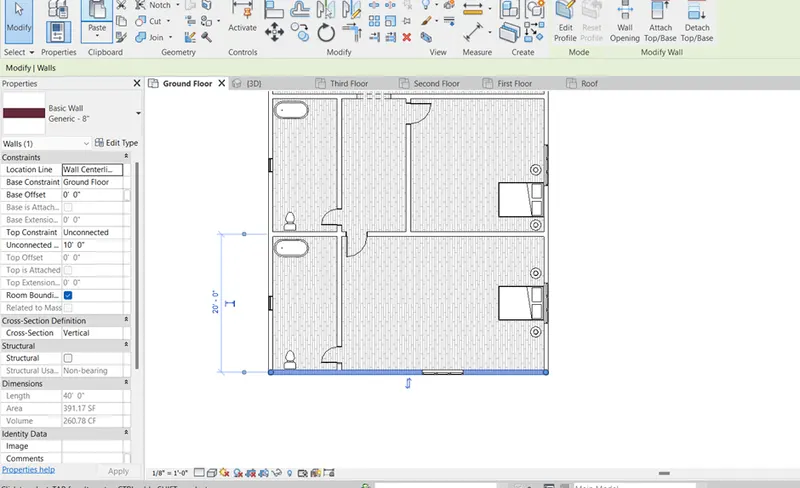
- Click the wall in architecture and provide wall in between the outer walls where eve necessary for living bed kitchen and toilets.
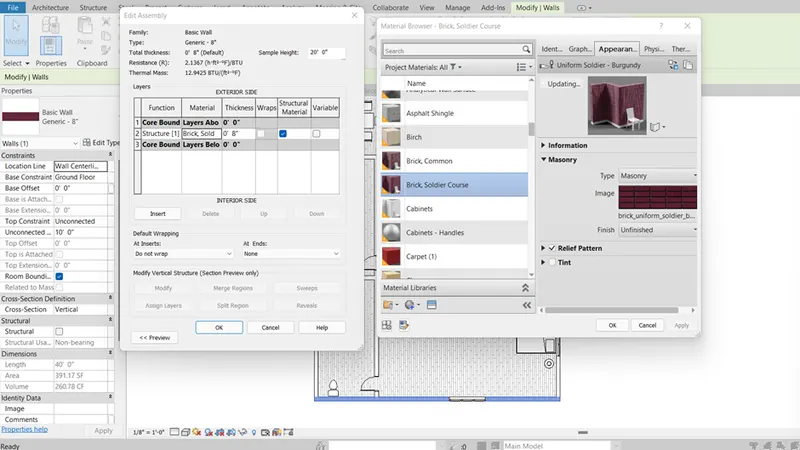
- Once click the wall in left property browser their will be the description of wall and type of wall.
- Click edit type and in structure there are different wall types are available choose any one type and edit the propertied like patten material etc.,
- Then click apply and ok the property selected will be applied for all the walls.
Result
Thus, the properties of wall component have been changed
3.
Aim
To copy model from ground floor to first floor and subsequent levels by using modify tab.
Procedure
- Open the Revit software and open previous project work.
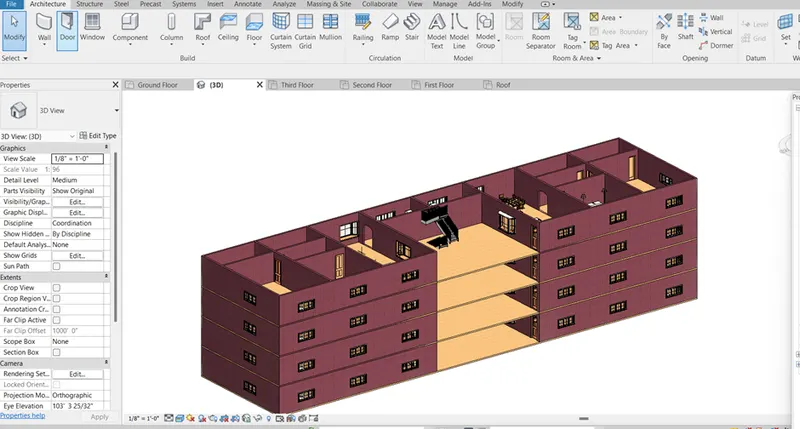
- To copy plan from ground floor to first floor I have already created the levels as ground floor, First floor, Second Floor, Third floor and Roof level with interval of 10’.
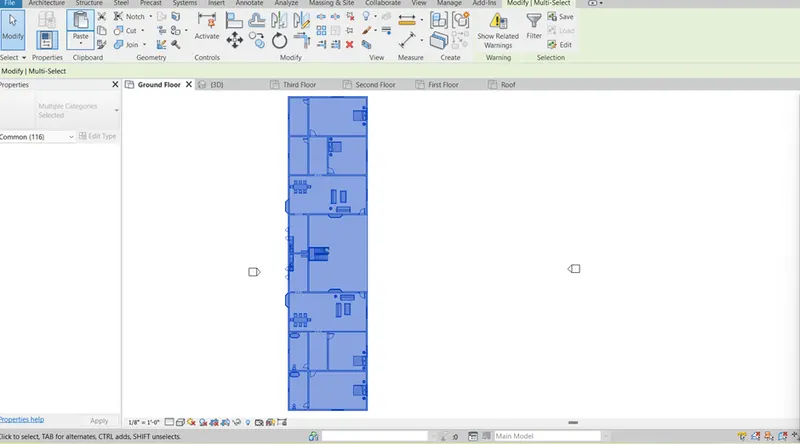
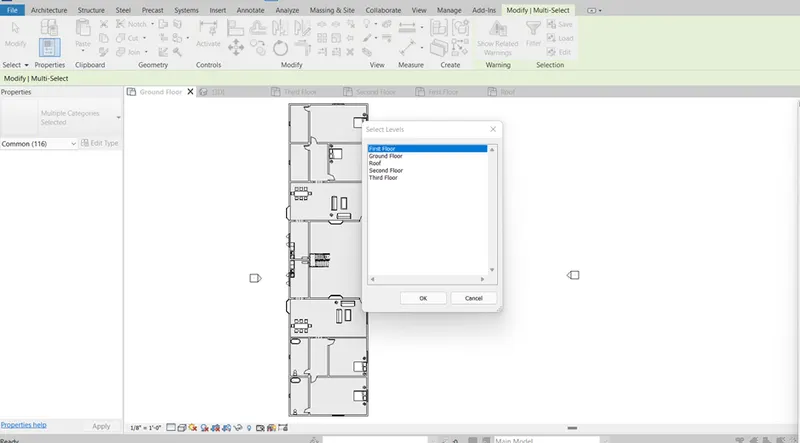
- Go to ground floor plan and copy all the elements in the ground floor and in paste there is a option called align to selected levels.
- Click on it you will see the levels created. Click on the level where the plan needs to be copied.
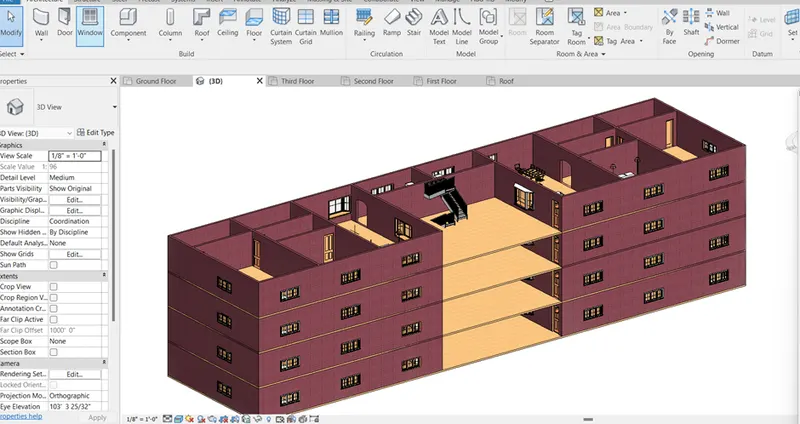
- Then press ok. The plan will get copied go to 3D view and you can see the plan is copied.
Result
Thus, the ground floor plan is copied and pasted in the first and subsequent floors.
4.
Aim
To draw a plan of residential building by using Revit
Procedure
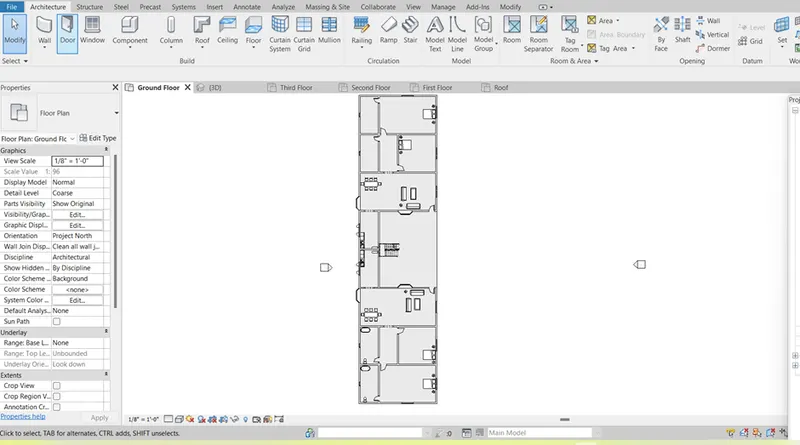
- Open a new project in Revit and use architectural imperial template.
- Provide levels as Ground floor, first floor, second floor, Third Floor and roof at 10’ interval.
- Then in any one side of elevation provide grid lines as per the drawing requirements.
- Then in architecture tab pick walls and place the walls along the grid lines where ever necessary.
- Thus, the plan is ready.
Result
Thus, the residential building plan is created by using Revit Software.
5.
Aim
To place Doors, windows, Furniture’s, Shelves, Lights, plumbing Fixtures, Gas cabinet, Washing machine Etc.
Procedure.
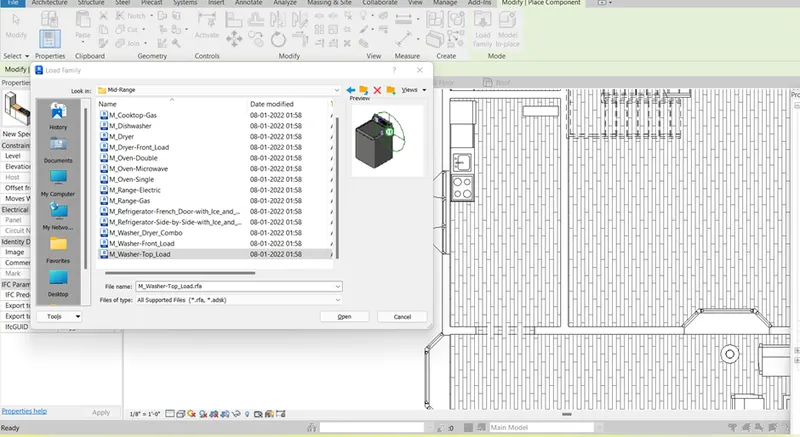
- In the existing plan place doors and windows by clicking o doors and loading the necessary doors from the load family.
- For windows click on window and go to load family and click window tab and select the necessary window and place on the wall at required places.
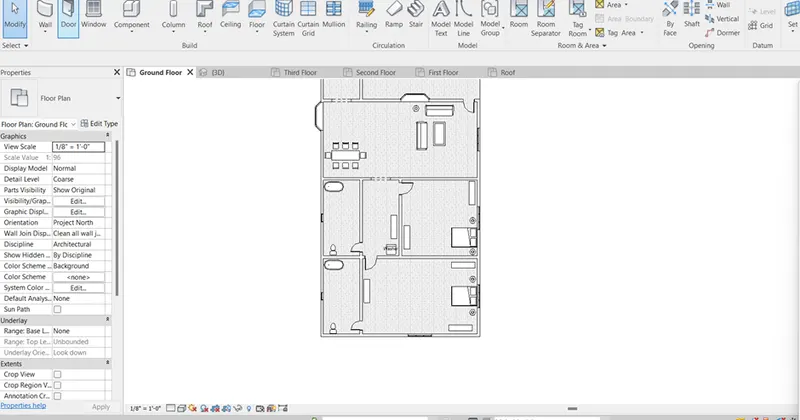
- For furniture’s click on component and click place component and go to load component and go to furniture and select chairs table sofa bed and place these items accordingly in required places.
- Similarly for all the other components go to load family and place all the components.
Result
Thus, the components are placed in the residential plan.