Creating Walls, Partition walls and Floors for a residential layout using REVIT
Aim: To create the wall, partition wall and floors for a residebtial layout using the revit
Introduction:
Revit architecture is the robostic architecture design and documentation software application created by autodesk for architecture design and building professionals. The tool and featres up revit architecture are in particular. revit arcchitecture design to support building information madeling works. revit arcchitecture is able to support information in application models, to allowing complex building structures to be accurately.
Walls are argubly one of the most important element of any building.the wall tool in architecture revit one of the most inportant fuction of autodesk revit. different types of the wall available in the revit sch as basic wall, crtain wall, and stacked wall. the basic walls are the are the types we are probably going to use most of the time. this walls contains the cavity walls, internal partition etc. Curtain waalls are allowed to create modular facades. they allow to create walls which can be sub devided (both vertically and horizontally) into separate panels. curtain walls plays host to curtain grids and also mullions. if we want to apply to the walls we can select the architecture wall and take the brick wall to apply brick wall that you can file the material and texture and you can file the paints also.
1.Use the project file created from week 2. Use it for this assignment. Based on your layout from week 2, using floor tool under architecture tab and select the floor with approprite material and thickness using the property browser create layout in the ground floor level. Align the floor plan with grids created from week 2.
Procedure:
- Open the residential revit file that drawn in week 2.
- From the architectural tab select the architectural floor
- Select the pick line.
- Select the outer wall of the layout.
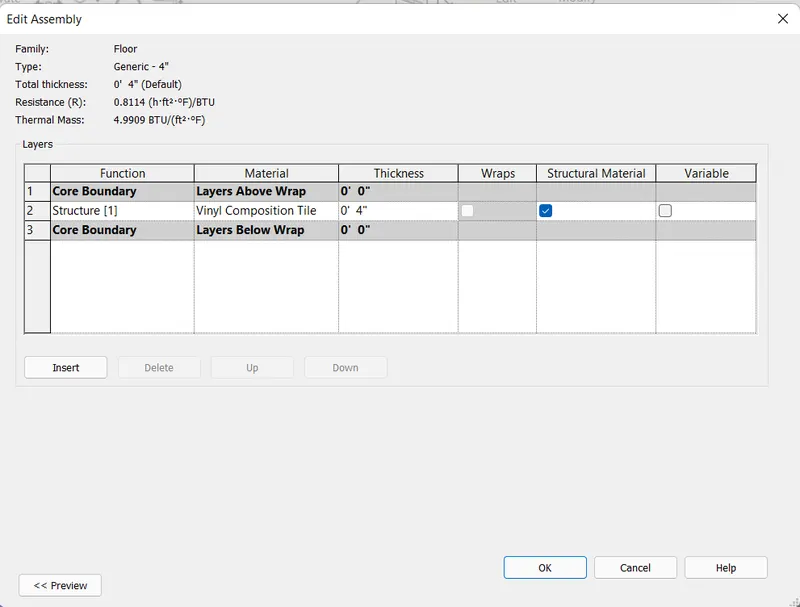
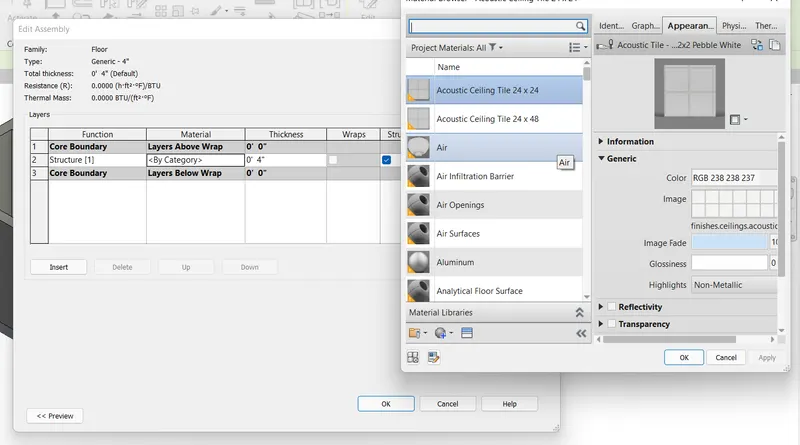
- Select floor that created and select the edit type on the project properties.
- Edit the thickness of the floor to 4" and from the category select the material required to apply the floor
- for this floor vinyl composition tile is applied.
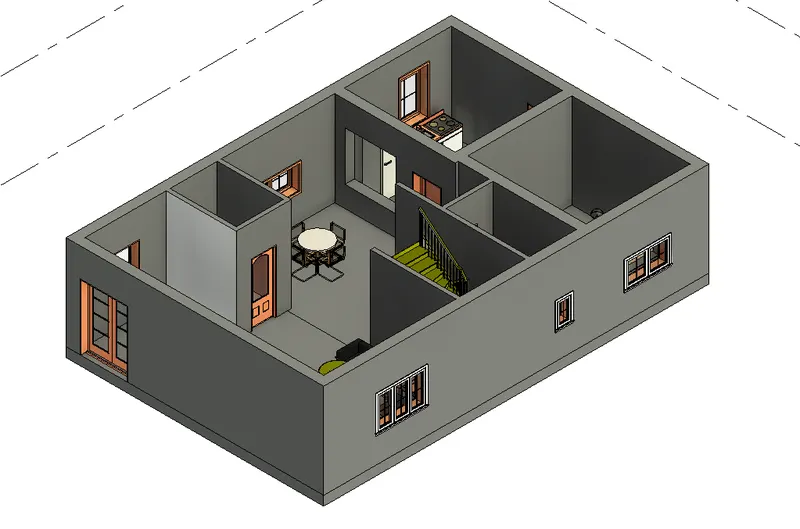
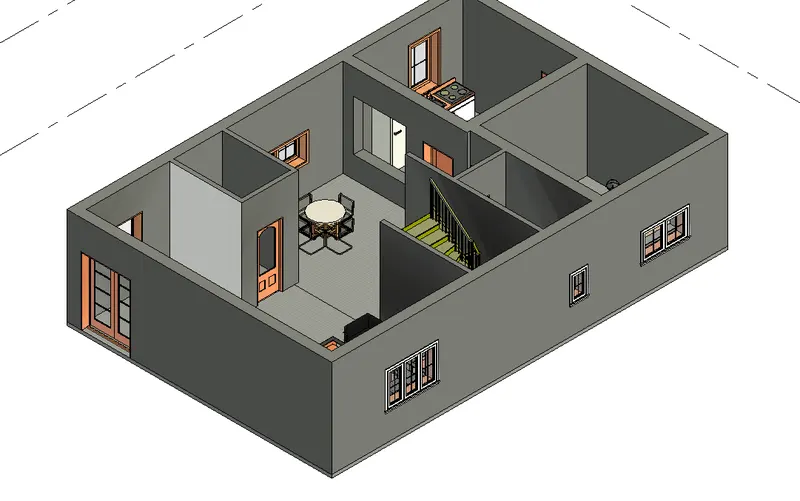
Result:
2. Add walls based on floor layout. pick lines or use the draw tool to modify the boundary of walls. use the property browser to select the appropriate material and thickness of the walls. after creating the the walls verify using the property browser to see if the top and bottom of the walls are constrained.
a. Based on your observation, what is beneficial for connecting walls with associated levels rather rather than being unconnected.
b. Which option is conviene for modelling walls By height or By depth.
Procedure:
- Select the wall that want to change the thickness
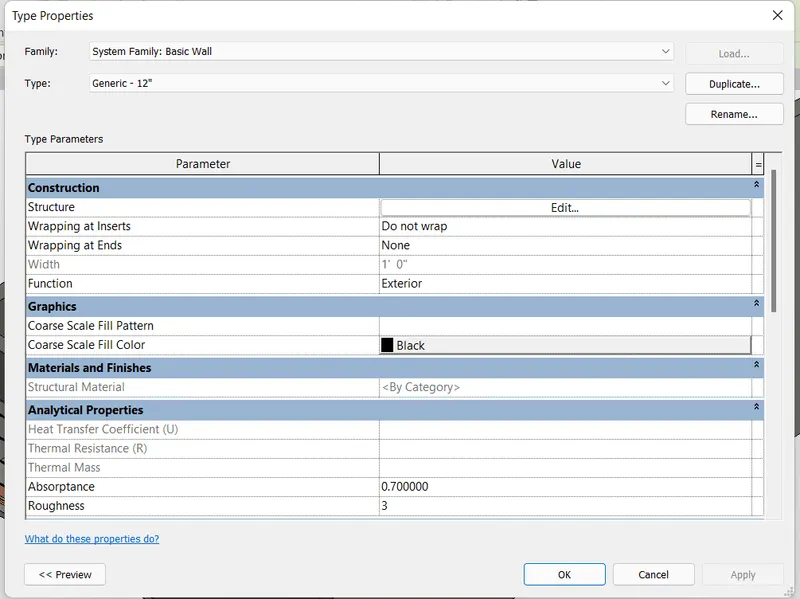
- from the project properties select the edit type
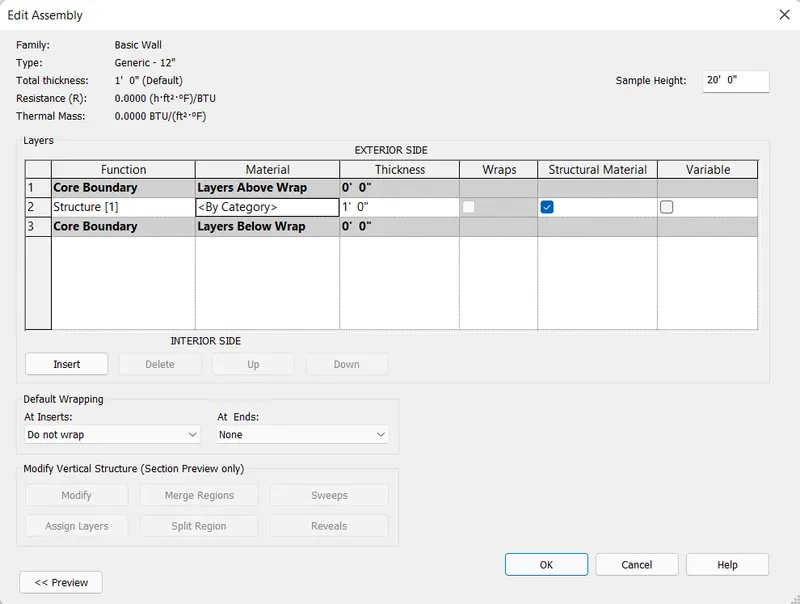
- select the structure edit and write thickness of the wall required.
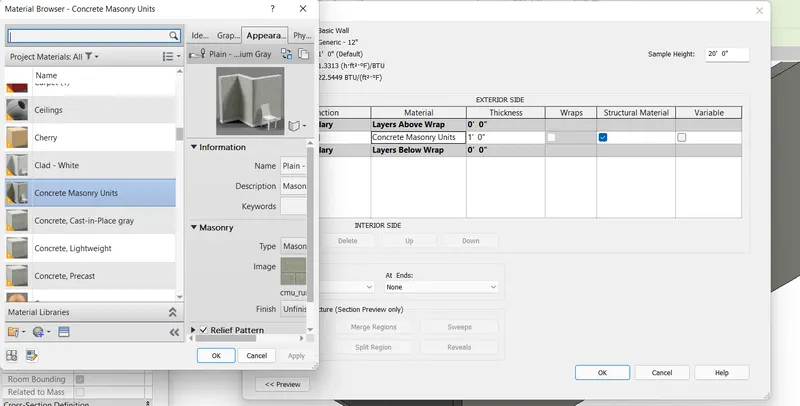
- From the material category select the material as concrete masonary units and apply it.
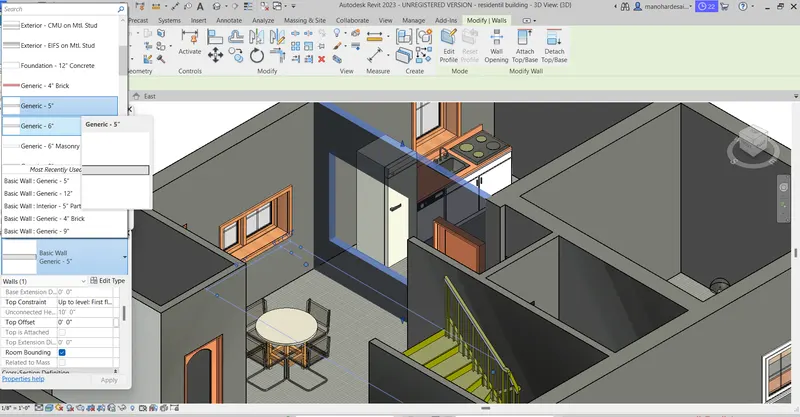
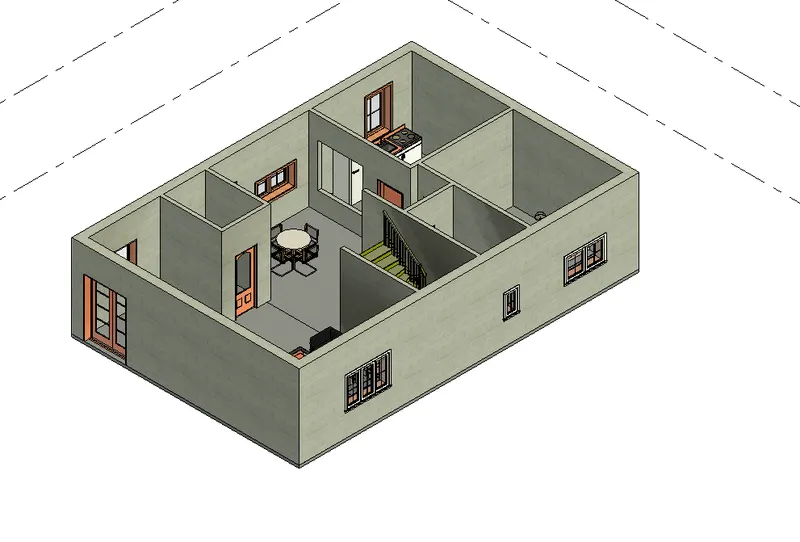
- while creating the wall from the project properties select the top cnstraint as a upto next level that is upto first floor.
- The height of the wall is after creating the wall is upto first floor.
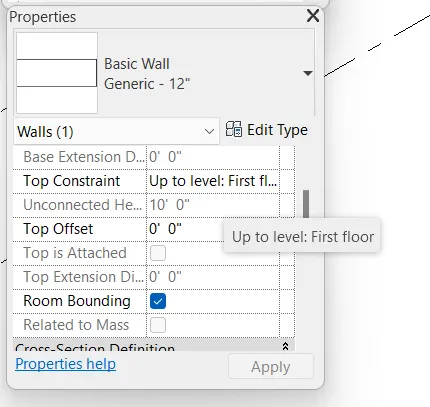
a. Beneficial of connecting walls to the levels
- It helpful for change of the floor height.
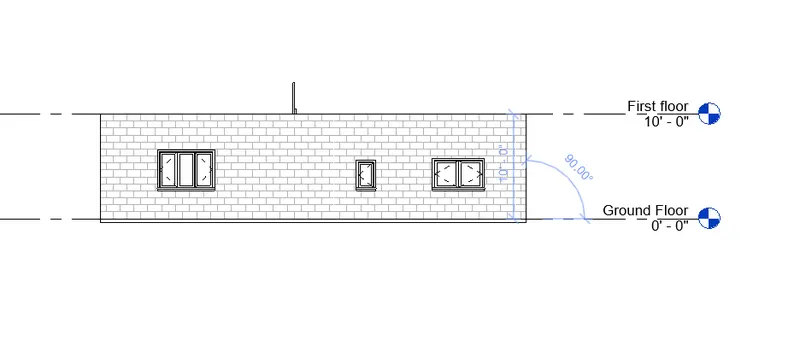
- If the walls are connected if we want to change the height of the floor change the height of the level and direct the height of the wall is changes.
- if the walls are not connected after changing the level height the wall height does not not alter.
- For changing the wall height in the unconnected wall for each wall need to chenge.
- The below figure shows the connected wall and unconnected wall.
Wall connected to the next level
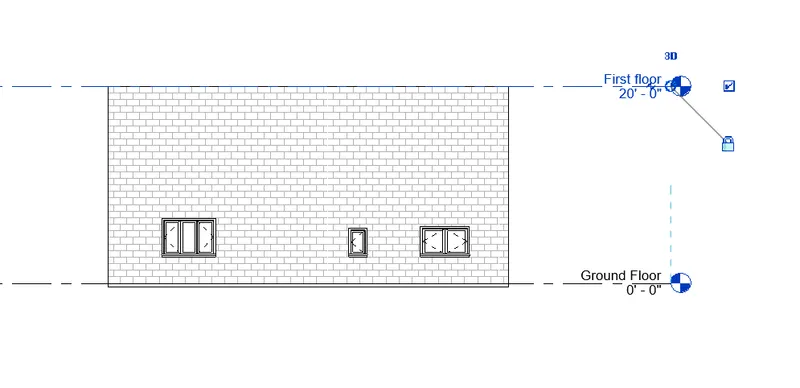
Wall not connected to the next level
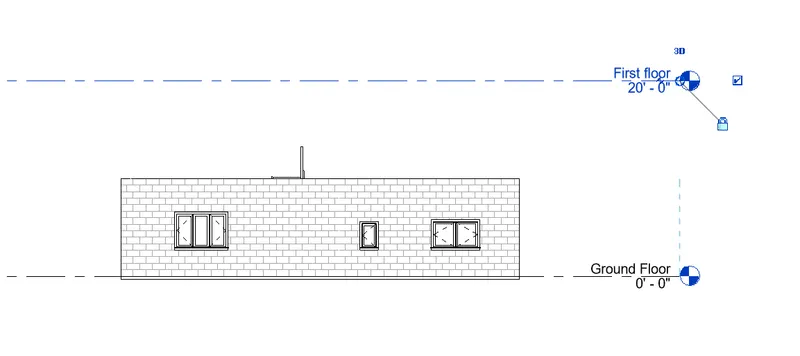
b. The wall creation by height in the modelling is useful.
- Depth is used for the wall height is below the ground floor.
- Height is used for above the ground floor
- Below the diagram is shows the creation of the wall by using the height as well as depth.
- The wall below the ground level is drawn with help of depth..
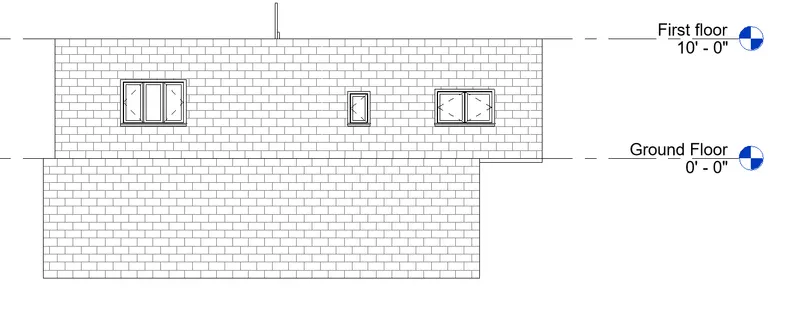
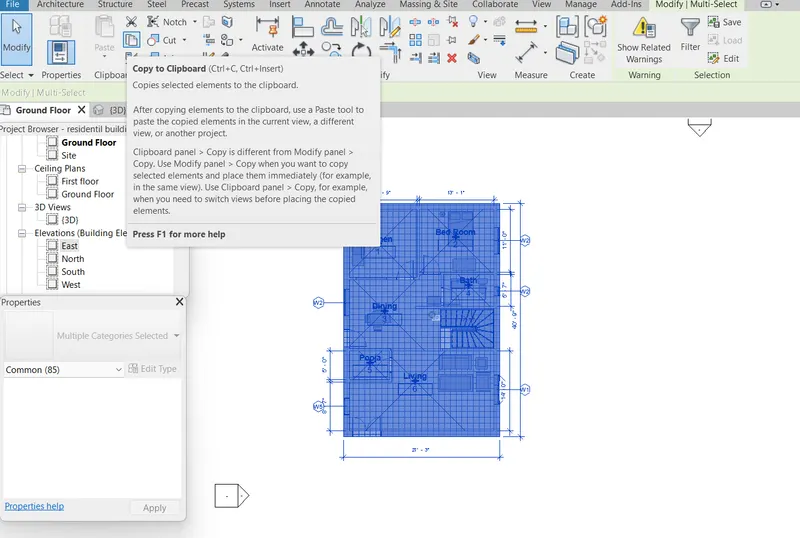
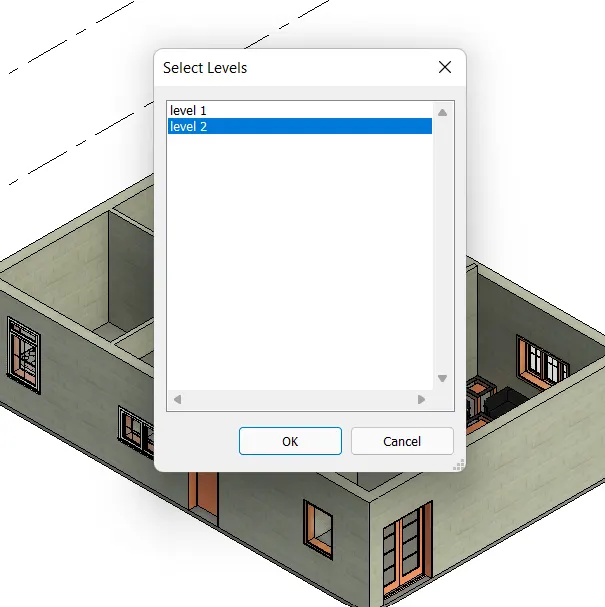
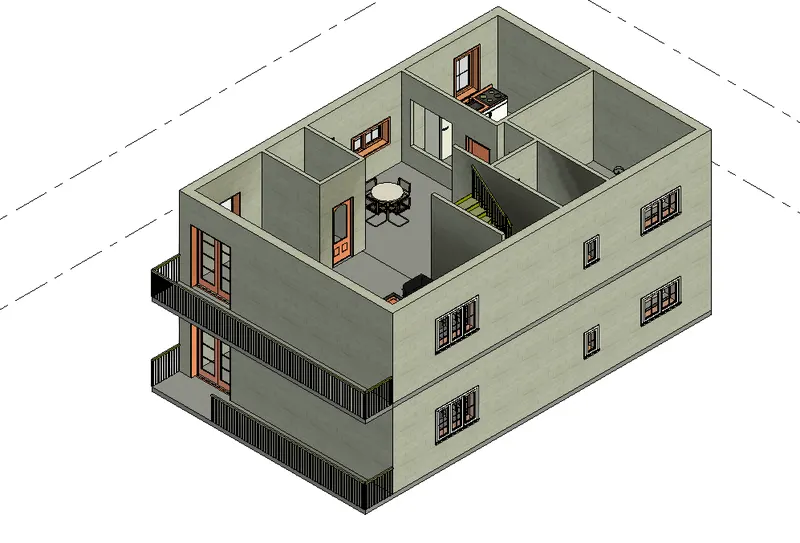
3. Copy the model elements (wall, floor) modelled to ground floor level and paste it aligned to first floor level. use modify the tab to utilize copy and paste option to align elements to a different levels.
Procedure:
- Open the residential revit file.
- Select the modify tab
- Select the whole drawing from the floor plan and copy the whole drawing
- from the modify tab select the paste option in that select the aligned to selected level
- Click on the level that required to paste the drawing.
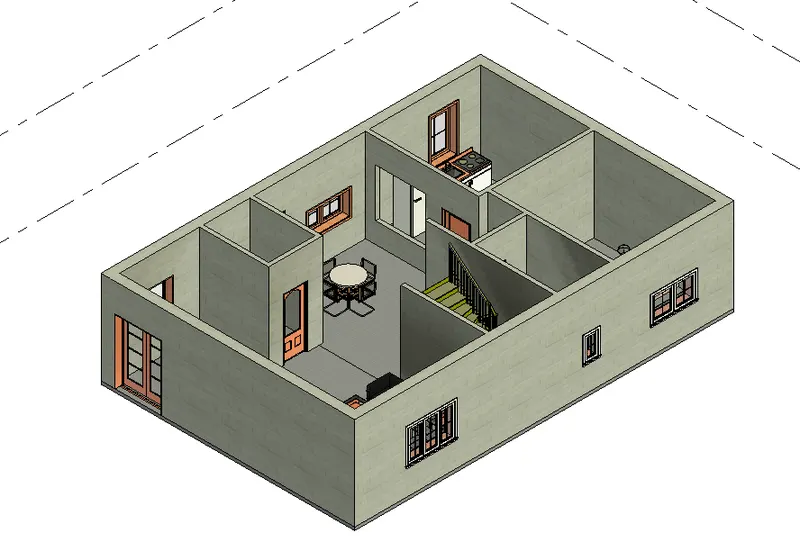
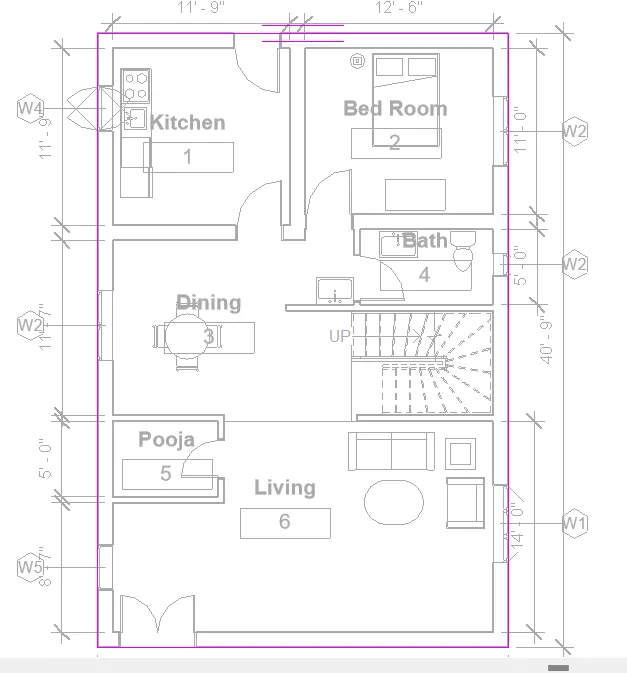
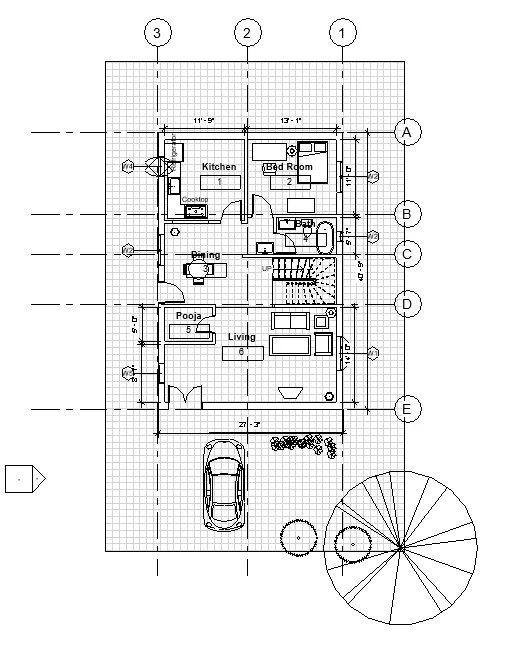
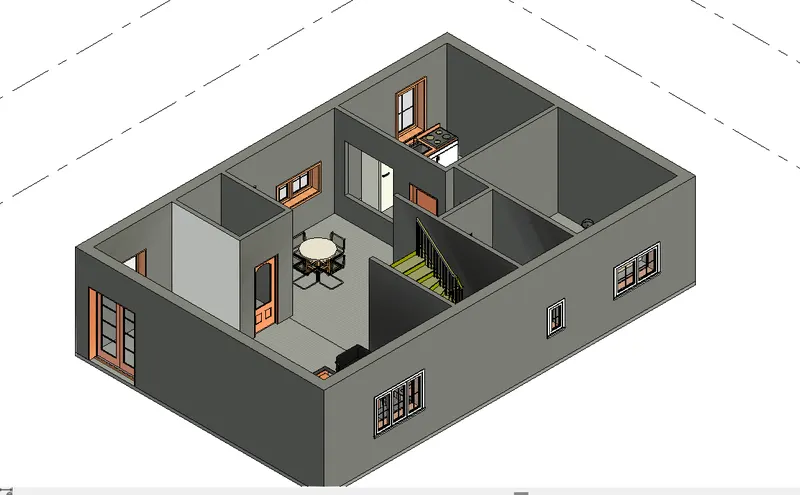
4. Use the interior partition wall to create seperate room within your residential unit. the model must include the following rooms
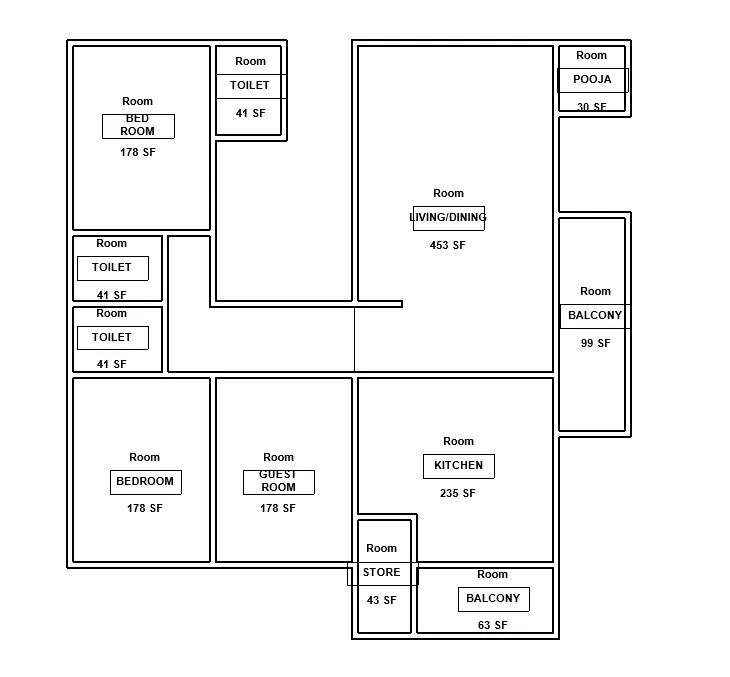
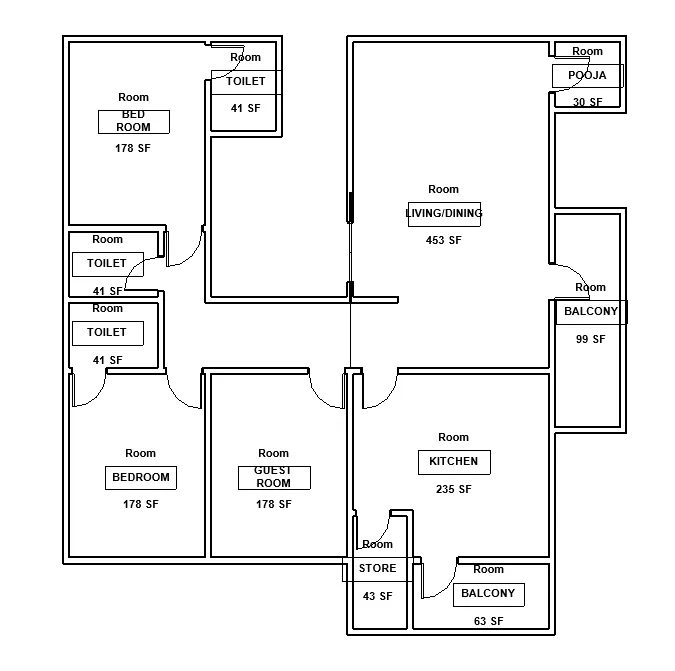
- Living / drawing room (15' x 18' )
- Dining Room (9' x 11" )
- Bed room (9' x 12' and 15' x 11")
- Rest room (10' x 12'1)
- Kitchen ( 8' x 10')
The above are for example. you can use them or use your measured entities to create your model based on ypur layou. yo may include entry walk way, patios or guest.
Procedure:
- open the revit software
- From the model select the new and select the new and select the architect template.
- From the file menu save the project with name as residential building4.
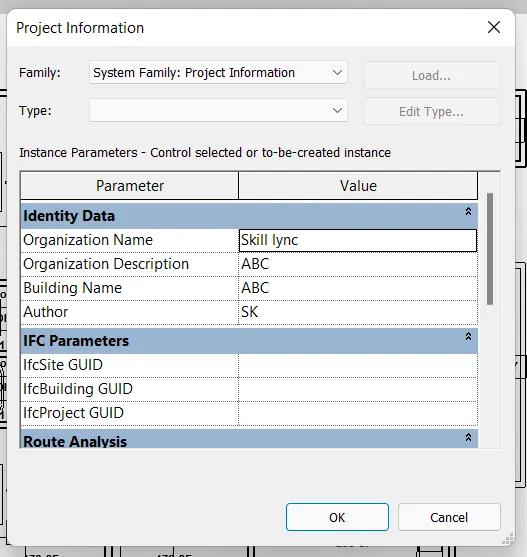
- From the manage tab select the project information and write the deatils of the project.
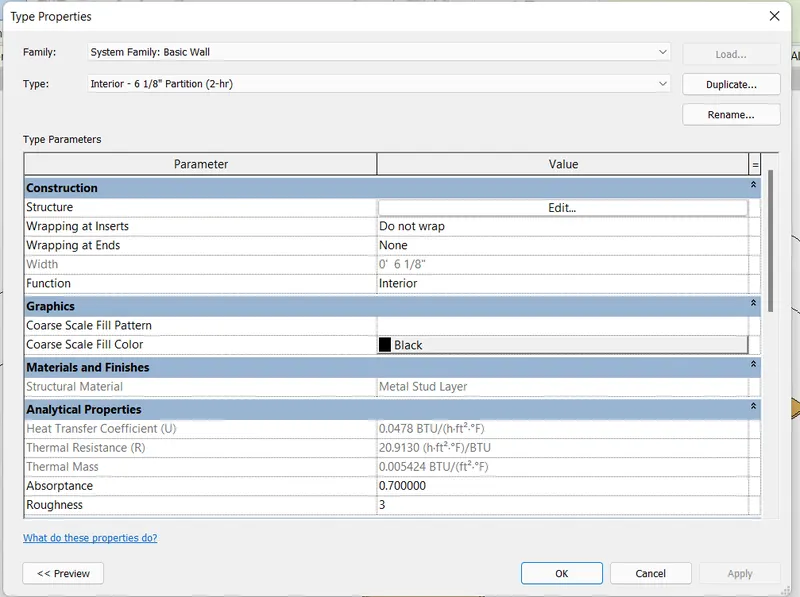
- from the architecture tab select the interior partition wall and select the edit type from the project properties.
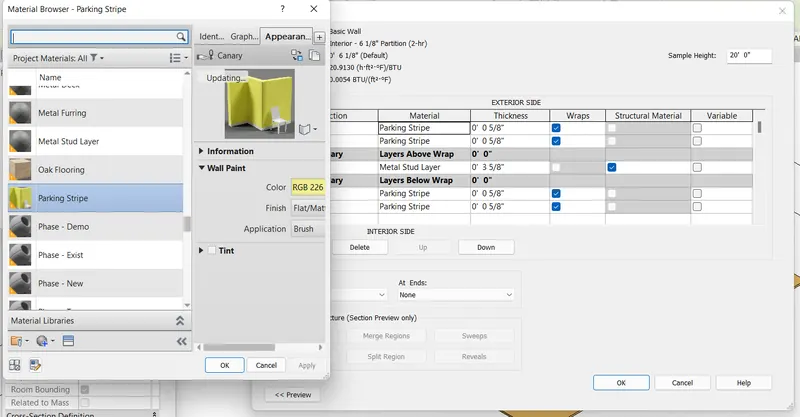
- Change the required thickness of the wall and select the meterial required to apply.
- By using the wall option the the walls are created of the required size.
- From the architectural tab select the components select the place the components and select the load family and select the door family
- insert doors atvrequired position.
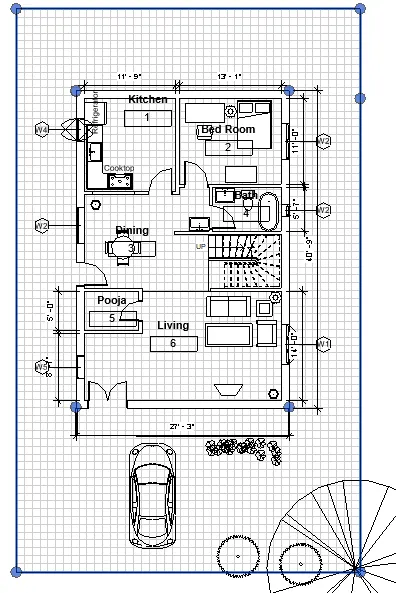
- Select the window family and insert at the required position. like this from the family all fixtures are created.
- select the floor select the pick line and select the exterior line oa the wall
- the floor is created of the thicknes 4".
- By using the annotation tab select the linear and all dimensions are given.
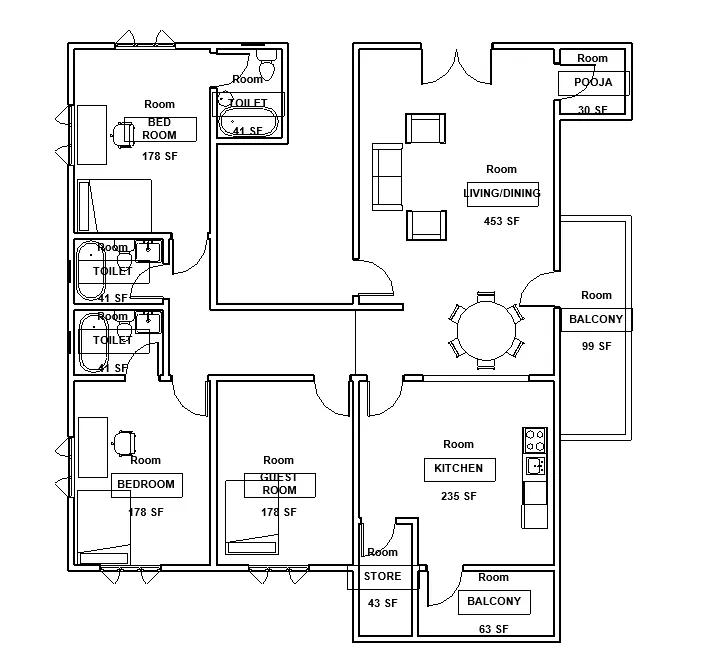
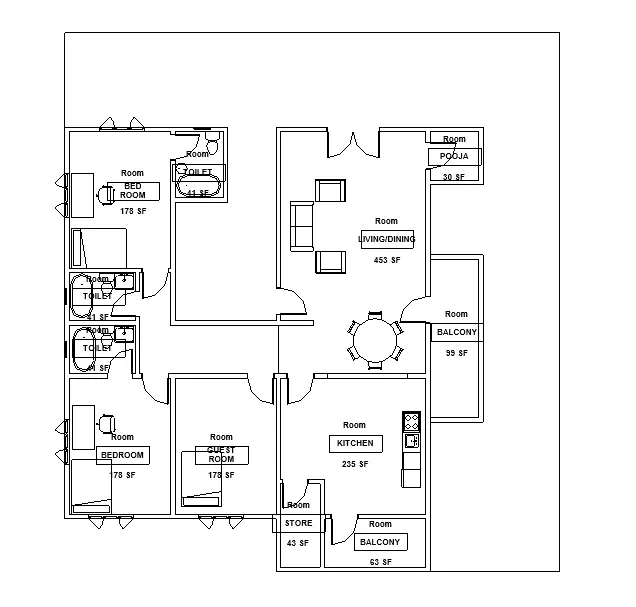
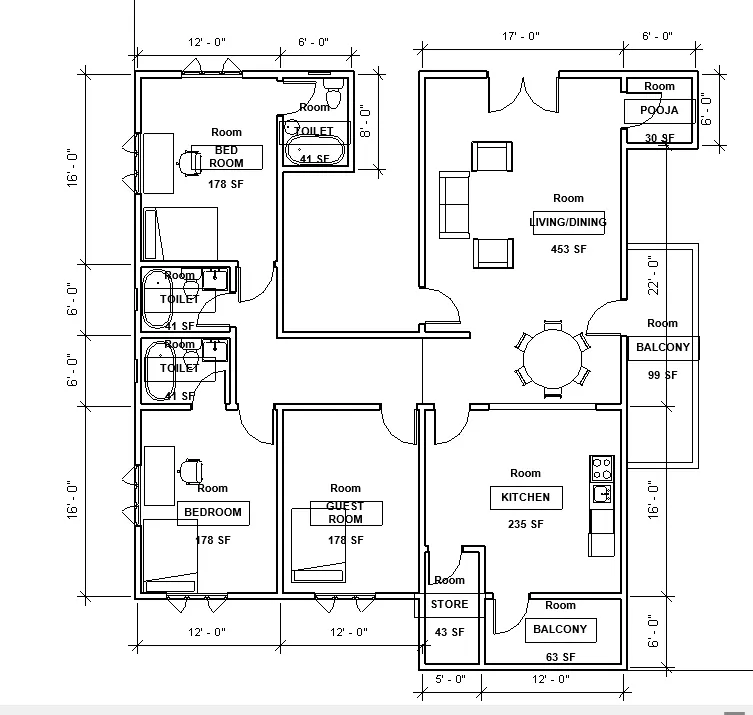
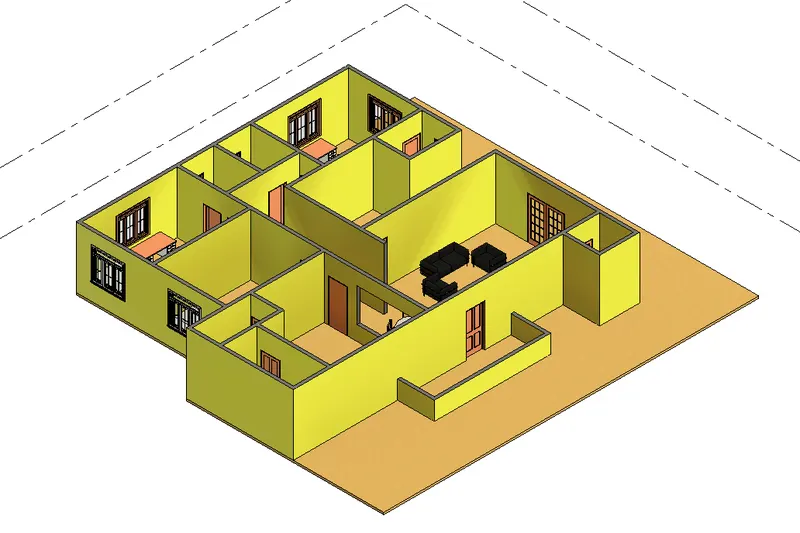
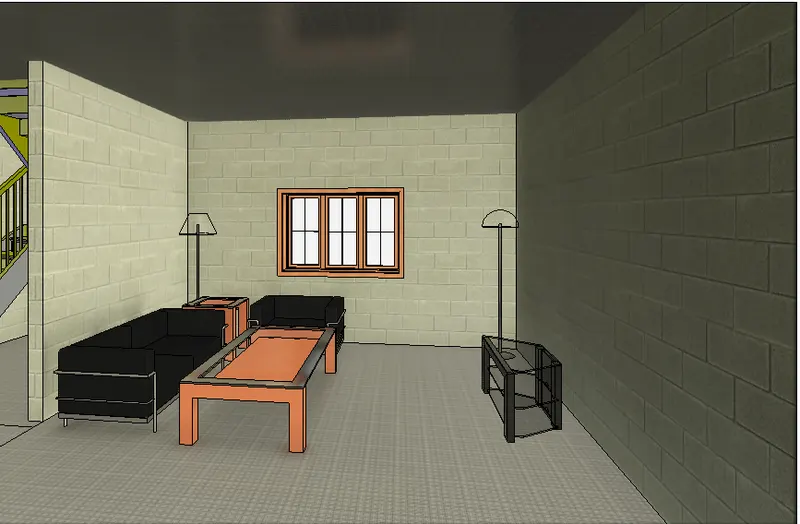
Result:
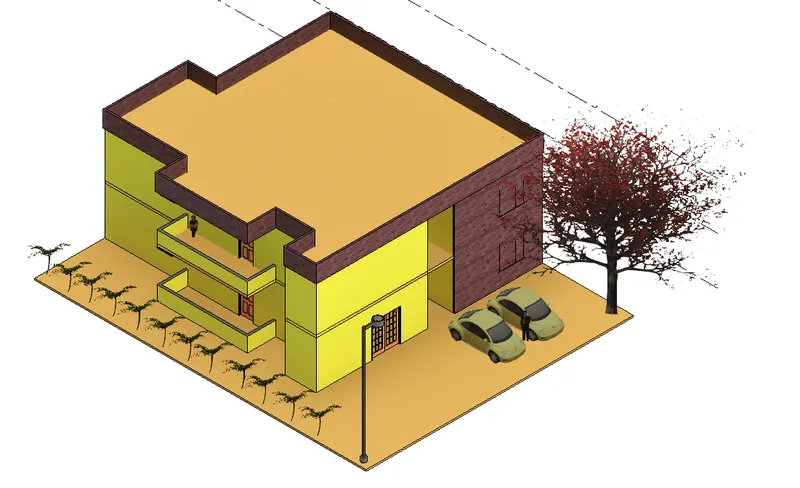
5. Based on the week 2 assignment, the components to be included in a residential unit were inderted into the revit file place these these components into a appropriate location to add details to your residential model.
a. Place the doors and windows in the wall at appropriate location.
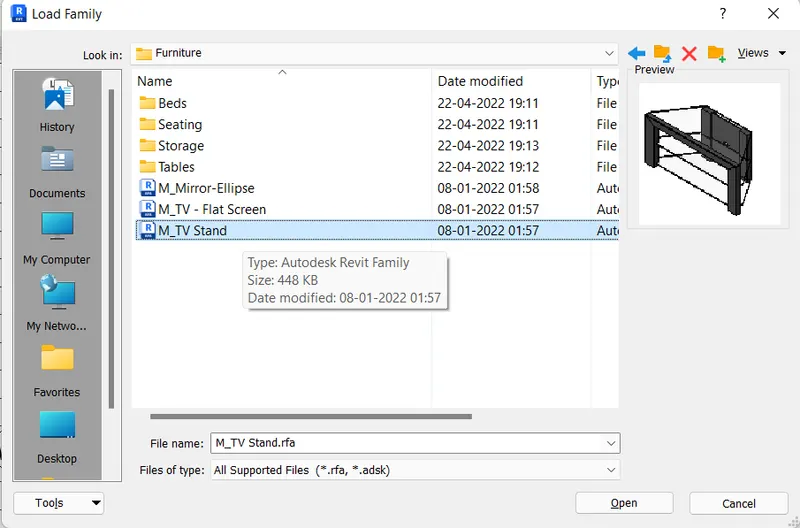
b. The living room must include the futrniture set, couch, cable, and TV desk and self cabinets
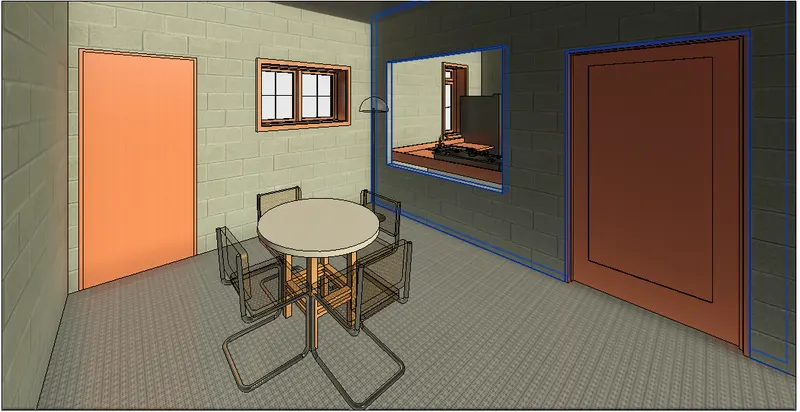
c. The dining room must include a table and chairs serving the purpose of the eating.
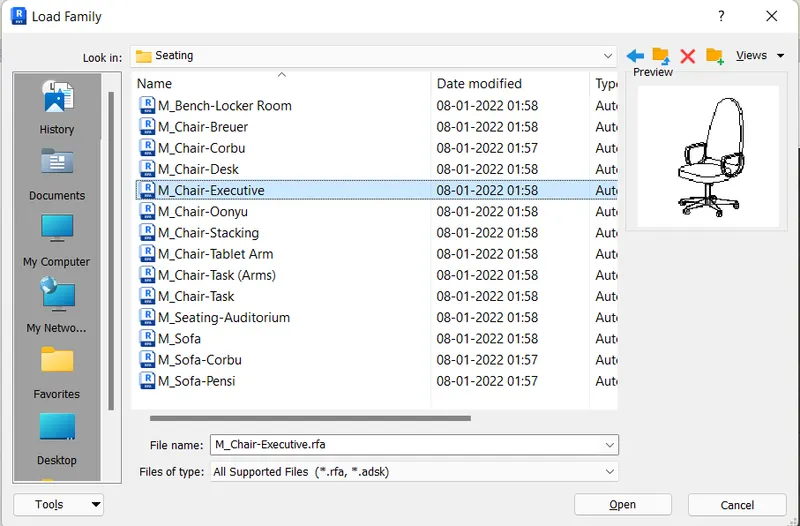
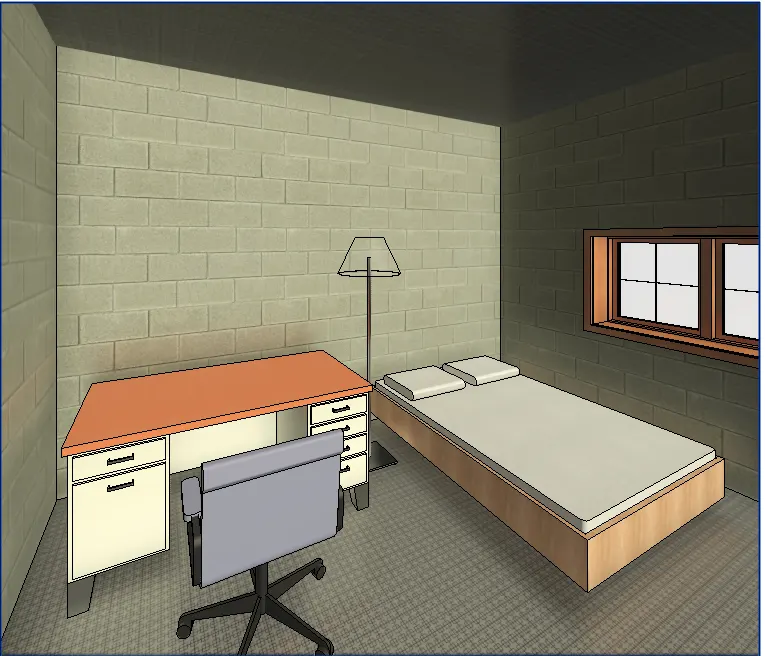
d. Bed room must include bed set, shelf, lighting and individual study desk and chair.
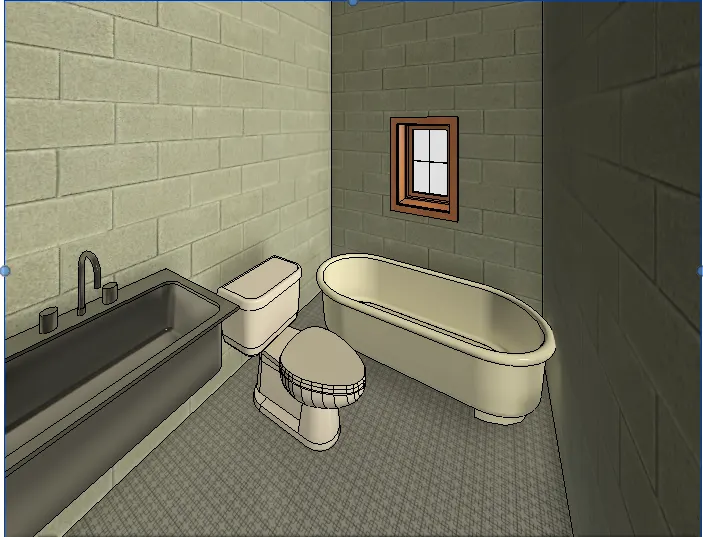
e. Rest room should include the bath tub and plumbing fixtures discussed in the class.
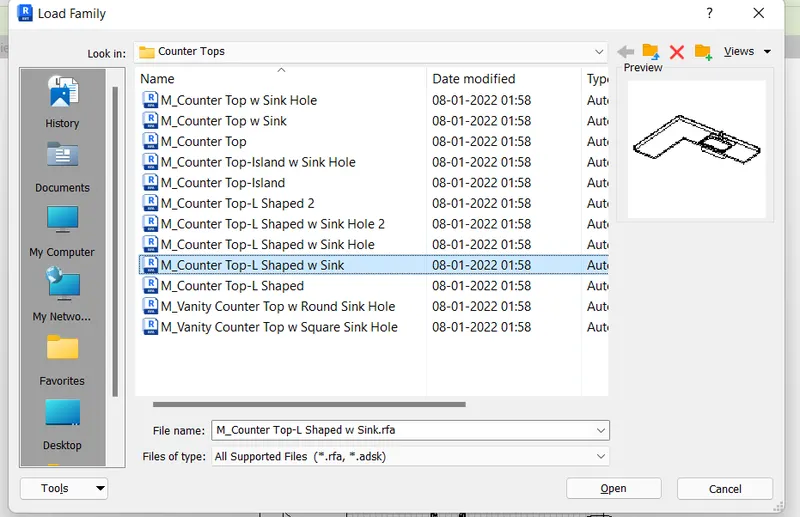
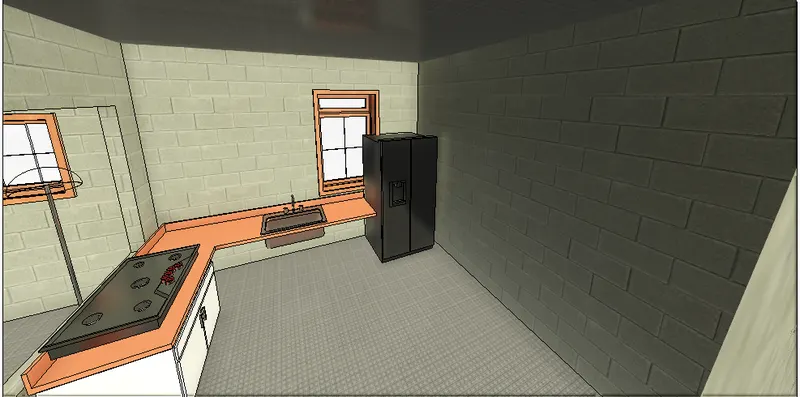
f. Kitchen should include countertops, gas stove, cabinet and shelves to store the food items.
g. The wash/storage room can be include washing machines and shelves to store the clothes.
procedure:
Doors and Windows
- Open the layout drawn
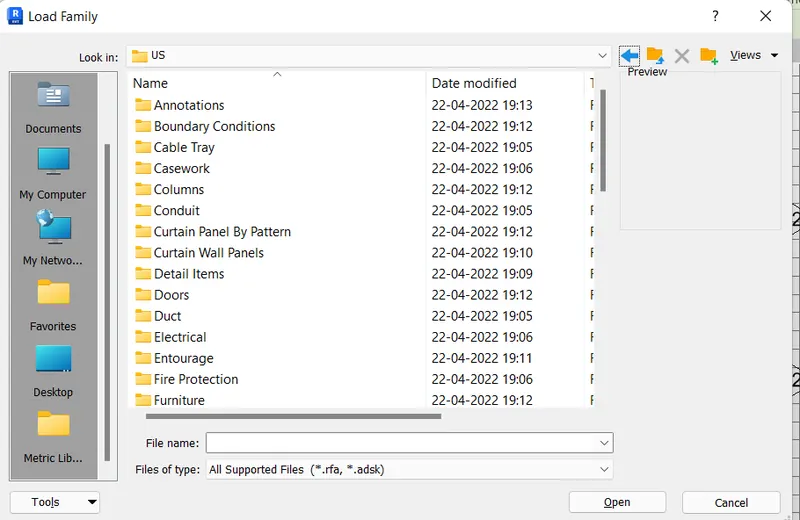
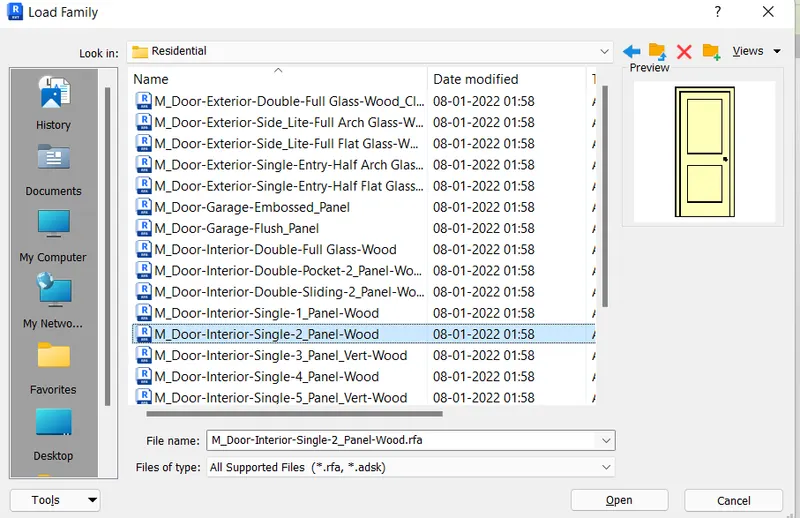
- from the architectural tab select the component in that select the place the component and select the load family.
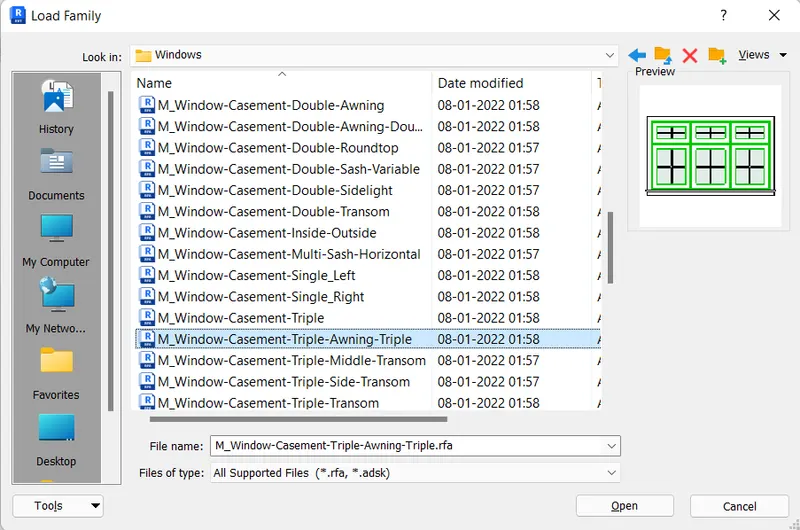
- After selecting the load family a dialogue box appear and select the US and select the door family and select the door and placed at the required position.
- Select the windows family and placed it at required position.
Kitchen
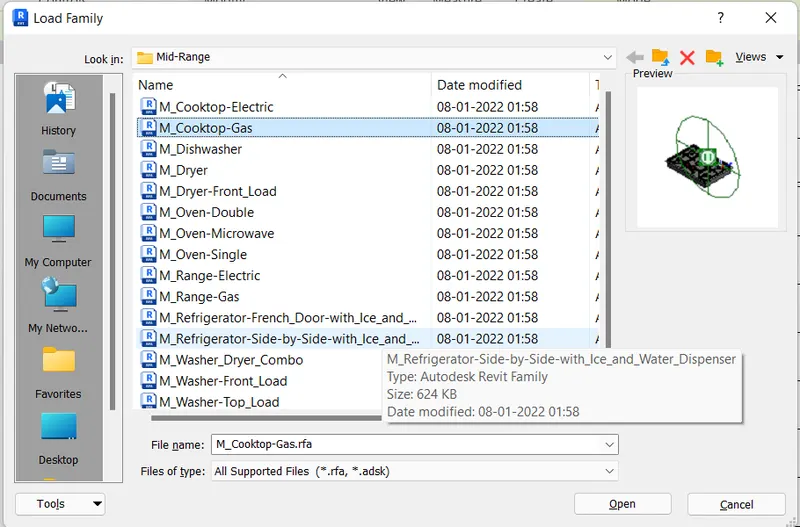
- Select the special equipment family in that select the domestic element and select the mid range
- select the kitchen elements and placed it at required position.
Bed room:
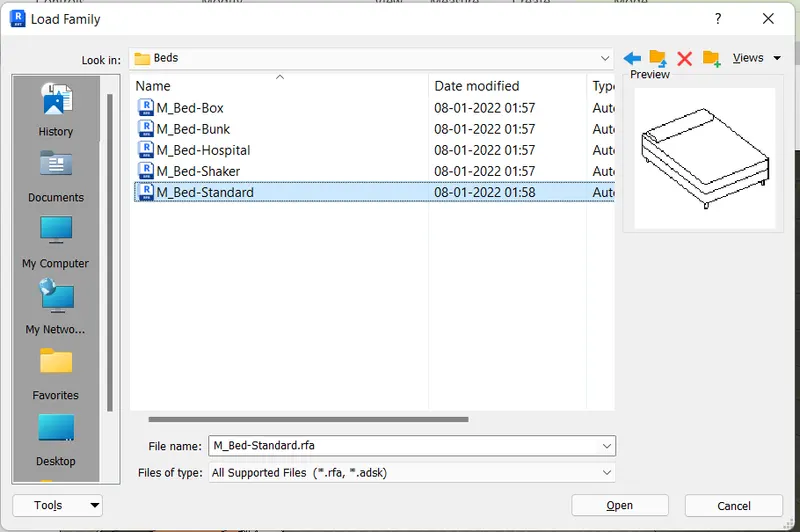
- From the architectural tab select the component and select the load family
- select the furniture in that select the bed in that select the required bed.
- from the proje browser select the bed
- placed it at required position.
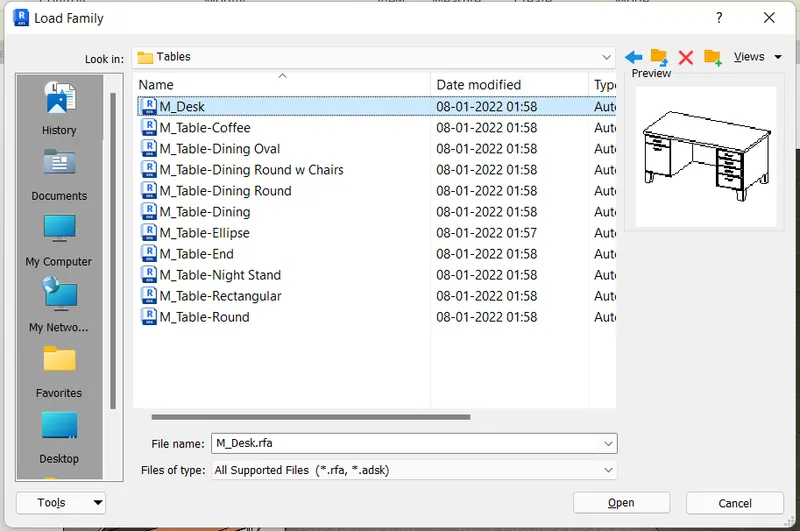
- Like this desk and table and lighting are positioned.
- select the desk and from the project browser select the size and placed it at required posotion.
Dining:
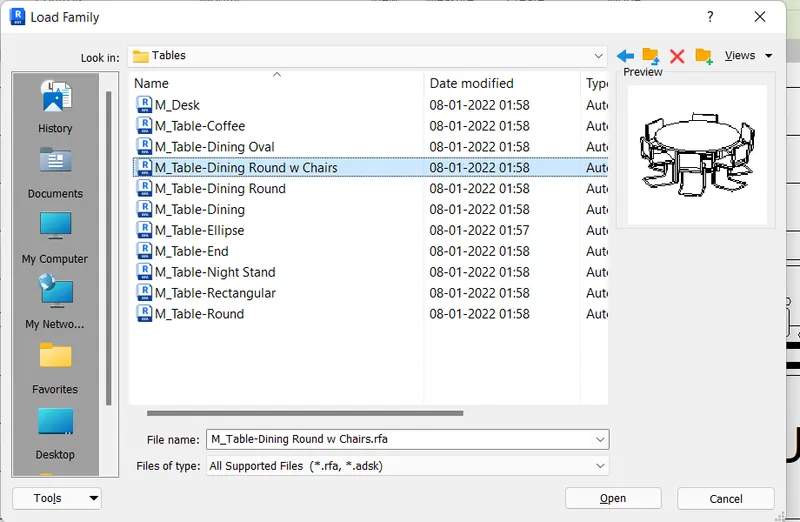
- from the furniture family select the seating and select the table
- select the table dining round with chair and placed it at required position.
Bathroom:
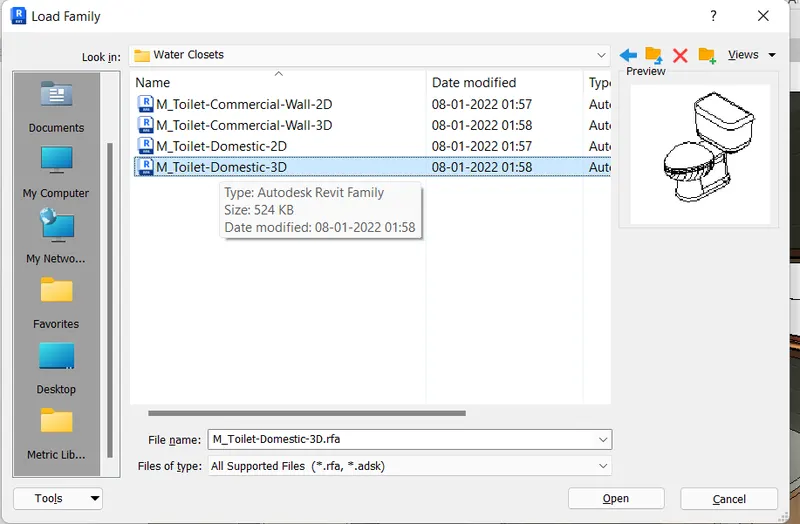
- drop down component in that select the place the components
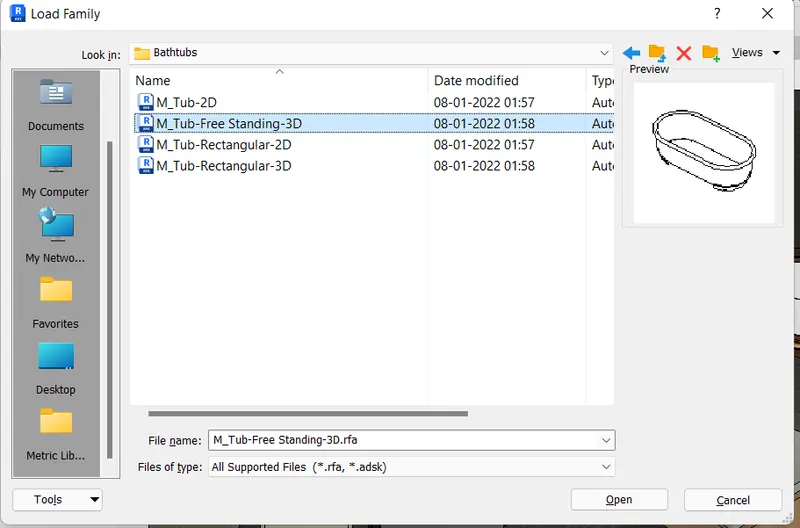
- Select the load family
- Select the plumbing and select the architectural
- In that select the fixtures and select the water closet and select M toilet domestic 3D and placed at the bathroom
- select the bathtub and select required tub and placed at required position.
Living:
- drop down component in that select the place the components
- Select the load family
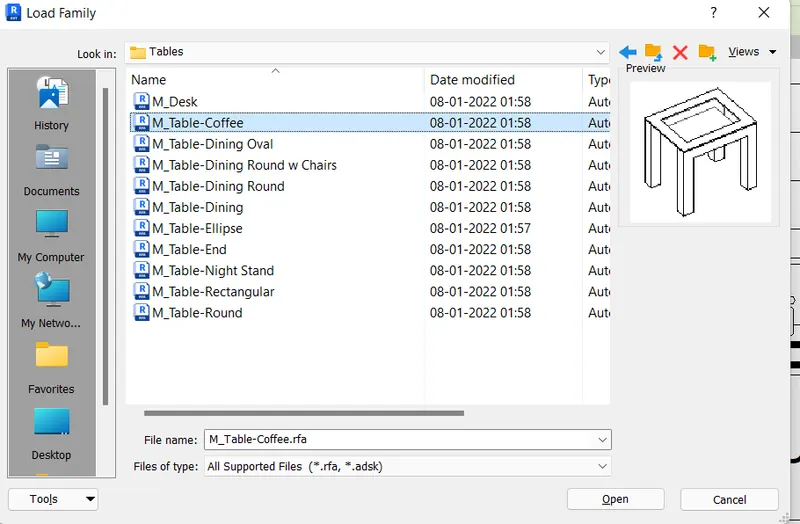
- Select the furniture and select the table.
- in select the cofee table.
- from the project browser select the drop down the family in that select the furniture and select the cofee tabblr of required size and placed it.
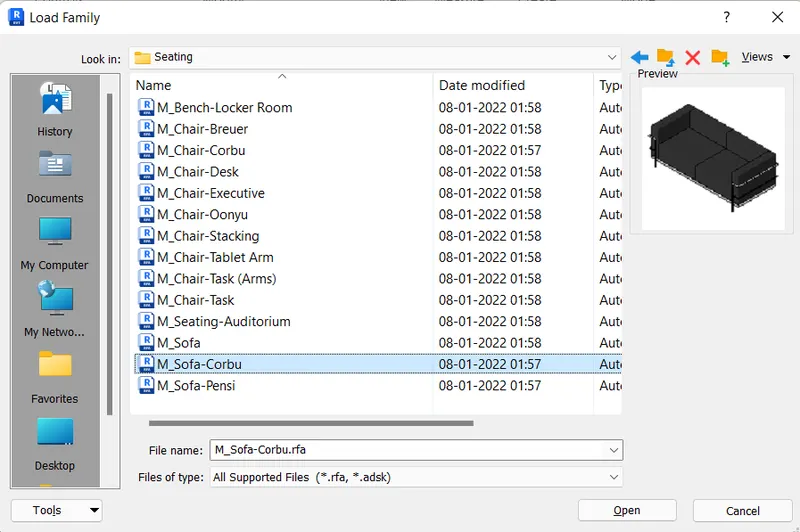
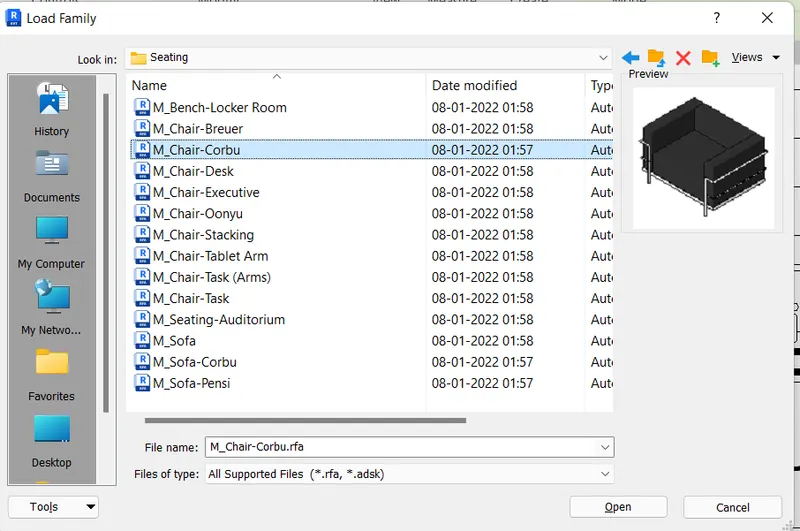
- from seating select the m sofa corbu and placed at required position.