Creating Walls, Partition walls and Floors for a residential layout using REVIT
1 ans:
Aim:
- To create a floor plan and need to apply the materials and thickness using the property browser
- To Align the floor plan grids created from week 2
Procedure:
- Open Revit software
- Now open the file we have drawn in week2 as shown
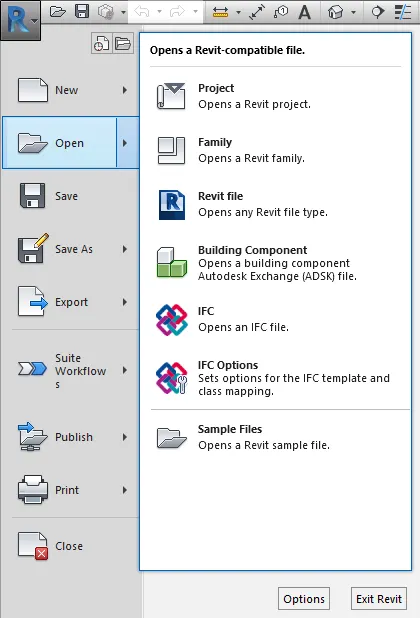
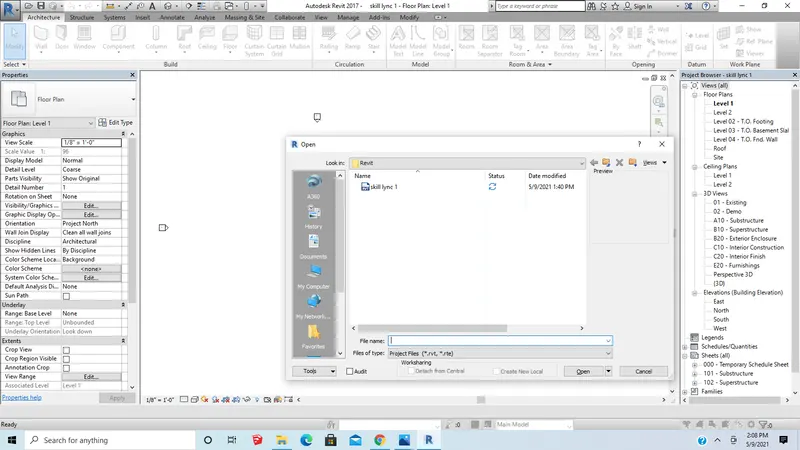
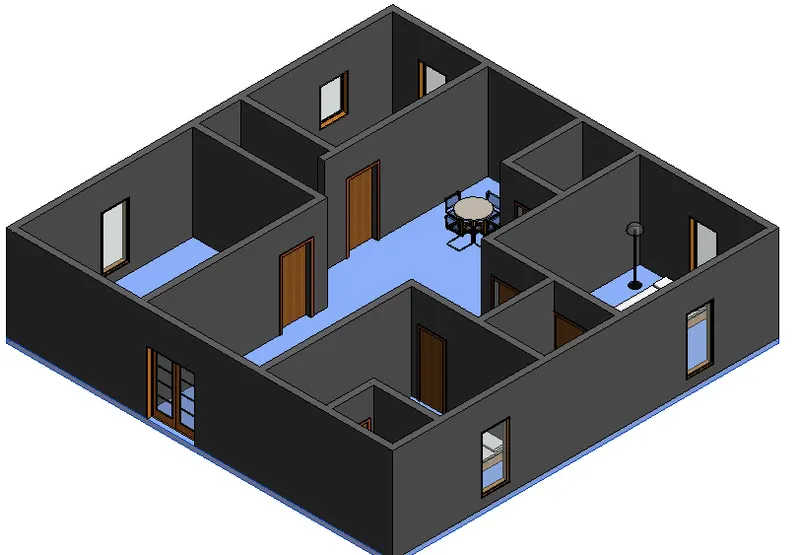
- Now select the floor as shown
- Now click the edit type from the properties browser as shown below.
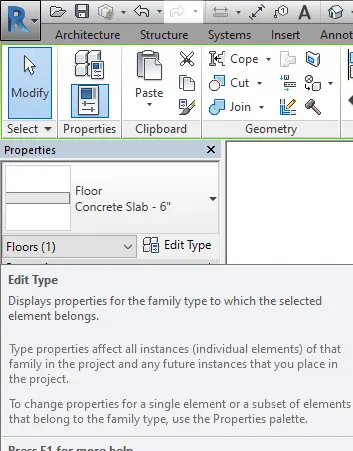
- Now type properties tab will be visible on the screen, shown below
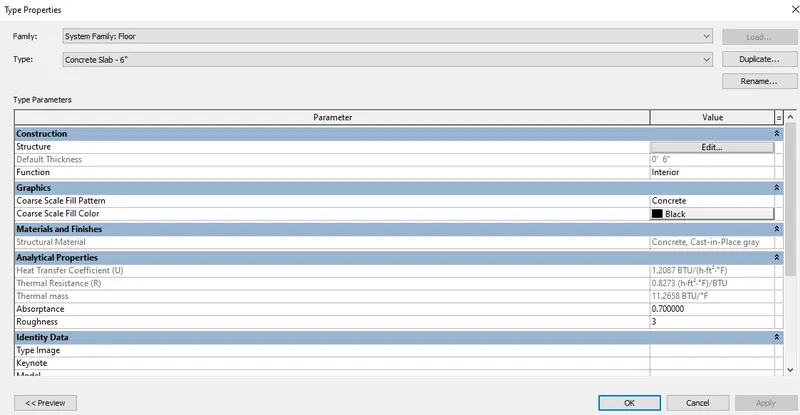
- Now click on duplicate and change the name
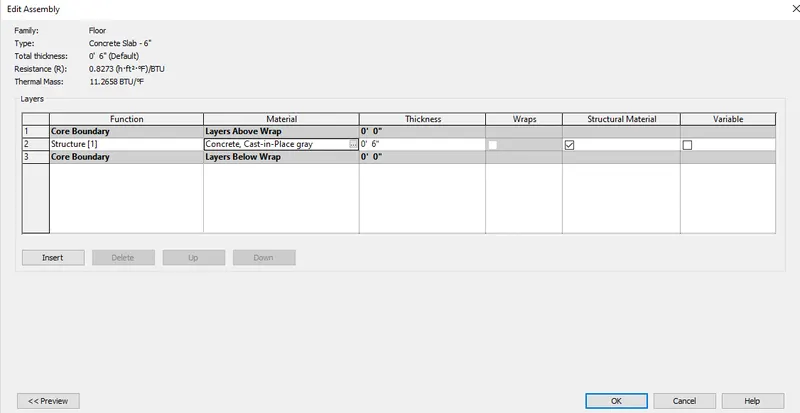
- Now we change the material type by clicking the edit option as shown below
- Now the edit assembly tab appears.
- Now we select the material type in the 2nd row as shown below
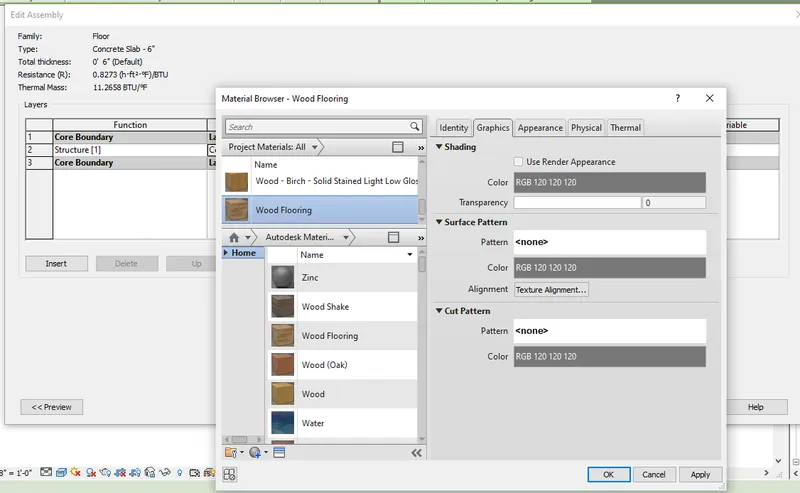
- Now the material browser appears, then select the material type as wood flooring
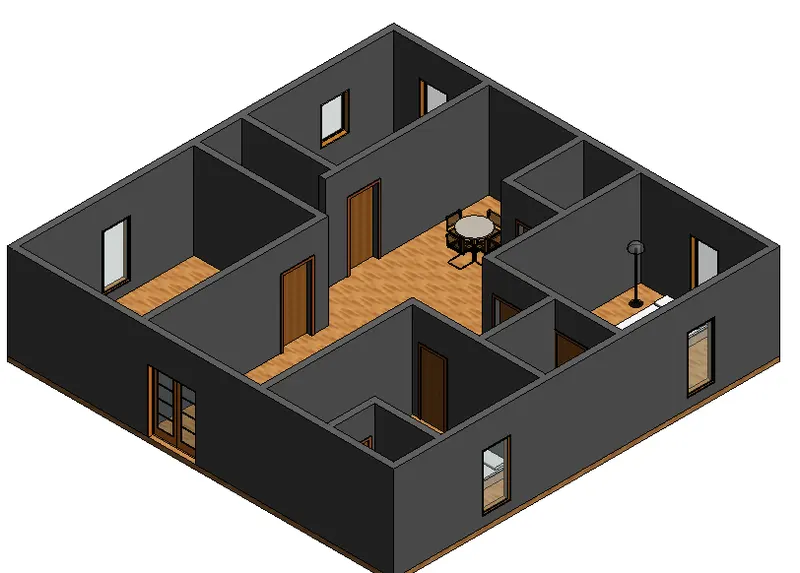
- Finally, the material is applied to the floor as shown
- Now keep the plan in 2D
- Now draw the grid lines
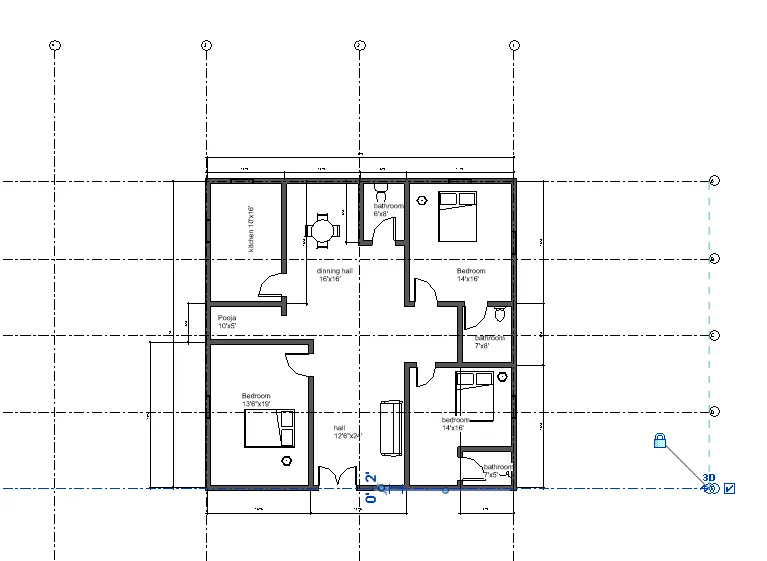
Result:
2 ans:
Aim:
To create a floor plan and need to apply the materials and thickness using the property browser for walls
Verify using the property browser to see if the top and bottom of the walls are constrained
Need to understand the benefits of connecting walls with the associated levels rather than being Unconnected
Need to know which option is convenient for modeling walls, By Height or by Depth.
Procedure:
- Open Revit software
- Now open the file we have drawn in week2
- Now select the floor as shown
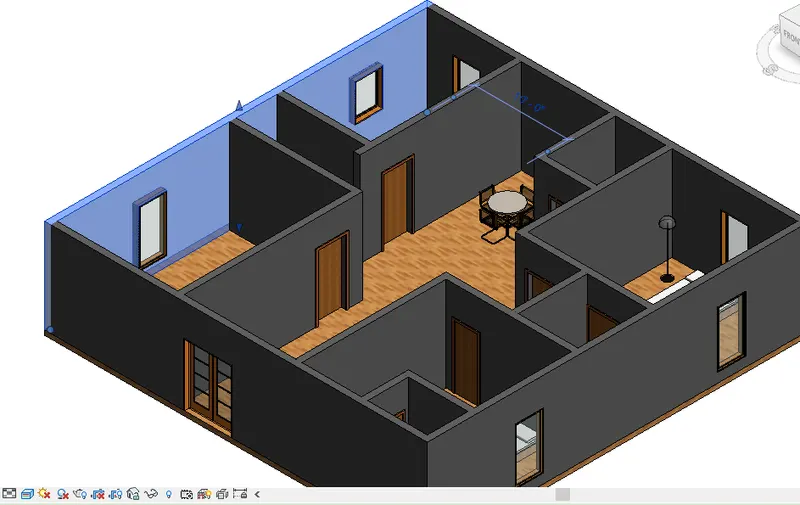
- Now click the edit type from the properties browser as shown below.
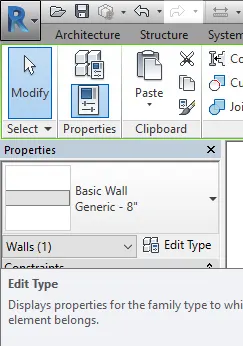
- Now type properties tab will be visible on the screen, shown below
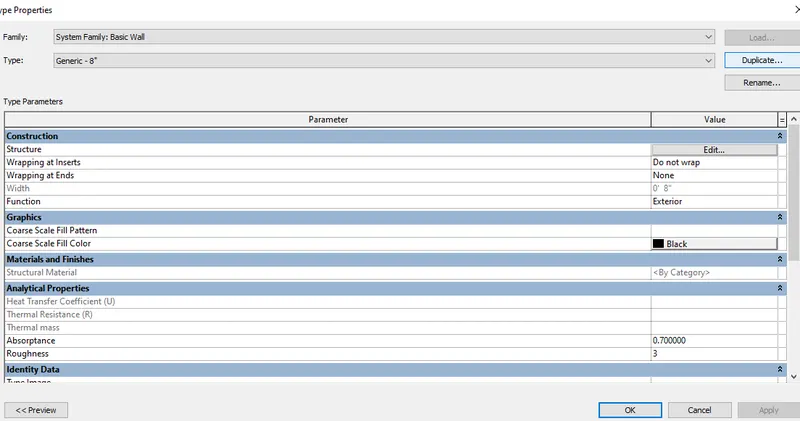
- Now click on duplicate and change the name
- Now we change the material type by clicking the edit option as shown below
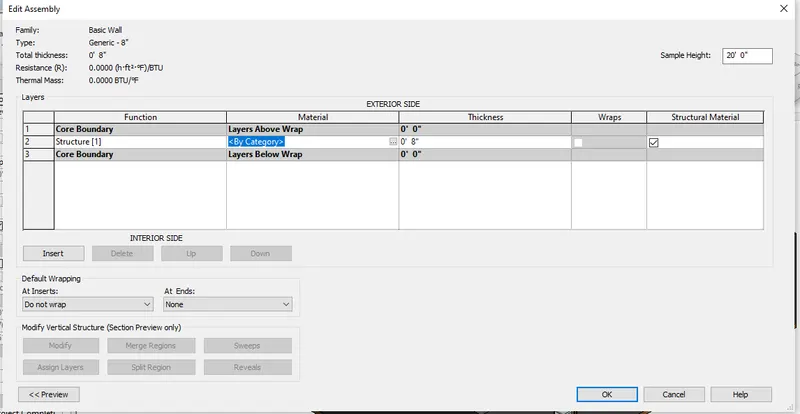
- Now the edit assembly tab appears.
- Now we select the material type in the 2nd row as shown below
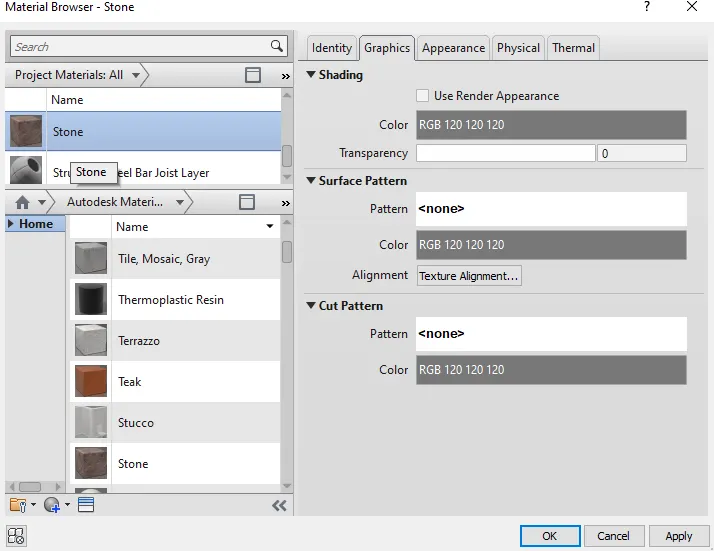
- Now the material browser appears, then select the material type as stone
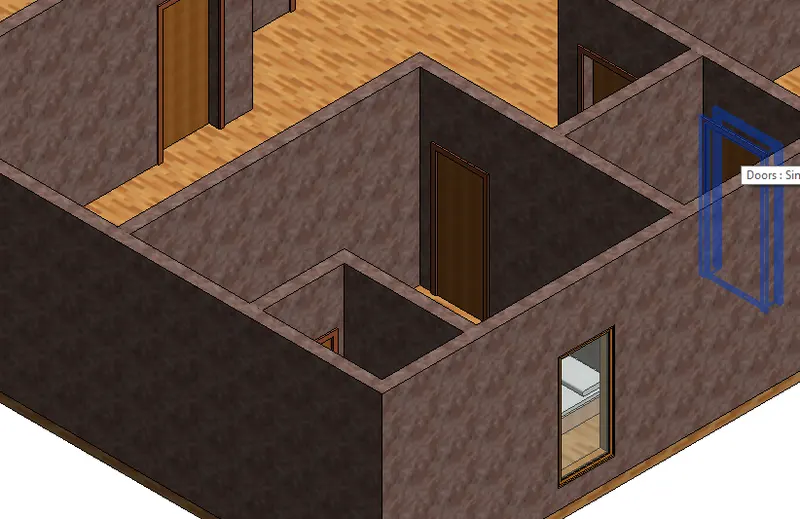
- Finally, the material is applied to the floor as shown
a.Based on our observation. What is beneficial for connecting walls with associated levels rather than being Unconnected
- Now select the wall as shown
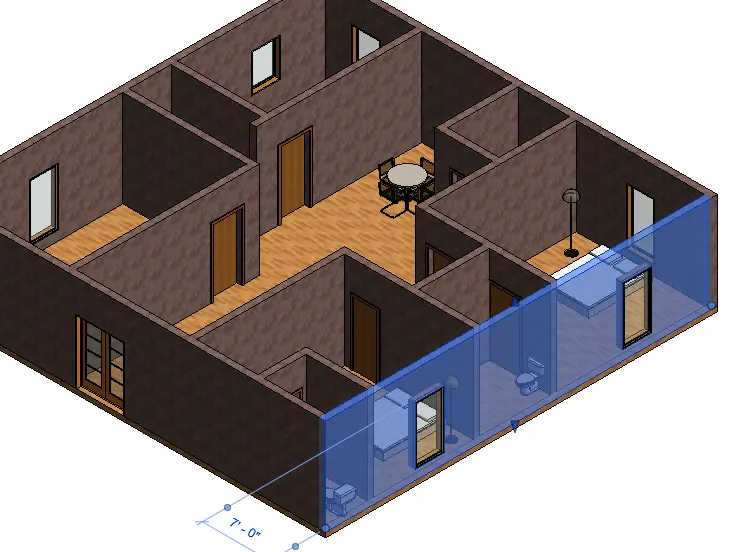
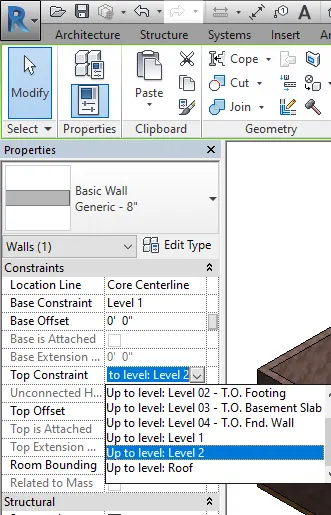
- Now in the properties tab, we get wall constraints
- Now in-wall constraints go to Top constraints and select level 2 as shown
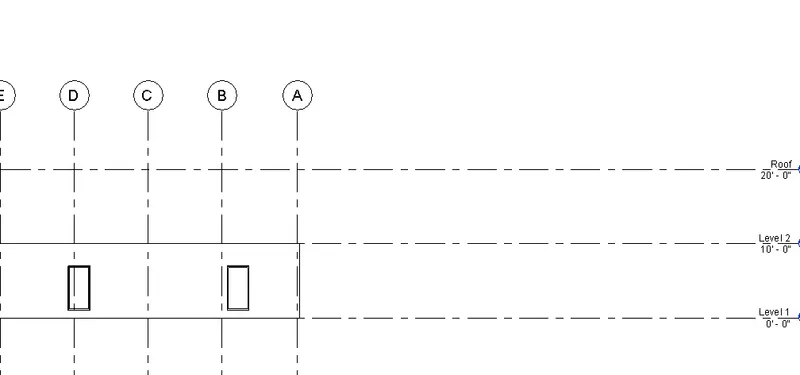
- Now go to elevation view so that we can see that the elevation of the wall is created from a base level 1 to top level 2
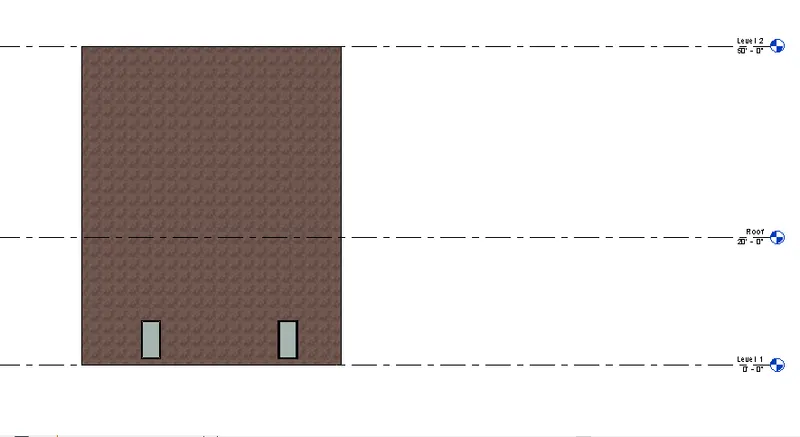
- If the change the value of level 2 to 50'. we can see that the wall created also moves to a height of 50' as shown
on the other hands If the walls are unconnected. if we are changing the level the walls remain in the height given during drafting
Eg
- Now select wall as shown
- Now in the properties tab, we get wall constraints
- Now in-wall constraints go to Top constraints and select Unconnected as shown
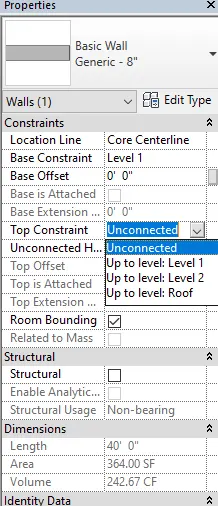
- Now the initial level is 10'
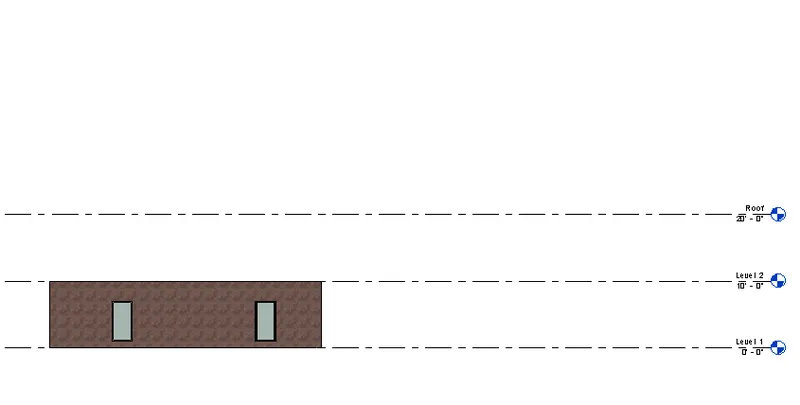
- Now change 10' to 40' we can see the wall remains unmoved
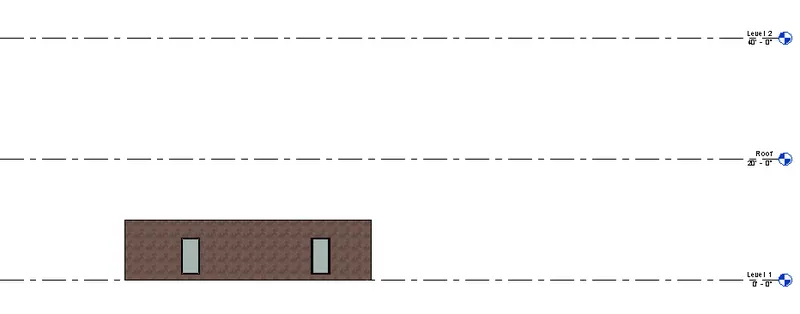
- so connecting the wall is convenient as it can be moved with levels
Which option convenient for modeling walls by height or by depth
- When we create a wall two options will be available as shown below

- Depth: if we are giving depth, it indicates height downwards from the level selected.
- Fisrt select wall and while drawing the wall select Depth as shown
- Now select the depth and give 20' depth
- Now in elevation view, we can observe it
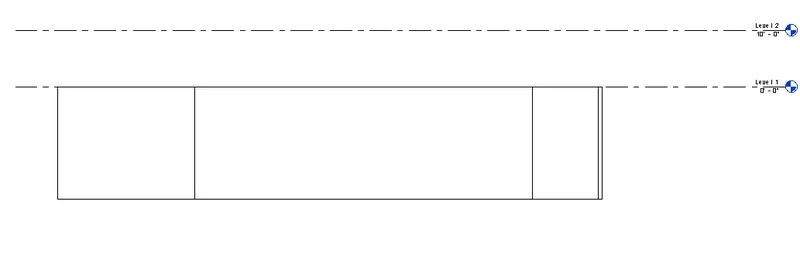
- Height: if we are giving Height, it indicates height upwards from the level selected.
- First select wall and while drawing the wall select height as shown
- Now select the Height and give 20' height
- Now in elevation view, we can observe it

Result:
3 ans:
Aim: To use of copy and paste and aligning the plan to other levels
Procedure:
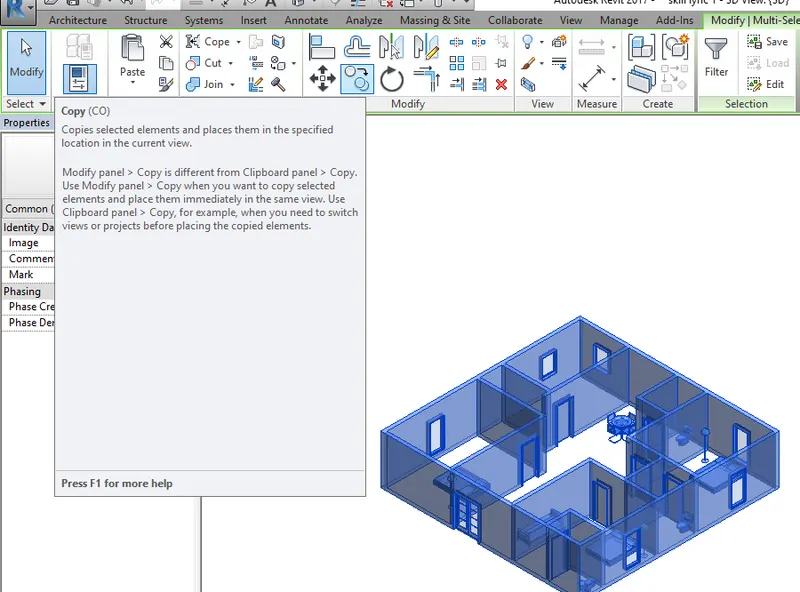
- Keep the model in 3d view
- Now select the 3d model
- Now go to modify bar and click on copy command as shown
- Now go to paste and select aligned to selected levels
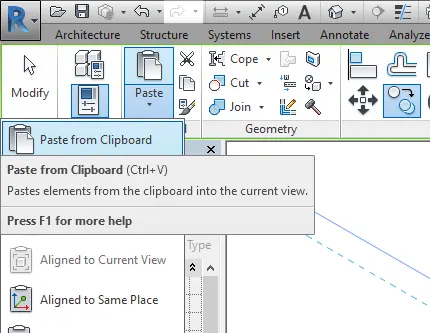
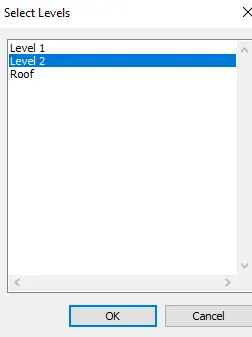
- Now select level 2 and click ok
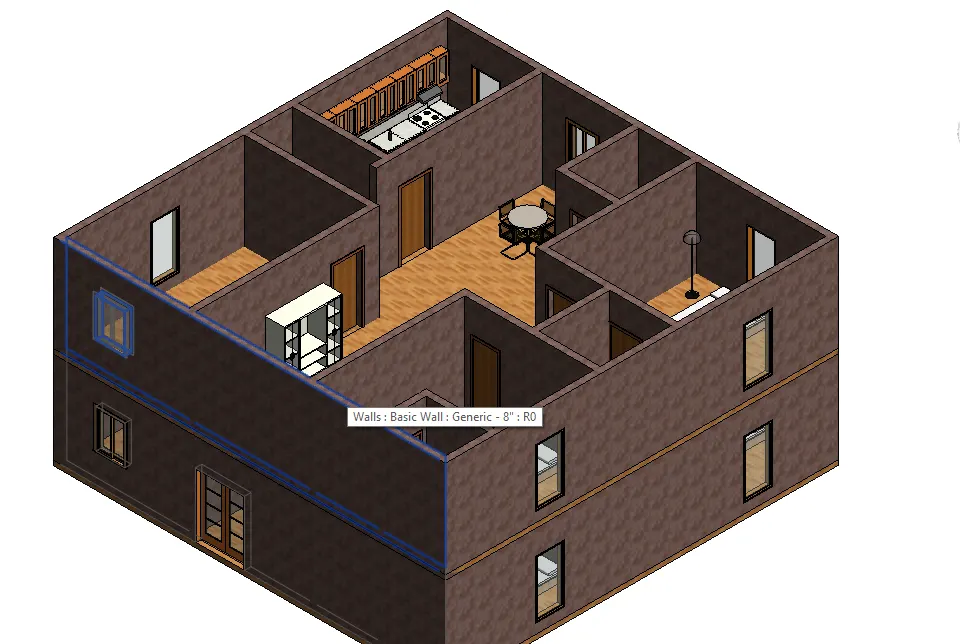
- Delete the top door
Result:
Now the ground plan is copied and paste and aligned to the second level
4 ans:
Aim: To create separate rooms within our residential unit using the interior partition walls
Procedure:
- First, select the interior a walls as shown
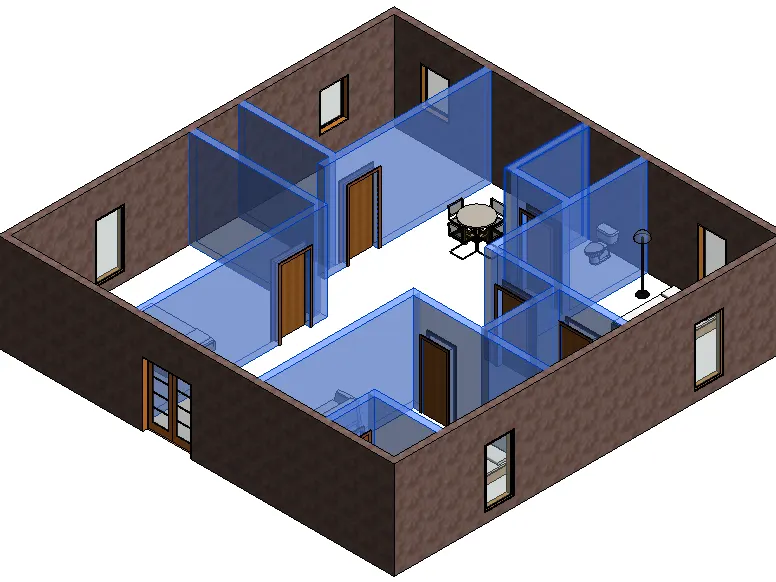
- Now in the property tab change the wall type to partition wall as shown
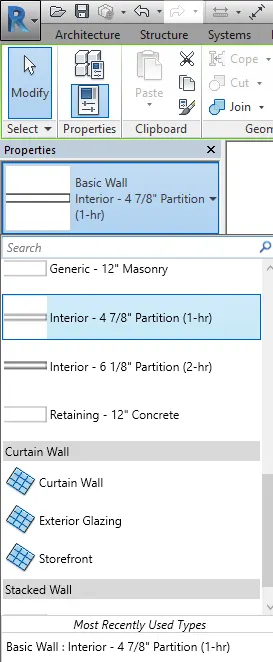
- Now interior partition walls are created
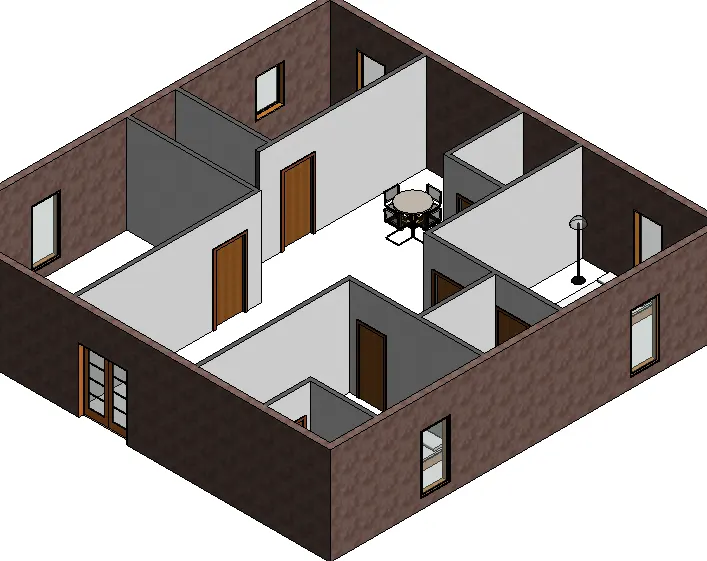
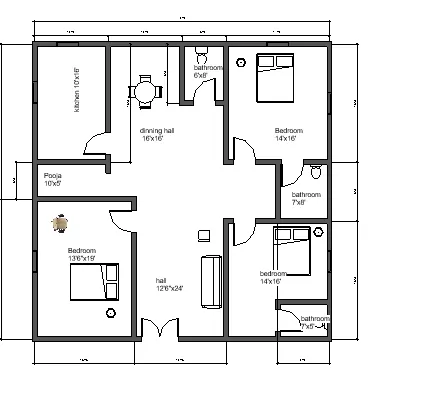
Result:
5 ans:
Aim: To insert the components in appropriate locations to add details to the residential model, based on the week 2 assignment
Procedure:
- Now open 3d model
- Now go to architecture tab-->Place a component-> load families

- Now go to architecture tab-->Place a component-> load families->add furnitures,plumbing fixtures,kitchen appliances,etc
- Now go to architecture tab-->Place a component->Now go to properties and add the cabinet
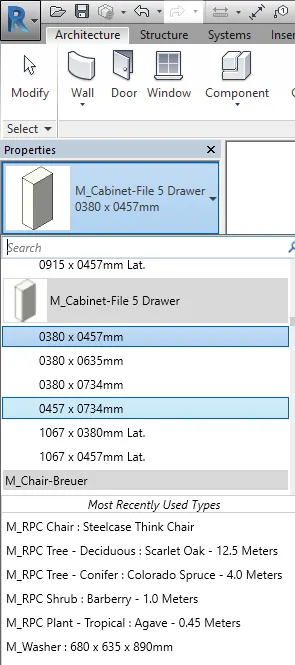
- Simillarly add other components from components ->properties
- Now go to view-> select camera

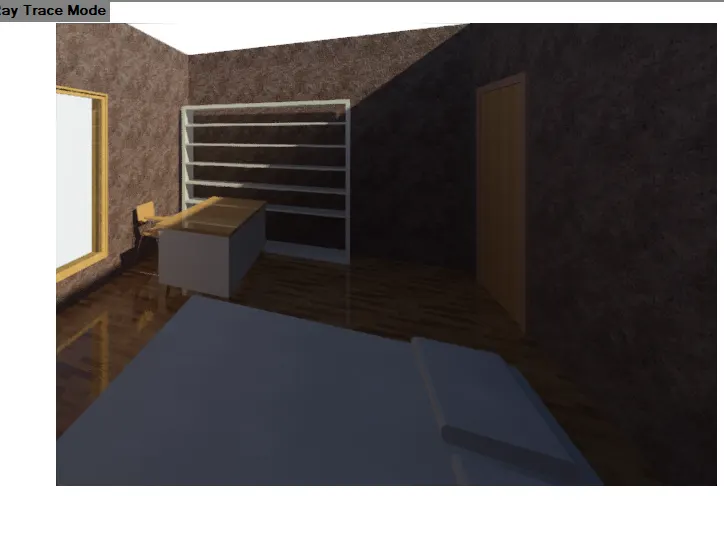
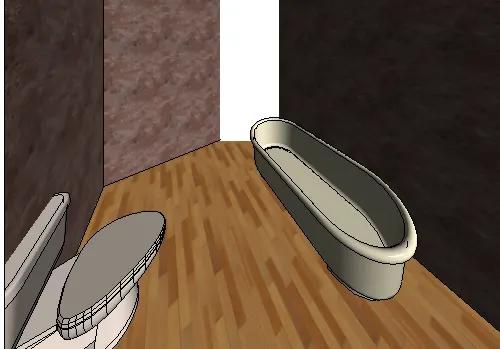
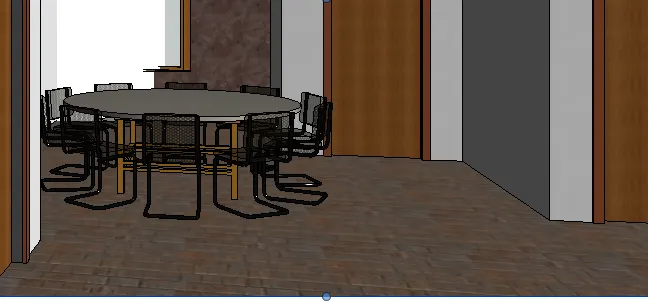
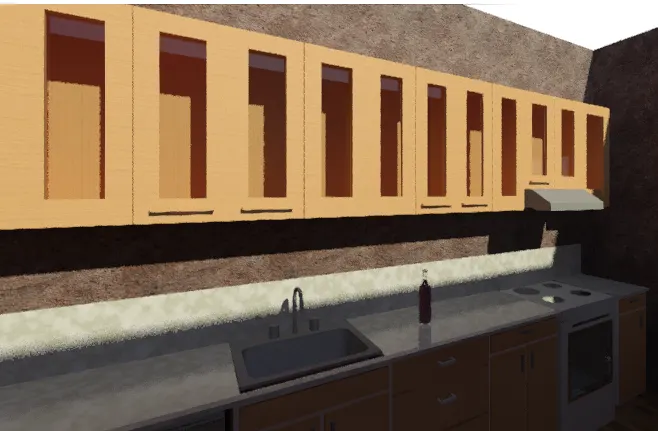
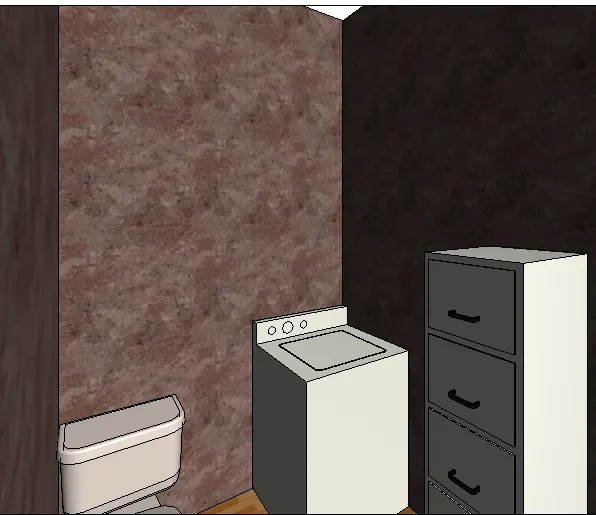
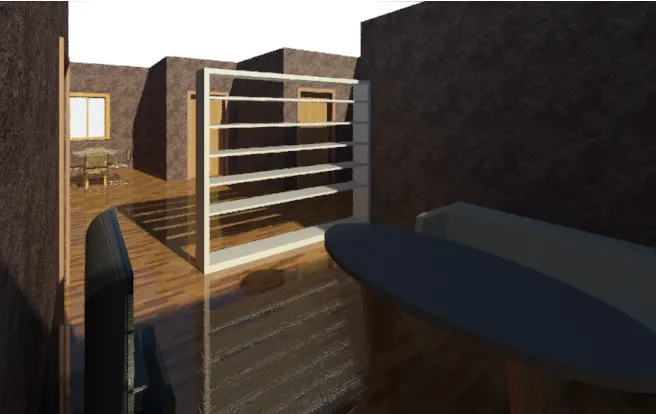
- Now use camera to take each room photos
Bedroom
Bathroom:
Dining hall:
Kitchen:
Washroom:
Hall:
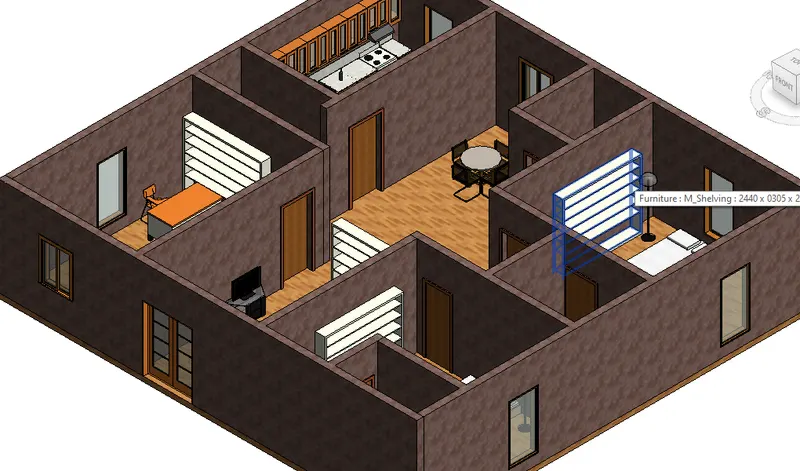
Total view of 3d model
Result:
The components in appropriate locations are added to the residential model