Creating Walls, Partition walls and Floors for a residential layout using REVIT
1.
Aim:
To create a floor plan and need to apply the materials and thickness using property browser. And to align the floor plan with grids that crated from week2.
Procedure:
- Open the week 2 Revi model that we created.
- Select the floor, and click the edit type from the property browser as shown.
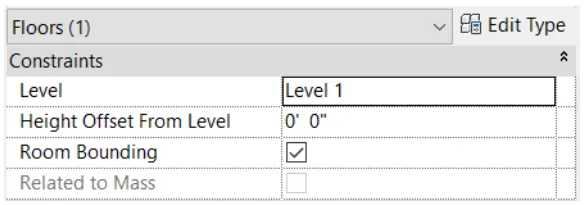
- After this, the edit type properties tab will be visible on the screen.
- Next, change the material type by clicking the edit option as shown below,
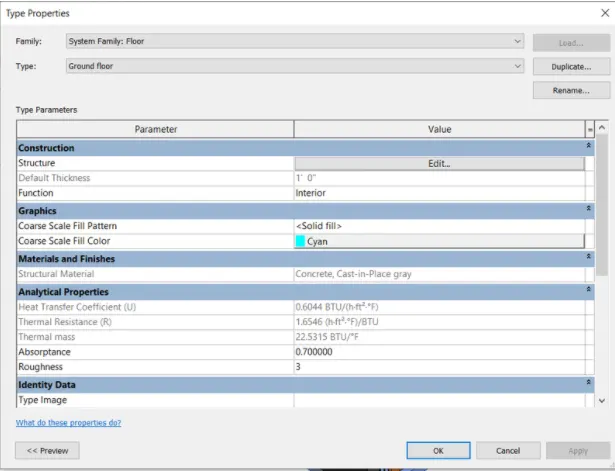
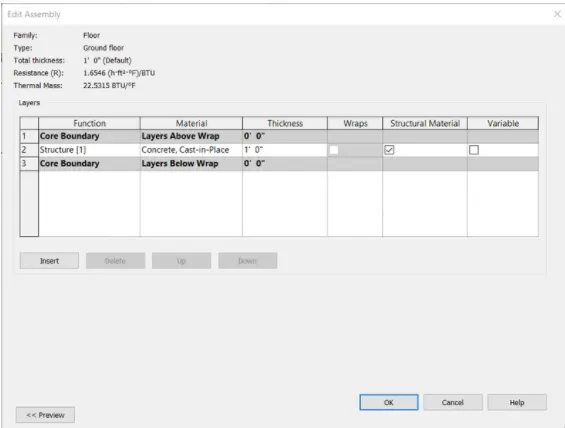
- After clicking the edit option, the edit assembly tab appears.
- Select the material type in 2nd row as shown below, and select the material type as concrete, cast-in-place gray as shown.
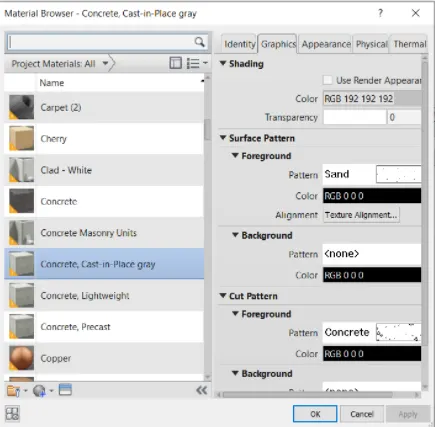
- Next floor plan is aligned to the grids.
Result:
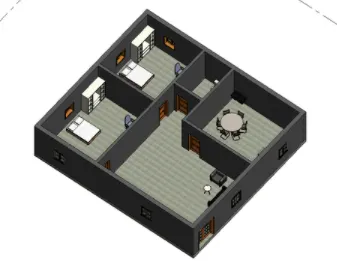
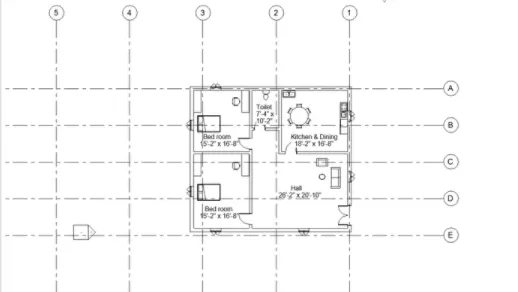
_____________________________________________________________________________________________________________________
2.
Aim:
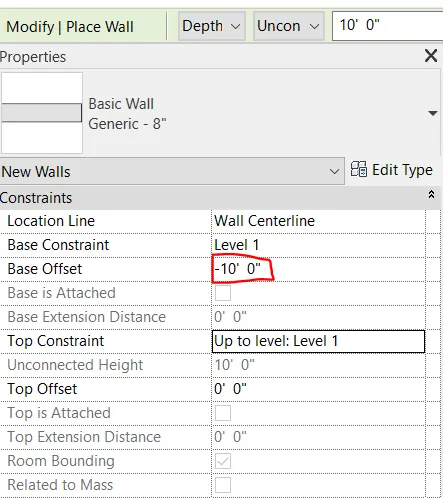
To create a floor plan and need to appy the materials and thickness using property browser for the walls. Verify using the property browser to see if the top and bottom of the walls are constrained. Need to understand the benefits of connecting walls with associated levels rather than being unconnected. And also need to knw which option is convinient for modelling walls, by height or by depth.
Procedure:
- Select the wall and click the edit type from the properties browser as shown.
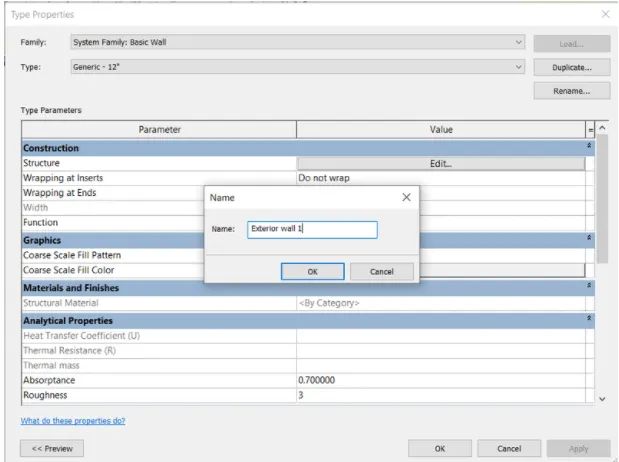
- Click the edit assembly tab appears.
- Select the material type in the 2nd row.
- The material browser appears, then select the material type as brick, Solid Course as shown below.
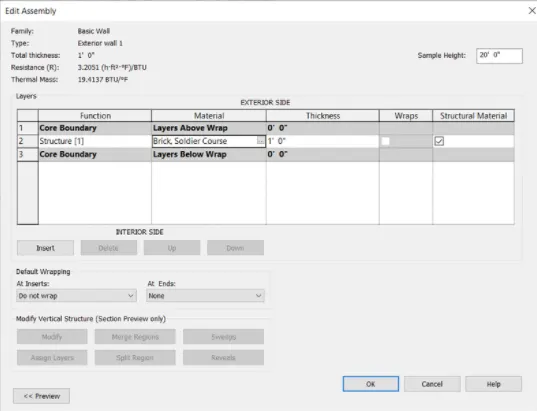
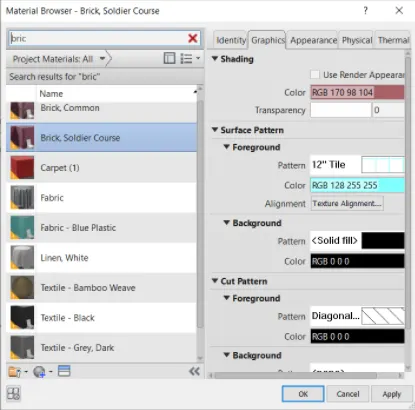
- Then click okay, the materials are applied successfully.
Result:
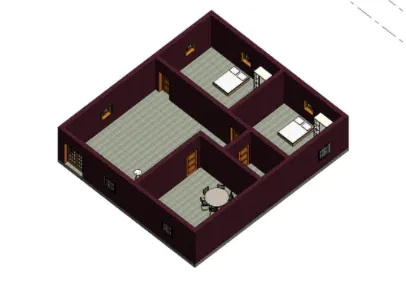
Observations:
a)
- If we select the top constrains upto level-2, the height of the wall changes with the levels.
- When we put the height to be 20', then the height of the wall also changes to 20'.
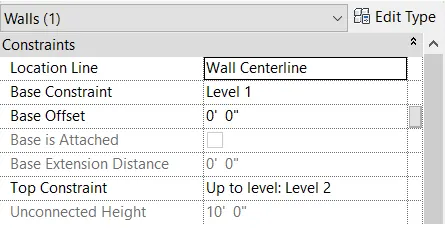
- The height of level is changed and the height of the wall is also changed.
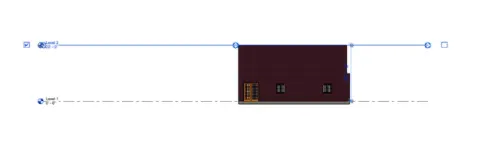
- If we select the top constrain as unconnected, the height of the wall does not changes with the level.
- When we put the level height to 20;, only the level height is change and wall height is not changed.
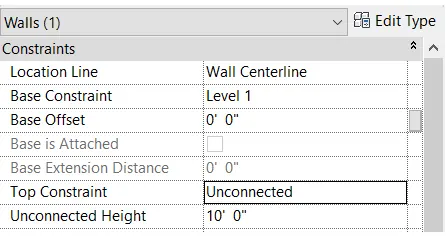
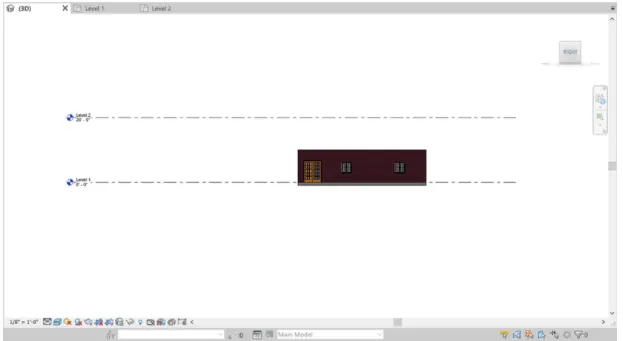
b)
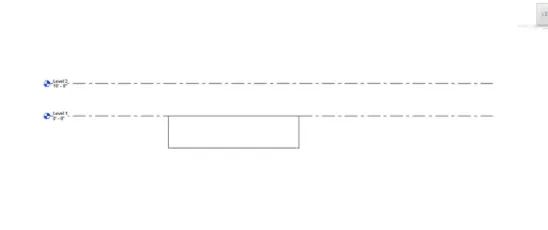
- When we selet the height option for the wall, the wall will be created above the level as shown below.
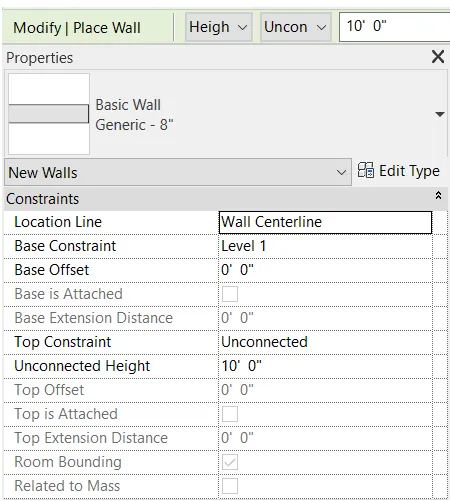
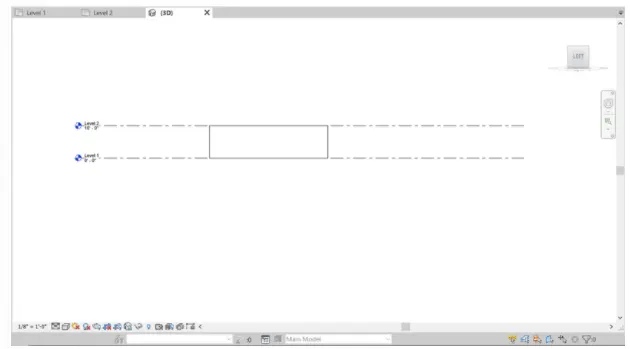
- When we select the height option for the wall, the wall will be created below the level.
_____________________________________________________________________________________________________________________
3.
Aim:
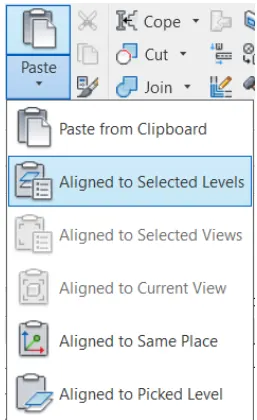
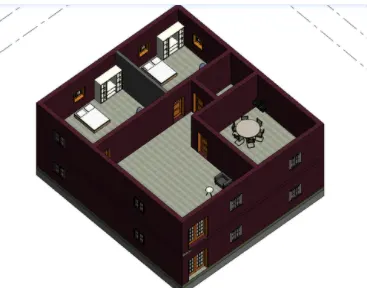
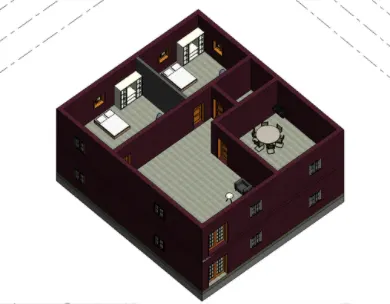
To use the modify tab to utilize copyu and paste options to align elements to a different level.
Procedure:
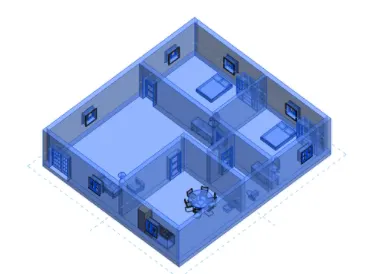
- Select the total groundfloor, then we copy to the clipboard.
- Then use the paste option to align the elements to a different level, as shown.
Result:
_____________________________________________________________________________________________________________________
4.
Aim:
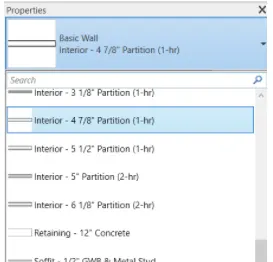
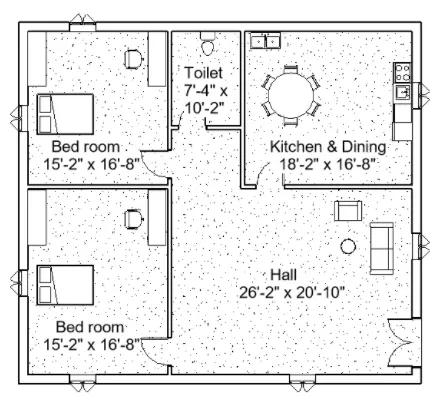
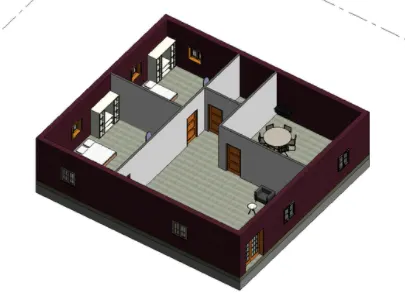
To create seperate rooms within your residential unit using the interior partitions of the wall.
Procedure:
- First select the interior wall and change the type as partition wall.
Result:
_____________________________________________________________________________________________________________________
5.
Aim:
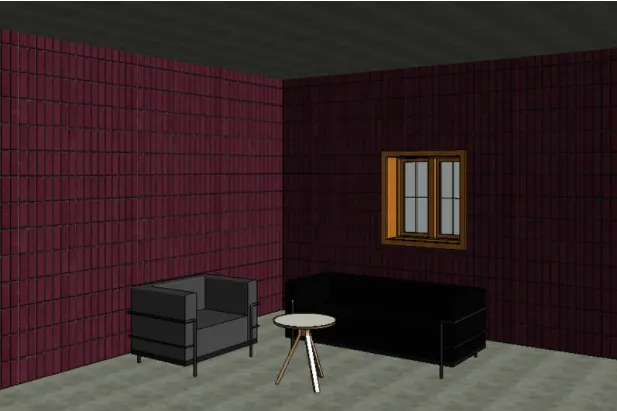
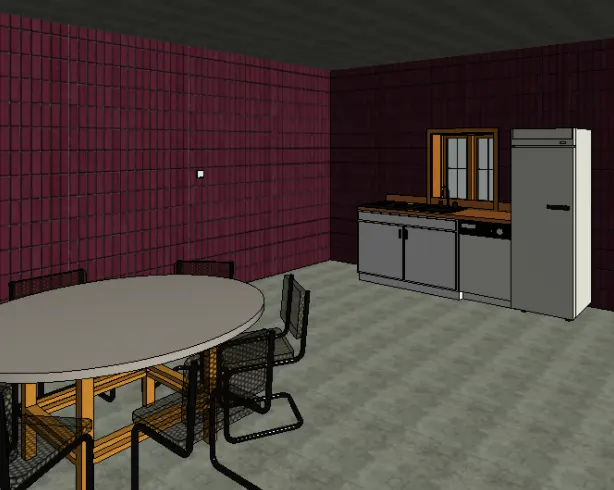
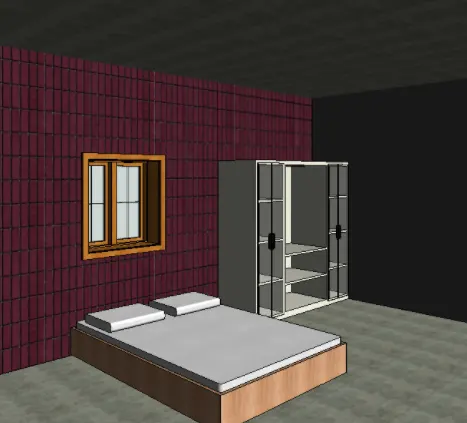
To insert the components in appropriate locations to add details to the residential model, based on week 2 assignment.
Procedure:
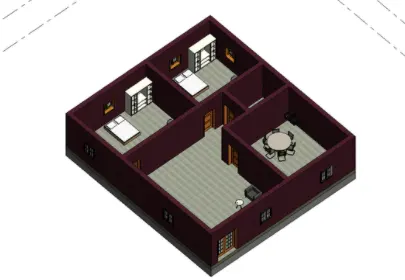
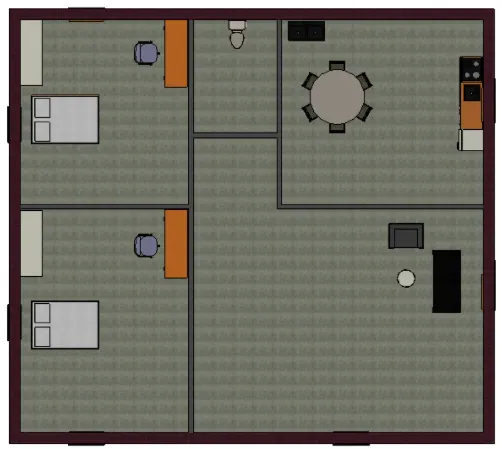
- First we insert the furniture components of the hall as shown.
- Next we insert the kitchen components from the library as shown .
- Next we insert the bedroom components from the the library, as shown.
- Here is the way to bedroom, toilet and kitchen room.
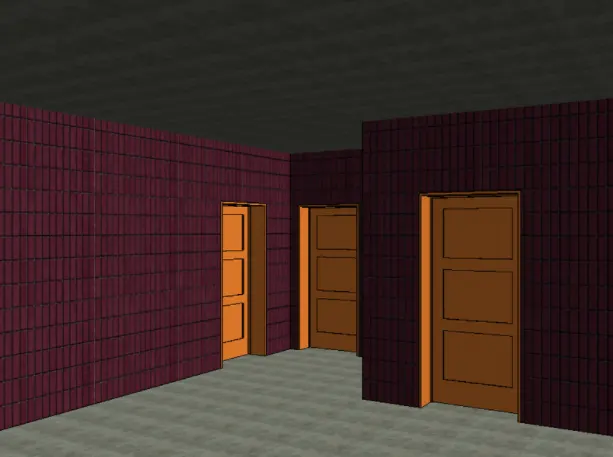
Result:
_____________________________________________________________________________________________________________________