Creating Walls, Partition walls and Floors for a residential layout using REVIT
1) Use the project file created from Week 2. Use it for this assignment. Based on your layout from week 2, use the floor tool under the architecture tab and select the floor with appropriate material and thickness using the property browser to create a layout in the Ground floor level. Align the floor plan with grids created from week 2.
COMPLETE STEPWISE PROCEDURE TO MODIFY A FLOOR AS PER THE DESIRED THICKNESS AND MATERIAL PROPERTIES IN REVIT:
- Select the floor you need to modify
- From the left properties panel, click on the edit type
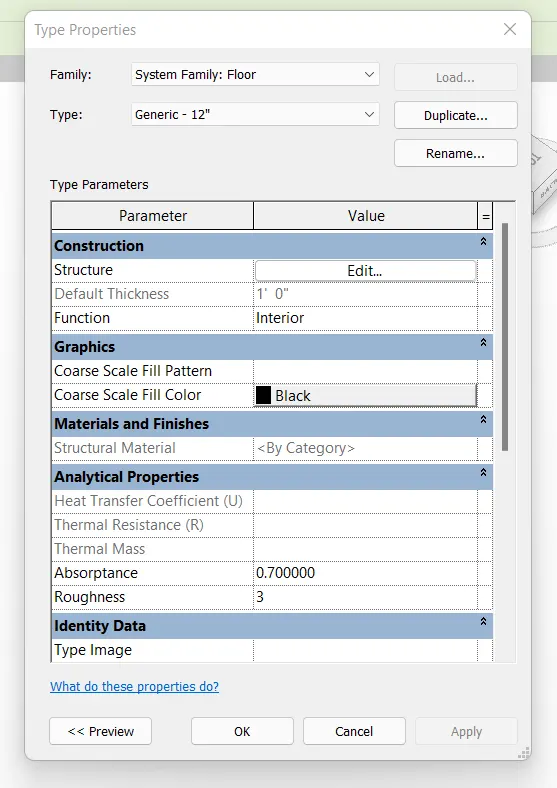
- Now, click on duplicate and go to edit the structure
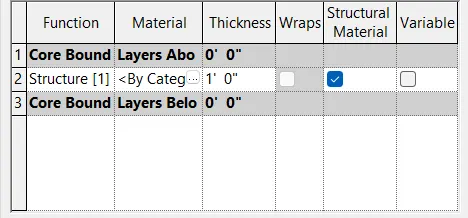
- From the table displayed on your screen, you can edit its thickness and make it 4" which is more appropriate for a floor finish. Also, click on "By Category" besides structure to make it wooden.
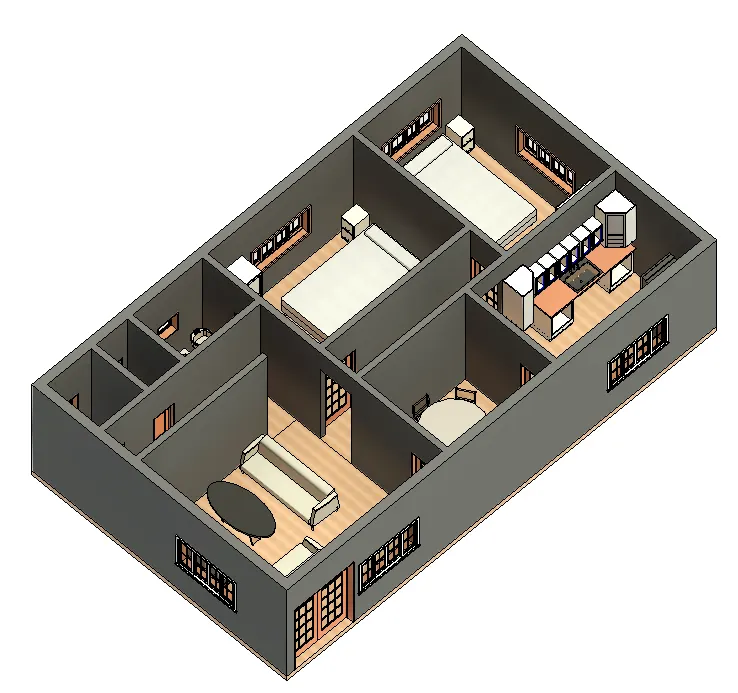
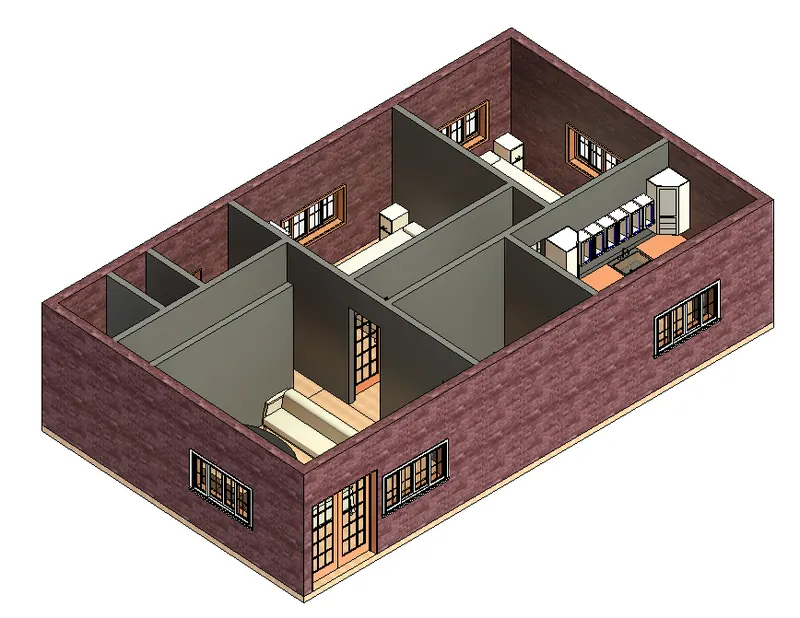
2) Add walls based on the floor layout. Pick lines or use the draw tool to modify the boundary of walls. Use the property browser to select appropriate material and thickness for walls. After creating the walls verify using the property browser to see if the top and bottom of the walls are constrained.
COMPLETE STEPWISE PROCEDURE TO CREATE AND EDIT WALL TYPES AND ASSIGN THEM ACCORDANT MATERIALS IN REVIT:
- Select the wall you need to edit. First, go for the external walls
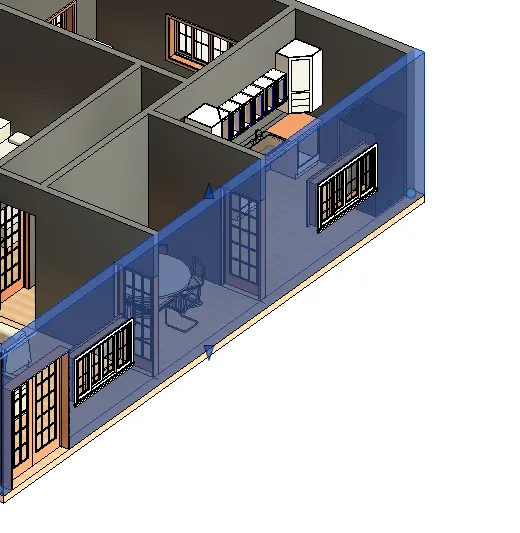
- From the properties panel, click on edit type. A table will show up on your screen. From the same table, create a duplicate and name it 9"-EXTERNAL" which is the most adopted external wall thickness.
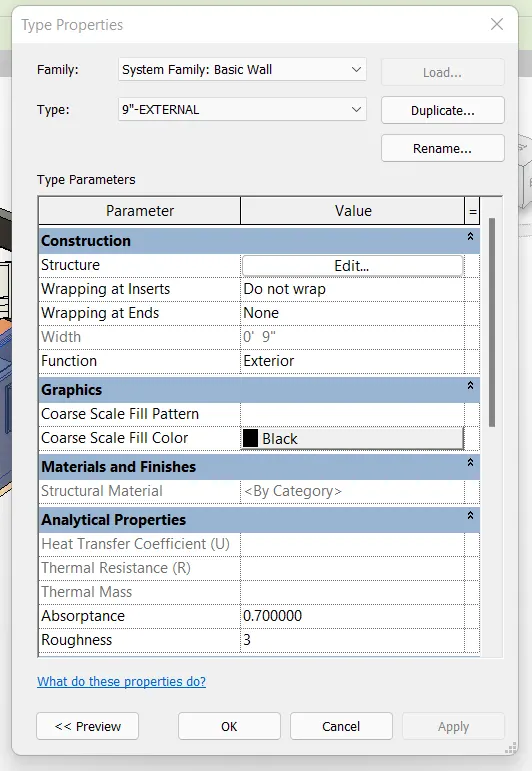
- Now go to edit the structure and modify the thickness to 9 inches.
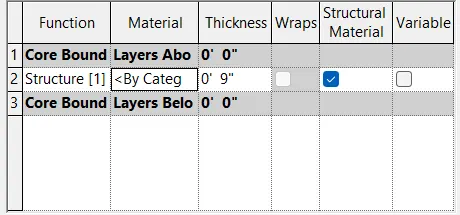
- Then, click on by category to assign its structure the relevant material which common brick masonry for an external wall.
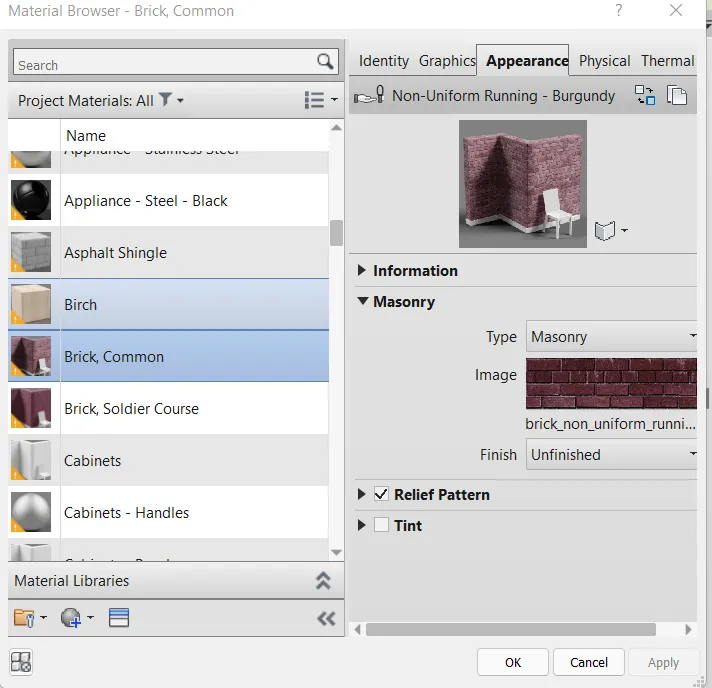
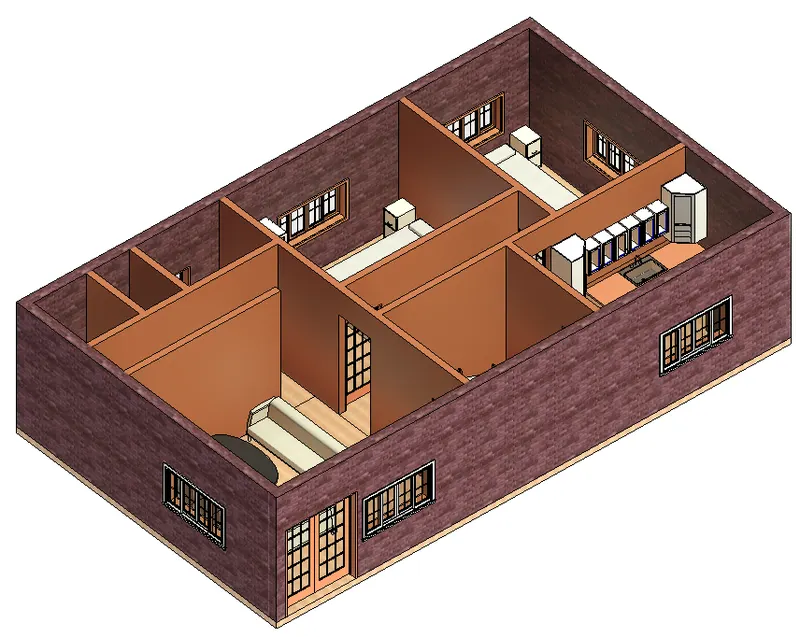
- Follow the exact procedure for internal walls. However, give a sienna paint finish while editing the structure by category. The same can be edited in the future according to the design requirements.
a. Based on your observation, what is beneficial for connecting walls with associated levels rather than being Unconnected?
ANSWER:
Based on personal observation, it is better to keep the top constraints of the wall connected to the level immediately above it. For example, if you are creating a wall at the ground floor level, it is best to keep it connected with the first floor. That way, even if you alter the height of your first-floor level, the ground floor walls will automatically follow to it and you wouldn't have to remodel its height.
b. Which option is convenient for modeling walls, By Height or By Depth?
ANSWER:
Based on personal practice, it is better to model walls according to their height. The reason is it makes it easier to correlate the heights of different elements like doors, windows, sill level, and lintel level when you model your walls by height and know the exact value.
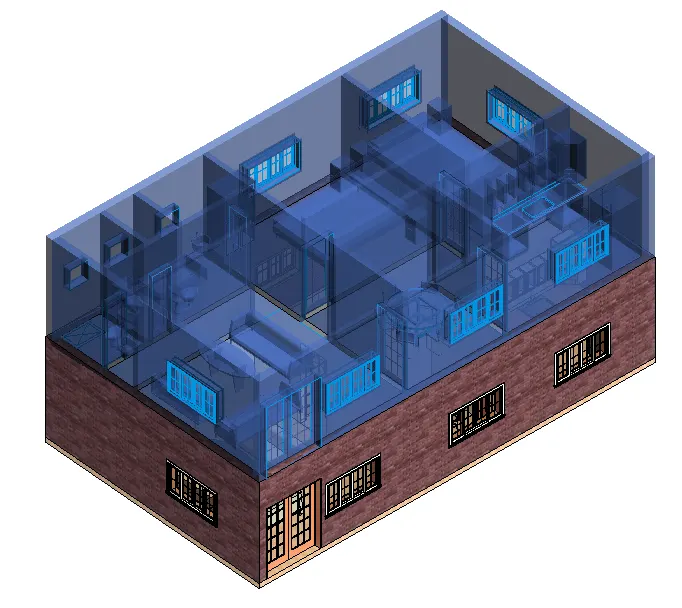
3) Copy the model elements ( wall, floor ) modeled to Ground Floor Level and paste it aligned to First Floor Level. Use modify tab to utilize copy and paste options to align elements to a different level.
COMPLETE STEPWISE PROCEDURE TO COPY YOUR MODEL FROM ONE LEVEL TO ANOTHER IN PROPER ALIGNMENT IN ORDER TO CREATE A MULTISTORY BUILDING IN REVIT:
- Select your entire model which you want to copy on the upper floor.
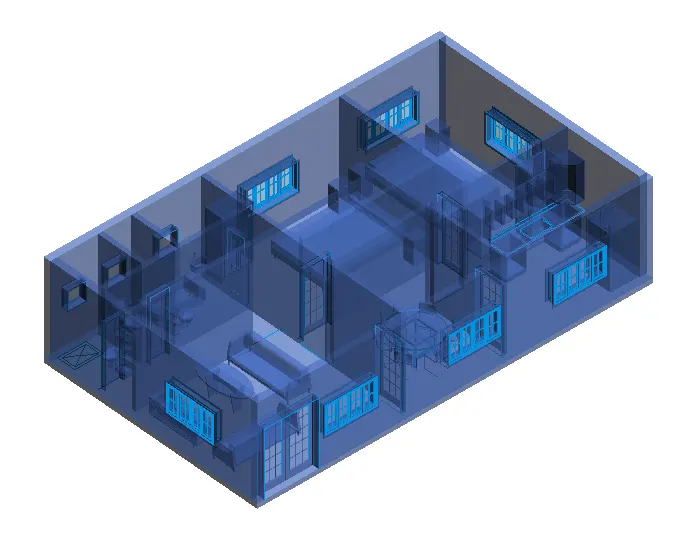
- Copy the selected model to the clipboard from the clipboard tab within the modify panel.
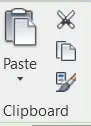
- Now, from the paste dropdown list, click on the align with the selected levels. Then, slect the level you want to copy this model up to.
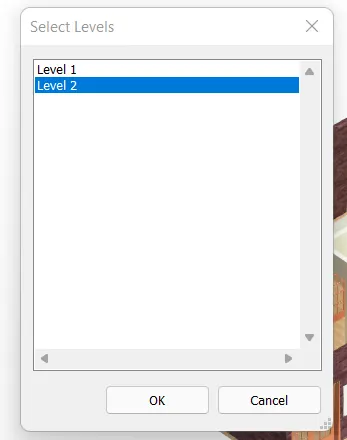
- After clicking OK, your model has been successfully copied in proper alignment on the upper floor.
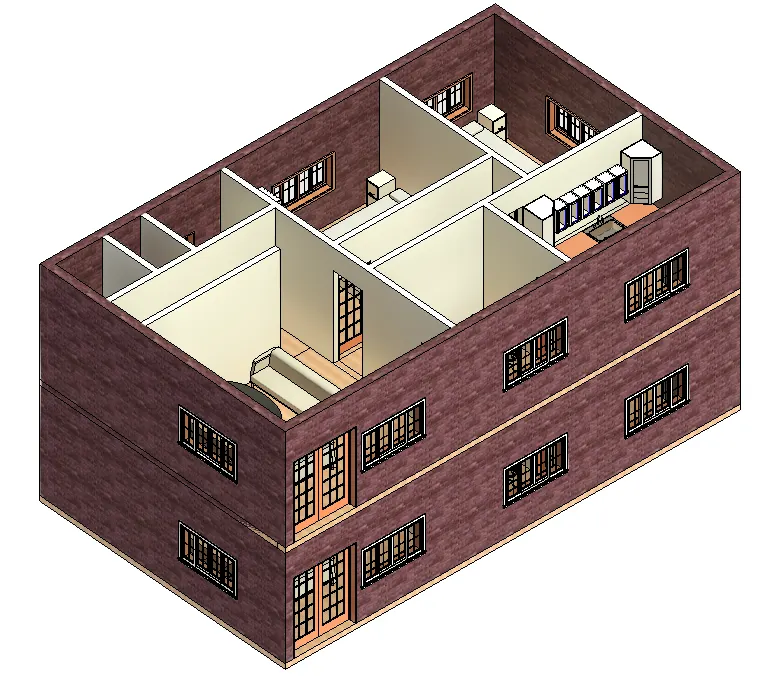
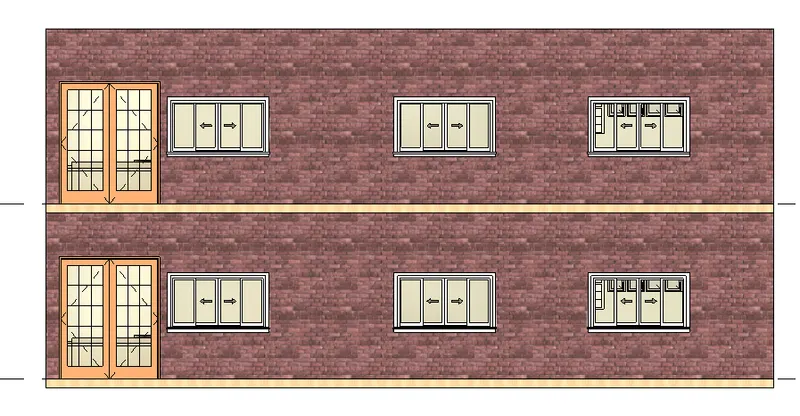
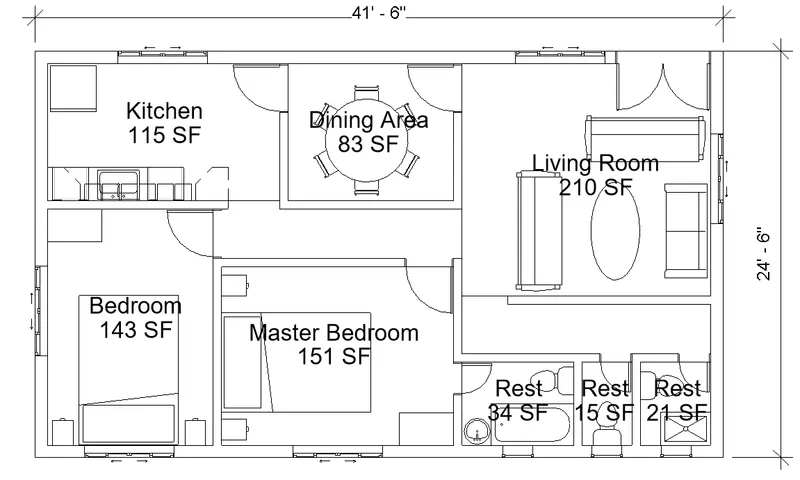
4) Use interior partition walls to create separate rooms within your residential unit. The model must include the following rooms
a. Living Room/ Drawing Room ( 15’ X 18’)
b. Dining Room (9’ X 11’)
c. Bed Room ( 9’ X 12’ and 15’ X 11’)
d. Rest Room ( 10’ X 12’ )
e. Kitchen (8’ X 10’)
The above are examples. You can use them or use your measured entities to create your model based on your layout. You may include entry walkways, Patios, or Guest
rooms based on your creativity and purpose of modeling. Convert units if you are using the metric system
ANSWER:
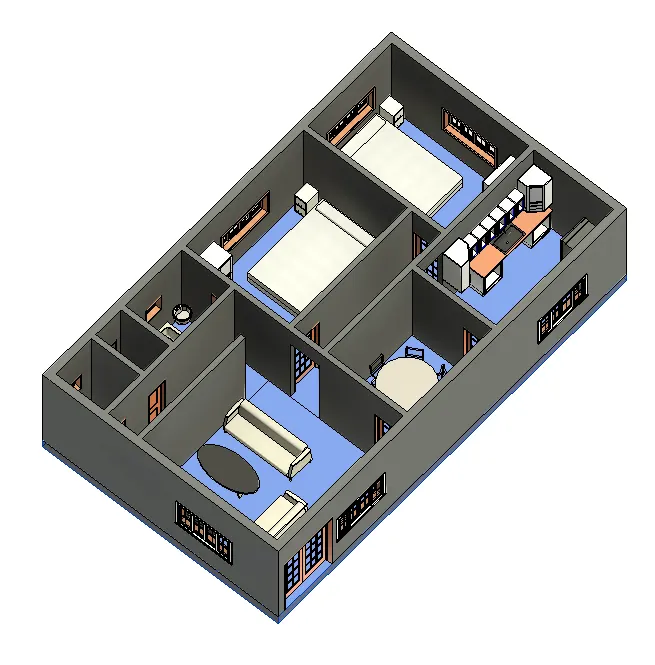
Once you have laid down the boundary of your residential unit built up with the external walls. Then you can go ahead with dividing the floor using internal walls and spreading them at an appropriate distance across the flat. Internal walls have to be laid down in a way that all of the built space is utilized efficiently and at the same time, there is enough room to move around from one unit to another. Thus, a floor plan with the standard room dimensions including all of the mentioned building units in the question is laid down below:
5) Based on the week 2 assignment, the components to be included in a residential unit were inserted into the Revit file. Place these components in appropriate locations to add details to your residential model
a. Place Doors and windows in the wall at appropriate locations
b. The Living Room must include furniture set, couch table, and TV desk and shelf cabinets
c. The Dining Room must include a table and chairs serving the purpose of eating
d. Bed Room must include a bed set, shelf, lighting, and individual study desk and chair
e. Restroom should include bathtub and plumbing fixtures discussed in class
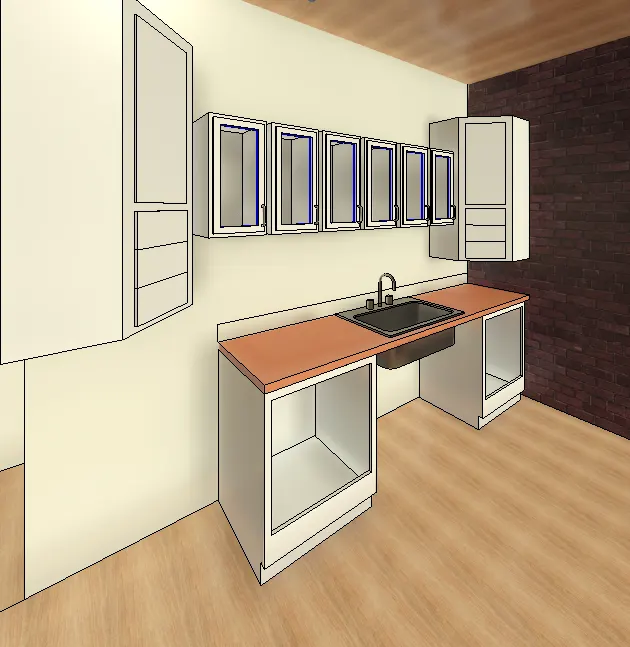
f. Kitchen should include countertops, gas stove cabinet, and shelves to store food items
g. The wash/storage room can include washing machines and shelves to store clothes
All the components are available in Revit Library. Use them to place at appropriate locations to add details to your model. Use 3D navigation to check the model and its authenticity on a real-time basis to verify the model.
COMPLETE STEPWISE PROCEDURE TO INSERT AND PLACE FURNITURE AND OTHER UTILITY ELEMENTS INSIDE A REVIT MODEL:
- Go to the insert tab and click on the insert icon.
- The Revit library containing several files will be displayed on your screen.
- Select the relevant file based on your project such as Imperial or metric.
- Then within that file, you will find all the essential elements required in a building structure.
- So, choose the accordant element as per the room. For example, furnishing elements for a living room will be different than that of a bedroom or kitchen.
- Once you load all the required stuff into your current project by inserting them, they become available to be used and located within the building.
- So, Locate the families icon on the left panel of the Revit screen and pick the needed element then bring the cursor into the target room to place it.
- Once you place it in the required room, you can adjust its position by clicking on the element and then controlling it through your keyboard's UP, DOWN, LEFT, AND RIGHT arrow keys.
- And after completing the placement of your furnishings and all other utility elements, you can now create different camera views and look into how your furniture looks inside the model.
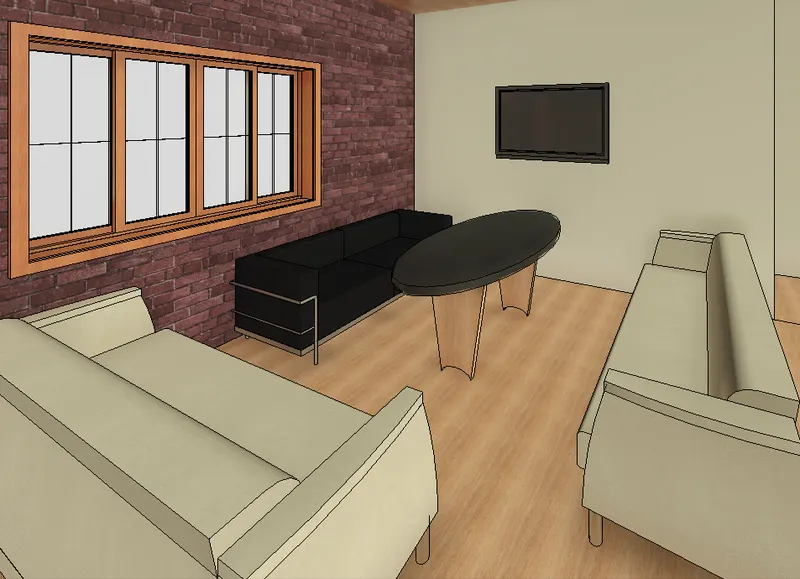
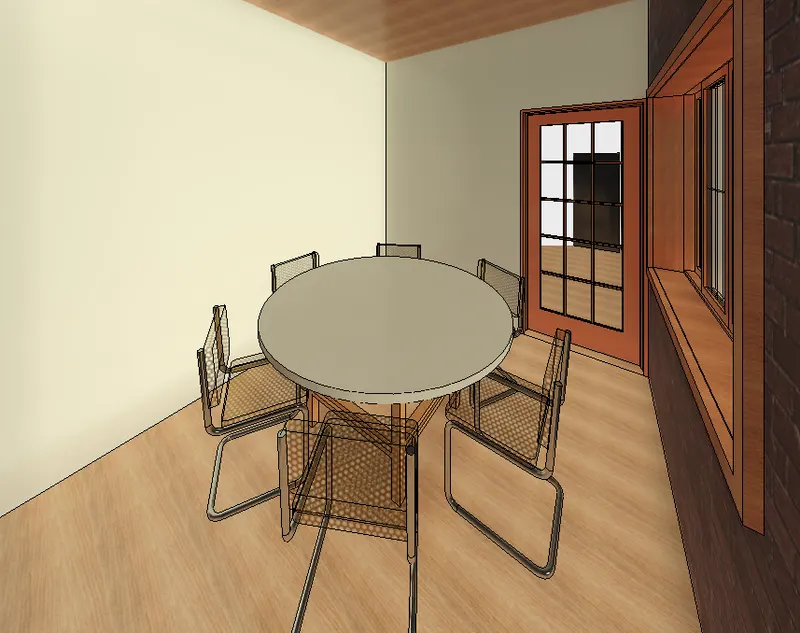
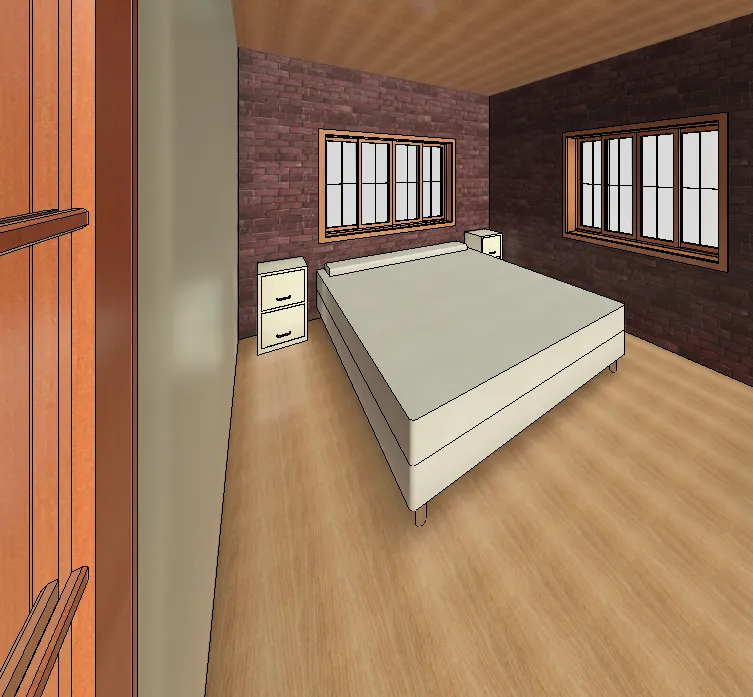
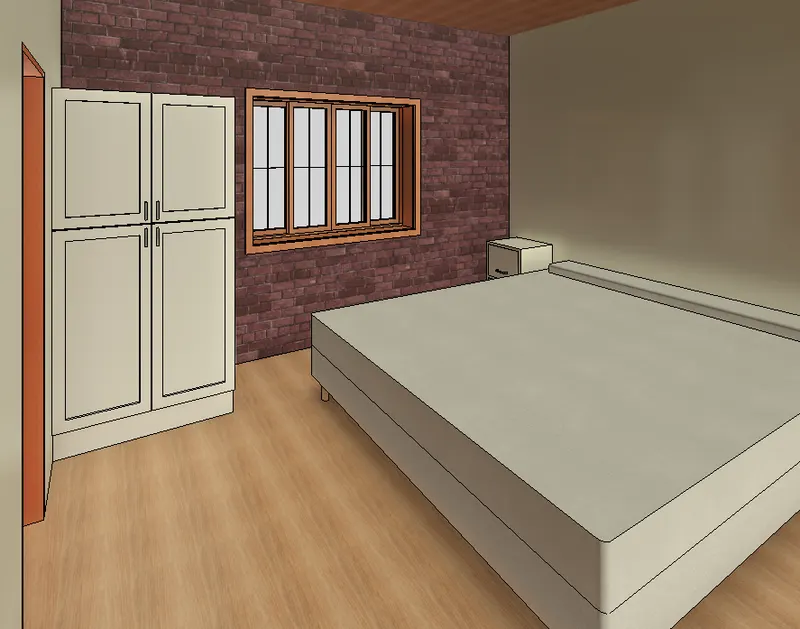
Hence, this procedure is adopted to adjust all the elements inside our Revit model and then the camera is used to look through and create the 3d views of different rooms in order to find how does our model looks after its fully furnished.
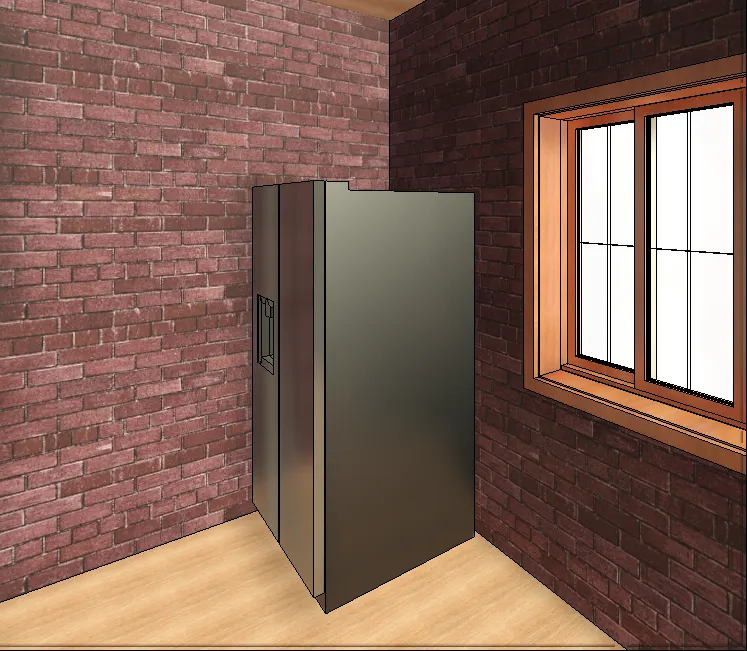
KITCHEN VIEW
LIVING ROOM
DINING AREA
BEDROOM 1
MASTER BEDROOM
RESTROOM FOR THE MASTER BEDROOM
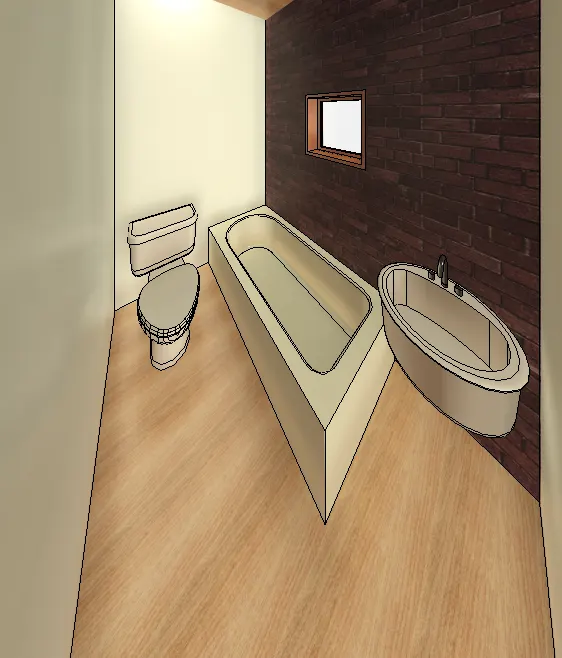
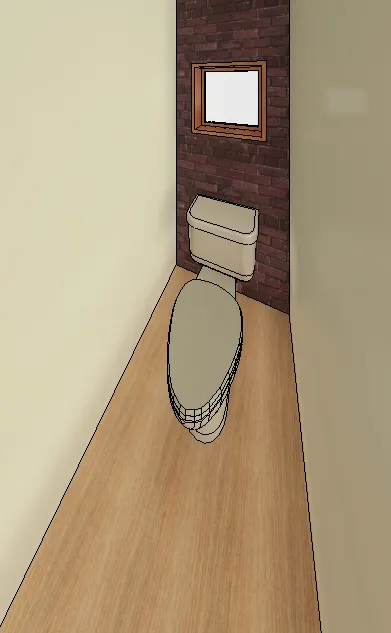
COMMON WC