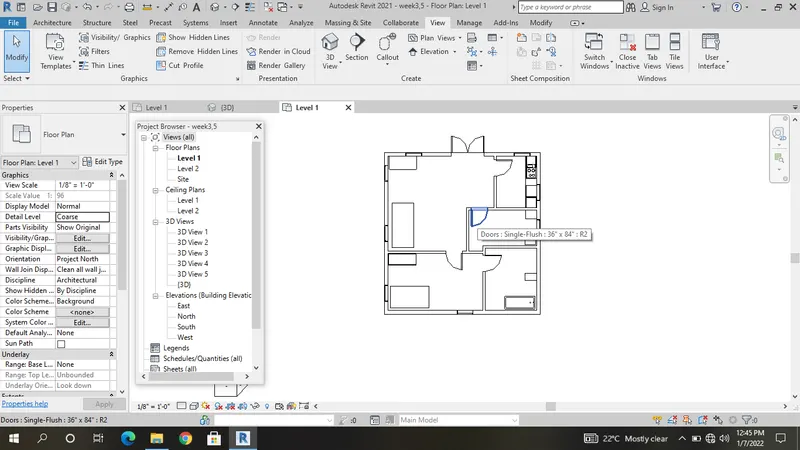
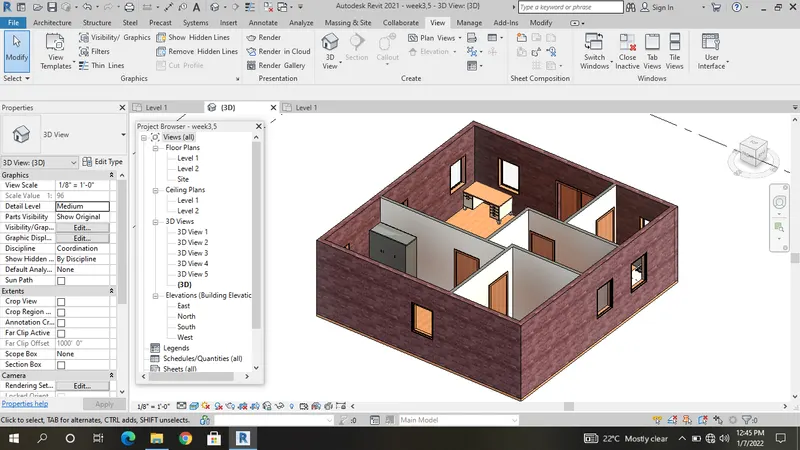
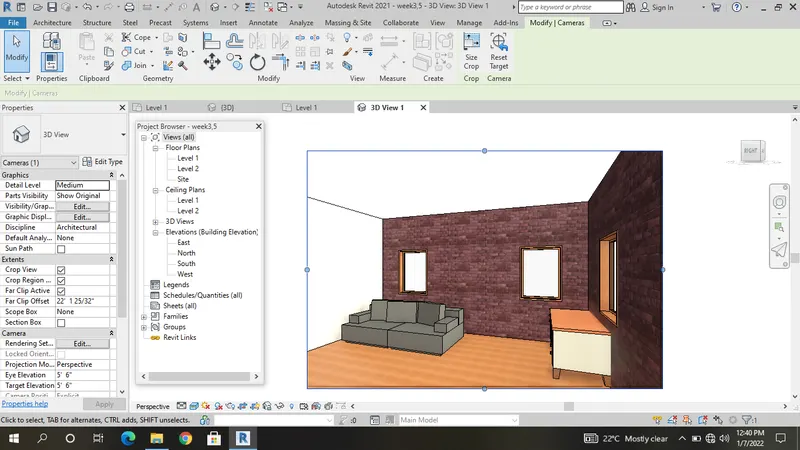
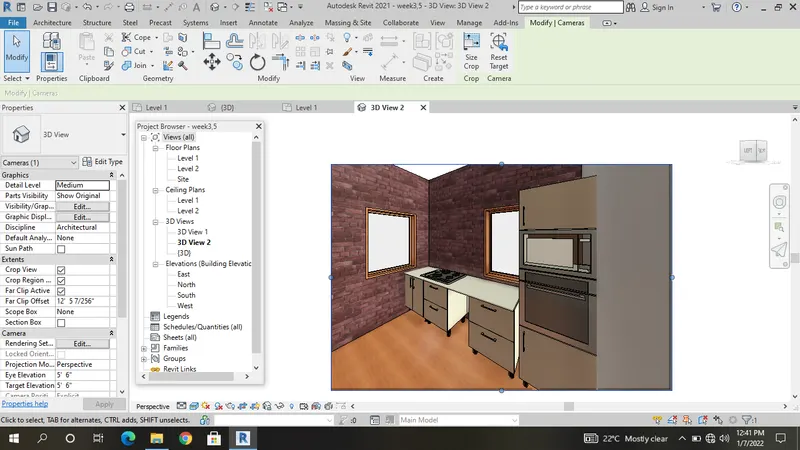
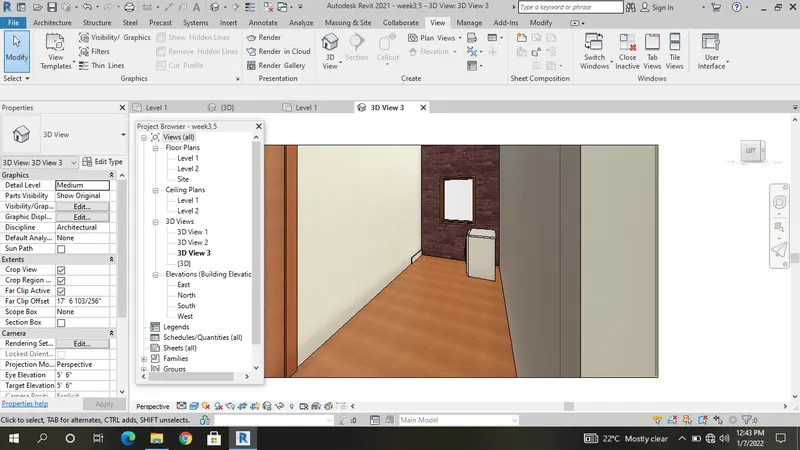
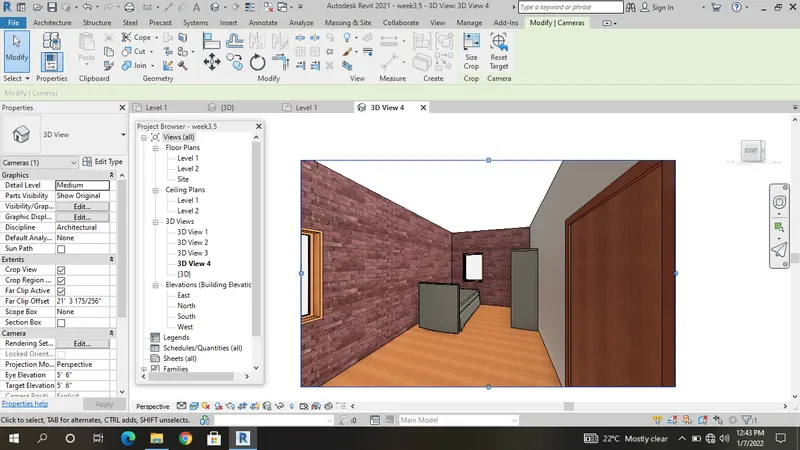
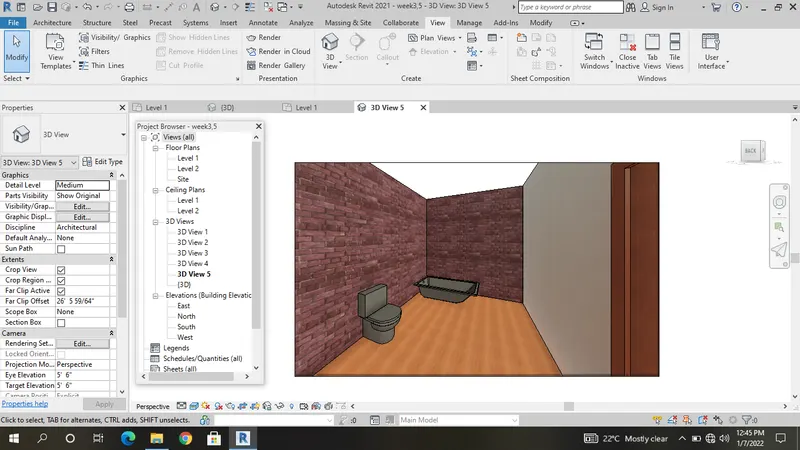
Creating Walls, Partition walls and Floors for a residential layout using REVIT
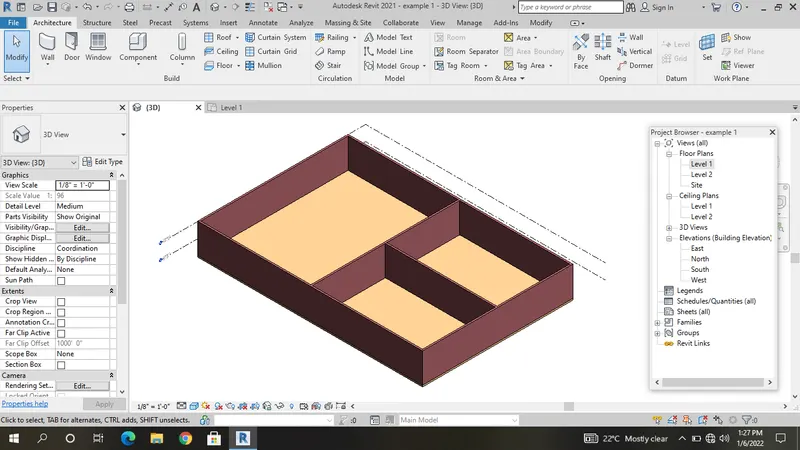
1.
Aim:
To draw the residential building using revit
Procedure:
Step 1
select the wall command
wall thickness at 8"
line specific point at 150'
line specific point at 100'
line specific point at 150'
line specific point at closed
Step 2
select the partition wall
wall thickness at 4.5"
room line specific point at 75' x 50'
another room line specific point at 75' x 50'
line specific point at 20' x 100'
Step 3
select the material browser
select the wall material
Step 4
select the floor command
select the floor:architecture
select the rectangular tool
draw the aligned
floor thickness at 4"
select the ok button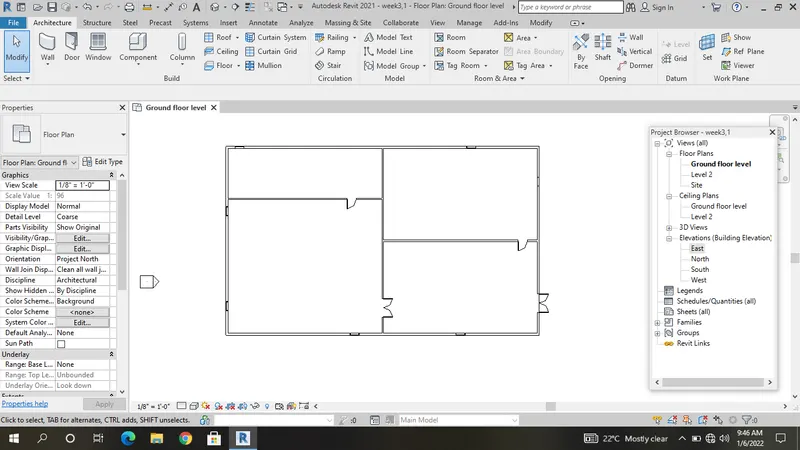
2.
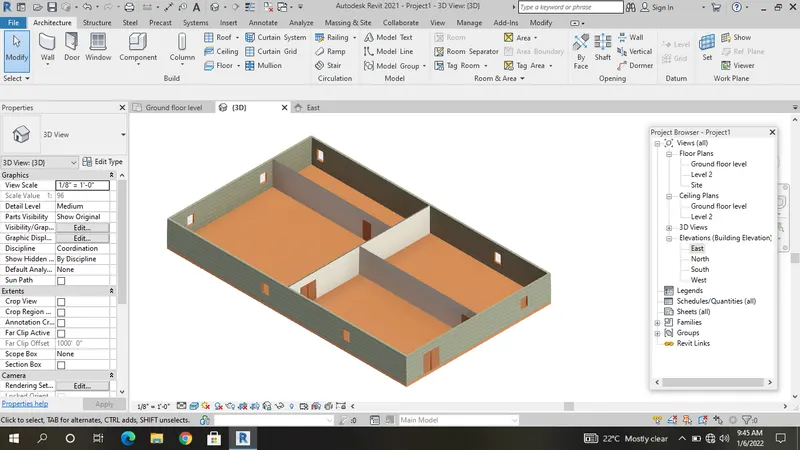
Aim:
To draw the residential building using revit
Procedure:
Step 1
select the wall command
wall thickness at 8"
line specific point at 150'
line specific point at 100'
line specific point at 150'
line specific point at closed
Step 2
select the partition wall
wall thickness at 4.5"
room line specific point at 75' x 50'
another room line specific point at 75' x 50'
line specific point at 20' x 100'
Step 3
select the door command
fixed at the certain wall
select the window command
fixed at the certain wall
Step 4
select the material browser
select the wall material
Step 5
select the floor command
select the floor:architecture
select the rectangular tool
draw the aligned
floor thickness at 4"
select the ok button
3.
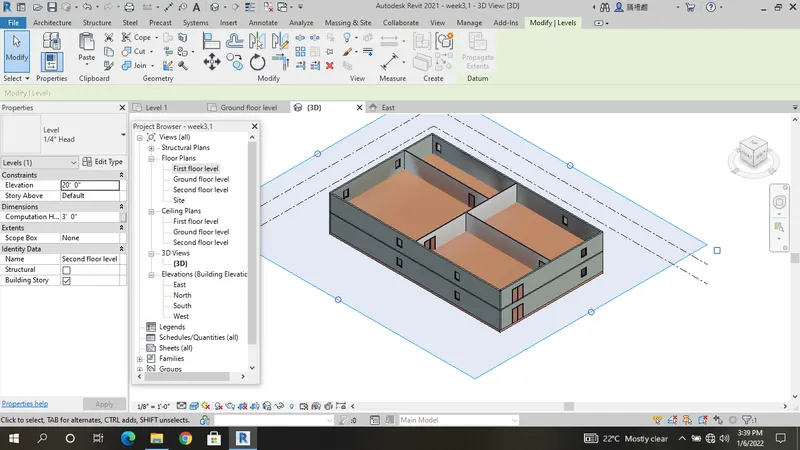
Aim:
To draw the residential building using revit
Procedure:
Step 1
select the wall command
wall thickness at 8"
line specific point at 150'
line specific point at 100'
line specific point at 150'
line specific point at closed
Step 2
select the partition wall
wall thickness at 4.5"
room line specific point at 75' x 50'
another room line specific point at 75' x 50'
line specific point at 20' x 100'
Step 3
select the door command
fixed at the certain wall
select the window command
fixed at the certain wall
Step 4
select the material browser
select the wall material
Step 5
select the floor command
select the floor:architecture
select the rectangular tool
draw the aligned
floor thickness at 4"
select the ok button
Step 6
select the roof command
select the roof:soffie
select the rectangular tool
draw the aligned
roof thickness at 6"
select the ok button
Step 7
select the level 1 floor plan
copy the level 1
select the copy clip
select the paste option
selcet the aligned by level 2
4.
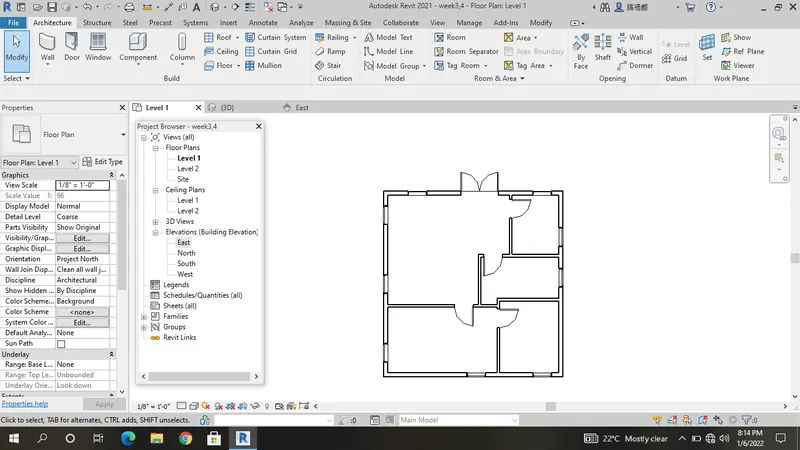
Aim:
To draw the residential building using revit
Procedure:
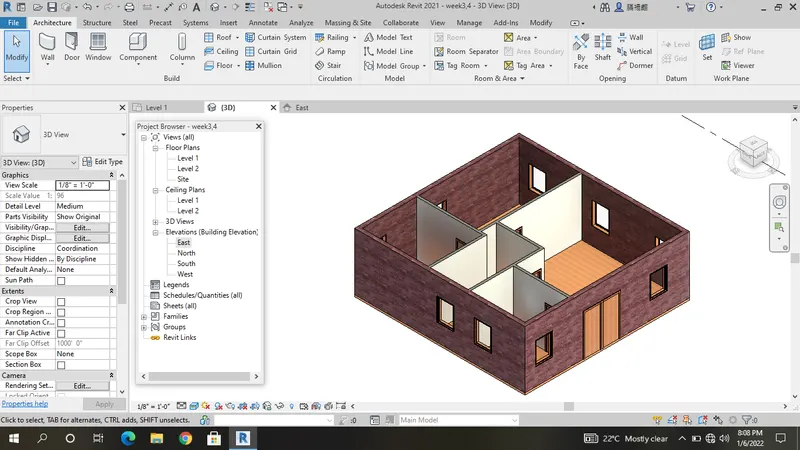
Step 1
select the wall command
wall thickness at 8"
line specific point at 28'
line specific point at 29'
line specific point at 28'
line specific point at closed
Step 2
select the partition wall
wall thickness at 4.5"
room line specific point at 15' x 18'
another room line specific point at 9' x 11'
another room line specific point at 15' x 11'
another room line specific point at 10' x 12'
another room line specific point at 8' x 12'
Step 3
select the door command
fixed at the certain wall
select the window command
fixed at the certain wall
Step 4
select the material browser
select the wall material
Step 5
select the floor command
select the floor:architecture
select the rectangular tool
draw the aligned
floor thickness at 4"
select the ok button
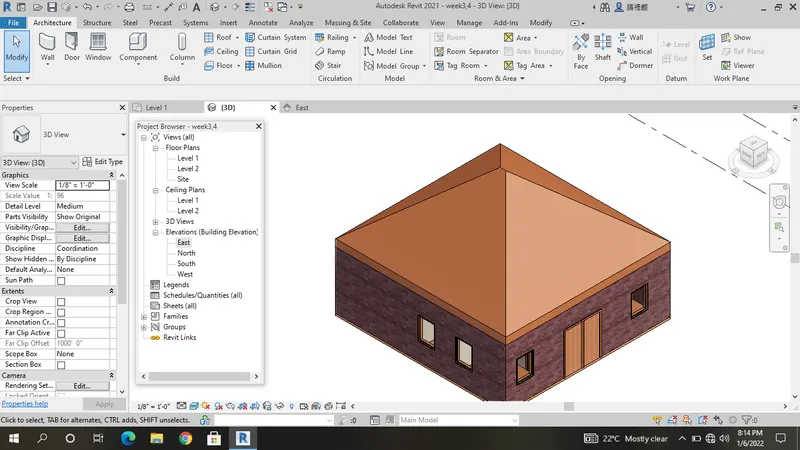
Step 6
select the roof command
select the roof:footprint
select the pick point
select the layout
roof thickness 6"
5.
Aim:
To draw the residential building using revit
Procedure:
Step 1
select the wall command
wall thickness at 8"
line specific point at 28'
line specific point at 29'
line specific point at 28'
line specific point at closed
Step 2
select the partition wall
wall thickness at 4.5"
room line specific point at 15' x 18'
another room line specific point at 9' x 11'
another room line specific point at 15' x 11'
another room line specific point at 10' x 12'
another room line specific point at 8' x 12'
Step 3
select the door command
fixed at the certain wall
select the window command
fixed at the certain wall
Step 4
select the material browser
select the wall material
Step 5
select the floor command
select the floor:architecture
select the rectangular tool
draw the aligned
floor thickness at 4"
select the ok button
Step 6
select the insert option
select the link family
select the family
insert the family at level 1
Step 7
select the component
select the place component
insert the component
Step 8
select the view option
select the camera 1
camera 2
camera 3
camera 4
camera 5