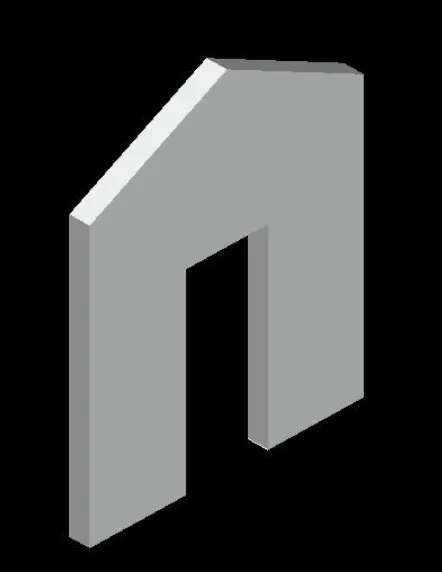
Creating various 3D Models like Furniture, Footing, Girder, Column drop with panel and Gable Wall in AutoCad
1.
Aim:
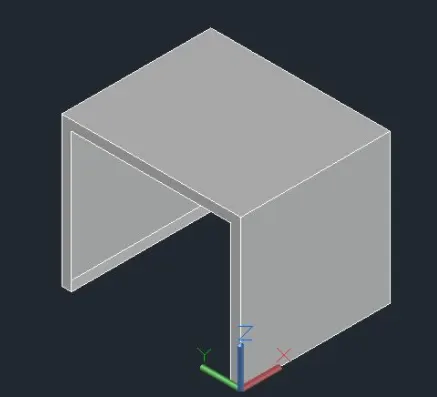
To create a 3D Furniture element as shown.
Procedure:
- Draw a rectangle of dimension 2'6" X 3'0".
- Type 3D Orbit to view a 3D viewport in the current viewport.
- Extrude the surface in the y-direction
- In the front shade of the box draw a rectangle so that it creates an offset with the top, left, and the right edge
- Substrace the rectangle.
Result:
____________________________________________________________________________________________________
2.
Aim:
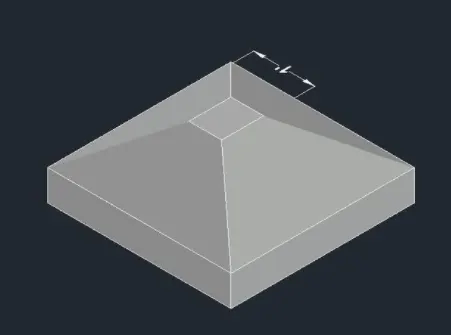
To create the 3d Model of an Isolated footing as shown in Figure.
Procedure:
- Draw a rectangle with given dimensions
- Take the 3D custom view
- The footing dimension is 4'0" X 4'0"
- The depth of the footing is 6" and reduced to the depth of 2" and width is 1'.
- COPY - this command is used to select objects from a given square to destination =, learning a copy at the originally selected location.
- MOVE - moves the objects to the destination place from the source place
- And then join all the lines.
Result:
____________________________________________________________________________________________________
3.
Aim:
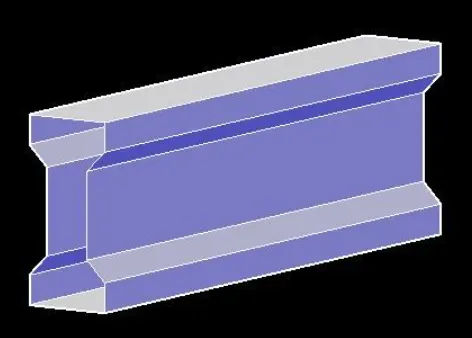
To create a 3D View of the AASTHO type grider using the various commands in AutoCAD
Procedure:
- First we take the top view of the page.
- To take, L' to create a line to drawl section AASTHO Girder
- The origin point is 0,0,0.
- The next point is (@1'6",0,0)
- The next point is (@0,0,6")
- The next point is (@6",o,135) and to follow the all given dimensions to draw the Section
- Type 3D ORBIT to view a 3D orbit viewport in the current viewport
- Type 3D FACE fowl allowing to generate 3D faces by identifying
- REGION to convert objects that enclose an area into a 2D region
- Type EXTRUDE to create a surface or solid of a 2D surface or a 3D curve
- The extruded length of the section Grider is 10ft
Result:
____________________________________________________________________________________________________
4.
Aim:
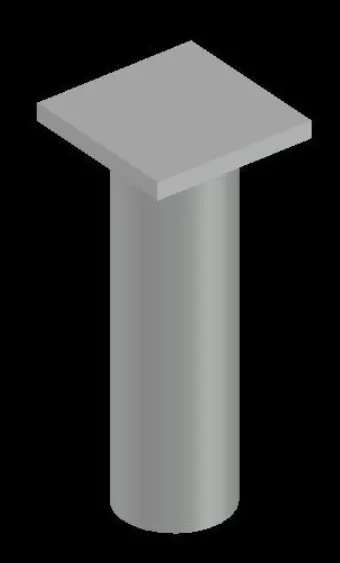
Create a 3d Model of a drop column with the panel.
Procedure:
- Draw a rectangle with given dimensions
- Take a 3D custom view
- The rectangular size 4'6".
- Type C to create circle options
- Column cap height is 1"
- Column head thickness is 10 ft
- COPY- selected objects from a given square to destination, learning a copy at the originally selected location
- MOVE - moves the objects to the destination place from the source place
- After we draw a circle of diameter 1'6"
- Extrude the created surface or a solid of a 2D or 3D curve
- The extruded length of the circular column with a negative direction of Z is 10 =ft.
- Type 3D ORBIT to view a 3D orbit viewport in the current viewport
Result:
____________________________________________________________________________________________________
5.
Aim:
To create a 3D model of a wall
Procedure:
- Create a plan of the wall at 2d similar to challenge 4
- Fix the door and wall opening wherever we need
- REGION - convert object that encloses an area into 2D region objects
- EXTRUDE the surface t a height of 10ft
- 3D ORBIT to view a 3D orbit viewport in the current viewport
Result: